A010018 Rev. 4 Pag. 6 di 18
6. INSTALLATION
6.1 Preliminaries
The usermust install the powersupply in accordance with the instructionsgiven in Fig. 3(inthe case of fixedassembly) and in
compliance with thestandards in force.
6.2 Positioning
Move the equipment into place with the aid of apallet truck, where necessary. If theunit is moved after it hasbeenunpacked,protect
the surfaces from knocks.
The standard equipmentis issued with wheels. If mounted on feet (optionalextra), regulate the adjustable feet to obtainthedesired
height and compensate forany unevenness orslopeofthefloor. During this phase, make sure any doors on the lower compartment
are properly closed. Once installation iscomplete, the protective film can be removed. This operation should beperformed very slowly
toprevent the glueremaining attached to the surfaces. If this happens, use kerosene or petrol to remove it.
6.3 Electrical connections
Connectionsmust bemadeby aqualified electrician in accordance with the localstandards in force. The equipment’s electric circuit is
designedto work with asingle-phasesupply voltageof 230Volts andafrequency of 50/60 Hz. See the wiringdiagram in Fig. 2
referring to the model purchased.
The equipment isconnected by means oftheplug undertheinstrumentpanel: simply plugit intoaportable socket-outlet connectedto
the room’s power mains.
The cable must have thefeatures of typeH05 RNF or better, andmust featurean efficient earthwire ofan appropriate size for thetotal
power of this unit andany other units oraccessories connected on the same terminal board (see rating plate).
The unit’s electrical supply systemmust featurean appropriately sizedautomatic omnipolarcircuit breaker upstream that assures a
gap between the contacts of at least 3mm. Theremust not be any breaks in theearth cable.
The electrical safety of this equipment is only assured whenthe above-mentioned conditions aremet and if the system’s equipotential
situation is also in order(usethe connection screw locatednearthe power cable entry and thelabel featuring thesymbol)
The manufacturer declines all responsibilityin the eventthese safetystandards are not complied with.
7. OPERATION / USE
7.1 Operating tips
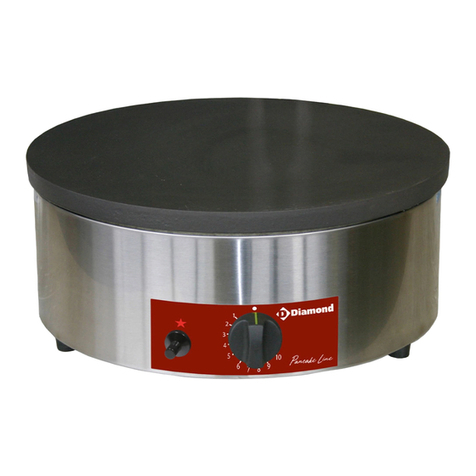
•This equipment must beused solely for the use for which it was expressly designed: i.e.displaying foods contained in pots and
pans andforkeepingthem warm, andfor storingand warmingcrockery in thelower compartment. Any otheruse shall be
considered improper.
•In orderto avoid scratching the safety glass top, you arerecommended to use pots and pans with smooth, flat bottoms. If the
safety glass topis usedas a worktop(whencold),it must becleanedthoroughly before it is next switched on. If pans are placedon
top of abrasive residues, the safety glass top may be scratched.
•Before usingtheequipment forthe first time,clean the safety glass top with asuitable product andkitchen towel. Avoid using
abrasivedetergents or scouringpowders.
•Lastly, wipe the top with a dampcloth and dry thoroughly.
7.2 Starting up
•Powerup the glass top by setting switch Cto 1, turnknob Aclockwiseuntil light Bcomes on. If you keep turning, thetemperature
is increased. When the knob is at themaximumsetting, the heating remains on constantly.
•Inordertoswitch on the heated compartment,turnknob Dclockwise until light Ecomeson.Turningfurther, you can set the
desired temperature. The graduatedscale is meant as a roughguideonly.
7.3 Switchingoff
Switch the equipment off by turningknobs A(top) and D(heated compartment,where fitted), in Fig. 1, anticlockwisealltheway,
making sure that lights B (top) and C (heated compartment, wherefitted) go off.
Turnoff the circuit breaker upstreamfrom the equipment.
Inthe event the unit is to be left off for a lengthy period:
a)disconnect the power supply;
b)clean thetop thoroughly;
c)protect the stainless steel surfaces by smearing themwithVaseline oil, rubbing vigorously with acloth soaked in the oil;
d)airtheroom periodically, leaving thedoors of the cabinet open toprevent undesirable smells from forming.
8. CLEANING AND MAINTENANCE
8.1 Routine maintenance
The routine andpreventive maintenancebasically consists in the weekly cleaningof the stainless steel parts with lukewarmsoapy
water, rinsingabundantly and dryingthoroughly. Theunit must only be cleaned afterfirst disconnecting the powersupply upstream
fromthe equipment.
Inorder toget the most out of the safety glass top, it is essential you bear inmind a numberof tips and instructions:
•Before starting, remove any dirt or food left on the safety glass top with aspecial plastic scraper.
•Next, poura few drops of a suitable detergent onto the COLD safety glass top andrubwith kitchentowel (or a soft cloth).
•Rinsethe safety glass top and dry with aclean cloth orkitchentowel.
Important:
•Inthe event sheets of aluminium or plastic, sugar or food containingsugarmelt onto thesurface of the safety glass top, they must
be removedfrom the hot cooking area immediately with ascraper. This will prevent possible damageto the surface.
Before cooking food withahighsugarcontent (e.g. jams),apply a protective product onthe top’s surface to prevent damage fromspills
fromthe cooking receptacle.
Do not use abrasivesponges or productsofanykind, or detergentssuch as oven cleaning spraysor stain-removers.
Warning:
•Under nocircumstances should youuse abrasive orcorrosive detergents andutensils such as steelwool, brushes or metal
scrapers.
•Bleach, hydrochloric acid and other compounds containingchlorine willdamage the stainless steel.
•The coloured parts must be cleanedwith silicone wax.
•The floor underthe unit must not be washed with corrosivesubstances that might generate vapours damaging the equipment.
•During cleaning, do not wash the equipmentwith jets ofwater.
GB
PDF created with FinePrint pdfFactoryPro trial version http://www.fineprint.com
