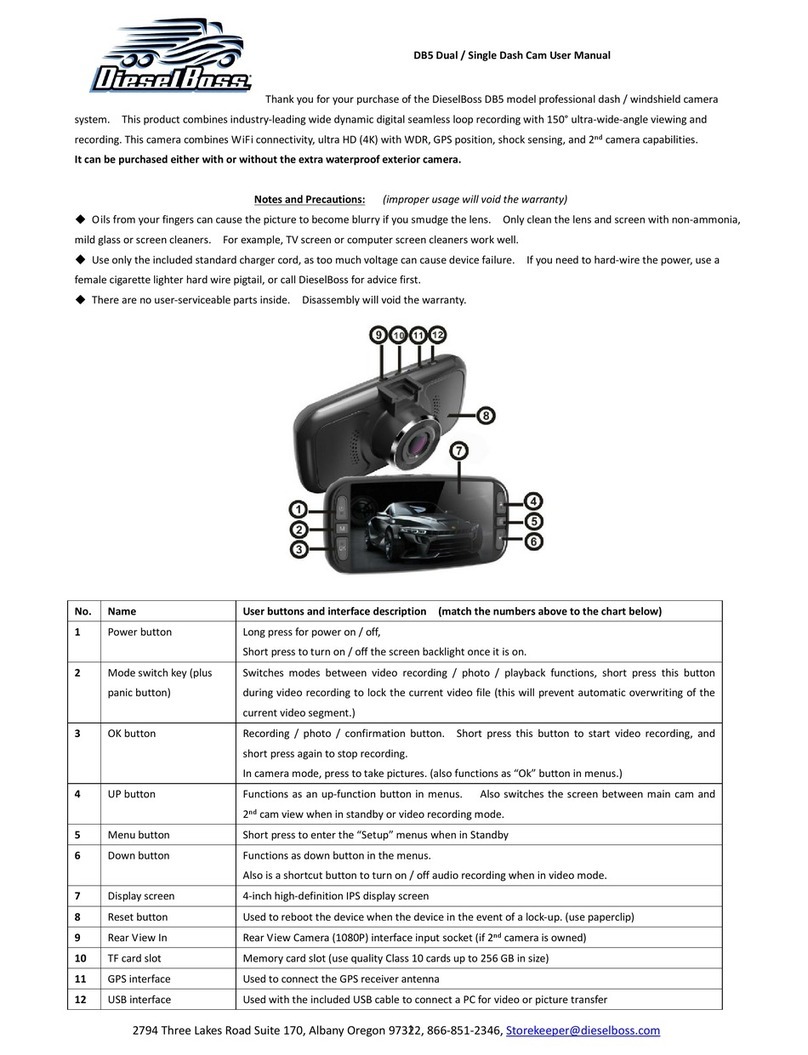
DieselBoss DB4 User manual

DieselBoss DB4-Dual camera – Quick Start Guide | www.dieselboss.com | 866-851-2346
Rev 082815
1. 2
nd
cam (B-cam) Camera V-IN jack.
2. V-Out (audio video to a monitor or TV)
3. USB card slot
4. Working indicator (blue indicates charging)
5. ON/OFF power switch. Hold for 2 seconds turns off/on the
DVR. Should say “Goodbye.” Momentary press turns off
screen only.
6. Micro SD card slot
7. Down button (Changes display of cameras on screen from
camera to B or B to .) lso adjusts EV (the brightness of
the image by momentarily hold down for 2 seconds.)
8. Up button turns sound recording on/off. Both the Up and
the Down buttons are also used in the settings menus.
9. REC starts or stops recording or snaps a picture. lso used in
menus to save selections.
10. Mode button switches between Video / Picture / Playback
11. Menu-enters setup menus
12. 3.5 LED screen.
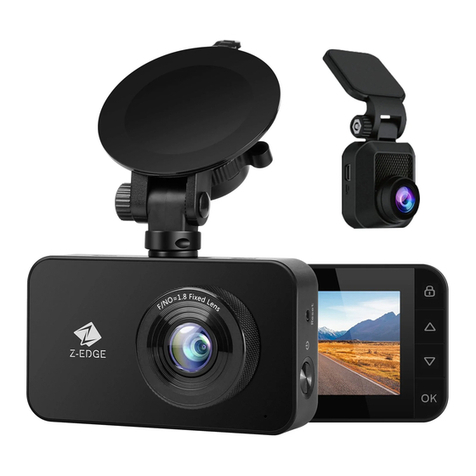
13. Main camera ( -cam)
14. Reset
15. Mounting clip hole.
16. Microphone
17. Speaker
18. Separate camera (B)
19. Mount for waterproof B camera. We have mounts other
than shown for either camera. Call 866-851-2346
20. Male connection plug for (B) camera.
Accessories included
A. Manual from manufacturer and quick start Guide.
B. Camera ( ) suction cup for windshield mount.
C. USB Cable for transferring video to computer (recommended
method). lso the mini SD card can be removed and
inserted in computer.
D. V cable for connecting to monitor or TV.
E. Reverse trigger cable
F. USB cable for vehicle 12 volt power supply. LIMITED TIME
WHEN NOT PLUGGED IN WHEN USING INTERN L B TTERY.
The camera operates on 6V. Cannot wire direct into vehicle
electrical system without using the manufacturers male plug.
Two Power options
1A. Built-in Li-ion battery. When the unit is not plugged into 12 volt power the unit will go off after saving the latest file. (15-30 minutes battery life)
1B. 12 volt power plug provided (reduces voltage to 6 volts.) Holding the ON (5) button for two seconds turns camera on or off. Camera and
recording will turn on/off automatically when plugged into a switched 12 volt socket. When manually turned off, you must turn it back on manually.
Secondary amera Use: Plug the second camera in to the main camera in the V-IN (1) slot. Check settings to ensure it is set to record.
Reverse Trigger Wire: If you choose to use the reverse trigger wire, (enclosed) connect the red bare wire to a circuit that goes active (like reverse or
turn signal to auto switch the view B camera (optional.) The other end plugs into the B-cam harness.
amera Mode: Use to switch between video, photo, and playback modes.
Menu button: Used to enter camera setup menus. Use the up/down and the “Rec” button to move between and enter the sub-menus.
Previewing & Deleting recorded video on the camera 3.5” screen
With camera powered on press the mode button twice to enter playback. Press UP (8) or DOWN (7) menu to select or preview files. Press MODE
again to play the selected file on the screen. Time and date is white is displayed across the bottom of the screen. The red numbers to the right
(example: 5/57) indicate the fifth movie of 57 files to view. To move to the next movie press the UP to go forward or DOWN buttons to go back. To
freeze the video being played, press MODE once to stop. Press again to continue playing.
To delete a single file being viewed, press the MENU button to enter into the delete screen and confirm the deletion of the file by pressing the REC
button. If you do not want to delete the file press the UP button and then press the REC button. Or just wait a few seconds and do not press the REC
button and the screen will automatically go back.

DieselBoss DB4-Dual camera – Quick Start Guide | www.dieselboss.com | 866-851-2346
Rev 082815
Format or deleting all Files: From main screen press menu, press Record and enter B SIC SET, press REC twice to enter disk format. Press record one
more time to confirm deletion of all files.
Menu Areas
From the main screen Press the MENU button to enter into the SETTING screen. Press the RECORD button and select UP or DOWN for the following
settings. Press MENU button to exit after finished with all the settings.
A. Basic Setting
1. FORM T: Format the SD card. ll data will be stored will be deleted.
2. D TE: press REC button to enter into the date settings. Press the UP or Down buttons to adjust the time and date. Switch between the
time and dates by using the MODE (10) button until all are set correctly. Save the settings by pressing REC button.
3. Set the volume (7 being the loudest.)
4. TV-OUT: Set for NTSC for United States TV’s
5. W TER M RK: If you want the date and time stamped on the recorded videos, set to YES. Otherwise set to NO.
6. B CKLIGHT: this is an auto setting for the DVR screen to automatically go off but will continue to record.
7. FREQUENCY: Set at 60HZ for United States frequency
8. DEF ULT yes/no: Selecting yes it will delete all the settings you have entered will restore factory defaults.
B. Recording Settings
1. MP (Megapixel) video quality: 702P equals hi-definition for better quality and VG is standard for more hours on the card. (main cam only)
2. RT (record time): Sets the length of each stored video to 1, 2, or 5 minutes & off. Recommend to set on 2 or 5 minutes. If set to off the
DVR will record one log video. This is not recommended because it will be difficult to find incidents. ll recorded packets will be time and
date stamped. There is no loss of video between packets.
3. Frame Rates: Set at 30 for full motion or 15 to extend recording time on SD card. 30 recommended for the highest quality of video.
4. Record: (microphone icon) Set to ON to record audio or OFF for no audio sound recorded.
5. Auto Detect: motion detection turn on or off for main camera only. (caution: motion detect range is only about 5 feet)
6. PIP: Can set to display both cameras. To switch between camera displays, quickly press and release the DOWN button.
7. Record Mode: If you want both cameras to record at same time, set on DOUBLE RECORD.
8. Boot Record: If you want the DVR recording to automatically come on when power is applied, choose YES.
USB ONNE TION MODE:
A. To Download (save) Files to a computer: Use included cord to connect the camera mini USB to the standard USB plug at a computer.
void removing the SD card when possible because it is small and there is a chance of losing it. However, it can be removed and inserted
into the reader slot on a computer (full-size reader converter included.) When connected to a computer you will see a new drive folder
called DCIM where all videos are stored. Open that folder to see DCIM main camera and DCIMB second camera videos. Click on the folder
you wish to view and open. Files are named by date and times of all the recordings for that camera. Click on the one you want to view. If
you wish to save it, right click on the folder or the video and save it to your computer or to a thumb drive for safe keeping or to send to
someone else.
NOTES:
1. When setting up the DVR always press the REC button to save your settings.
2. If unplugged from power the camera will operate about 15 to 30 minutes on internal battery depending on if you record video or pics.
3. Main camera inside is not waterproof. Secondary camera is waterproof.
4. When recording is active, it will say REC in blinking red at the top of the screen.
5. EV is the amount of light that is allowed to pass through the lens. The adjustment is -3, lowest amount of light to 3 the highest amount. To
adjust the EV hold down the DOWN button (7) for 2 seconds and it will move to the next setting. Continue to do this until the main camera
looks correct. This can be done during recording and helps you adjust for night and day light optimizing.
6. For more information please read the included manufacturer’s book.
Important autions:
7. SD card only inserts one way. When looking a screen SD card notch should be facing upwards.
8. Momentarily pressing power button does not turn off recording. Holding power button for 2 seconds until screen says “Goodbye” stops
recording and shuts off camera entirely
9. B camera is a forward facing (normal image) unless triggered.
10. When inserting 2
nd
camera wire, please ensure that it is plugged all the way in.
For additional support, please call us at 866-851-2346 M-F 8am to 5pm in the Pacific time zone
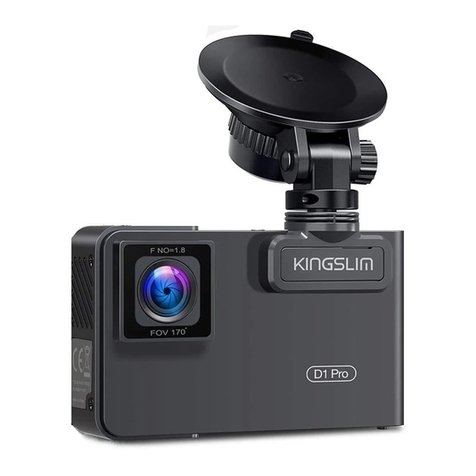
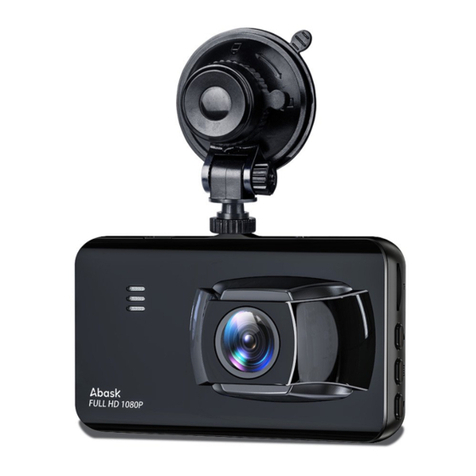
Other DieselBoss Dashcam manuals
