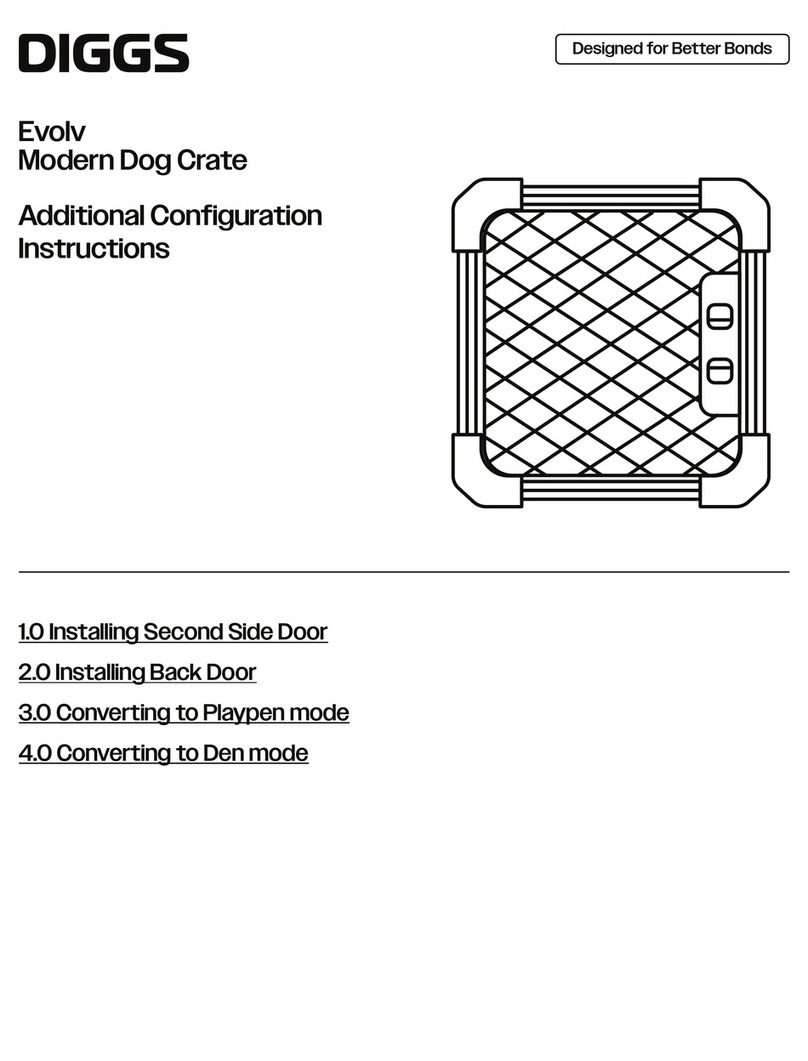
Diggs Evolv Modern Dog Crate User manual

c
o
n
n
e
c
t
4
s
i
d
e
s
Front Door Panel
Components:
Side Door Panel
1.0 Components
Designed for Better Bonds
Side Wall Panel
Back Wall Panel Base Frame Ceiling Panel
Bottom Corner
Connectors (4)
Puppy Divider Tray Top Corner
Connectors (4)

Video: How to Assemble
2.0 Assembly Instructions
Designed for Better Bonds
Before beginning assembly, determine your preferred orientation for
the front door and side door (option A or option B). Please note that the
door handles must meet at the same corner of the crate.
1
After you unpack your crate, be sure to keep the box and all packing materials
in case you need to make a return. Re-packing instructions can be found at
Re-packing Instructions.
For your convenience, we recommend assembling the Evolv in the location you
plan to place it.
A B
c
o
n
n
e
c
t
4
s
i
d
e
s

For the first few steps of assembly, you will be assembling the crate
upside-down. Arrange the front and side door panels based on your
preferred orientation option:
2
2.0 Assembly Instructions
Designed for Better Bonds
For option A, stand the panels on the floor so that
the door handles meet at the LEFT side of the crate.
For option B stand the panels on the floor so that the
door handles meet at the RIGHT side of the crate.
c
o
n
n
e
c
t
4
s
i
d
e
s

Slide the post and hole features together to connect the front and
side door panels.
3
Connect the remaining side wall and back wall panels using the
post and hole features until all 4 sides are connected and
standing on the floor.
4
2.0 Assembly Instructions
Designed for Better Bonds
c
o
n
n
e
c
t
4
s
i
d
e
s

c
o
n
n
e
c
t
4
s
i
d
e
s
6a. Locate the 4 bottom corner connectors (bottom corners have a base plate and
circular “foot”) and rotate the knob into the open position.
Closed Position Open Position
Place the base frame, notched side down, on the top of the
4 side panels.
5
Install the bottom corners:
6
2.0 Assembly Instructions
Designed for Better Bonds

c
o
n
n
e
c
t
4
s
i
d
e
s
6d.Check the inside of the crate to ensure that the frames are completely
captured by the rotating triangle on the corner connectors.
2.0 Assembly Instructions
Designed for Better Bonds
6c.Press the corner firmly against the frames, and rotate the knob
clockwise until the shapes are aligned and the corner is locked together.
66b.Hold the base frame and side panels together with one hand.
With the foot facing up, place the bottom corner connector over the
intersection of the frames.

7Flip the crate over so the feet on the bottom corners sit on the floor.
For the Intermediate, Large and XL crate sizes we recommend 2
people flip the crate.
c
o
n
n
e
c
t
4
s
i
d
e
s
2.0 Assembly Instructions
Designed for Better Bonds
6e.Starting with the opposite corner,
repeat this process for the remaining
3 bottom corners, continuing to check
for proper connection at each one

c
o
n
n
e
c
t
4
s
i
d
e
s
2.0 Assembly Instructions
Designed for Better Bonds
Insert the tray into the bottom of the crate through the opening
where the ceiling will be installed. The tray will nest within the notch
in the bottom frame.
8

c
o
n
n
e
c
t
4
s
i
d
e
s
9a. Insert the puppy divider feet into
the pair of base holes that are most
appropriate to the size of your dog.
9b. At the top of the divider, align the locking pins with the corresponding
holes in the frame, and slide them towards the outside of the crate until they
snap into the locked position.
9If you need to install the puppy divider, please continue with step
9a. If your dog is fully grown, continue to step 10.
2.0 Assembly Instructions
Designed for Better Bonds

c
o
n
n
e
c
t
4
s
i
d
e
s
10 Place the ceiling panel, notched side down, on the top of the 4 side
panels.
11 Install the top corners:
2.0 Assembly Instructions
Designed for Better Bonds
11a. Locate the 4 top corner connectors and rotate the knob into the open
position.
Closed Position Open Position

11d.Check the inside of the crate to ensure that the frames are completely
captured by the rotating triangle on the corner connectors.
11c.Press the corner firmly against the frames, and rotate the knob clock-
wise until the shapes are aligned and the corner is locked together.
11b.Hold the base frame and side
panels together with one hand.
Place the top corner connector
over the intersection of the
frames.
c
o
n
n
e
c
t
4
s
i
d
e
s
2.0 Assembly Instructions
Designed for Better Bonds

11e.Starting with the opposite
corner, repeat this process for the
remaining 3 top corners, continuing
to check for proper connection at
each one
2.0 Assembly Instructions
Designed for Better Bonds
c
o
n
n
e
c
t
4
s
i
d
e
s

To Open:
To Close:
Squeeze both sides of the door handle together and swing the door out.
Squeeze both sides of the door handle together, press the door in until
it contacts the frame, and release the handles. Check that the locking
pins are engaged with the latch, and pull on the mesh firmly to ensure
the door is secure.
3.0 Crate Doors
Designed for Better Bonds
c
o
n
n
e
c
t
4
s
i
d
e
s

a. Place your left thumb on the top of the left arm of the corner knob.
b. Place your right thumb below the right arm of the corner knob.
c. Simultaneously press down with your left thumb, and up with your right thumb
until the knob rotates out of the locked position.
d. Pull the corner away from the frames.
e. Repeat this process for the remaining 3 top corners and set them aside.
1Disengage the top corner connectors.
2Lift the ceiling panel off the crate and set it aside.
3Disengage the locking pins at the top of the puppy divider
from the holes in the frame.
4Lift the puppy divider feet out of the holes in the base.
5If the divider needs to be re-positioned please return to step
9 of the assembly instructions and continue. If you no longer
need the puppy divider, return to step 10 of the assembly
instructions and continue.
If you are using the puppy divider, it will need to be re-positioned or removed as
your dog grows into the crate. To do this:
4.0 Puppy Divider
Designed for Better Bonds
c
o
n
n
e
c
t
4
s
i
d
e
s

1
1Open the front door.
2Remove any loose objects or messes, and wipe out any liquids with
an absorbent cloth or paper towel.
3Gently lift the front of the crate until it is slightly off the floor.
4Reach underneath the crate and push the front of the tray up from the
bottom until it can be grabbed by the opposite hand.
5Remove the tray through the front door. You will need to angle the
tray slightly to maneuver it through the door.
For proper function the tray must be used any time a dog is inside, however the
tray can be removed for cleaning.
Please note: If there is a puppy divider installed, it needs to be removed.
Please consult the puppy divider section of this manual.
5.0 Removing The Tray
Designed for Better Bonds
c
o
n
n
e
c
t
4
s
i
d
e
s
!

Video: How to Disassemble
c
o
n
n
e
c
t
4
s
i
d
e
s
a. Place your left thumb on the top of the left arm of the corner knob.
b. Place your right thumb below the right arm of the corner knob.
c. Simultaneously press down with your left thumb, and up with your right thumb
until the knob rotates out of the locked position.
d. Pull the corner away from the frames.
e. Repeat this process for the remaining 3 top corners and set them aside.
Disengage the top corner connectors.
1
a. Open the front door.
b. Gently lift the front of the crate until it is slightly off the floor.
c. Reach underneath the crate and push the tray up from the bottom until it can be
grabbed by the opposite hand.
d. The tray can be removed through either the front door or the open top.
e. Close the front door and set the tray aside.
Lift the ceiling panel off the crate and set it aside.
Remove the puppy divider if it is installed. Please see the puppy divider
section of this manual for instructions.
Remove the tray.
Flip the crate over so that it is upside-down. For the Intermediate, Large
and XL crate sizes we recommend 2 people flip the crate.
2
3
4
5
6.0 Disassembly Instructions
Designed for Better Bonds

Using the same process you followed to remove the top corners, disen-
gage all 4 bottom corner connectors and set them aside.
6
Lift the base frame off the crate and set it aside.
7
One at a time, slide the post and hole features on the side panels apart until all
sides are disconnected.
8
6.0 Disassembly Instructions
Designed for Better Bonds
c
o
n
n
e
c
t
4
s
i
d
e
s

1
2
3
4
Double check that all of the post and hole edge connectors are fully
seated against one another.
Check the other corners you have attached to the crate. If one of those is
misaligned, it is very likely to make other corners difficult to assemble.
Seen from the inside, the rotating triangle should
completely capture all 3 frames as shown:
When attaching the corners, it is critical that the metal frames are tight
against one another. If you see any gaps, we recommend trying to
squeeze the frames together with one hand while you attach the corner
with the other hand. It can also be helpful to push in on the corner as you
are rotating the outer knob to help hold everything in proper alignment.
If these steps don't help, it is possible that a part of the crate is
bent/warped and will require a replacement part.
The corner connectors don’t align properly with the frames:
7.0 Troubleshooting
Designed for Better Bonds
c
o
n
n
e
c
t
4
s
i
d
e
s

Remove the corner from the crate.
Use a phillips head screwdriver to loosen the knob screw ¼ turn
at a time until the corner attaches to the crate easily.
The corner connectors are difficult to turn:
7.0 Troubleshooting
Designed for Better Bonds
Spare parts under warranty are available at:
https://www.diggs.pet/registration-warranty/
Spare parts outside of warranty are available at:
https://www.diggs.pet/collections/evolv-spare-parts/
A part of the crate is damaged or broken:
Panels and corner connectors are interchangeable. To replace the
broken part, simply disassemble the crate, replace the old part with
the new one, and re-assemble.
To replace post and hole panel connectors, simply unscrew the
broken part and replace it with the new one.
c
o
n
n
e
c
t
4
s
i
d
e
s
Other manuals for Evolv Modern Dog Crate
1
Table of contents
Other Diggs Pet Care Product manuals
Popular Pet Care Product manuals by other brands

Petsafe
Petsafe PBC17-16000 operating guide

KiSS
KiSS MC-220 owner's guide

Petsafe
Petsafe Craftsman Series Assembly instructions

Professional Electronic
Professional Electronic Professional Electronic P681 user manual

Trainertec Electronic
Trainertec Electronic DT2200 Operation guide

Dogtrace
Dogtrace Dog Balls user guide


