Setup Functions - Rotary Dimmer/Switch
6
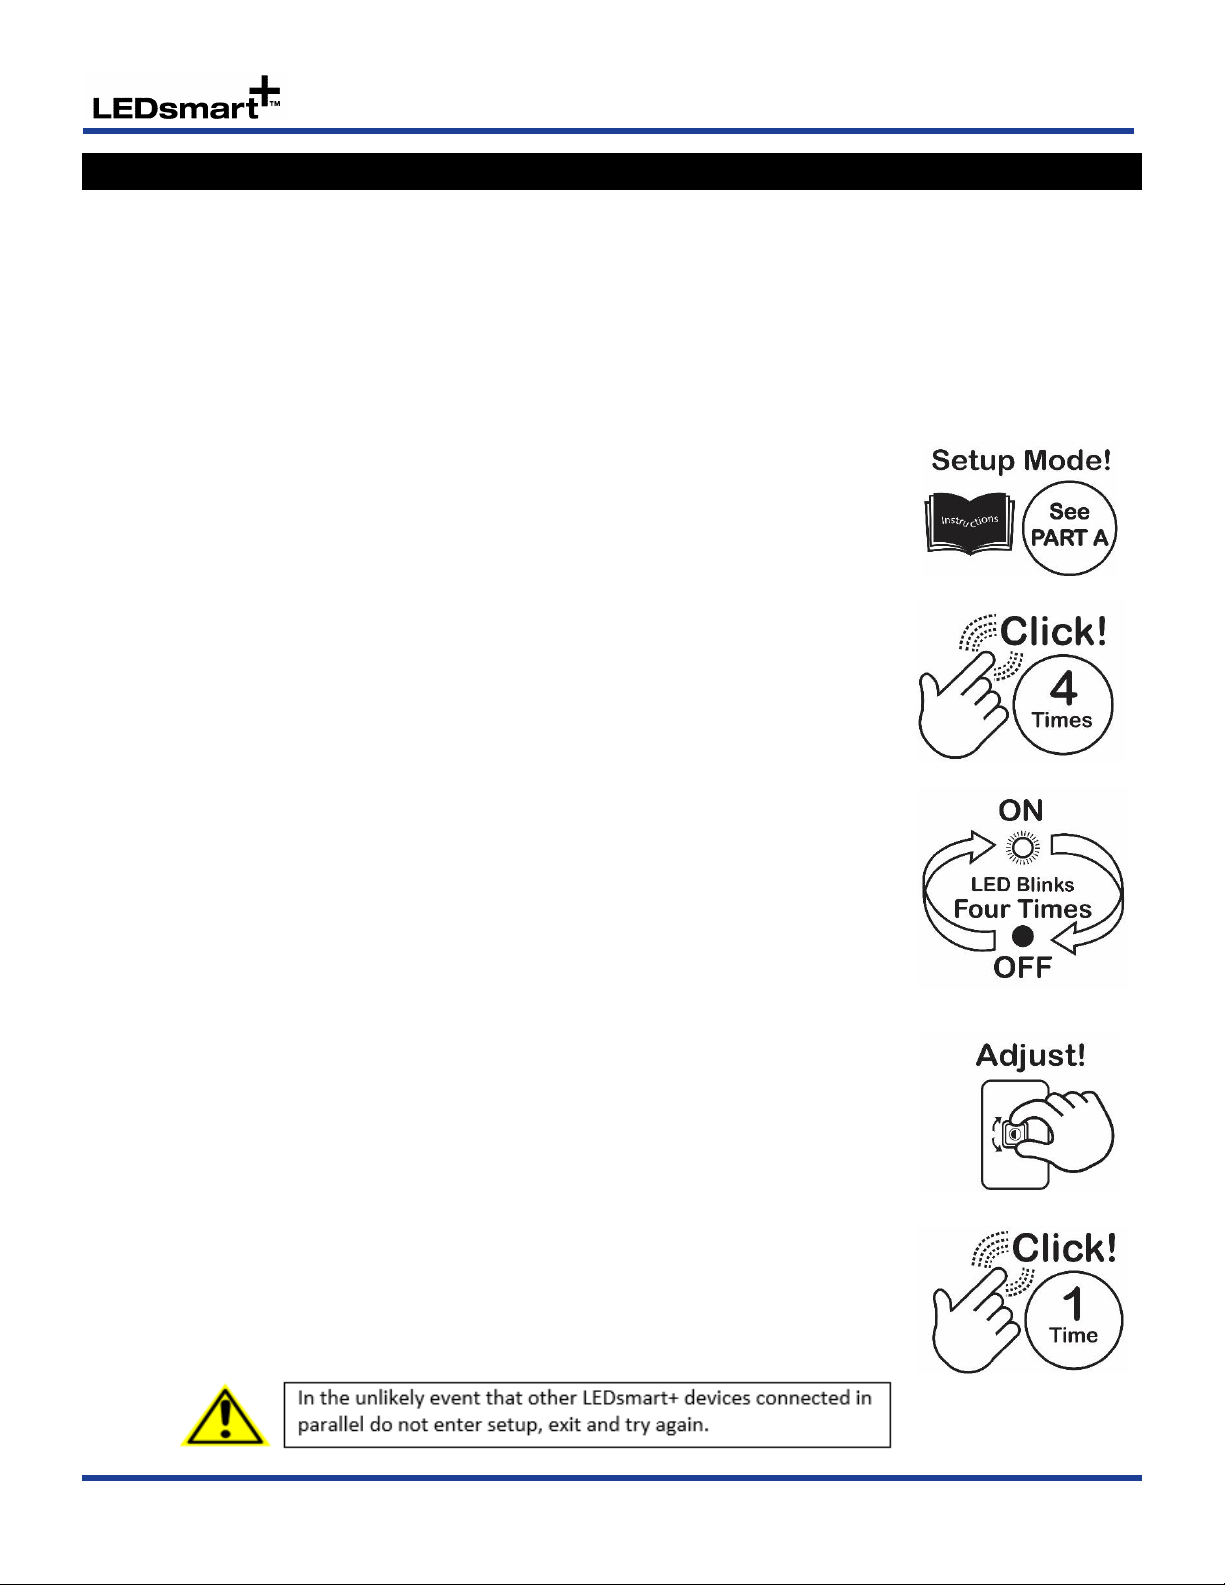
D: Setting the Kick Start Feature
The ‘kick-start’ feature is only required to be enabled when dimming loads such as compact fluorescent lamps. These
lamps require the dimmer output to be set to 50% for 0.2 of a second when the lamp is turned on. This ensures the
lamp strikes successfully. The result is a short bright ‘blink’ when a compact florescent lamp turns on.
As the bright blink caused by the kick start feature can be undesirable for the user, it is highly recommended that
this feature remains disabled (the default) when using LED’s and other light sources which do not require the kick-
start to operate.
By default Kick Start Mode is disabled. To enable Kick Start Mode, follow the steps below.
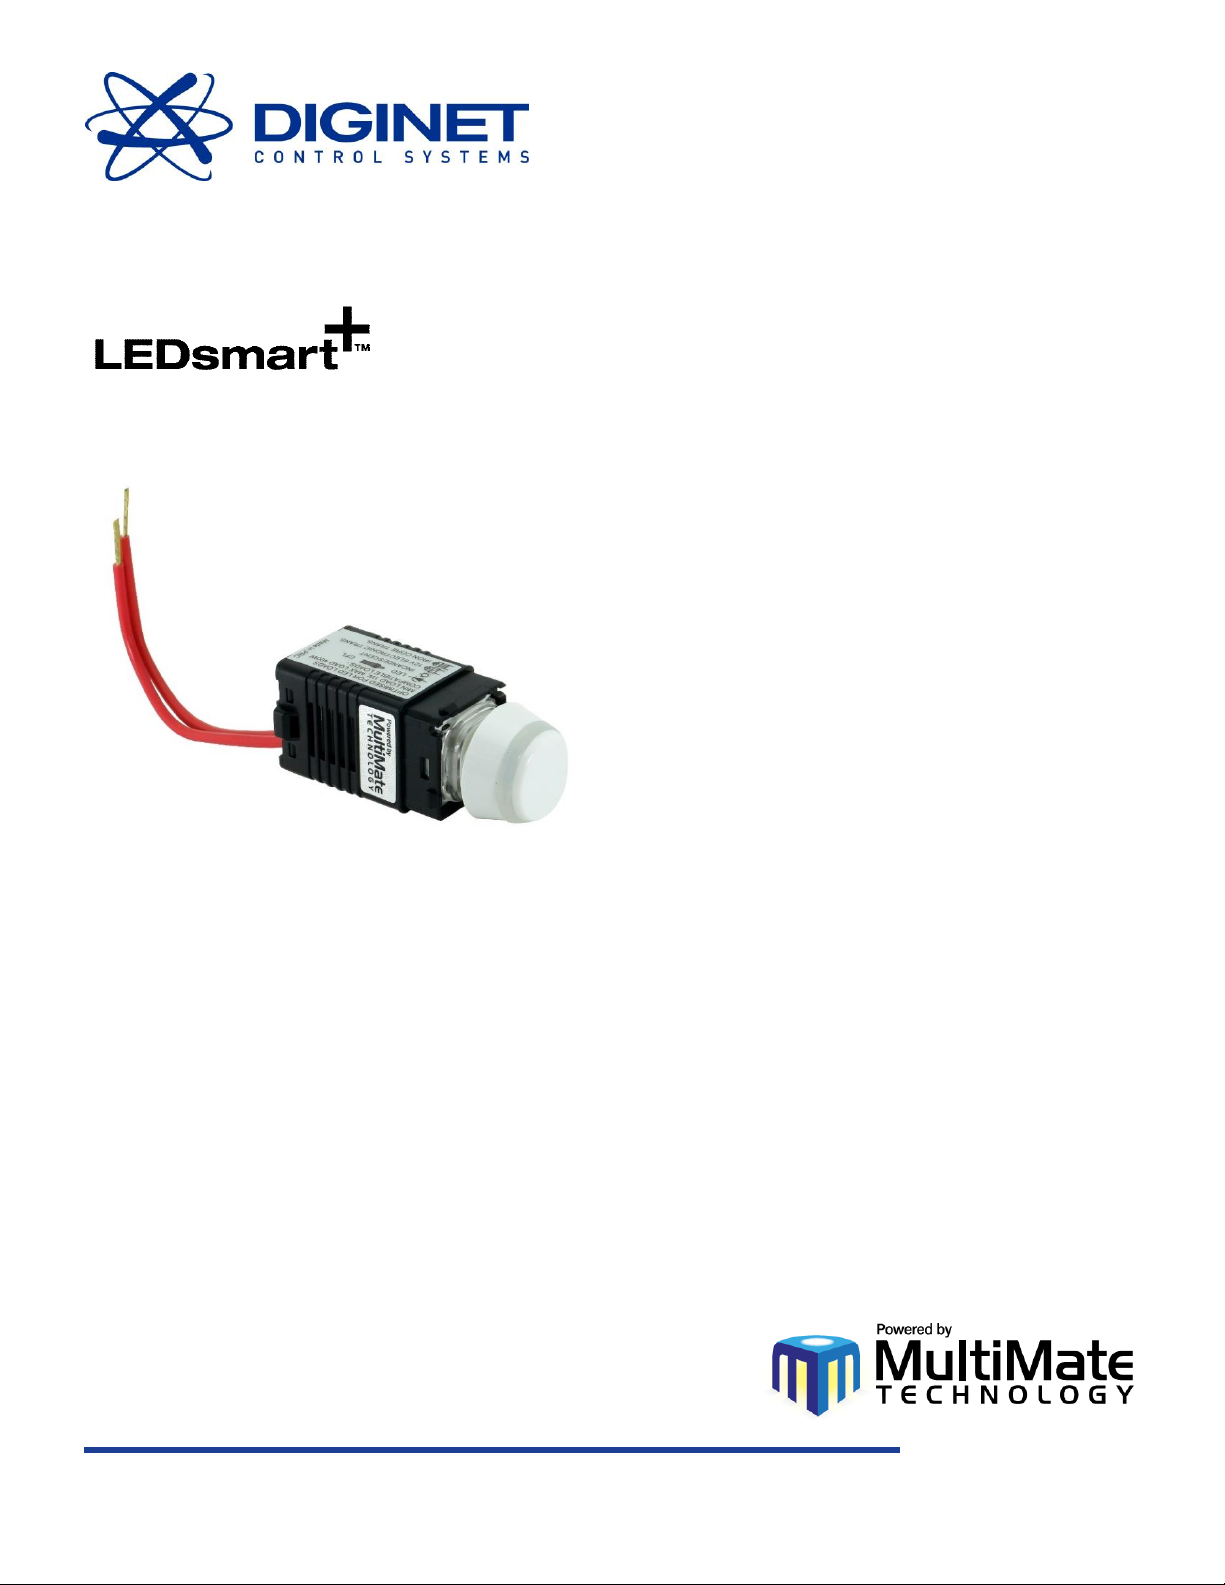
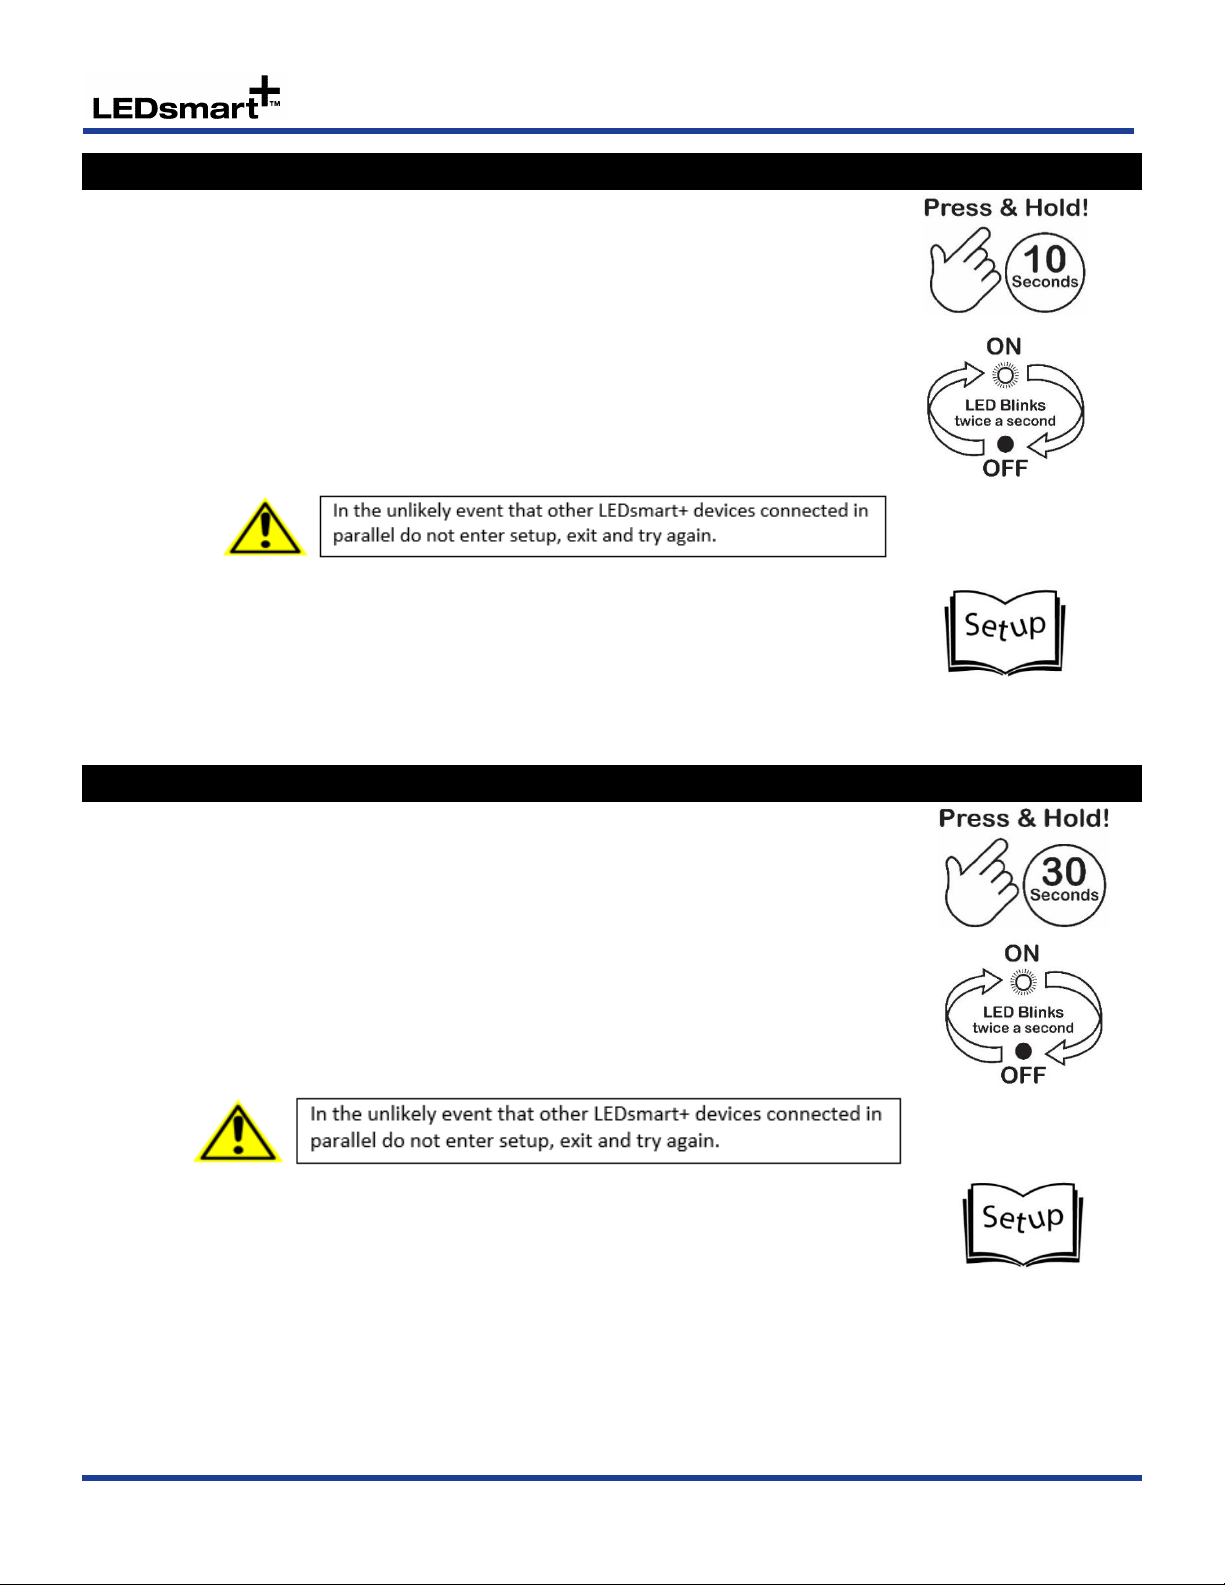
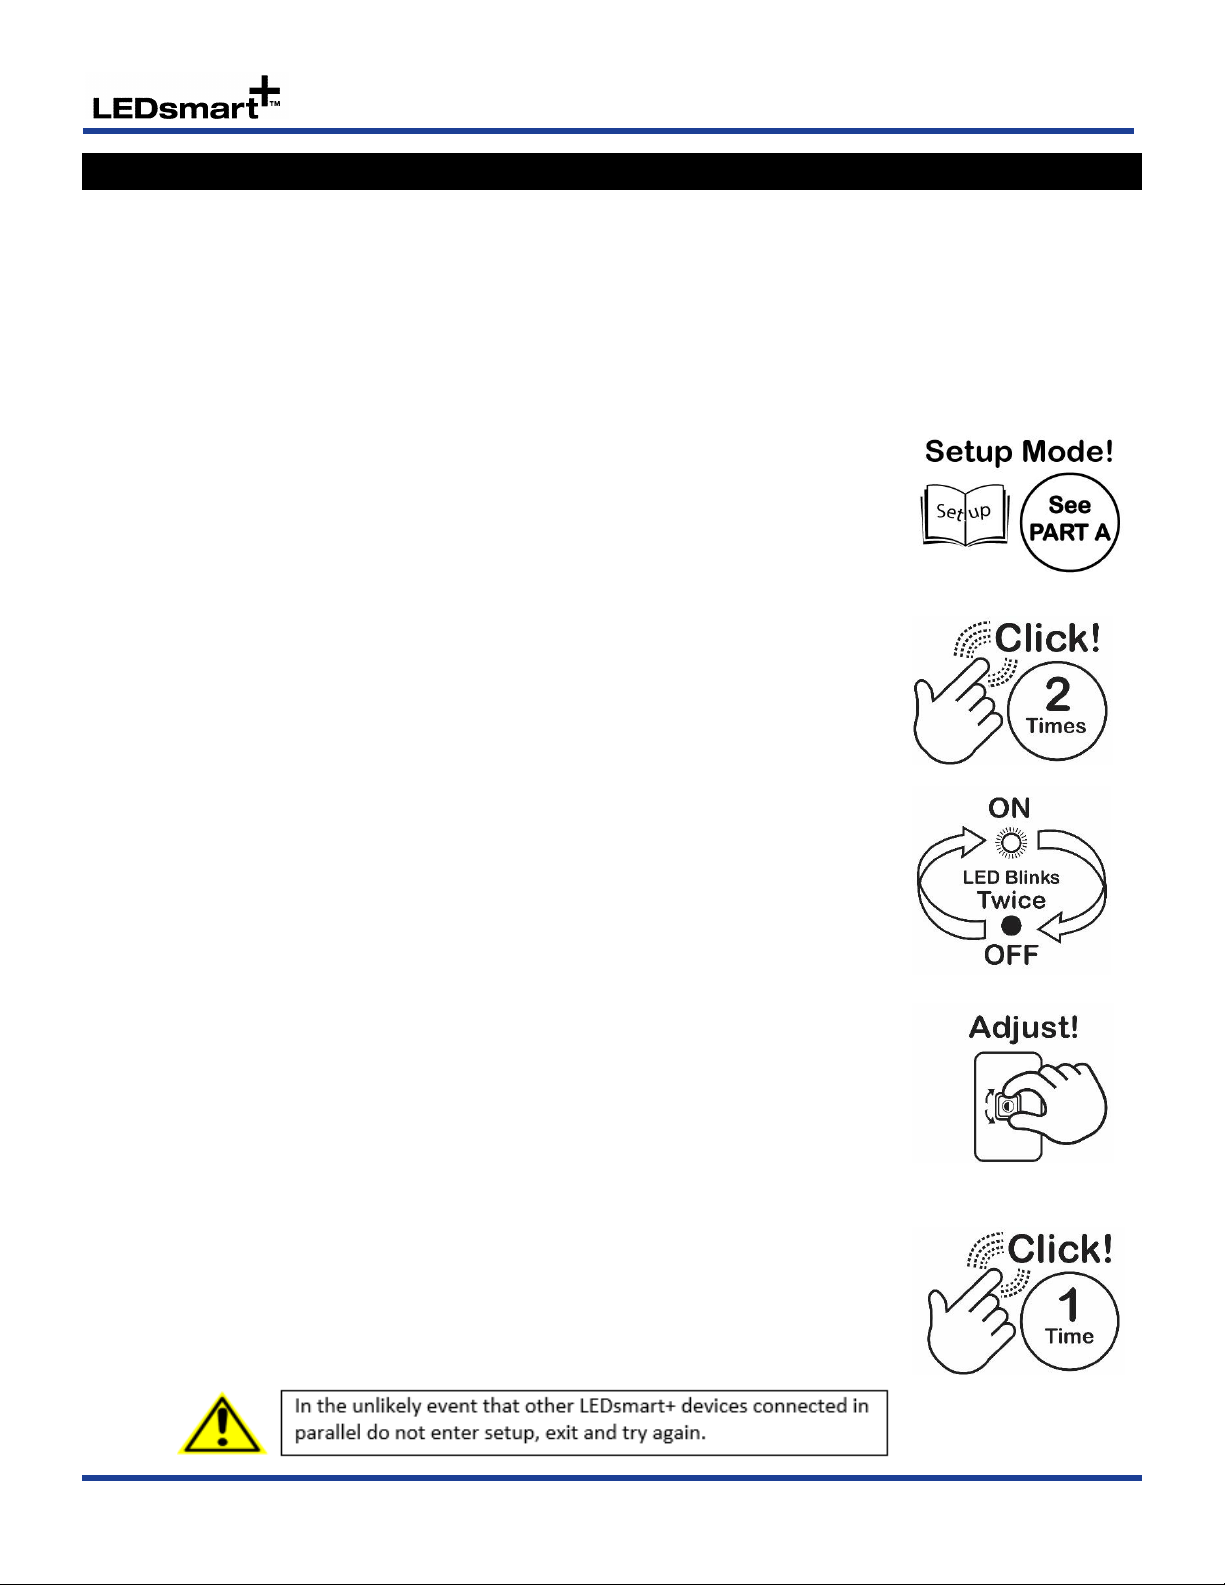
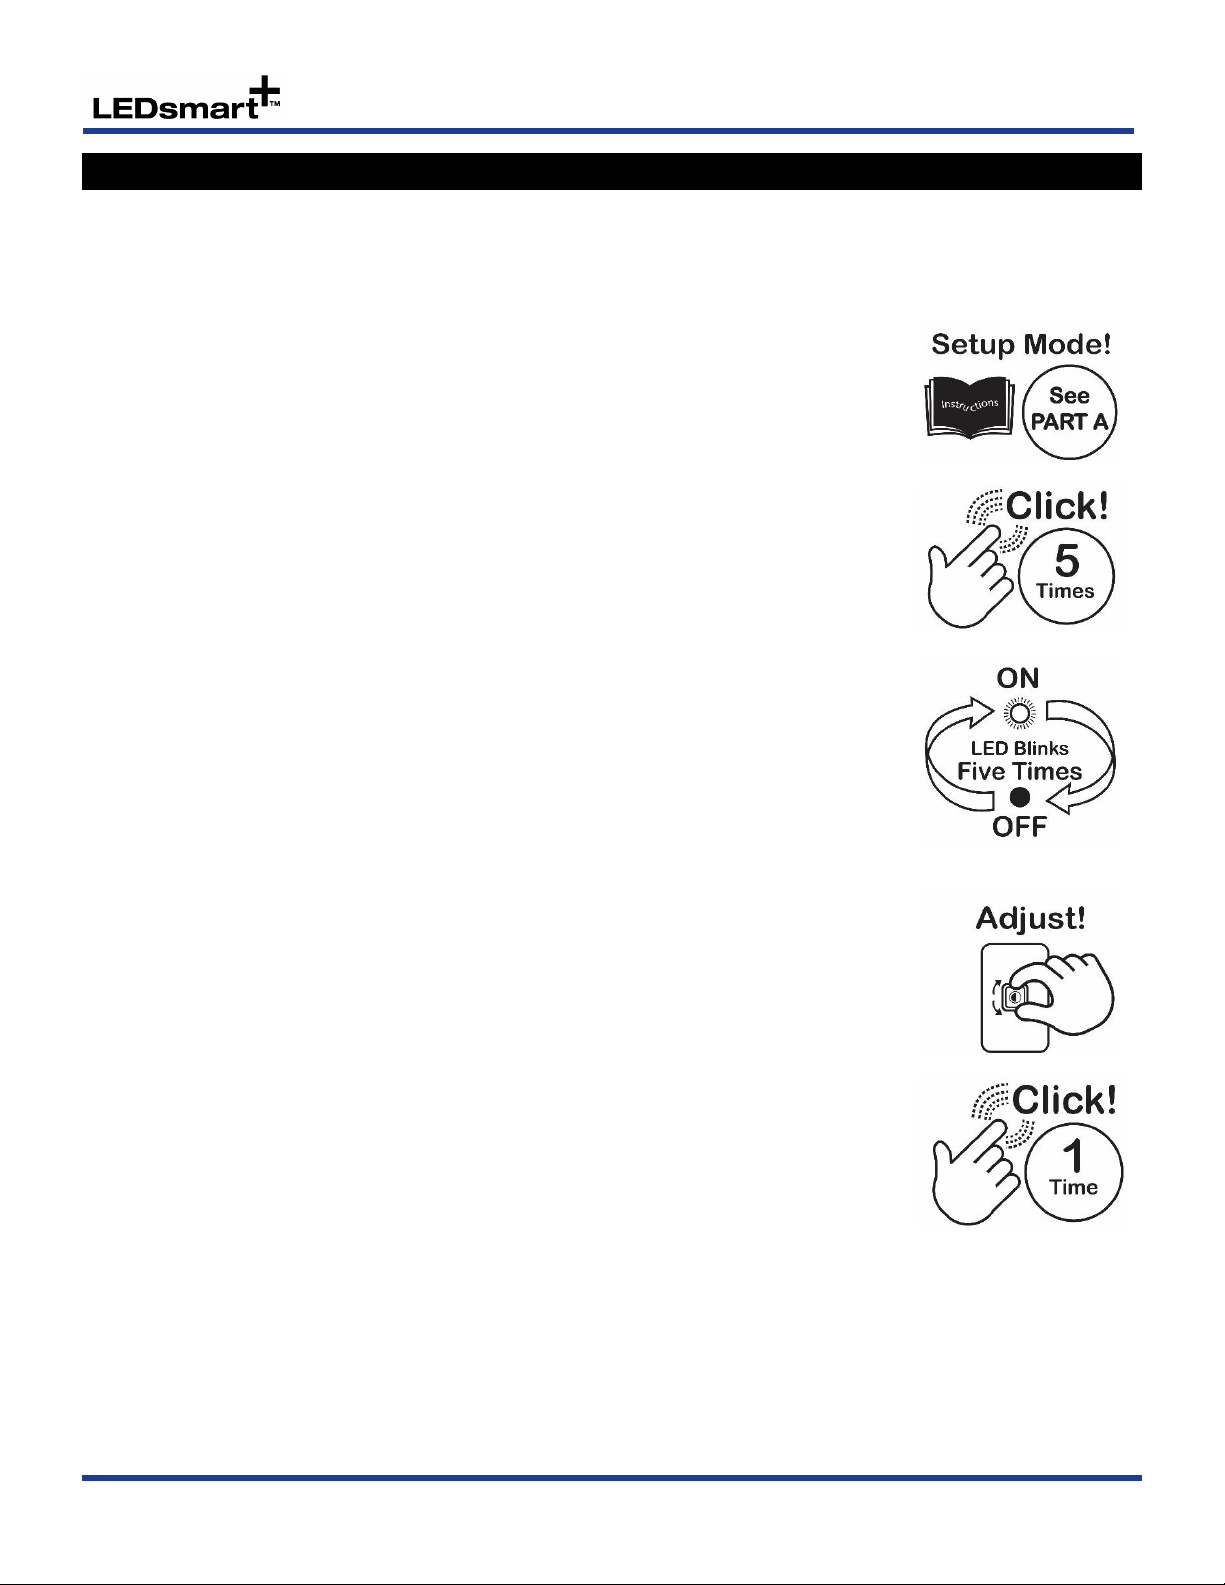
Enter into the dimmer Setup Mode - See PART A
Click the dimmer rotary shaft four times
If Kick start is currently Disabled, lamp(s) connected to the dimmer will now turn OFF
If Kick start is currently Enabled, lamp(s) connected to the dimmer will now turn ON
Note: To cancel/exit do nothing for 30 seconds
Note: If more than one dimmer is connected to the same load, all dimmers connected
to this load will now blink 4 times
To Enable Kick Start Mode
Adjust the dial Clockwise until lamp(s) turn ON
To Disable Kick Start Mode (Default)
Adjust dial Anti-Clockwise until lamp(s) turn OFF
Note: To cancel/exit do nothing for 30 seconds
Click once to save & exit
Note: If more than one LEDsmart+device is connected in parallel, the minimum
brightness levels only needs to be set in one device. The setting is automatically saved
to all other devices connected in parallel