A
Service Notes................................................................................................ A-1
Figures
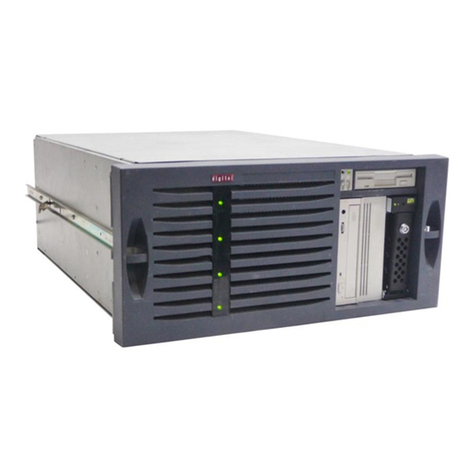
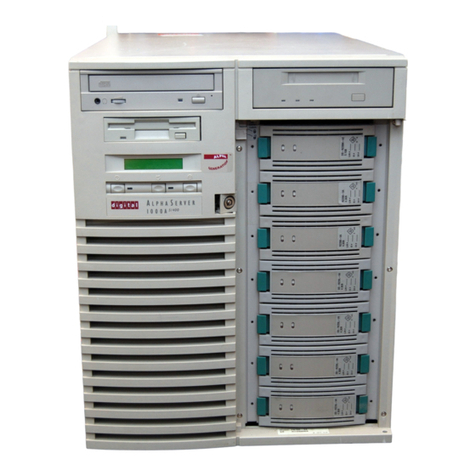
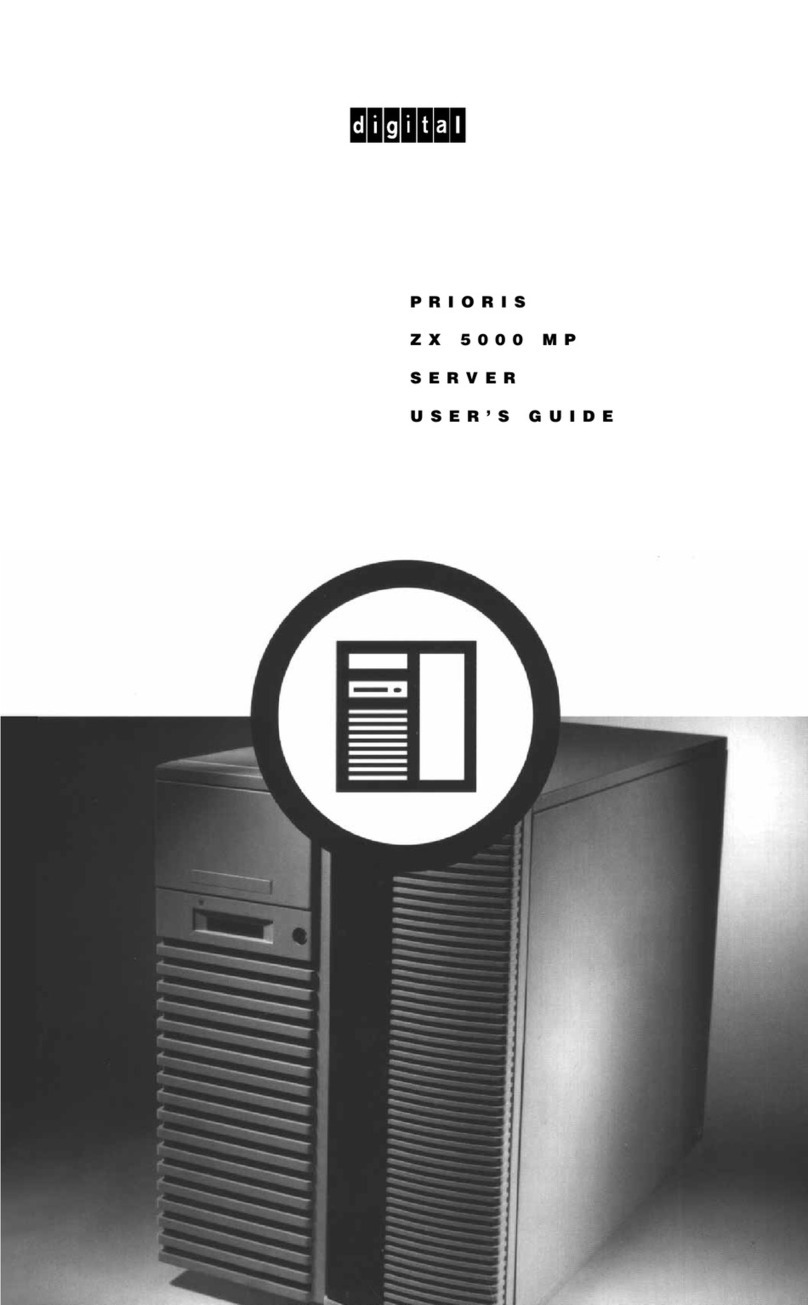
Typical DIGITAL Server 3100R/3200R.................................................................... viii
2-1. SCU Main Menu Options......................................................................................... 2-6
4-1. DIGITAL Server Component Information................................................................. 4-7
5-1. Server Front and Top View...................................................................................... 5-3
5-2. Server Top View (Pentium Pro Processor).............................................................. 5-5
5-3. Server Top View (Pentium II Processor).................................................................. 5-7
5-4. Removing the Top Cover......................................................................................... 5-11
5-5. Installing the Top Cover........................................................................................... 5-13
5-6. Server Front View.................................................................................................... 5-15
5-7. Server Top View (Front Bezel Removed)................................................................ 5-17
5-8. Server Rear View..................................................................................................... 5-19
5-9. Main Logic Board Connectors.................................................................................. 5-21
5-10. Main Logic Board Components................................................................................ 5-23
5-11. Pentium Pro Processor Module Components and Connectors ............................... 5-25
5-12. Pentium II Processor Module Components ............................................................. 5-27
5-13. Ethernet Daughter Card Components and Connectors........................................... 5-28
5-14. Main Logic Board Switch and Jumper Locations..................................................... 5-31
5-15. Pentium Pro Processor Module Switch Locations ................................................... 5-33
5-16. Pentium II Processor Module Switch Settings ......................................................... 5-36
5-17. Processor Module SIMM Bank Locations................................................................ 5-39
5-18. DIMM Socket Locations........................................................................................... 5-43
5-19. Removing and Replacing the Power Supply............................................................ 5-47
5-20. Removing and Replacing the Diskette Drive............................................................ 5-49
5-21. Removing and Replacing the CD-ROM Drive.......................................................... 5-51
5-22. Removing and Replacing the Drive Bay Cooling Fan.............................................. 5-53
5-23. Removing and Replacing the Speaker..................................................................... 5-55
5-24. Removing and Replacing the Main Logic Board...................................................... 5-58
5-25. Removing the Front Bezel........................................................................................ 5-60
5-26. Removing and Replacing the Server Battery/RTC................................................... 5-61
5-27. Removing and Replacing the Storage Backplane.................................................... 5-63
5-28. Removing and Replacing the OCP assembly.......................................................... 5-65
5-29. Removing and Replacing the Fault Status LED Assembly ...................................... 5-67
6-1. Removing the Processor Module............................................................................. 6-6
6-2. Removing the Retaining Clip.................................................................................... 6-7
6-3. Removing the Processor/Heat Sink Assembly......................................................... 6-8
6-4. Installing the New Processor.................................................................................... 6-9
