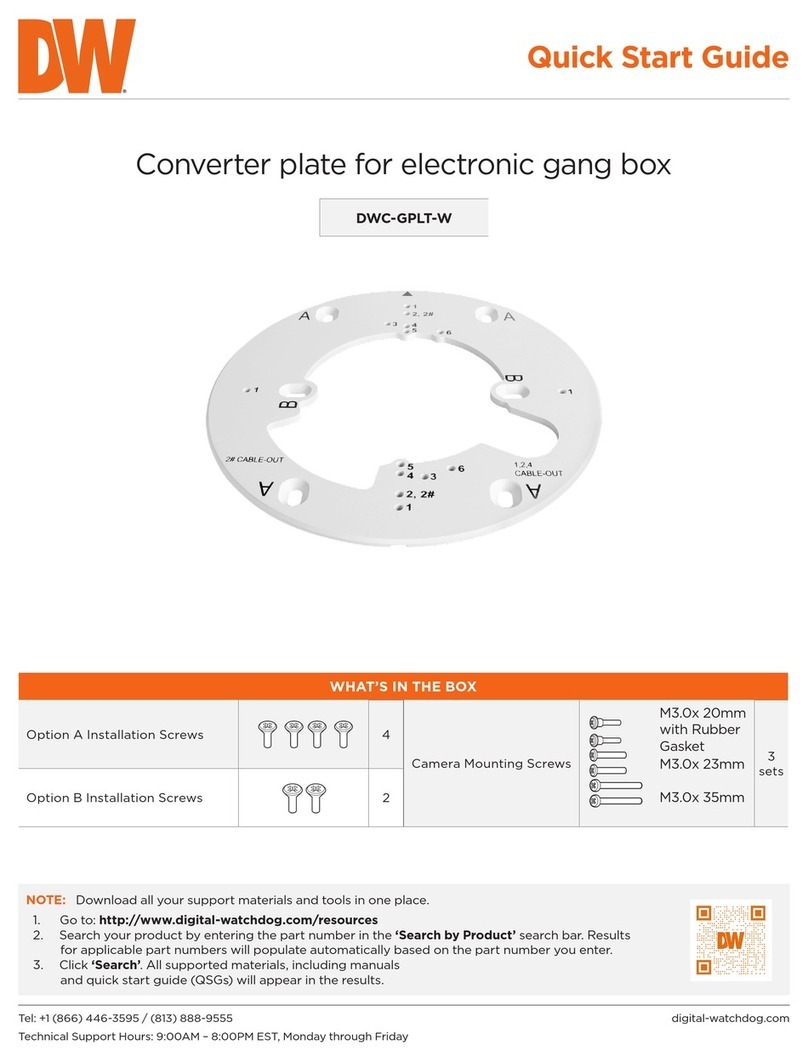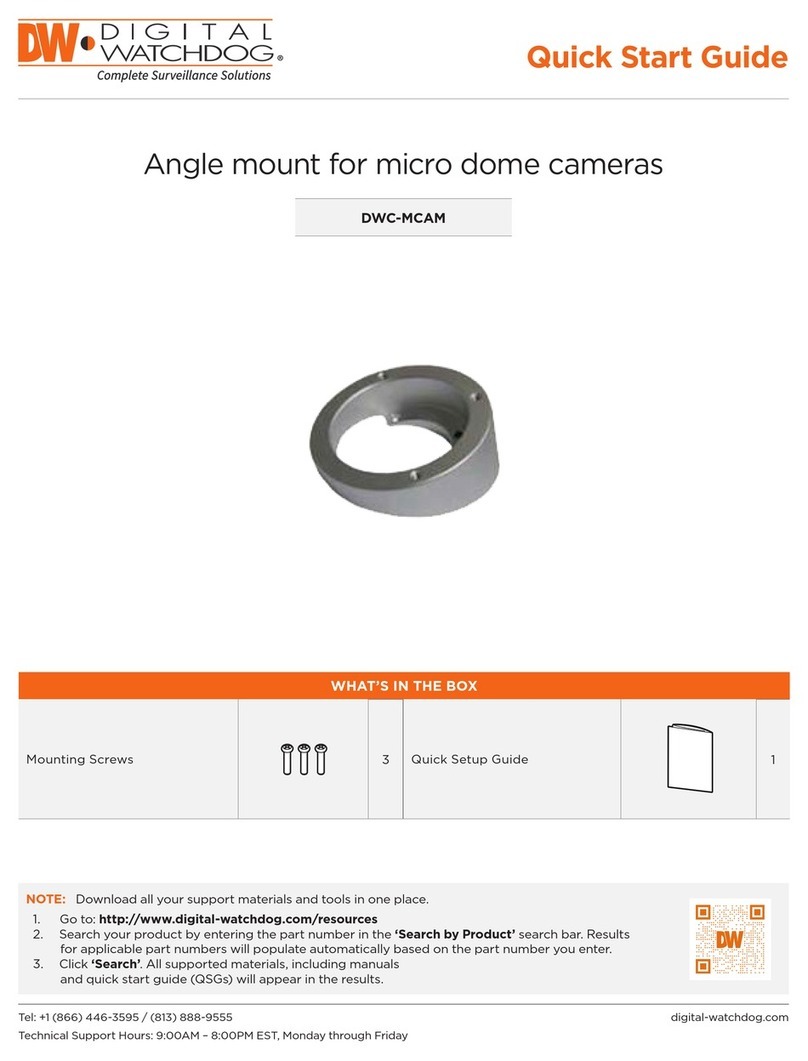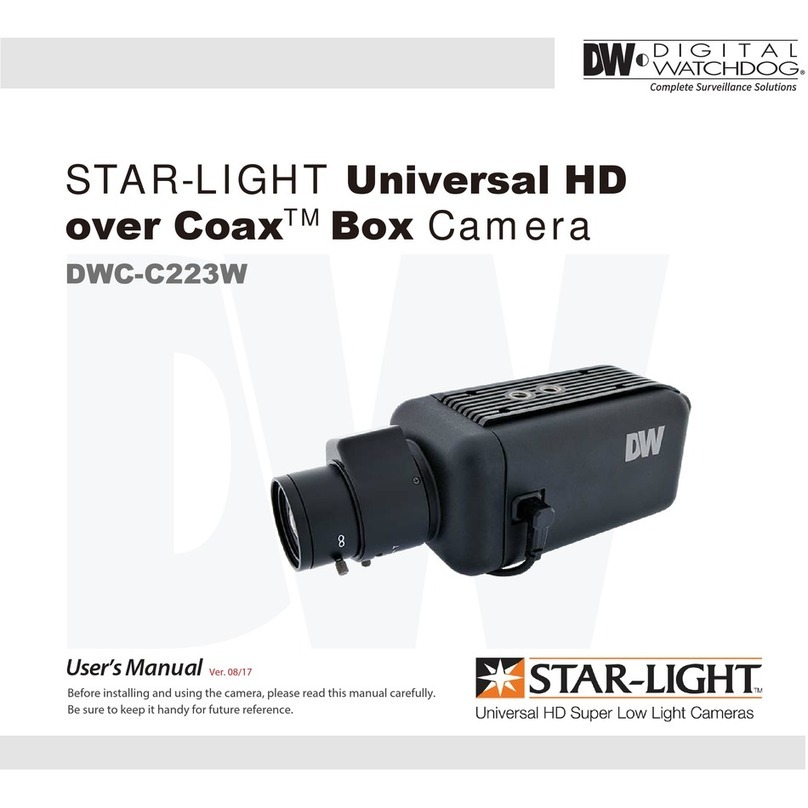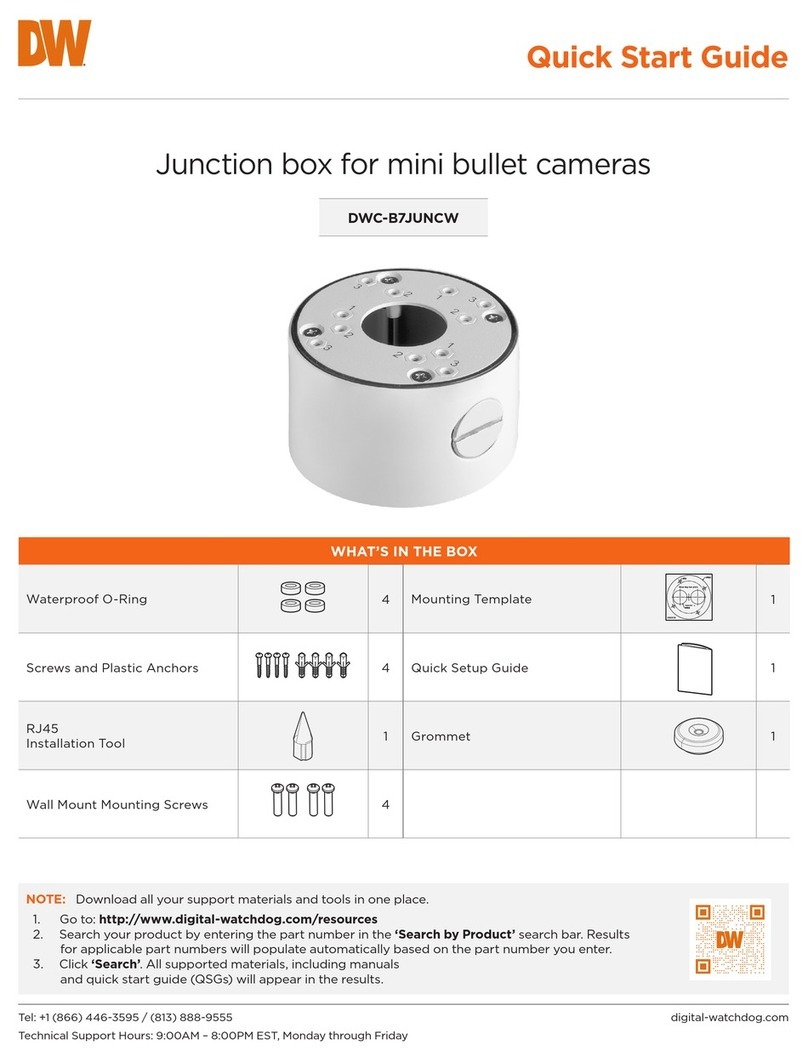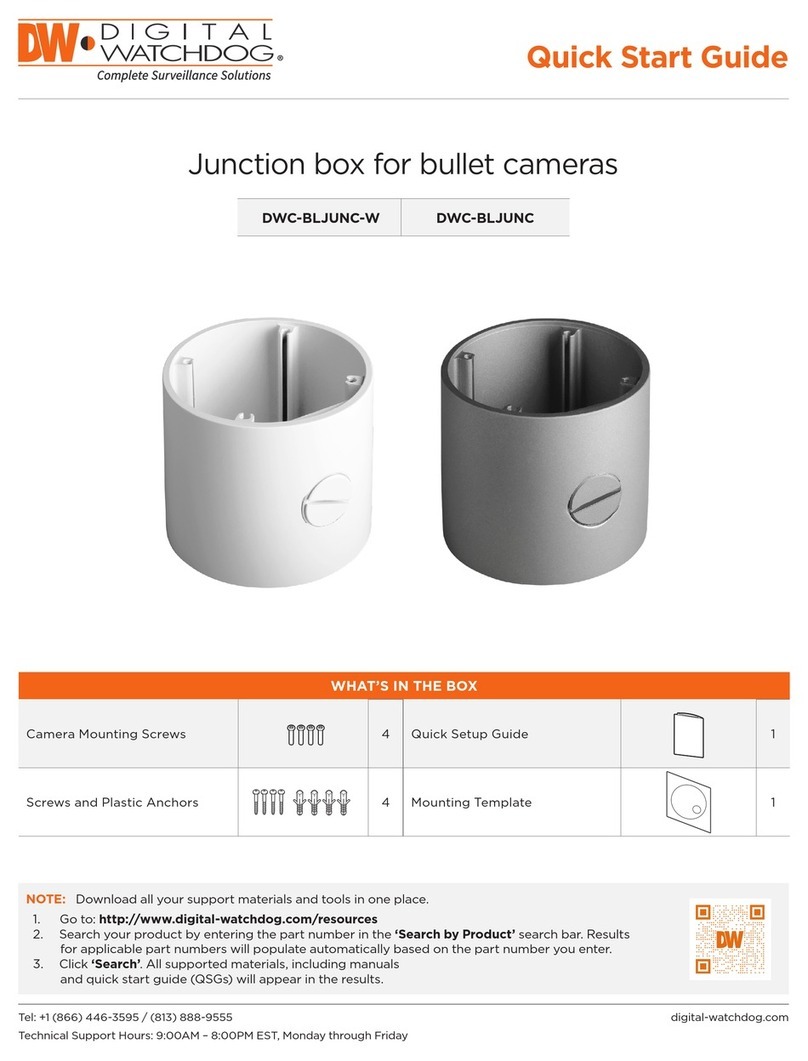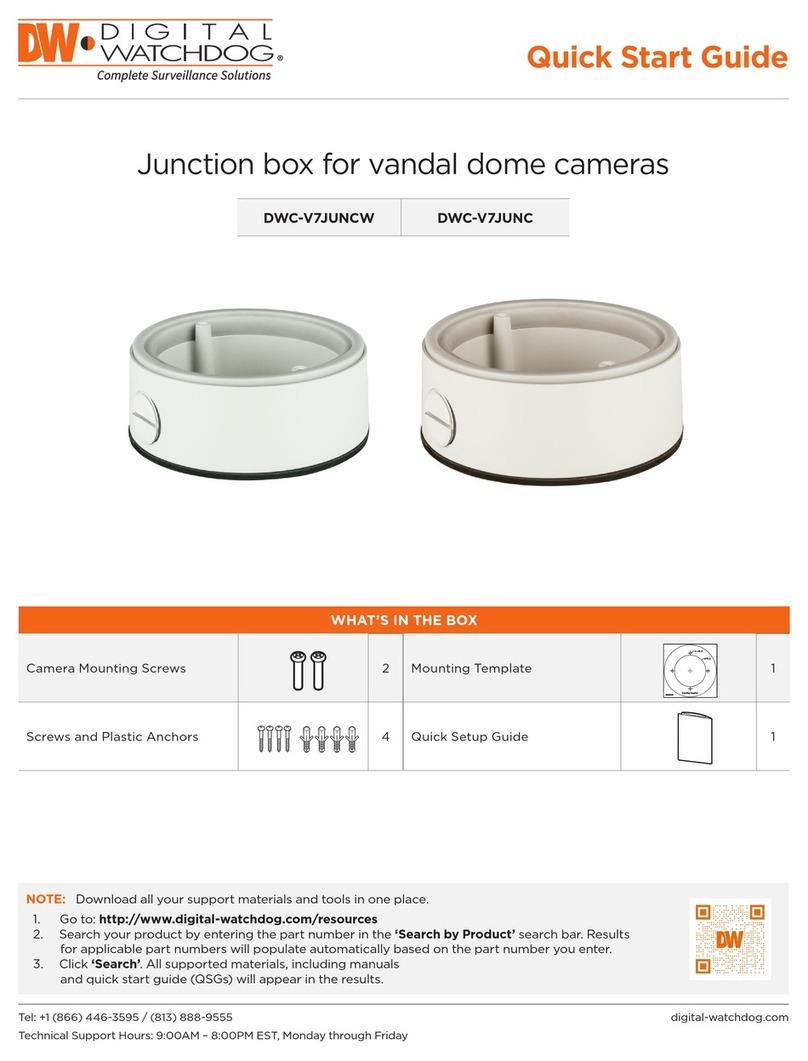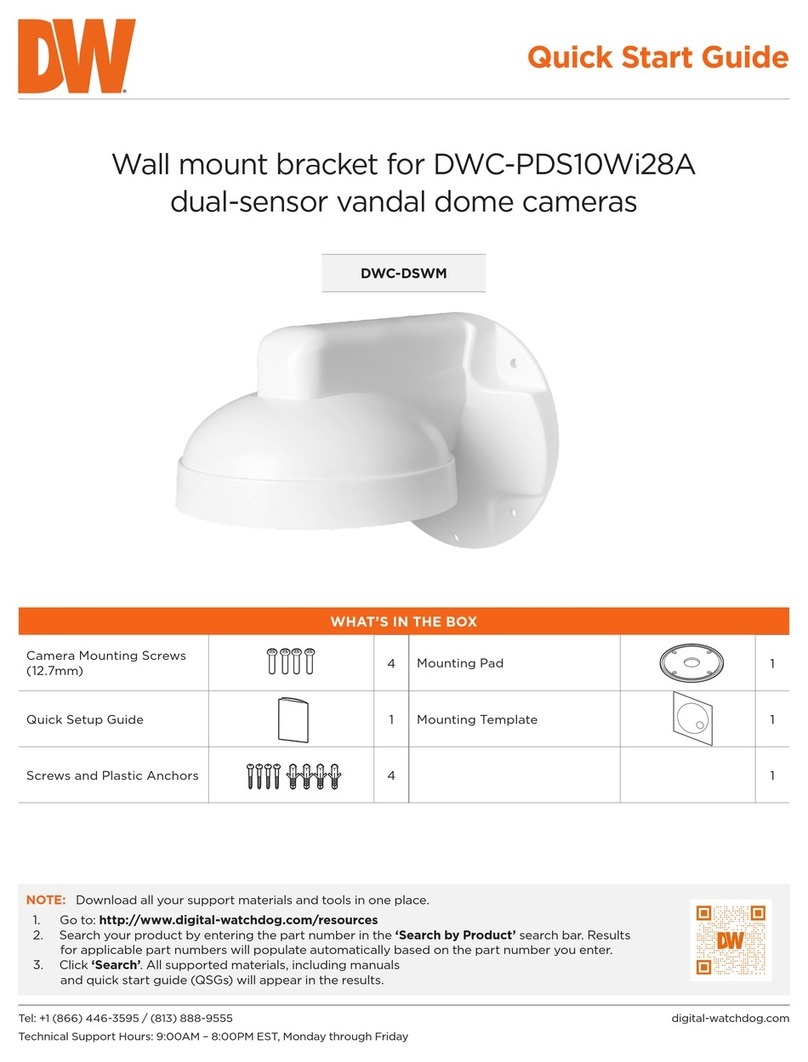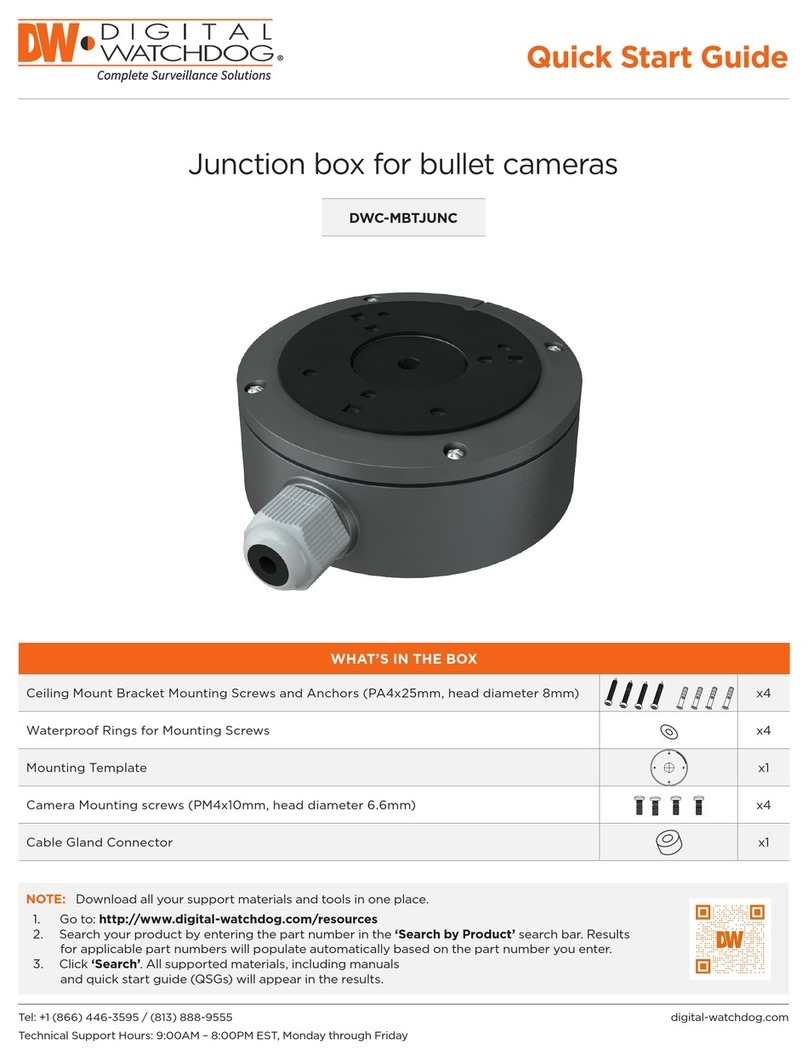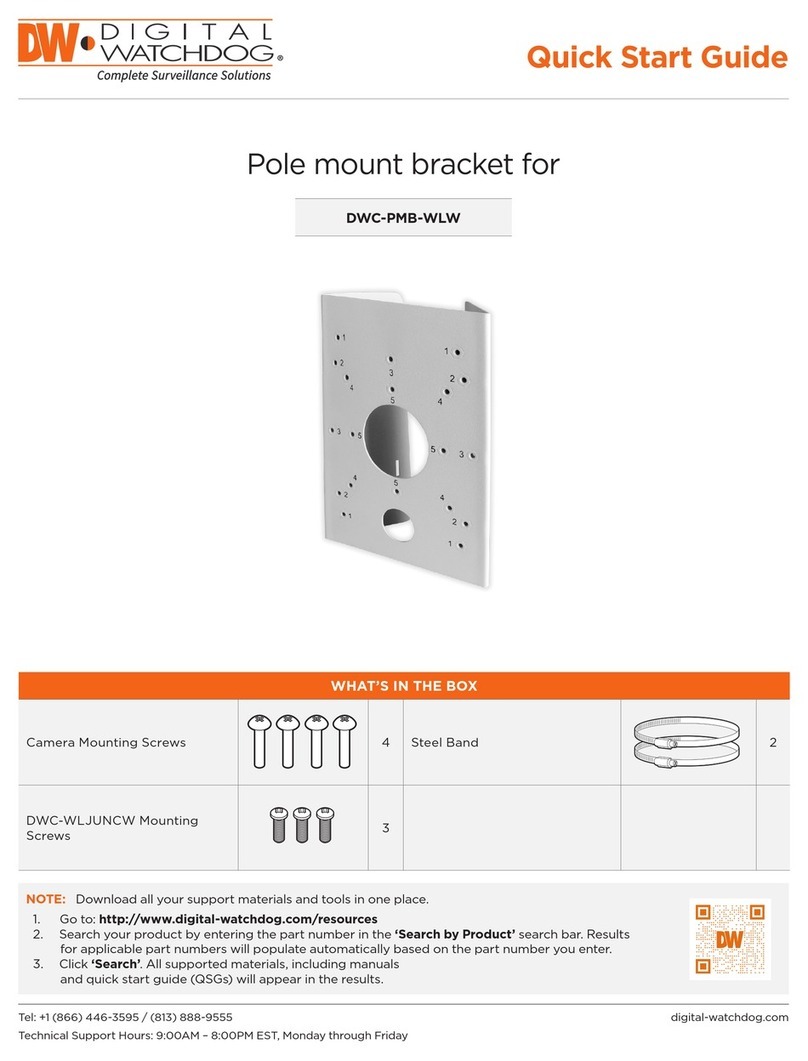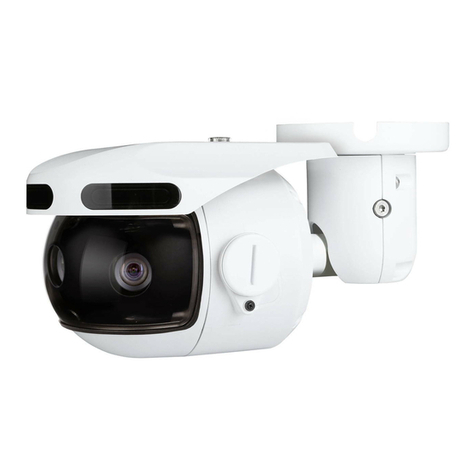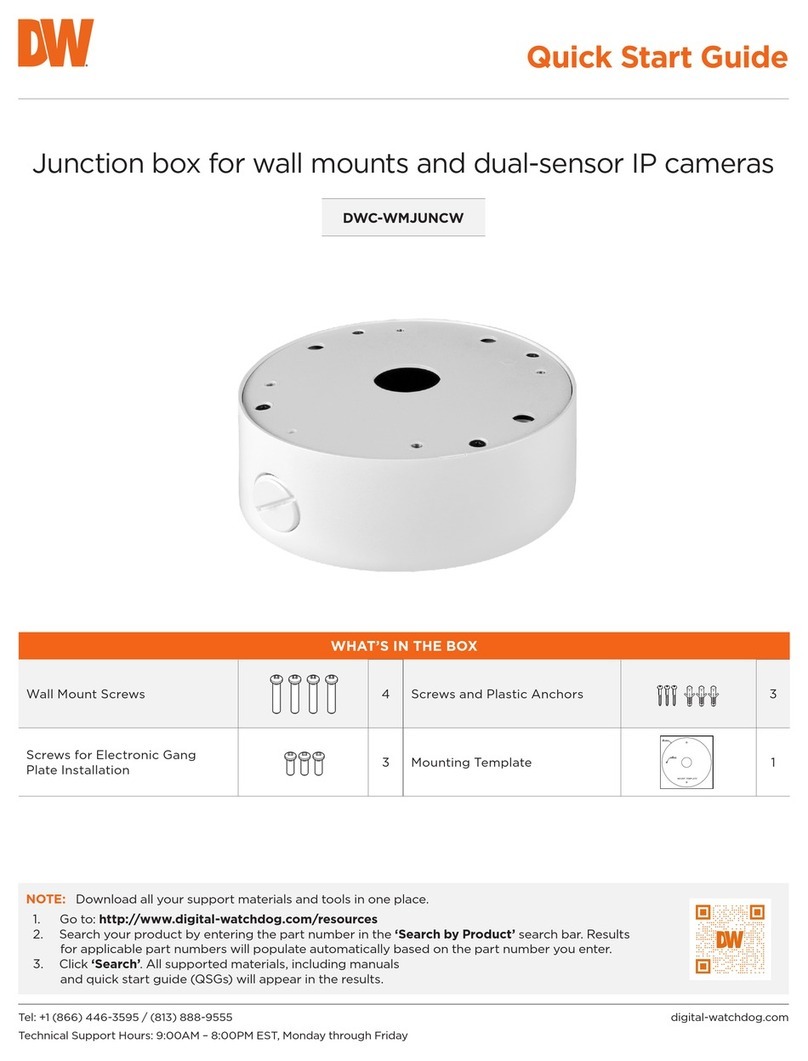
DWC-V1JUNCW DWC-V1JUNC
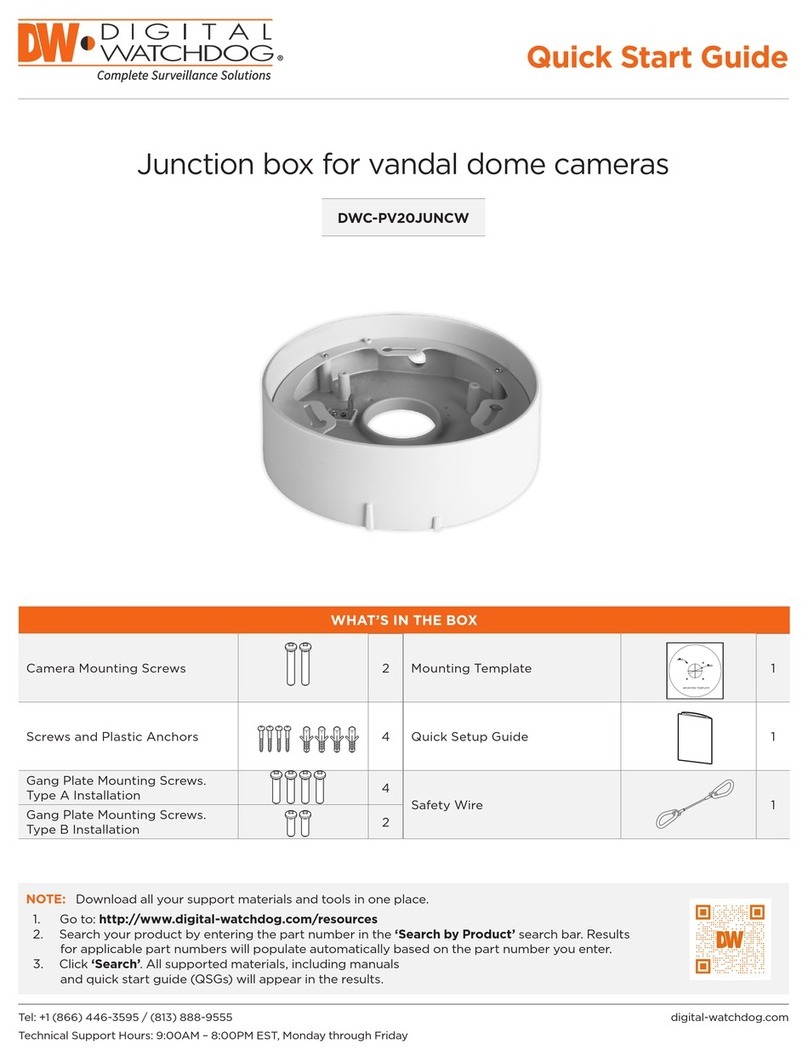
Junction box for vandal dome cameras
Quick Start Guide
Tel: +1 (866) 446-3595 / (813) 888-9555
Technical Support Hours: 9:00AM – 8:00PM EST, Monday through Friday
digital-watchdog.com
NOTE: Download all your support materials and tools in one place.
1. Go to: http://www.digital-watchdog.com/resources
2. Search your product by entering the part number in the ‘Search by Product’ search bar. Results
for applicable part numbers will populate automatically based on the part number you enter.
3. Click ‘Search’. All supported materials, including manuals
and quick start guide (QSGs) will appear in the results.
WHAT’S IN THE BOX
Camera Mounting Screws 4Mounting Pad 1
Screws and Plastic Anchors 4Mounting Template 1
Hexagonal Wrench 1Quick Setup Guide 1
2. Installation
Quick Manual
Ver. 1.0 / 2021.05
Before installing and using the Camera, please read this manual carefully.
Be sure to keep it handy for future reference.
Outdoor Dome Camera
Junction Box Manual
1. Dimension & Accessories
Manual
Template SheetBoom Pad
Screw &
Plasc Anchor-4pcs
Mount
Screw 4ea
4.5
4-Ø 10
121
4-Ø 4.5
88
154
40
Allen Wrench
2
3
4
1Using provided template sheet, make
holes on the ceiling panel in the desired
locaon.
By ghtening four screws provided,
aach the mount bracket on the panel.
Connect the cables respecvely.
Aer passing the cables through the
hole in the boom of bracket, align the
orientaon of screws in the camera
mechanism to be assembled into the
mount.
Please check if all the camera and accessories are included in the package.
