DIGITAL YACHT iAIS Datasheet

QUICK START iAIS VR1.00
Installation & Quick Start Guide
iAIS Wireless AIS Receiver and NMEA Server

DIGITAL YACHT LTD
iAIS Quick Start Guide
1. Introduction
Congratulations on the purchase of your iAIS Receiver. It is recommended that your receiver is installed by a professional
installer.
Before operating the unit you should familiarise yourself with the complete user manual supplied with the
product.
2. Before you start
You will need the following items and tools to complete the installation:
The iAIS Receiver
Dedicated AIS/VHF antenna or existing VHF antenna and splitter
Access to 12V or 24V DC power supply where the unit is to be installed.
M3 or M4 screws or other fixings appropriate to the mounting location.
To display the AIS targets and data you will need:
Suitable PC Navigation software running on a PC with Microsoft Windows XP®/Windows 2000®or Windows
Vista®/Windows 7®with a free USB of RS232 serial port.
Or a suitable dedicated chart plotter that can read and display AIS data via NMEA0183
3. Installation
Before starting installation select a suitable location for the iAIS Receiver. The unit is water resistant; however it should be
installed below deck in a dry location. When locating the unit you should consider:
Routing of power and antenna cables to the unit.
Provision of sufficient space behind the unit for cable connections.
Routing of data connections to PC or chart plotter from the unit.
Maintaining the compass safe distance of 0.5m.
Best location for Wifi reception i.e. not inside a metal enclosure
Installation Step 1 - Cabling
Run the VHF co-axial cables to the AIS Receiver and terminate with a BNC connector (Bayonet)
Run the interfacing cables to the AIS Receiver; NMEA0138 or USB
Do not make any connections yet
The USB Interface Standard specifies that USB cables should be no longer than 5m without using a
special powered USB extender cable –ensure that the total USB cable length from the AIS Receiver to
the PC is < 5m.
Installation Step 2 –Mounting the iAIS
Fix the two supplied mounting brackets to the base of the AIS 200 with the bolts supplied. Use suitable fixings
(not supplied) to fix the IAIS to a flat surface –using the dimensions and details shown in the drawing below. Note
that the unit may be installed in any orientation.

DIGITAL YACHT LTD
iAIS Quick Start Guide
Fixing location drawing
Once the unit is secured, connect the AIS/VHF antenna. Ensure the connection is fully made; should feel a slight
click as the BNC locks.

DIGITAL YACHT LTD
iAIS Quick Start Guide
Installation Step 3 –Powering the iAIS
Provide power connections to the unit. Power is connected to the six core PWR/DATA cable on the Red and
Black wires. The Red wire is the positive (+) connection. The Black wire is the negative (-) connection.
Connect the stripped wires to the nearest source of primary 12V or 24V DC power. Ensure that the supply is
connected via the supplied 1A fuse or suitable circuit breaker. Add the fuse in the positive power connection
to the unit if necessary.
Apply power to the iAIS and you should see the three LEDs start to illuminate or flash.
The following table shows what each LED indicates;
Condition
Red LED
Yellow LED
Green LED
ON (Solid)
TCP/IP Connection
Fast Blink
Not Associated
No IP Address
Slow Blink
Associated
IP Address OK
OFF
No Power
Turn off the iAIS and continue with the NMEA, USB and Wireless installation.
Installation Step 4 –Interfacing (NMEA and USB)
The iAIS receiver can be connected to other AIS compatible equipment via the NMEA0183 connections on the
PWR/DATA cable, to a PC via the USB interface (most common connection for PCs) or to a mobile device such
as an iPhone or iPad via the wireless connection. Data is transmitted simultaneously on all three connections.
The iAIS USB interface requires that suitable drivers are installed on the PC it is connected to. These drivers are
supplied on the included Software and Drivers CD-Rom and you should insert this CD in to your PC before
plugging in the iAIS USB cable to the PC.
When you plug in the iAIS USB cable for the first time, Windows should detect the new hardware and install the
drivers automatically. It will allocate a COM Port number to the adaptor (COM1, COM2, COM3, etc.) and it is this

DIGITAL YACHT LTD
iAIS Quick Start Guide
COM Port number that you have to tell the PC Navigation software, that the AIS is connected on –consult the
instruction manual supplied with your PC Software to understand how this is configured.
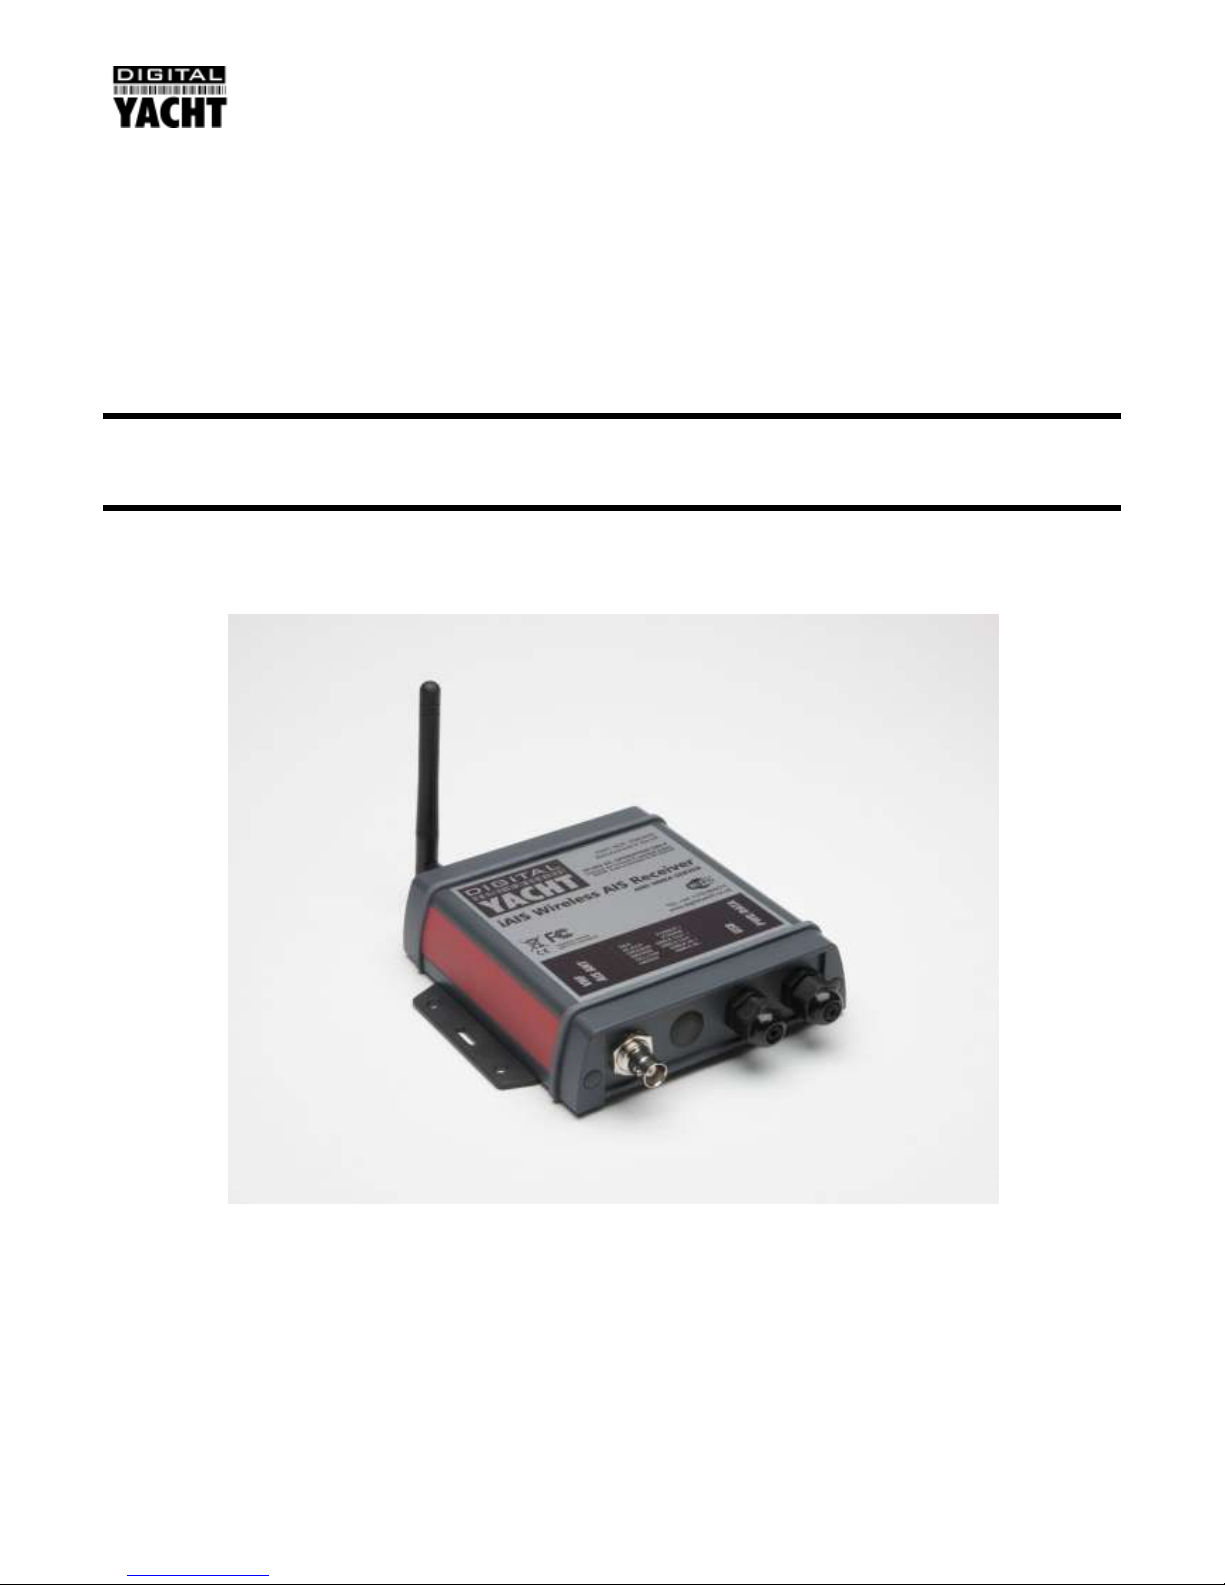
A table showing what each of the 6 wires of the PWR/DATA cable does is printed on the iAIS Receiver and
repeated below for your convenience;
iAIS Receiver PWR/DATA cable
oRED - Power + (12v)
oBLACK - Power –(0v)
oORANGE - NMEA Out +
oBROWN - NMEA Out –
oYELLOW - NMEA In +
oGREEN - NMEA In –
The most common connection to a dedicated chart plotter is to take the NMEA Output (Orange+ and Brown –)
from the iAIS Receiver and to connect it to a free NMEA Input on the plotter. You must then tell the chart plotter
that AIS data is connected to this port and set the baud rate to 38,400 Baud –the standard speed for AIS data.
Consult the instruction manual supplied with your Chart Plotter to understand how this is configured.
To use the “multiplex”feature of iAIS, where the iAIS reads other NMEA 0183 data (at 4800 baud) and then
merges it together with its own AIS data, in to a single high speed NMEA 0183 output (38,400 baud), it is
necessary to connect to the NMEA Input of the iAIS. Typically the NMEA 0183 output from a GPS, Instrument
System or Flux Gate Compass will be connected to the iAIS NMEA input. As long as the connected data is valid
NMEA data (must have a checksum) at 4800 baud, then iAIS will multiplex this data correctly and it will appear on
each of the three iAIS outputs; NMEA 0183, USB and Wireless
Installation Step 5 –Wireless Interfacing
The iAIS receiver has an integrated 802.11b+g wireless adaptor which creates a wireless hotspot on-board your
boat. The SSID (name) of the wireless hotspot that iAIS creates will be “DY-iAIS-xxxx”where xxxx is a four digit
code unique to your iAIS.
To connect to iAIS, simply scan for wireless hotspots on your wireless device. The exact procedure will vary from
device to device so consult the user manual for your device to understand how to connect to a wireless hotspot.
The iAIS uses the TCP/IP protocol to transmit serial NMEA data and it is important that the program or application
on the wireless device supports data reception via TCP/IP in order to work correctly.
Once you have wirelessly connected your mobile device to the iAIS, you will need to run the Application on your
mobile device that accepts NMEA data over a TPC/IP connection. The TCP/IP address and port that iAIS
transmits data on are;
IP Address - 169.254.1.1
Port - 2000
You should now be able to receive data wirelessly from the iAIS.
Normal Operation
The iAIS consumes around ¼ Amp and can be left on whenever the boat is sailing. All AIS targets within VHF range
will automatically be detected and their details output on all three interfaces.

DIGITAL YACHT LTD
iAIS Quick Start Guide
Every time information on an AIS target is received the yellow data LED will flash. In congested waters, it is not
unusual for the yellow LED to be constantly flickering.
Should you have a problem connecting wirelessly to iAIS, press and hold the Reset button for 1-2 seconds and try
connecting again. In busy marinas where there is significant wireless activity, it may not be possible for a reliable
TCP/IP connection to be made to iAIS, but once underway (at sea) a strong and reliable connection will be achieved.
On the supplied CD-Rom, there is a complimentary copy of the Digital Yacht SmarterTrack Lite software. If you have
a PC on-board, this program provides a good display of AIS targets around you and may be a useful backup to a
dedicated plotter.
If you have an iPhone of iPad, visit the app store and download our complimentary copy of the iAIS app. This simple
but powerful app will give you an AIS radar type display of all the AIS target around you. It includes a built-in user
guide describing how to setup and use iAIS.
Table of contents
Other DIGITAL YACHT Receiver manuals

DIGITAL YACHT
DIGITAL YACHT AIS100PRO Datasheet

DIGITAL YACHT
DIGITAL YACHT AIS200N2NET Datasheet

DIGITAL YACHT
DIGITAL YACHT ANT200 Datasheet

DIGITAL YACHT
DIGITAL YACHT AIS100 User manual

DIGITAL YACHT
DIGITAL YACHT AIS200N2 Datasheet

DIGITAL YACHT
DIGITAL YACHT WL60 MK2 Quick guide

DIGITAL YACHT
DIGITAL YACHT AIS100USB Datasheet

DIGITAL YACHT
DIGITAL YACHT WL70 Quick guide

DIGITAL YACHT
DIGITAL YACHT AISNet+ Quick guide