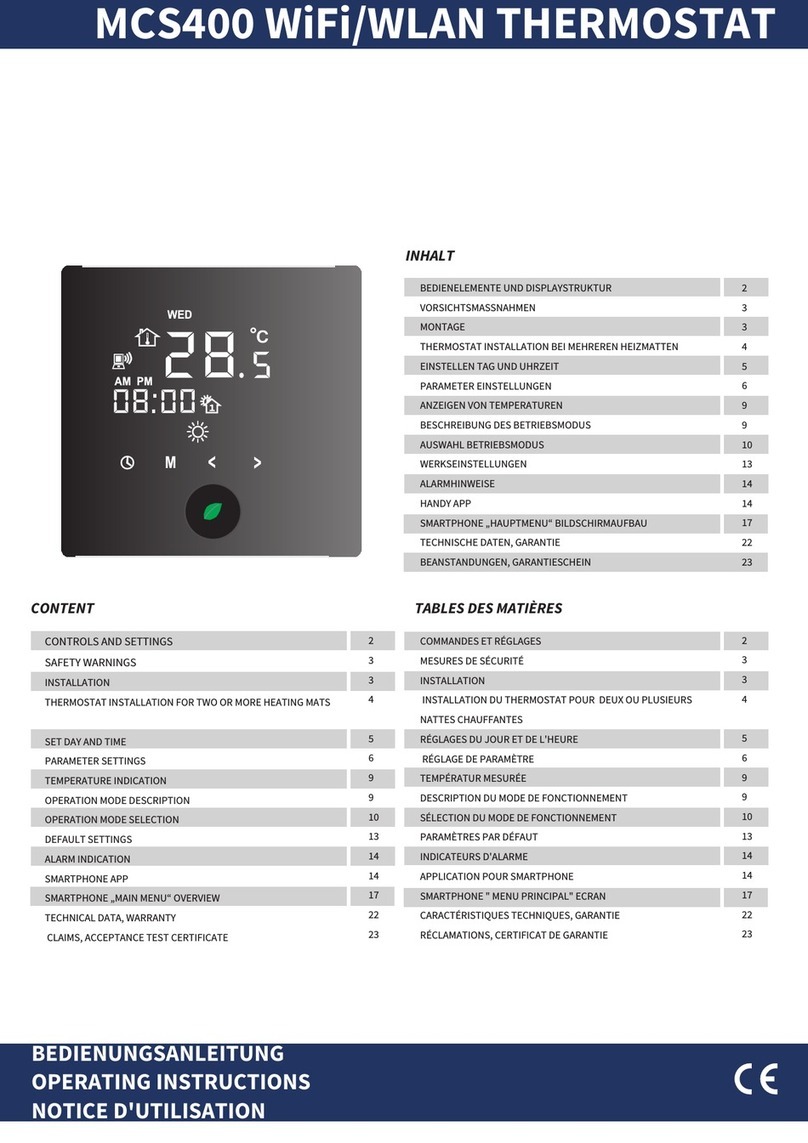
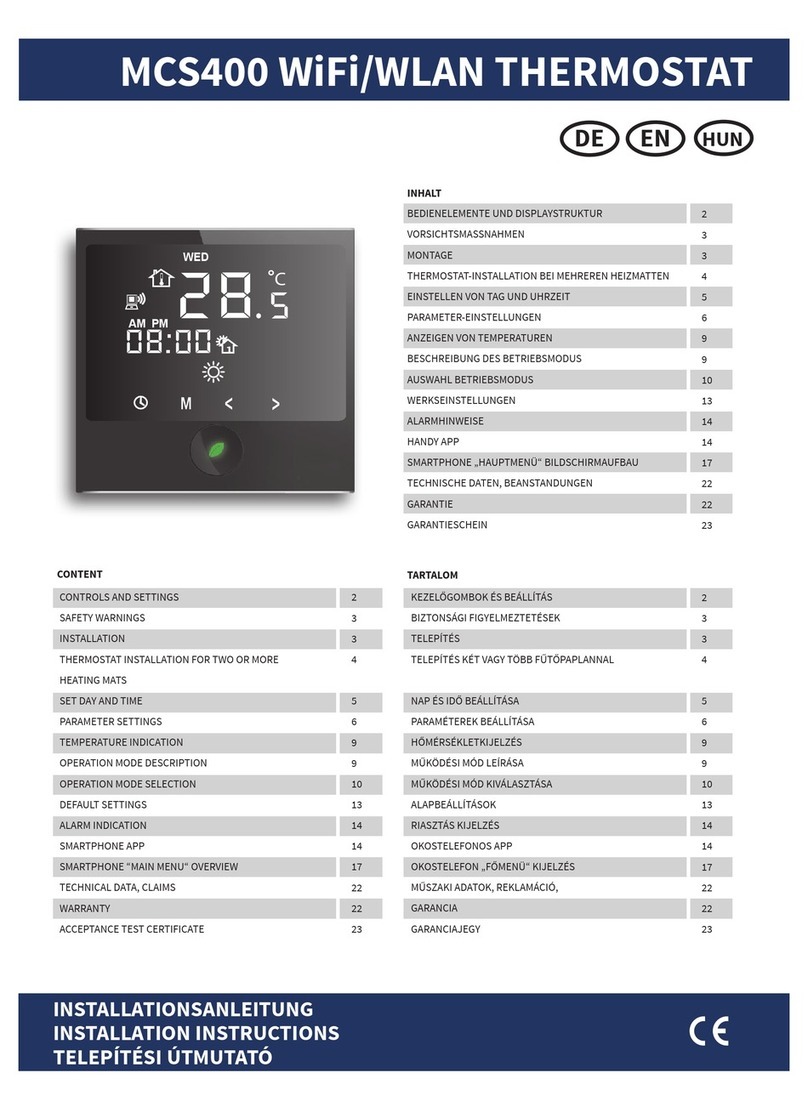
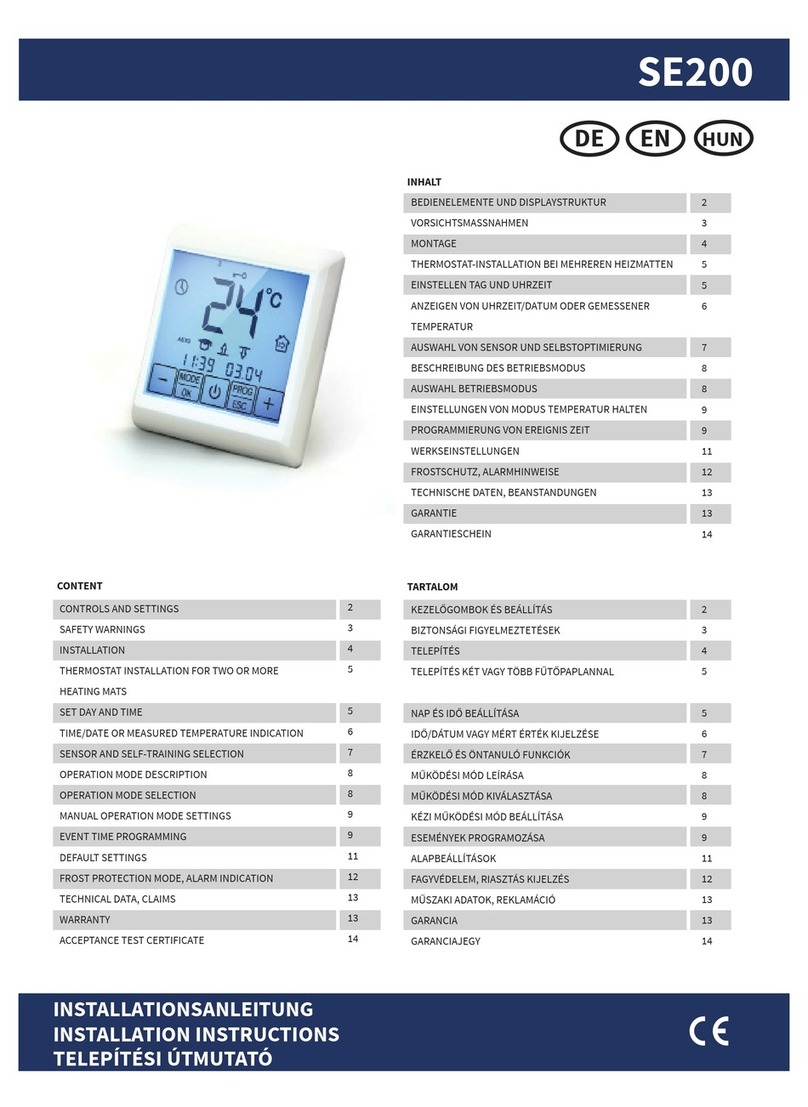
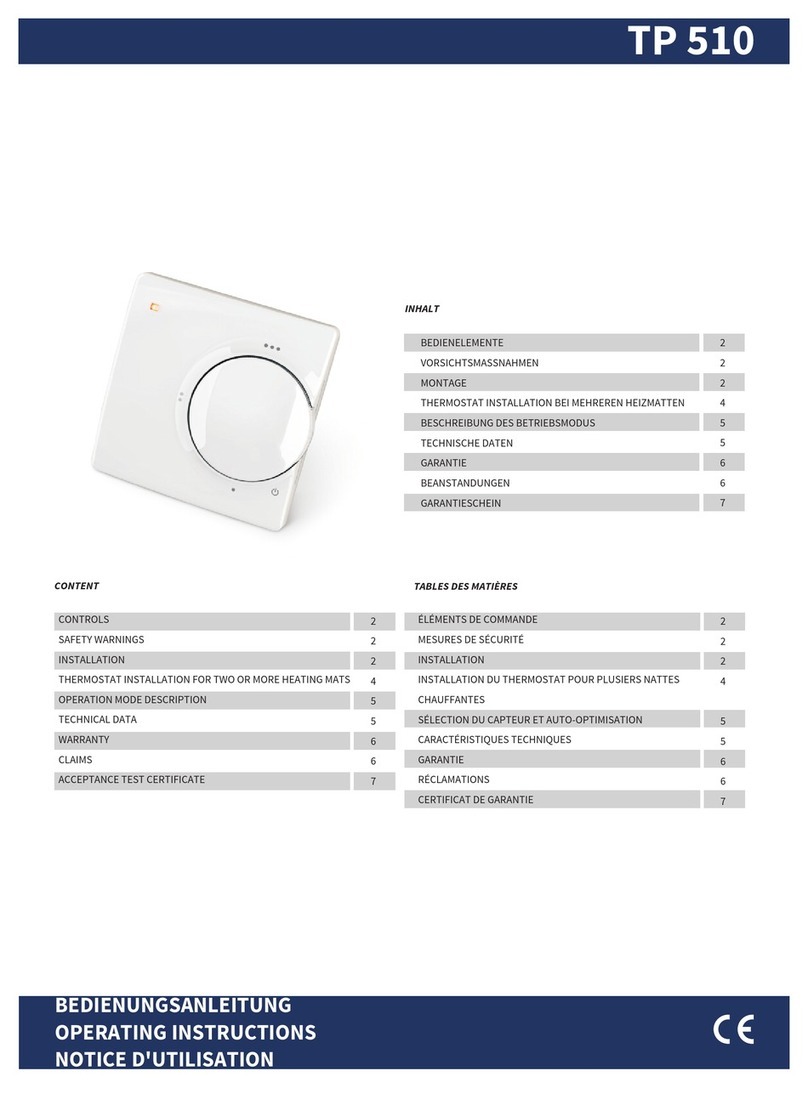
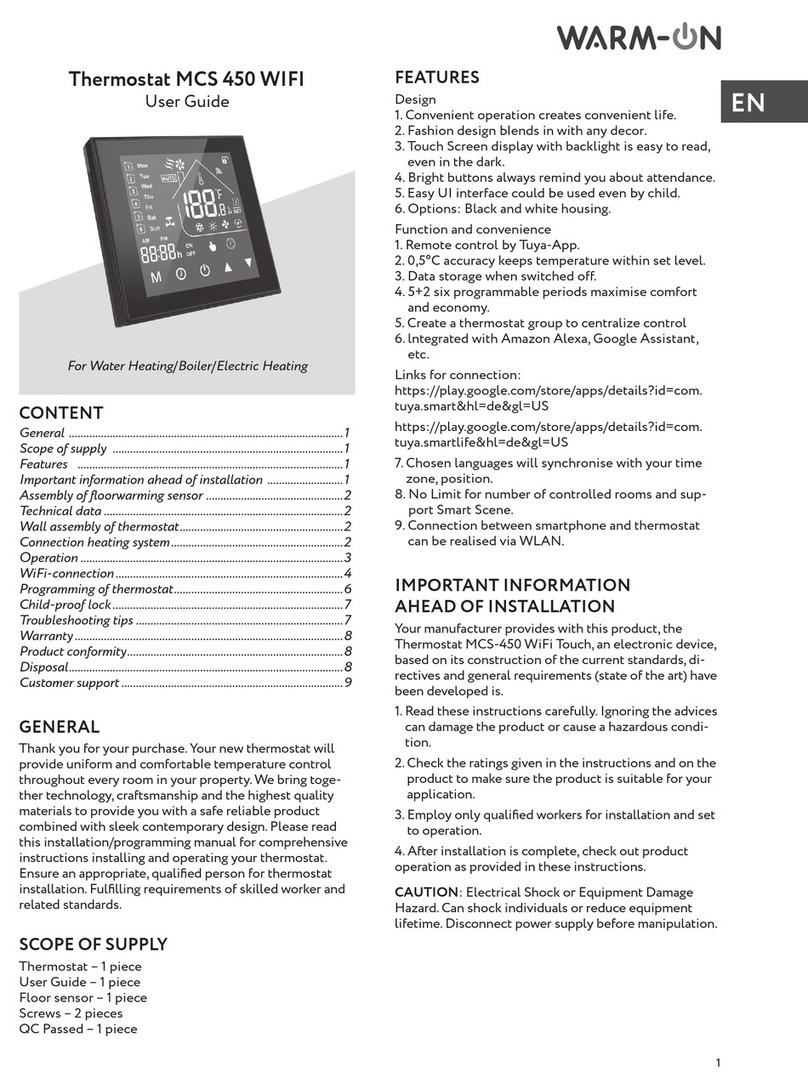
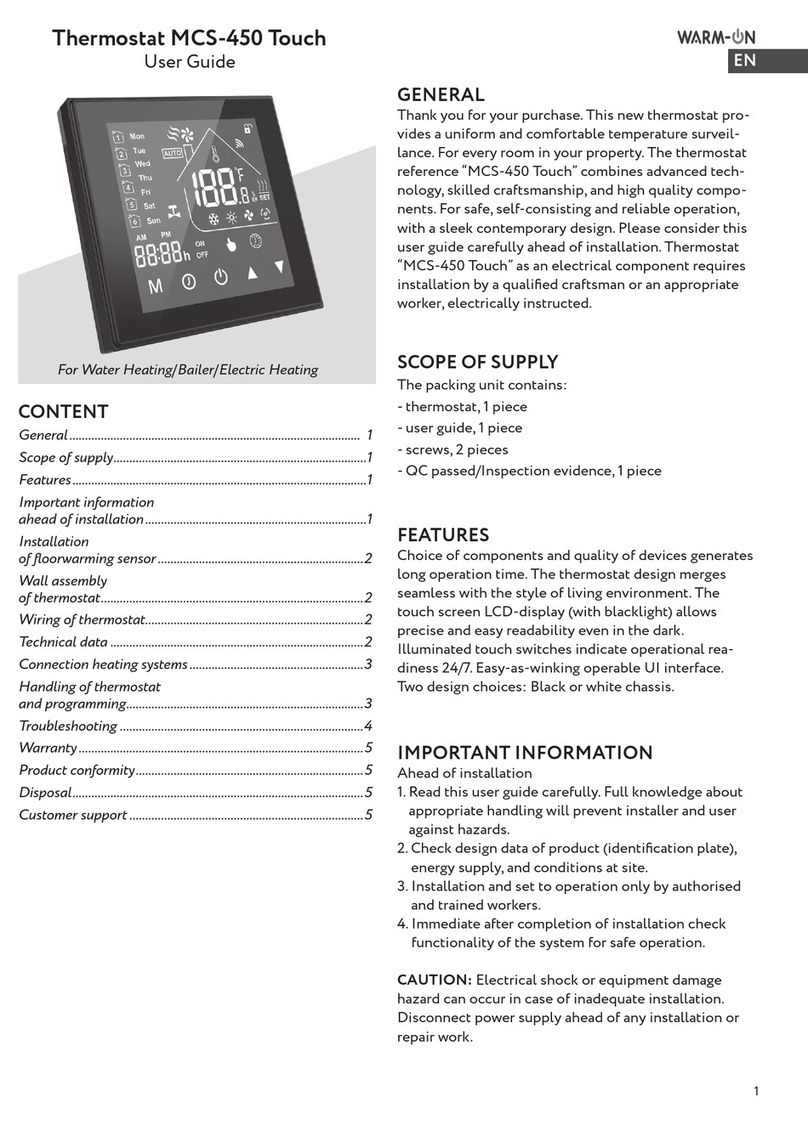
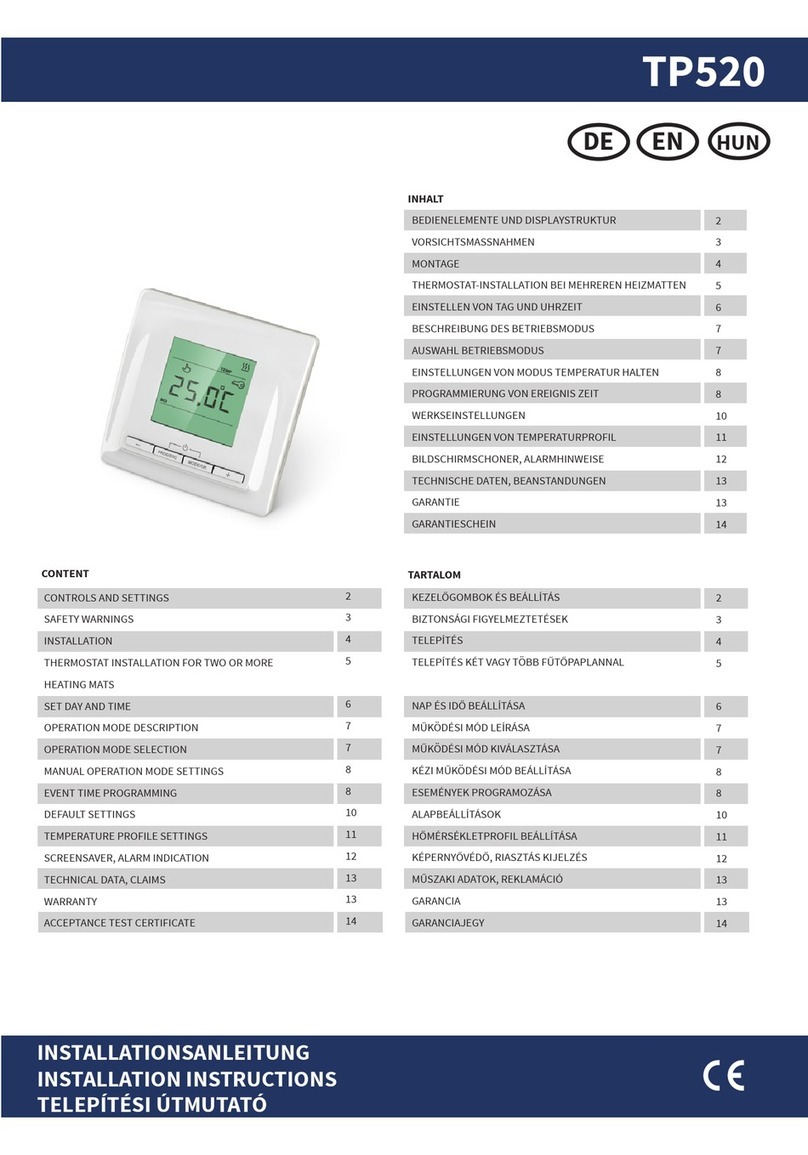
Warmon TP520 User manual

INHALT
BEDIENELEMENTE UND DISPLAYSTRUKTUR
VORSICHTSMASSNAHMEN
MONTAGE
EINSTELLEN VON TAG UND UHRZEIT
EINSTELLUNGEN VON MODUS TEMPERATUR HALTEN
EREIGNIS ZEIT
WERKSEINSTELLUNGEN
TEMPERATURPROFIL
BILDSCHIRMSCHONER, ALARMHINWEISE
TECHNISCHE DATEN, MENÜSTRUKTUR ,
BEANSTANDUNGEN
GARANTIESCHEIN
THERMOSTAT INSTALLATION BEI MEHREREN HEIZMATTEN
BESCHREIBUNG DES BETRIEBSMODUS
AUSWAHL DER BETRIEBSMODUS
PROGRAMMIERUNG VON
EINSTELLUNGEN VON
GARANTIE
2
3
4
5
6
7
7
8
10
11
12
13
13
13
CONTENT
CONTROLS AND SETTINGS
SAFETY WARNINGS
INSTALLATION
SET DAY AND TIME
OPERATION MODE DESCRIPTION
OPERATION MODE SELECTION
MANUAL OPERATION MODE SETTINGS
EVENT TIME PROGRAMMING
DEFAULT SETTINGS
TEMPERATURE PROFILE SETTINGS
SCREENSAVER, ALARM INDICATION
TECHNICAL DATA, MENU STRUCTURE, WARRANTY
CLAIMS
ACCEPTANCE TEST CERTIFICATE
THERMOSTAT INSTALLATION FOR TWO OR MORE HEATING MATS
TABLES DES MATIÈRES
COMMANDES ET RÉGLAGES
MESURES DE SÉCURITÉ
INSTALLATION
INSTALLATION DU THERMOSTAT POUR DEUX OU
PLUSIEURS NATTES CHAUFFANTES
RÉGLAGES DU JOUR ET DE L'HEURE
DESCRIPTION DU MODE DE FONCTIONNEMENT
SÉLECTION DU MODE DE FONCTIONNEMENT
PROGRAMMATION DE L'ÉVÉNEMENT TEMPS
PARAMÈTRES PAR DÉFAUT
PARAMETRES DU PROFIL DE
TEMPERATUREL'ÉCONOMISEUR D'ÉCRAN, INDICATION
D'ALARME
CARACTÉRISTIQUES TECHNIQUES, STRUCTURE DE MENU,
GARANTIE
RÉCLAMATIONS
CERTIFICAT DE GARANTIE
RÉGLAGES POUR LE MODE MAINTENIR LA TEMPÉRATURE
TP 520
BEDIENUNGSANLEITUNG
OPERATING INSTRUCTIONS
NOTICE D'UTILISATION
2
3
4
5
6
7
7
8
10
11
12
13
13
13
2
3
4
5
6
7
7
8
10
11
12
13
13
13

PROG / ESC
MODE /OK
XX.X°C
verringert den entsprechenden Wert
öffnet und schließt den Programmmodus
wählt die Anzeige und bestätigt die Einstellungen
erhöht den entsprechenden Wert
momentan gemessene Fußbodentemperatur
COMFORT Temperaturprofil, einstellbar
ECONOMY Temperaturprofil, einstellbar
1
2
3
4
5
6
7
-
+
BEDIENELEMENTE UND DISPLAYSTRUKTUR
CONTROLS AND SETTINGS
COMMANDES ET RÉGLA
Mit dem COMFORT Temperaturprofil wird die von Ihnen gewünschte Wohlfühl-
temperatur gehalten. Mit dem ECONOMY Temperaturprofil wird zur Energie-
einsparung die Temperatur auf die von Ihnen eingestellte Mindesttemperatur
abgesenktunddiesegehalten.
PROG / ESC
MODE /OK
XX.X°C
decrease the values
ENTER and EXIT the programm mode
switch the indication & set limits and modes
increase the values
measured floor temperature
COMFORT temperatur profile, adjustable
ECONOMY temperatur profile, adjustable
1
2
3
4
5
6
7
-
+
When using the COMFORT temperature profile, the set comfort temperature
will be maintained. When using the ECONOMY temperature profile, the set
temperature will be reduced to the desired minimum temperature for saving
energy.
PROG / ESC
MODE /OK
XX.X°C
diminue la valeur concernée
Ouvre et ferme le mode programmation
sélectionne l'affichage et confirme les réglages
augmente la valeur concernée
température du sol sélectionnée
Profil de température de CONFORT, réglable
Profil de température de l'ÉCONOMIE, réglable
1
2
3
4
5
6
7
-
+
Lorsque vous utilisez le profil de température de CONFORT, la température
de confort réglée sera maintenue. Lorsque vous utilisez le profil de
température de l'ECONOMIE, la température réglée sera réduite à la
températureminimaledésiréepouréconomiserl'énergie.
1
23
4
5
67
Um das Thermostat ein-/auszuschalten, drücken Sie die und
Tastengleichzeitig.
Bei Erstinbetriebnahme des Thermostats bzw. nach einer langen
Spannungsunterbrechung vergehen bis zu 30 Sekunden, bevor das Display
aktiviert wird. Ursache hierfür ist ein Kondensator im Inneren des
Thermostats,welchererstaufgeladenwerdenmuss.
PROG/ESC
MODE/OK
Die für die jeweils beschriebene Aktion notwendige Taste ist schwarz
dargestellt.
Bitte beachten:
Die Handsymbole werden verwendet um zu signalisieren, welche Tasten
(einzelnoderzusammen)wielangegedrücktwerdenmüssen.
PROG ESC/MODE OK/
To switch on the device, push the and buttons
simultaneously.
The first switch on time may take up to 30 seconds, because the built
in electric double-layer capacitor is uncharged or has lost it‘s charge
after being disconnected to the power supply and must first be
charged.
PROG/ESC MODE/OK
The buttons that must be pushed for the described action are dark
highlighted.
Attention
Hands are used to symbolize which buttons (single or together) need to
bepushedandhowlongtobeheld.
Pourallumerl'appareil,appuyezsurlebouton et
simultanément.
Le premier interrupteur à temps peut prendre jusqu'à 30 secondes,
parce que le condensateur électrique à double-couche intégré n'est
chargé ou a perdu sa charge après avoir été débranché de
l'alimentationetdoitd'abordêtrechargé.
PROG/ESC
MODE/OK
Les boutons qui doivent être enfoncés pendant l'intervention décrite
sontmisenévidence.
Attention
Les icônes de main sont utilisées pour signaliser sur quelles touches
(une ou plusieurs simultanément) vous devez appuyer, et combien de
temps.
MODE OK/
PROG ESC/
MODE OK/
PROG ESC/
2
1
2
3
1
2
3
1
2
3
1
2
3
Frostschutz (+5°C bis +12°C)
Temperatur halten (+12°C bis +45°C)
Programmbetrieb (+12°C bis +45°C)
Heizung an
Das Thermostat ist gesperrt
Montag
Dienstag
Mittwoch
Donnerstag
Freitag
Samstag
Sonntag
Ereignis AUFWACHEN
Ereignis GEHEN
Ereignis KOMMEN
Ereignis SCHLAFEN GEHEN
8
9
10
11
12
13
14
MO
TU
WE
TH
FR
SA
SU
Wird keine Taste gedrückt, schaltet sich die Tastensperre nach 40
Sekunden automatisch ein.
910 11
8
12
13
14
frost protection mode (+5°C to +12°C)
constant temperature mode (+12°C to +45°C)
programm mode (+12°C to +45°C)
heating on
thermostat is locked
Monday
Tuesday
Wednesday
Thursday
Friday
Saturday
Sunday
WAKE UP Event
LEAVING HOME Event
COMING HOME Event
GOING TO SLEEP Event
8
9
10
11
12
13
14
MO
TU
WE
TH
FR
SA
SU
Protection contre le gel (+5 °C à +12 °C)
Maintenir la température (+12 °C à +45 °C)
Mode programmation (+5 °C à +45 °C)
Chauffage allumé
Le thermostat est verrouillé
Lundi
Mardi
Mercredi
Jeudi
Vendredi
Samedi
Dimanche
Évènement RÉVEIL
Évènement PARTIR
Évènement ARRIVER
Évènement COUCHER
8
9
10
11
12
13
14
MO
TU
WE
TH
FR
SA
SU
3
VORSICHTSMASSNAHMEN
Only qualified electricians are allowed to work on electrical connections and the electric supply of the device according to national laws and regulations.
Otherwise the warranty invalidates. Switch off power from all wiring before installing, testing or replacing the thermostat. Only use electrical plastic wall
mounting boxes for the thermostat installation. Ensure that the sensor can be placed into and removed from the corrugated tube (Ø16mm); once during
installationofthetubingandagainbeforeinstallationofthefloorfinish!
SAFETY WARNINGS
Seuls des électriciens spécialisés sont autorisés à effectuer l'installation conformément aux normes DIN-VDE. Dans le cas contraire, la garantie ne sera plus
valable. Coupez l'alimentation de tous les câbles avant d'installer, de tester ou de remplacer le thermostat. Utilisez uniquement des prises encastrées en
plastique pour installer le thermostat. Assurez-vous pendant l'installation de la tuyauterie puis avant d'effectuer le revêtement de sol que le capteur
peutêtreplacé dans le tube ondulé (Ø 16 mm)etégalement en être retiré.
MESURES DE SÉCURITÉ
Die Installation ist ausschließlich durch eine Elektrofachkraft sorgfältig nach den Regeln DIN-VDE auszuführen. Andernfalls erlischt die Garantie. Trennen
Sie die Leitungen von der Spannung bevor Sie einen Thermostat installieren, überprüfen oder austauschen. Es dürfen nur Kunststoffunterputzdosen für die
Installation des Thermostats eingesetzt werden. Stellen Sie während der Installation des Wellrohrs und nochmals vor der Verlegung des Estrichs sicher,
dass der Sensor in einen Wellrohr verlegt ist und im Bedarfsfall wieder herausgenommen werden kann.
When no changes are made within 40 seconds, the thermostat will lock
automaticaly.
Si aucun changement n'est effectué après 40 secondes, le verrouillage des
touches est automatiquement activé.

t
230 VAC
13
L
24
N
5
N
6
L
123
45
4
MONTAGE
INSTALLATION
SensorInstallation
The floor temperature sensor cable has to be placed into a seperate
corrugated tube according to EN 61386-1. The sensor should be placed
centrally between the heating conductor. Route the heating mat cold lead
through the second corrugated tubing. Do not cross the cold lead over, or
place closer than about 2 cm to the mat heating wires! A standard plastic
round recessed electrical box with 230 VAC power supply should be available
at the chosen thermostat location. A ground fault circuit breaker (30 mA)
should be used for the 230 VAC heating mat circuit. Ensure that the sensor
can be placed into and removed from the corrugated tube (Ø16mm); once
during installation of the tubing and again before installation of the floor
finish!
Bodenfühler fixieren
Die Fühlerleitung des Thermostats muss in einem separaten Leerrohr nach
EN 61386-1 verlegt werden. Der Bodenfühler sollte in der Mitte von zwei
Heizleitungen verlegt werden.
Verlegen Sie den Kaltleiter (Netzanschlussleitung) seitlich bis zur
Anschlussdose und kreuzen Sie hierbei nicht den Heizleiter! Halten Sie
einen Mindestabstand von ca. 2 cm zu dem Heizleiter ein! Für das
elektronische Thermostat sollte an der ausgewählten Stelle eine
handelsübliche Unterputzdose mit 230 V AC Netzanschlussleitung aus dem
Hausnetz vorhanden sein. Ein Fehlerstromschutzschalter (30 mA) ist
vorzusehen. Stellen Sie während der Installation des Wellrohrs und
nochmals vor der Verlegung des Estrichs sicher, dass der Sensor in
einen Wellrohr verlegt ist und im Bedarfsfall wieder herausgenommen
werden kann.
Installationducapteur de sol
tion du
revêtement de sol que le capteur peut être placé dans le tube ondulé et
égalementenêtre retiré.
Le câble du capteur de température du sol doit être placé dans un tube
ondulé séparé conformément à la norme NF EN 61386-1. Le capteur doit être
installé à équidistance de deux conducteurs chauffants. Posez la résistance
CPT en parallèle jusqu'à la boîte de jonction et ne la faites pas se croiser avec
le corps conducteur ! Conserver une distance minimale de 2 cm entre les deux
!Pour le thermostat électronique, unepriseencastrée courante avec un câble
d'alimentation de 230 V AC au réseau domestique doit être présente. Un
disjoncteur à courant de défaut (30 mA) doit être prévu. Assurez-vous
pendant l'installation de la tuyauterie puis avant l'installa
Sensor
Sensor
Capteur
Last (Heizung)
Load (Heating)
Charge (chauffage)
INSTALLATION

5
THERMOSTAT INSTALLATION
FR 58
Installationsplan
1 Elektronisches Thermostat,
Zuleitung NYM 3 x 1,5 mm² zur
Verteilung
2 Wellrohr für Temperaturfühler
(Bodenfühler) oder Kaltleiter.
Beide dürfen nicht zusammen in einem
Rohr verlegt werden
3 Unterputzdose (bei mehreren Heizmatten,
die zu einem führen, ist eine
separate Unterputzdose )
Thermostat
erforderlich
Installations drawing
1 Electronic t
2
3
hermostat,
power supply distribution cable
NYM 3 x 1,5 mm²
Corrugated tubes for the temperature
sensor and the cold lead.(Both are not
be installed inside the same tube)
Recessed electrical box (only necessary
for two or more heating mats to one
thermostat).
to
Electrical box
for two or more
heating mats
(30 cm height)
Plan d'installation
1 Thermostat électronique, Câble
d'alimentation NYM 3 x 1,5 mm² pour la
répartition.
2 Tube ondulé pour le capteur (de sol) ou
pour le conducteur froid. Il ne faut pas
les poser dans le même tube.
3 Prise encastrée (si plusieurs nattes
chauffantes sont reliées au même
thermostat, une prise encastrée
séparée est requise).
3
3
Prise à 30 cm
du sol au cas où
il y a plusieurs
nattes chauffantes
THERMOSTAT INSTALLATION BEI MEHREREN HEIZMATTEN
THERMOSTAT INSTALLATION FOR TWO OR MORE HEATING MATS
INSTALLATION DU THERMOSTAT POUR PLUSIEURS NATTES CHAUFFANTES

6
TEMP
WE
PROG ESC/MODE OK/
1
2
PROG ESC/MODE OK/
WE
SET
DATE & TIME
8s
Thermostat entsperren.
Unlock the thermostat.
SET
DATE
MO
PROG ESC/MODE OK/
SET
DATE
TU
PROG ESC/MODE OK/
Drücken und halten Sie die
Taste für 8 Sek.PROG/ESC
Press and hold the
button for 8 seconds.
PROG/ESC
Appuyez et maintenez le bouton
pendant 8 secondes.PROG / ESC
PROG ESC/MODE OK/
SET
DATE
TU
3
4
5
6
7
8
Drücken Sie die Taste.
Das Symbol für den Tag beginnt zu
blinken.
MODE/OK Wählen Sie den aktuellen Wochen-
tagmitder“ ”oder“ ”Taste.+ –
Stellen Sie die Stunde mit Hilfe der
“ ” oder “ ” Taste ein. Bestätigen
Sie Ihre Wahl mit der
Taste.
+ –
MODE/OK
Set the hour with the “ ” or “ ”
button. Confirm the selection with
button.
+ –
MODE/OK
et l'heure avec le bouton « + » ou « -
». Confirmer la sélection avec le
bouton .MODE / OK
Stellen Sie die Minute mit Hilfe der
“ ”oder“ ”Tasteein.+ –
SET
TIME
WE
PROG ESC/MODE OK/
SET
TIME
WE
PROG ESC/MODE OK/
TU
TEMP
Set the minutes with the “ ” or “ ”
button.
+ –
Réglez les minutes avec le bouton
« + » ou « - ».
PROG ESC/MODE OK/
Press the button. The
weekday will start to blink.
MODE/OK
Appuyez sur le bouton .
Le jour de la semaine commence à
clignoter.
MODE / OK
Set the actual weekday with the
“ ” or “ ” button.+ –
Définissez la semaine réelle avec le
bouton « + » ou « - ».
Déverrouiller le thermostat.
Bestätigen Sie Ihre Wahl mit der
Taste.MODE/OK
Confirm the setting with the
button.MODE/OK
Confirmez votre sélection avec la
touche .MODE/OK
Bestätigen Sie Ihre Wahl mit der
Taste.MODE/OK
Confirm the setting with the
button.MODE/OK
Confirmez votre sélection avec la
touche .MODE/OK
EINSTELLEN TAG UND UHRZEIT
SET DAY AND TIME
RÉGLAGES DU JOUR ET DE L'HEURE

7
1
2
3
4
TEMP
WE
PROG ESC/MODE OK/PROG ESC/MODE OK/
4s
WE
SET
PROG ESC/MODE OK/
WE
SET
PROG ESC/MODE OK/
WE
SET
BESCHREIBUNG DES BETRIEBSMODUS
OPERATION MODE DESCRIPTION
DESCRIPTION DU MODE DE FONCTIONNEMENT
TEMPERATURHALTEN
DerThermostathältdiefürdenBodeneingestellteTemperatur. +12°Cbis+45°C.DieTemperaturisteinstellbarvon
FROSTSCHUTZ
Wenn Sie einen Raum im Winter für lange Zeit nicht benutzen und um Gebäudeschäden zu vermeiden, ist es ratsam, den Frostschutz zu aktivieren.
DieFrostschutztemperaturisteinstellbarvon+5°Cbis+12°C.
FROST PROTECTION MODE
This mode is suitable to keep temperature in the premise when nobody is inside for a longer time period and in order to avoid building
damages. The temperature is adjustable from +5°C to +12°C.
PROTECTIONCONTRELE GEL
Si vous n'utilisez pas la pièce pendant un certain laps de temps en hiver et pour éviter d'éventuelles détériorations, il est conseillé d'activer la
protectioncontrelegel.Latempératuredeprotectioncontrelegelpeutêtrerégléede+5°Cà+12°C.
CONSTANT TEMPERATURE MODE
The thermostat constantly maintains the desired floor temperature. The temperature is adjustable from +12°C up to +45°C.
MAINTENIRLATEMPÉRATURE
Lethermostatmaintientlatempératuresélectionnéedanslapièce.Latempératurepeutêtrerégléede+12°Cà+45°C.
PROGRAMMBETRIEB
In Abhängigkeit von Tageszeit und Wochentag regelt der Thermostat die Heizung auf die für COMFORT oder ECONOMY gewählten
Temperaturen.
automatisch
DieTemperaturisteinstellbarvon+12°Cbis+45°C.
PROGRAM MODE
Depending on time and day of the week the thermostat automatically switches to the COMFORT or ECONOMY temperature profile. The
temperature is adjustable from +12°C to +45°C.
MODEPROGRAMMATION
En fonction du moment de la journée ou du jour de la semaine, le thermostat règle le chauffage en fonction des températures sélectionnées en
modeCOMFORTouECONOMY.Latempératurepeutêtrerégléede+12°Cà+45°C.
AUSWAHL BETRIEBSMODUS
OPERATION MODE SELECTION
SÉLECTION DU MODE DE FONCTIONNEMENT
Thermostat entsperren.
Unlock the thermostat.
Déverrouiller le thermostat.
Drücken und halten Sie die
Taste für 4 Sek. Die
Betriebsmodusanzeige beginnt zu
blinken.
MODE/OK
Press and hold button
for 4 seconds. The operation mode
will start to blink on the display.
MODE/OK
Appuyez sur la touche
pendant 4 secondes. L'affichage du
mode de fonctionnement se met à
clignoter.
MODE/OK
Wählen Sie den Programmbetrieb
mit Hilfe der Taste.„ – ”
Choose the Programm Mode using
the button.“–”
Sélectionnez le mode
programmation à l'aide de la touche
.«–»
Bestätigen Sie Ihre Wahl mit der
Taste.MODE/OK
Confirm the setting with the
button.MODE/OK
Confirmez votre sélection avec la
touche .MODE/OK

8
2
Thermostat entsperren.
Unlock the thermostat.
Déverrouiller le thermostat.
EINSTELLUNGEN VON MODUS TEMPERATUR HALTEN
MANUAL OPERATION MODE SETTINGS
RÉGLAGES POUR LE MODE MAINTENIR LA TEMPÉRATURE
DieBodentemperaturmitHilfeder
oder Tasteeinstellen.„ “ “ – ”+
Set the floor temperature using the
oder button„ “ “ – ” .+
Réglez la température du sol à
l'aide de la touche ou .« + » « - »
1
Bestätigen Sie Ihre Wahl mit der
Taste.MODE/OK
Confirm the setting with the
button.MODE/OK
Confirmez votre sélection avec la
touche .MODE/OK
3
PROGRAMMIERUNG VON EREIGNIS ZEIT
EVENT TIME PROGRAMMING
PROGRAMMATION DE L'ÉVÉNEMENT TEMPS
1
2
3
4
DrückenSiedie Taste.
DieUhrzeitbeginntzublinken.
MODE/OK
1
Press the button.
The clock time will start to blink.
MODE/OK
Appuyez sur le bouton .
L'horloge commence à clignoter.
MODE / OK
TEMP
WE
PROG ESC/MODE OK/
TEMP
WE
PROG ESC/MODE OK/
PROG ESC/MODE OK/
WE
SET
PROGSET TIME
TEMP
WE
TEMP
WE
PROG ESC/MODE OK/PROG ESC/MODE OK/
WE
SET
DATE & TIME
4s
PROG ESC/MODE OK/
PROGSET
1
TIME
MO
PROGSET
1
TIME
MO
PROG ESC/MODE OK/
Thermostat entsperren.
Unlock the thermostat.
Déverrouiller le thermostat.
Drücken und halten Sie die
Tastefür4Sek.PROG/ESC
Press and hold button
for 4 seconds.
PROG/ESC
Appuyez sur la touche
pendant 4 secondes.
PROG/ESC
EREIGNIS AUFWACHEN
WAKE UP EVENT
ÉVÉNEMENT RÉVEIL
Stellen Sie Ihre Zeit
mit Hilfe der oder Taste
ein.
AUFWACHEN
„+“ „ -“
Set your time using the
oder button.
WAKE UP
„+“ “ – ”
Réglez l'heure à l'aide de la
touche « + » ou « - ».
RÉVEIL

9
Press the button.
The time will start to blink.
MODE/OK
Appuyez sur le bouton MODE / OK.
L'heure commence à clignoter.
10
Aktivieren sie das
Temperaturprofil mit der “ ” oder
“ ”Taste.
ECONOMY
+
–
Set the temperature
profile with “+”or “–” button.
ECONOMY
Définissez le profil de température
de avec « + » ou « - »l'ÉCONOMIE
12
Drücken Sie die Taste.
Die beginnt zu blinken.
MODE/OK
„Uhrzeit“
Press the button.
The time will start to blink.
MODE/OK
Appuyez sur le bouton .
L'heure commence à clignoter
MODE / OK
7
8
DrückenSiedie Taste.
Die beginntzublinken.
MODE/OK
„Uhrzeit“
9
11
5
6
Aktivieren sie das
Temperaturprofil mit der “ ”
oder“ ”Taste.
COMFORT
+
–
Set the temperature
profile with the “+”or “–” button.
COMFORT
Définissez le profil de température
de avec le bouton « + »
ou « - ».
CONFORT
PROG ESC/MODE OK/
2
MO
PROG ESC/MODE OK/
TEMPPROGSET
MO
2
PROG ESC/MODE OK/
2
MO
PROG ESC/MODE OK/
TEMPPROGSET
MO
2
PROG ESC/MODE OK/
PROGSET TIME
MO
3
PROG ESC/MODE OK/
PROGSET
3
TIME
MO
PROGSET TIME PROGSET TIME
TEMPPROGSET
MO
1
PROG ESC/MODE OK/
TEMPPROGSET
MO
1
PROG ESC/MODE OK/
14
Aktivieren sie das
Temperaturprofil mit der “ ” oder
“ ”Taste.
COMFORT
+
–
Set the temperature
profile with “ ” or “ ” button.
COMFORT
+–
Définissez le profil de température
de avec « + » ou « - ».CONFORT
13
PROG ESC/MODE OK/
3
TEMPPROGSET
MO
PROG ESC/MODE OK/
3
TEMPPROGSET
MO
Bestätigen Sie Ihre Wahl mit der
Taste.MODE/OK
Confirm the setting with the
button.MODE/OK
Confirmez votre sélection avec la
touche .MODE/OK
Bestätigen Sie Ihre Wahl mit der
Taste.MODE/OK
Confirm the setting with the
button.MODE/OK
Confirmez votre sélection avec la
touche .MODE/OK
Bestätigen Sie Ihre Wahl mit der
Taste.MODE/OK
Confirm the setting with the
button.MODE/OK
Confirmez votre sélection avec la
touche .MODE/OK
EREIGNIS GEHEN
LEAVING HOME EVENT
ÉVÈNEMENT PARTIR
Stellen Sie Ihre Temperatur
mit Hilfe der oder Taste
ein.
GEHEN
„+“ „ -“
Set your
temperature using the oder
button.
LEAVING HOME
„+“
“ – ”
Réglez votre température à
l'aide de la touche « + » ou « - ».
PARTIR
EREIGNIS KOMMEN
COMING HOME EVENT
ÉVÉNEMENT ARRIVER
Stellen Sie Ihre
Temperatur mit Hilfe der
oder Taste ein.
KOMMEN
„+“
„-“
Set your
temperature using the oder
button.
COMING HOME
„+“
“ – ”
Réglez votre température
à l'aide de la touche « + » ou « - ».
ARRIVER

10
4
15
16
17
18
Aktivieren sie das
Temperaturprofil mit der “ ” oder
“ ”Taste.
ECONOMY
+
–
Set the temperature
profile with “ ” or “ ” button.
ECONOMY
+–
Définissez le profil de température
de avec « + » ou « - ».l'ÉCONOMIE
PROGSET TIME
4
MO
PROG ESC/MODE OK/
PROGSET TIME
MO
4
PROG ESC/MODE OK/
TEMPPROGSET
MO
4
PROG ESC/MODE OK/
TEMPPROGSET
MO
4
PROG ESC/MODE OK/
7:00
7:00
8:00
8:00
19:00
19:00
22:00
22:00
14
EREIGNIS SCHLAFEN GEHEN
GOING TO SLEEP EVENT
Évènement COUCHER
Bestätigen Sie Ihre Wahl mit der
Taste.MODE/OK
Confirm the setting with the
button.MODE/OK
Confirmez votre sélection avec la
touche .MODE/OK
Stellen Sie Ihre
Temperatur mit Hilfe der
oder Taste ein.
SCHLAFEN GEHEN
„ “
„ “
+
-
Set your
temperature using the oder
button.
GOING TO SLEEP
„ “
“ – ”
+
Réglez votre température de
à l'aide de la touche « + »
ou « - ».
COUCHER
Press the button.
The time will start to blink.
MODE/OK
Appuyez sur le bouton .
L'heure commence à clignoter
MODE / OK
DrückenSiedie Taste.
Die beginntzublinken.
MODE/OK
„Uhrzeit“
WERKSEINSTELLUNGEN
DEFAULT SETTINGS
PARAMÈTRES PAR DÉFAUT
Tag
Event
Day
Zeit
Time
Temps
Temperaturprofil
Temperature profileProfil
de température
Montag bis Freitag
Monday to Friday
Du lundi au vendredi
Samstag & Sonntag
Saturday & Sunday
Samedi & dimanche
Évènement
Jour
Zeit
Time
Temps
Temperaturprofil
Temperature profileProfil
de température
Ereignis
Das Thermostat wechselt in das Ereignis für den nächsten Tag ( Dienstag) - Bitte wiederholen Sie die Schritte 3 8
.
AUFWACHEN TU - 1 für alle anderen
WochentageentsprechendIhrenVorstellungen
The thermostat will proceed to set up the time for event for the next day of the week ( ESDAY) - please repeat the setting from step 3 - 18 for all
other days.
WAKE UP TU
Le thermostat passe à l'événement pour le jour suivant ( mardi) - Répétez les étapes 3 jusqu'à 18 pour tous les autres jours de la semaine
conformément à vos souhaits.
RÉVEIL TU

11
EINSTELLUNGEN VON TEMPERATURPROFIL
TEMPERATURE PROFILE SETTINGS
PARAMÈTRES DU PROFIL DE TEMPÉRATUR
1
2
Drücken und halten Sie die
Tastefür8Sek.
Das Symbol erscheint
unddieTemperaturanzeigeblinkt.
MODE/OK
ECONOMY
Press and hold the
button for 8 seconds.
The symbol for the
apears and the temperature starts
blinking.
MODE/OK
ECONOMY
Appuyez et maintenez le bouton
pendant 8 secondes.
Le symbole de
s'affiche et la température
commence à clignoter.
l'ÉCONOMIE
MODE / OK
TEMP
WE
PROG ESC/MODE OK/
WE
SET
TEMP
PROG ESC/MODE OK/
8s
3
4
Stellen Sie die Temperatur, welche
Sie während d es
Temperaturprofils wünschen mit
Hilfeder“+”oder“–”Tastenein.
ECONOMY
Set the desired temp-
erature profile with the “+”or “–”
button.
ECONOMY
Définissez le profil de la
température de
désirée avec le bouton « + » ou « - »
l'ÉCONOMIE
5
6
Stellen Sie die Temperatur, welche
Sie währen d des
Temperaturprofils wünschen mit
Hilfeder“+”oder“–”Tastenein.
COMFOR T
Set the desired temp-
erature profile with the “+”or “–”
button.
COMFORT
Définissez le profil de la
température de désirée
avec le bouton « + » ou « - ».
CONFORT
Bestätigen Sie auch diese Eingabe
mit der Taste. Das Display
zeigt nach Abschluss der Ein-
stellungen die aktuelle Temperatur
an.
MODE/OK
Confirm the selection with
. Setup is completed and
the display shows the actual
temperature.
MODE/OK
Confirmer la sélection avec
. L'installation est
terminée et l'écran affiche la
température réelle.
MODE / OK
SET TEMP
MO
PROG ESC/MODE OK/
TEMPSET
MO
PROG ESC/MODE OK/
PROG ESC/MODE OK/
TEMPSET
MO
TEMPSET
MO
PROG ESC/MODE OK/
Thermostat entsperren.
Unlock the thermostat.
Déverrouiller le thermostat.
Bestätigen Sie Ihre Wahl mit der
Taste.MODE/OK
Confirm the setting with the
button.MODE/OK
Confirmez votre sélection avec la
touche .MODE/OK
FROSTSCHUTZ
FROST PROTECTION MODE
PROTECTION CONTRE LE GEL
12
TEMP
WE
PROG ESC/MODE OK/PROG ESC/MODE OK/
WE
SET
Thermostat entsperren.
Unlock the thermostat.
Déverrouiller le thermostat.
3
PROG ESC/MODE OK/
WE
SET
PROGSET TIME

12
Par défaut, l'écran de veille fait
apparaitre la température du sol.
Maintenez la touche
enfoncée pendant 2 secondes.
L'écran de veille passe à l'heure de
l'horloge.
MODE / OK
3
WennSiedie Tasteerneutfür2Sek.drücken,wechseltdieAnzeigewiederzur Bodentemperatur.MODE/OK
If you press and hold key for 2 seconds again, the screensaver will change back to the floor temperature.MODE/OK
Le défaut de veille est la température du sol. Appuyez et maintenez le bouton pendant 2 secondes.
L'économiseur d'écran va changer à l'heure
MODE / OK
TEMP
WE
PROG ESC/MODE OK/
2s
BILDSCHIRMSCHONER
SCREENSAVER
ÉCONOMISEUR D'ÉCRAN
1
2
Der voreingestellte Bildschirm-
schoner ist die Bodentemperatur.
Drücken und halten Sie die
Taste für 2 Sek. Die
Anzeige wechselt zur aktuellen
Uhrzeit.
MODE/OK
The default screensaver is the floor
temperature. Press and hold
key for 2 seconds. The
screensaver will change to the
clock time.
MODE/OK
TEMP
WE
PROG ESC/MODE OK/
TEMP
WE
PROG ESC/MODE OK/
2s
1
2
3
Anzeige im Fall eines SENSORFEHLERS.
Appears in display by SENSOR FAILURE.
Apparaît sur l'affichage par DÉFAUT DU CAPTEUR.
TEMP
WE
PROG ESC/MODE OK/
TEMP
WE
PROG ESC/MODE OK/
WE
PROG ESC/MODE OK/
Thermostat entsperren.
Unlock the thermostat.
Déverrouiller le thermostat.
ALARMHINWEISE
ALARM INDICATION
INDICATEURS D'ALARME
HI °C Anzeige für den Fall, dass eine
Temperatur höher als +45°C
erreichtwird.
HI °C appears on the display when
the surface heating is more than
+45°C.
HI °C Affichage au cas où la
température est supérieure à
+45 °C.
LO °C Anzeige für den Fall, dass die
Heizung nicht in der Lage ist, den
Boden um mehr als +5°C zu
erwärmen
LO °C appears on the display when
the heating system fails to heat the
surfacetomorethan+5°C.
LO °C Affichage au cas où le
chauffage ne parvienne pas à
chauffer le sol à une température
supérieure à +5 °C.

13
Spannung
Max. Stromstärke
Stromverbrauch
Gewicht
Abmessungen
IP Schutz
Sensor (TST02)
Länge Anschlussleitung Sensor
Umgebungstemperaturbereich
Max. Luftfeuchtigkeit
Temperatureinstellbereich
230VAC, 50Hz
16 A
0.45 W
100 g
80x80x20 mm
IP 21
NTC 6,8 kOhm
2 m
+5 ° .....+40 °
80 %
+5 ° .....+45 °
С С
С С
Power supply
Maximum load current
Thermostat power consumption
Weight
Dimensions
IP rate
Floor temperature sensor (TST02)
Sensor cold lead length
Ambient air temperature range
Maximum humidity
Temperature setting range
MENÜSTRUKTUR
MENU STRUCTURE
STRUCTURE DE MENU
PROG ESC/MODE OK/+
-
Ende ohne speichern
Programmzeiten einstellen
Tag und Zeit einstellen
1x
4 Sek.
8 Sek.
Exit without saving
Event time programming
Set date
Quitter sans enregistrer
Programmation de l'événement
Réglage de la date
1x
4 Sek
8 Sek
1x
4 Sec.
8 Sec.
PROG ESC/MODE OK/+
-
Eingabe bestätigen - speichern
Bildschirmschoner auswählen
Programmmodus wählen
Temperatureinstellung
1x
2 Sek.
4 Sek.
8 Sek.
Confirm settings
Screensaver selection
Operation mode selection
Set temperature
Vérifier les réglages
Sélection d'économiseur d'écran
Sélection du mode de fonctionnement
Définissez la température
1x
2 Sek
4 Sek
8 Sek
1x
2 Sec.
4 Sec.
8 Sec.
GARANTIE
WARRANTY
GARANTIE
Der Hersteller garantiert die Übereinstimmung des Thermostates mit der Konstruktionsbeschreibung unter der Annahme der Beachtung der Montage- und
Betriebsanleitung.
Tritt innerhalb des Garantiezeitraums ein Mangel auf, des auf eine fehlerhafte Herstellung zurück zu führen ist, so hat der Kunde das Recht auf Nacherfüllung.
Schäden aufgrund unsachgemäßer Handhabung, Beschädigung durch Fremdverschulden, falscher Installation (nicht der Anleitung folgend) oder deren
Folgeschäden, sind von der Garantie ausgenommen. Bitte bewahren Sie Ihren Kaufbeleg auf.
Garantiezeitraum–2Jahre ab Kaufdatum.
Garantieleistungen werden nur gegen Vorlage des
Kaufbelegserbracht.
TECHNISCHE DATEN
TECHNICAL DATA
CARACTÉRISTIQUES TECHNIQUES
Tension
Courant max.
Consommation de courant
Poids
Dimensions
Protection IP
Capteur de sol (TST02)
Longueur du câble d'alimentation du
capteur
Plage de température ambiante
Humidité d'air max.
Plage de réglage de la température

14
GARANTIESCHEIN
ACCEPTANCE TEST CERTIFICATE
CERTIFICAT DE GARANTIE
Der Sensor kann während der Installation wieder durch das Wellrohr (Ø16mm) herausgenommen werden.
Le capteur peut être retiré du tube ondulé (Ø16 mm) pendant l'installation.
Der Thermostat hat alle Tests erfolgreich bestanden.TP 520
The thermostat has passed all the tests.TP 520
Le thermostat a répondu aux exigences de tous les tests requis.TP 520
The sensor can be removed through the corrugated tube (Ø16mm) during installation.
Der Sensor kann vor der Verlegung des Fußbodens wieder durch das Wellrohr (Ø16mm) herausgenommen werden.
Le capteur peut être retiré du tube ondulé (Ø16 mm) pour effectuer le revêtement du sol.
The sensor can be removed through the corrugated tube (Ø16mm)before installation of the flooring .
Name / Name / Nom:
Straße / Street / Rue:
Postleitzahl, Stadt / Postal Code, City / Code postal, ville:
Land / Country / Pays:
Te
Kaufdatum / Purchase Date / Date d'achat: Installateur / Installer / Installateur:
Installationsdatum / Installation Date / Date d'installation: Unterschrift / Signature / Signature:
l / Tel / Tél: E-Mail / e-mail / E-mail:
BEANSTANDUNGEN
CLAIMS
RÉCLAMATIONS
Incaseofaclaimduringthewarrantyperiodpleasecontacttheseller.
Thesensorwill need to be sent together with the thermostatforprocessingaclaim.
Im Reklamationsfall wenden Sie sich bitte an den Verkäufer.
Um eine erfolgreiche Retourenbearbeitung zu gewährleisten, ist es notwendig, den Sensor zusammen mit dem Thermostat zurück zu senden.
Encasderéclamation,veuillezvousadresserauvendeur.
Pourgarantirun traitement efficace du retour, il est nécessairederenvoyer le capteur avec le thermostat.
The manufacturer guarantees the conformity of the thermostat with the design description, assuming compliance with the assembly and operating
instructions.
In case of a failure during guarantee period casued by a manufacturing defect, the customer has the right to supplementary performance. The warranty does
not cover any damages due to inadequate handling, damages through a third party, wrong installation (not following the manual) or its consequential
damages.Pleasekeepyourreceipt.
Warrantyperiod–2 years from date of purchase.
Foranywarranty claims you have to show your salesreceipt.
Le fabricant garantit que le thermostat est conforme à la description de sa construction, à condition que les instructions de montage et de service soient
respectées.
En cas de défaut survenant durant la période de garantie, dû à un vice de fabrication, le client a droit à une exécution ultérieure. Sont exclus de la garantie
tous les dommages causés par un maniement impropre, par la faute de tiers, par une installation incorrecte (non conforme aux instructions) ou les
dommages consécutifs.
Garantie de 2 ans à partir de la date d'achat.
Veuillez conserver votre preuve d'achat, les prestations de garantie n'étant accordées que sur présentation de cette
preuve.

15

INST-0011-TP520-UH-160217
16
Other manuals for TP520
2
Table of contents
Other Warmon Thermostat manuals

Warmon
Warmon MCS400 User manual

Warmon
Warmon MCS400 User manual

Warmon
Warmon SE200 User manual

Warmon
Warmon TP 510 User manual

Warmon
Warmon SE200 User manual

Warmon
Warmon MCS400 User manual

Warmon
Warmon MCS 450 WIFI User manual

Warmon
Warmon TP520 User manual

Warmon
Warmon TP520 User manual

Warmon
Warmon AC3082 User manual