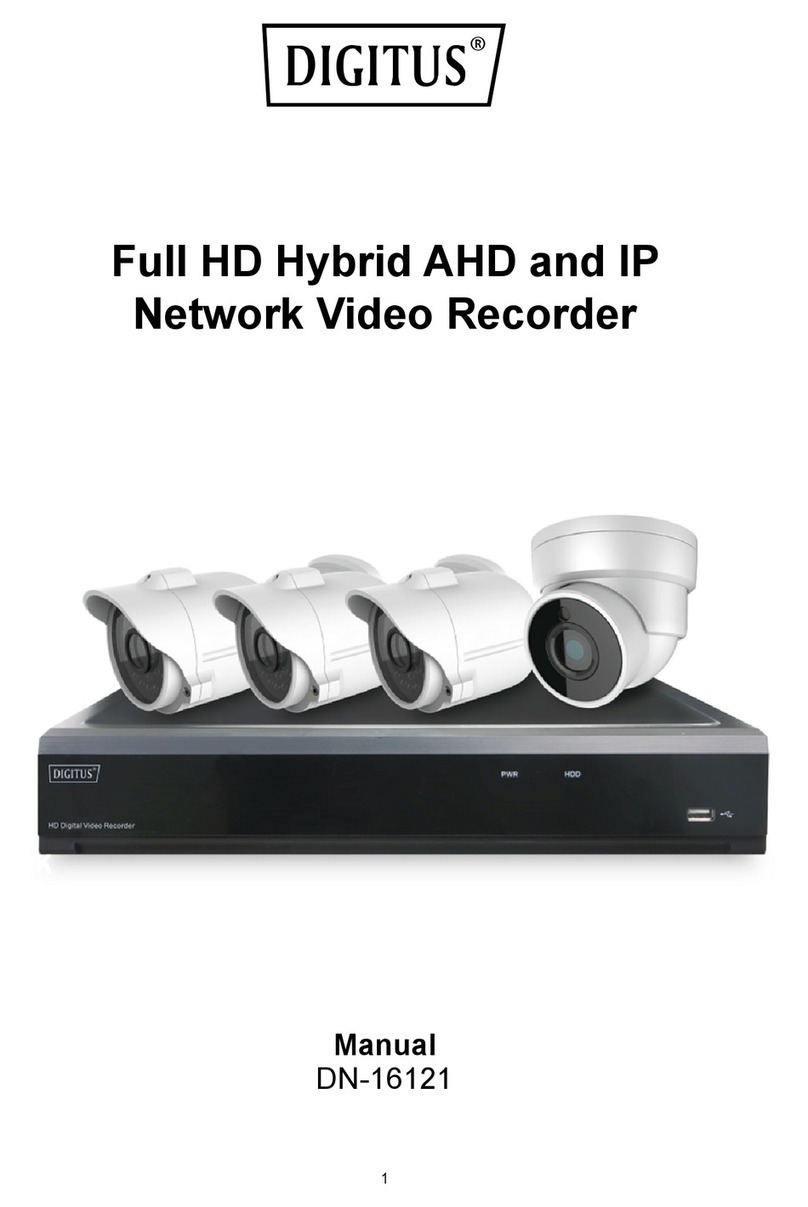
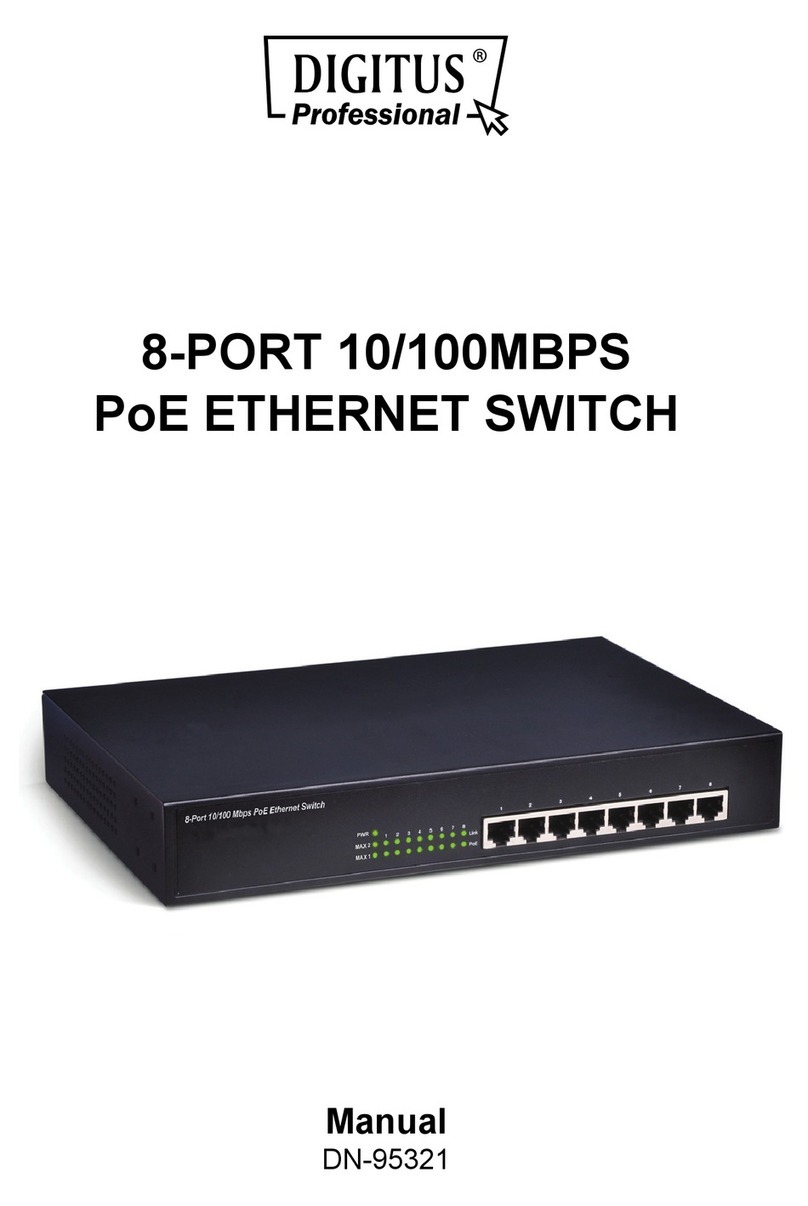
Digitus DN-16111 User manual

NETWORK VIDEO RECORDER
1080p RESOLUTION
10/100/1000 Mbps
4-CHANNEL/8-CHANNEL/
16-CHANNEL
User Manual
DN-16111 DN-16112 DN16113

2 NVR04,08,16 User’s Manual
Table of Contents
Hardware ................................................................................. 4
Overview ........................................................................................ 4
LED & Buttons Definitions .............................................................. 4
Connect to the NVR .................................................................. 4
Use NVR Search Utility ................................................................... 5
Access the NVR with its default IP address .................................. 10
Main/Live View ...................................................................... 12
a.The UI’s 5 main functions:......................................................... 13
b. Date and Time display .............................................................. 13
c. User’s configuration.................................................................. 13
d. Hardware events notification ................................................... 14
e. Channels status ........................................................................ 14
f. Video frame............................................................................... 14
g. List view ................................................................................... 15
h.1, 4, 9, 16 Pattern view ............................................................. 16
i. Sequence view........................................................................... 16
j. Save view .................................................................................. 16
k. Saved view ............................................................................... 17
l. Hidden accordion menu ............................................................. 18
Playback view ........................................................................ 20
a. Zoom on a range of time ........................................................ 21
b. Minimize the bar of the playback............................................ 21
c. Certain functions you can perform to the playback video......... 21
d. Take a snapshot of a playback video ........................................ 21
Event view.............................................................................. 26
NVR Setup – Settings ............................................................. 28
Display ......................................................................................... 29
Network Settings.......................................................................... 30
DHCP Server ...............................................................................32
DDNS Service ..............................................................................32
Time and Date .............................................................................. 34
Storage......................................................................................... 35
Users & privileges ........................................................................ 36
Add a new user............................................................................36
Change the password of the “admin” account...................................37
Group Privilege ............................................................................37
Camera ......................................................................................... 38
Automatic Search.........................................................................38
Add a camera manually.................................................................44
Recording ..................................................................................... 45
Scheduling.................................................................................... 47
Preset Point Setting ..................................................................... 48
PTZ Preset Settings ......................................................................48
PTZ Preset Sequence ....................................................................50
OSD Settings ................................................................................ 51
Event sources ............................................................................... 53
Event sources ..............................................................................54
Notifications ................................................................................56
Event actions...............................................................................58
E-Map ........................................................................................... 59
Local E-Map Setting ......................................................................59
Google Map Setting ......................................................................62
Device Info ................................................................................... 64
Log ............................................................................................... 65
Maintenance ................................................................................. 66
Firmware Upgrade........................................................................66
Backup & Restore ......................................................................... 68
USB backup .................................................................................. 69
NVR Media Player ................................................................... 71
Play the backup file with the NVR Media Player............................ 71
Open Event Snapshot images with NVR Media Player................... 76

4 NVR04,08,16 User’s Manual
Hardware
Overview
LED & Buttons Definitions
Connect to the NVR
There are various ways you can connect to the NVR and below are the
suggested methods for different network setup:
• The NVR is placed in a network with a DHCP server: Connect to
the NVR by using “NVR Search” Utility
• The NVR is placed in a network without DHCP server (or you are
connecting to it directly): Access the NVR with its default IP
LEDs Status Definitions
Power On Solid- Power on
Alarm On Blinking when a system/camera event occurs.
each event
None Goes off if reaches the 10-second duration, or when buzzer stop button is pressed
(if buzzer is triggered)
Status On *Solid- Normal operation
**Blinking after press and hold the reset button for 5 seconds indicates the device will enter the restore
default process. Other LEDs remain unchanged during this state.
*Blinking during firmware upgrade(web page upgrade or USB upgrade)
*Keep blinking for failed firmware upgrade through USB disk or web
None *When system is unable to start properly
Network On *Solid for activity on a 10/100M/1Gbps network
Buttons
Manual record ON Press and hold for 2 seconds
OFF Press and hold for 2 seconds
Reset Restore default Press and hold for 10 seconds
Restart Press and hold for 2-10 seconds
Buzzer stop STOP Press and release should stop buzzer right away

Use NVR Search Utility
If the NVR is placed in a corporate network or a local area network
where a DHCP server is already presented, run the “NVR Search”
utility from a computer that is on the same network and locate the
NVR with its IP address that is assigned by the top-level DHCP server.

6 NVR04,08,16 User’s Manual
To begin, launch the “NVR Search” utility from the CD and proceed
with the installation:

Once the installation is complete, check the “Launch the Search AP”
option and click “Finish”.
The search should start automatically and its status should be dis-
played.

8 NVR04,08,16 User’s Manual
The NVR should be located and its IP address should be displayed.
Double-click on an NVR and the search program should automatically
access the NVR’s web administration page from your default browser.

You should be prompted for the NVR’s username and password. Enter
its default username “admin” and password “admin” and then
click ”OK” to enter the system
Please make sure you are using Internet Explorer 7 or above
If you are running Windows Vista or 7, please make sure you are
running Internet Explorer with the “administrator” privilege.

10 NVR04,08,16 User’s Manual
Access the NVR with its default IP address
The NVR comes with a pre-configured static IP “192.168.101.50”.
However, it is only used when there is no DHCP server presented in
the network. The NVR will turn on its DHCP server function and act as
the DHCP server in the network. To connect to the NVR, use a PC that
is on the same network over a switch or hub, or connect the PC
directly to the NVR using a crossover CAT5 Ethernet cable.
The PC that is connected directly to the NVR (or within the same local
area network) should receive an IP from the NVR. Simply access the
NVR from your web browser with its IP address

A
ga
its
d
clic
If
y
ke
y
a
in, you
s
default u
s
k ”Login
”
y
ou use l
o
y
board to
s
hould be
s
ername
“
”
to enter
o
cal UI to
enter us
e
prompte
d
“
admin”
the syst
e
operate
N
e
r name
a
d
for the
and pas
s
e
m
N
VR, clic
k
a
nd pass
w
usernam
e
s
word “a
d
k
to
d
w
ord.
e
and pa
s
d
min” an
d
d
isplay vi
r
s
sword. E
d
then
r
tual
nter

12
M
a
Th
e
the
It
d
foll
o
fun
Th
e
•
•
•
•
•
•
•
sn
a
rep
•
•
•
•
NVR04,
0
a
in/Li
v
e
main/li
v
NVR thr
o
d
isplays t
h
o
win
g
th
e
ctions ex
e
“Live Vi
e
Retri
e
Retri
e
Perfo
r
PTZ C
Perfo
r
Perfo
r
Take
s
a
pshots a
r
resents t
Recei
v
Send
Contr
o
Chan
g
0
8,16 User’
s
v
e Vie
w
v
e view is
o
u
g
h the
h
e live vi
d
e
pattern
plained b
e
w” pa
g
e
e
ve cam
e
e
ve cam
e
r
m Live
S
ontrol (
C
r
m PTZ
P
r
m man
u
s
napsho
r
e autom
a
he partiti
v
e audi
o
audio
o
l “Buzz
g
e web
U
s
Manual
w
the first
internet
b
d
eo of all
chosen b
ellow.
provides
e
ra’s vid
e
e
ra’s sta
t
S
equen
c
C
lick dir
e
P
reset S
e
u
al reco
r
t- as so
o
a
tically s
a
on wher
e
o
of a vid
er”
U
I displa
interface
b
rowser.
the cam
e
y the us
e
the follo
w
e
o strea
t
us
c
e Viewi
n
e
ctly on
t
e
quence
r
din
g
o
n as a s
n
a
ved to x
e
Window
s
eo strea
y lan
g
u
a
displaye
d
e
ras add
e
e
r. The in
t
w
in
g
fun
c
m
ng
t
he vide
o
viewin
g
n
apshot s
:\Snapsh
o
s
is instal
m
ag
e
d
once y
o
e
d to the
N
t
erface h
a
c
tions:
o
)
g
election i
s
o
tFolder
(
led, e.
g
:
o
u access
N
VR and
a
s many
s made,
t
(
"x"
C:\)
to
t
he

a.
T
b.
c.
U
f
T
he UI’
s
Date an
The D
a
section
U
ser’s
c
It displa
If you cl
f
unctions
-Lan
gu
-User
s
-Locki
n
-Lo
g
o
u
s
5 main
The bar
d
Interface
The Live
explaine
d
d Time
a
te and t
h
of the N
V
c
onfi
g
ur
a
ys the n
a
ick on th
e
bellow:
u
a
g
e setti
s
ettin
g
ng
the sc
r
u
t functio
n
functi
o
d
isplays t
(UI).
view is t
h
d
in each
display
h
e Time a
V
R.
a
tion
a
me of th
e
e
name o
n
g
s
r
een
n
o
ns:
he 5 mai
n
h
e main
v
chapter.
re define
e
current
o
f the use
n
functio
n
v
iew .The
d by the
user.
r, the co
n
n
s of the
W
other 4
v
user in t
h
n
text me
n
W
eb Use
r
v
iews will
h
e settin
g
n
u offers
t
r
be
s
t
he

14
d.
t
e.
C
the
rec
o
rec
o
us
e
f.
V
-
-
NVR04,
0
Hardw
a
In this
t
ri
gg
ered
C
hanne
l
If you
c
channel
s
It can a
l
ordin
g
or
ordin
g
.
The cha
n
e
r interfa
c
V
ideo
f
r
a
All the
c
-
The P
T
mous
e
-
Doubl
e
functi
o
mous
e
0
8,16 User’
s
a
re even
section,
y
or if the
l
s statu
s
c
lick on t
h
s
added t
o
l
so displa
y
the conf
i
n
nels sta
t
c
e is ope
n
a
me
c
amera’s
v
T
Z functi
o
e
on the
c
e
click on
o
n. To di
s
e
.
s
Manual
ts notif
i
y
ou will
r
hard dri
v
s
h
e icon, p
o
the NV
R
y
the cur
r
ig
uration
t
us pa
g
e
n
.
v
ideos ar
e
o
n is avail
c
amera’s
v
the left
b
s
able it y
o
i
cation
r
eceive n
o
v
e of the
N
a
g
e tab
w
R
.
r
ent conf
i
settled f
o
is updat
e
e
display
e
l
able by
c
v
iew.
b
utton of
o
u can cli
c
o
tification
N
VR faile
d
w
ill displa
y
ig
uration
o
r the sc
h
e
d as lon
g
e
d in this
c
lickin
g
o
f
the mou
s
c
k on the
s if a wa
r
d
in reco
r
y
the cur
r
used for
h
eduled a
n
g
as the
N
frame.
f
the left
b
s
e enable
s
ri
g
ht bu
t
r
nin
g
sou
n
r
din
g
dat
a
r
ent stat
u
the even
t
n
d manu
a
N
VR’s mai
b
utton of
s the zoo
t
ton of th
e
n
d is
a
.
u
s of
t
a
l
n
the
m
e

in
t
sh
o
g.
rep
cur
If the c
u
t
he top.
The bar
o
wed on t
List vie
w
It disp
l
resents
a
rents sta
t
u
rsor is p
o
displays
he snaps
w
l
ays the l
i
a
camera
t
us.
o
intin
g
o
n
the chan
n
hot abov
e
i
st of cha
with its
n
n
one of t
n
el’s nu
m
e
.
nnels ad
d
n
ame, th
e
he came
r
m
ber and
s
d
ed to th
e
e
channel
r
as, it will
s
ome fun
c
e
NVR. E
a
number
a
show a
b
c
tions as
a
ch chan
n
a
nd its
b
ar
n
el

16
Th
e
-
-
-
h.
1
Dif
f
Yo
u
Ev
e
“n”
i.
S
Th
e
g
ro
pe
r
j.
S
Cli
c
vie
w
Thi
s
NVR04,
0
e
channel
-
Red:
T
-
Blue:
-
Grey:
1
, 4, 9,
1
f
erent pa
t
u
can dis
p
e
ry time
y
cameras
S
equen
c
e
sequen
c
o
up of ca
m
r
iod to 1
s
S
ave vi
e
c
k on the
w
and sa
v
s
will hel
p
0
8,16 User’
s
’s status
T
he chan
The cha
n
The cam
e
1
6 Patt
e
t
terns of
l
p
lay 1, 4,
y
ou click
o
will be d
c
e view
c
e mode
w
m
eras ev
e
s
econd to
e
w
save vie
w
v
e it.
p
to quic
k
s
Manual
is define
d
nel is rec
n
nel is co
n
e
ra is dis
c
e
rn vie
w
l
ive view
9, or 16
o
n an “ n
”
isplayed.
w
ill auto
m
e
ry a cert
60 seco
n
w
button
k
ly displa
y
d
by 3 col
ordin
g
a
n
n
nected
a
c
onnecte
d
w
can be di
cameras
”
pattern
m
atically
s
ain perio
d
n
ds
and you
w
y
your co
n
ors:
n
d the liv
e
a
nd live v
d
splayed
o
at once.
icon, the
s
witch be
t
d
of time
.
w
ill able
t
n
fi
g
ured
v
e
view is
a
iew is av
a
o
n the vi
d
live vide
o
t
ween a
s
.
You can
t
o name
t
v
iews wh
e
a
vailable
a
ilable
d
eo fram
e
o
of the
n
s
in
g
le or
define t
h
t
he curre
n
e
n neede
e
.
n
ext
h
is
n
t
d.

k.
S
T
Y
a
t
I
d
S
aved
v
T
his secti
Y
ou can
c
a
lso able
t
ime by c
I
f you ch
e
d
elete th
e
v
iew
on can d
i
c
hoose th
to switc
h
c
lickin
g
o
n
e
ck the b
o
e
view.
i
splay th
e
e views f
r
h
betwee
n
n
the “sta
o
x besid
e
e
views t
h
r
om the l
n
saved v
i
rt seque
n
e
the na
m
h
at you h
a
ist you h
a
i
ews eve
r
n
ce functi
m
e of the
v
a
ve alrea
d
a
ve creat
e
r
y certain
on”.
v
iew, you
d
y saved.
e
d. You a
period o
f
u
can edit
re
f
or

18 NVR04,08,16 User’s Manual
l. Hidden accordion menu
Click button to open accordion menu.
The accordion menu is used to control video channel, the function
depends on supported camera.
The functions include main function (digital PTZ, snapshot, audio
post),lens control, preset point control, change channel, stream
selections, fisheye mode and lens selection.
Main function

1. Digital PTZ On/Off (Default: Off)
2. Take a snapshot
3. Take 3 consecutive snapshots
4. Audio post (should be in disabled state if camera doesn’t support
this function)
If multi-stream mode of camera is supported by NVR, you can select
the suitable video stream to be displayed.

20
Pl
a
Pla
y
we
r
ev
e
ch
a
yo
u
Yo
u
au
d
Pla
y
tak
To
NVR04,
0
a
ybac
k
y
back is
a
r
e previo
u
e
nt tri
gg
e
a
nnels an
d
u
find the
u
can tur
n
d
io was a
l
y
back vi
d
en and s
a
play a re
c
0
8,16 User’
s
k
view
a
functio
n
u
sly reco
r
r. The N
V
d
various
foota
g
e
y
n
on or o
f
l
so recor
d
d
eo can b
e
a
ved duri
c
orded vi
d
s
Manual
n
that all
o
r
ded by a
V
R offers
s
types of
y
ou need
f
f the aud
d
ed durin
g
e
viewed
n
g
a vide
d
eo:
o
ws you t
o
chosen
r
s
ynchron
i
search
m
quickly.
io of a re
c
g
the rec
o
in full sc
r
o playba
c
o
play on
e
r
ecordin
g
i
zed play
b
m
ethods a
c
orded vi
o
rdin
g
of
r
een and
c
k.
e
or mor
e
method
o
b
ack fro
m
re provid
e
deo at y
o
the vide
o
snapshot
e
videos
t
o
r due to
m
up to 4
e
d to hel
p
o
ur choic
e
o
.
s can be
t
hat
an
p
e
if
Other manuals for DN-16111
4
This manual suits for next models
2
Table of contents
Other Digitus Network Hardware manuals

Digitus
Digitus DN-7071 User manual

Digitus
Digitus DN-16114 User manual

Digitus
Digitus DN-15022 User manual

Digitus
Digitus DN-16121 User manual

Digitus
Digitus DN-91624S-SL-EA User manual

Digitus
Digitus DS-55317 User manual

Digitus
Digitus Professional DN-95321 User manual

Digitus
Digitus Unique Series User manual

Digitus
Digitus DN-15024 User manual

Digitus
Digitus DN-15028 User manual