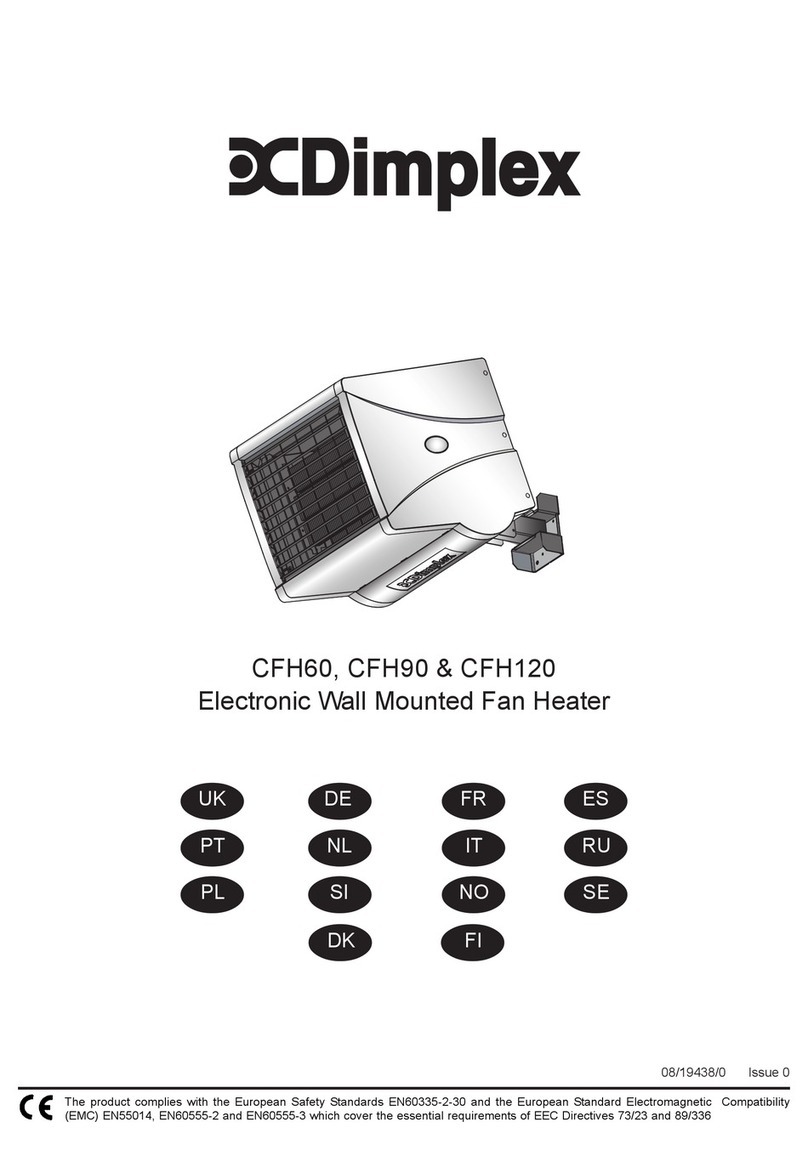
Fig.1
3. 2.
7.
4.
8.
6.
9.
1.
This heater must be used on an A.C.~ supply only and the voltage marked
on the heater must correspond to the supply voltage. This heater is tted
with a plug incorporating a 13 amp fuse. When replacing the fuse, a 13
amp fuse approved by ASTA to BS 1362 must be used.
If the plug is not suitable for the socket outlets in your home, the plug must
be cut o and an appropriate one tted. A plug cut o from a mains lead
will give a shock hazard if inserted into a 13 amp socket elsewhere in the
house. To avoid this, it should be disposed of immediately.
NOTE: The fuse cover of a non-rewirable plug must be retted when
changing the fuse. Should the cover become lost, the plug must not be
used until the correct replacement fuse cover is obtained from your supplier
or by contacting our customer helpline.
IMPORTANT: The wires in this mains lead are coloured in accordance
with the following code:
BLUE: NEUTRAL
BROWN: LIVE
As the colours of the wires in the mains lead may not correspond with the
coloured markings in your plug, proceed as follows:
Connect the BROWN wire to the terminal marked ‘L’ or coloured RED.
Connect the BLUE wire to the terminal marked ‘N’ or coloured BLACK.
Note: ‘L’ or ‘N’ must not be connected to the EARTH terminal marked ‘E’
or ‘ ’ or coloured GREEN or GREEN AND YELLOW.
If in doubt, consult your electrician.
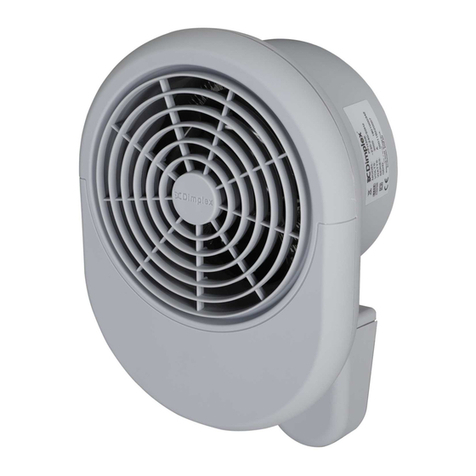
MainElements-See Fig 1.
HeatControl- see Fig. 2
ThermostatControl-see Fig. 3
The heat output is controlled by the thermostat, according to the room
temperature.
Turn the thermostat knob fully clockwise to
maximum setting initially. When the room is
warm enough, reduce the setting slowly until
the heater just clicks o.
The heater will now cycle on and o to maintain
your selected room temperature. An audible click
may be heard when the thermostat operates - this
is normal.
Note: If the heater does not come on when the
thermostat is at a low setting, this is normally
because the room is warmer than the thermostat
setting and is not a fault.
1. Power Indicator Light
2. Switch Knob
3. Thermostat Control Knob
4. Air Outlet
5. Tip Switch
6. Inlet Grille
7. Handle (Q2TS, Q3TS, Q2TSO, Q3TSO)
8. Oscillating Base (Q2TSO, Q3TSO)
9. Oscillation Switch (Q2TSO, Q3TSO)
Fig.3
UsingtheHeater
Recycling
Cleaning
Safety-overheatprotection
Electricalconnection
OFF
Cool Blow*
Half Heat
Full Heat
Fig.2
Oscillation(Q2TSO & Q3TSO Only)
Fig.4
ModelIdentier(s):
Q2TSNH
Q2TS
Q2TSO
Q3TSNH
Q3TS
Q3TSO
Heatoutput
Nominal heat output Pnom 2.0 3.0 kW
Minimum heat output (indicative) Pmin 0.8 1.5 kW
Maximum continuous heat output Pmax,c 2.0 3.0 kW
AuxiliaryelectricityConsumption
At nominal heat output elmax 0.0 0.0 kW
At minimum heat output elmin 0.0 0.0 kW
In standby mode elSB 0.0 0.0 kW
Typeofheatoutput/roomtemperaturecontrol
Mechanical thermostat room temperature control Yes
Contact details
Glen Dimplex Heating & Ventilation
Millbrook House, Grange Drive, Hedge
End, Southampton.
SO30 2DF
* When the heat control is set to ‘ ’ for cool blow, set the thermostat
control to maximum.Position ‘ ’ will turn the heater on and o to maintain
a temperature of approximately 5°C.
The heater can be switched into oscillation mode by pressing the switch on
the rear of the oscillation base, see 9. - Fig1.Position ‘ ’ will turn oscillation
on and position ‘ ’ will turn oscillation o, see Fig.4. The heater oscillates
back and forth on its base through 90 degrees. Oscillation feature provides
Heating and Cooling eect across a wide area. This is particularly useful
for providing maximum coverage for Heating or Cooling eect quickly
and eciently.
For your safety, this appliance is tted with a thermal cut-out. In the event
that the product overheats, the cut-out switches the heater o automatically.
To bring the heater back into operation, remove the cause of overheating,
then turn o the electrical supply to the heater for a few minutes.
When the heater has cooled suciently reconnect and switch on the heater.
If the cut-out operates repeatedly, contact your supplier.
WARNING ALWAYS DISCONNECT FROM THE POWER SUPPLY
BEFORECLEANINGTHEHEATER.
Do not use detergents, abrasive cleaning powders or polish of any kind
on the heater.
Wipe with a dry cloth to remove dust and a damp cloth (not wet) to clean
o stains. Be careful not to allow moisture into the heater. This heater is
provided with an air lter. This is designed to remove large dust particles,
u and hair to enhance air quality. It is recommended the lter be removed
regularly to clean to avoid overheating of the element. Use a vacuum
cleaner to remove any u which does accumulate.
For electrical products sold within the European
Community.
At the end of the electrical products useful life it
should not be disposed of with household waste.
Please recycle where facilities exist. Check with
your Local Authority or retailer for recycling advice
in your country.
