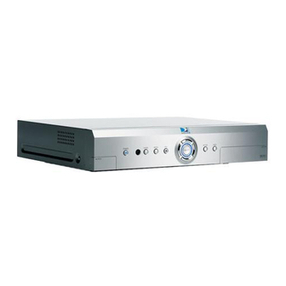
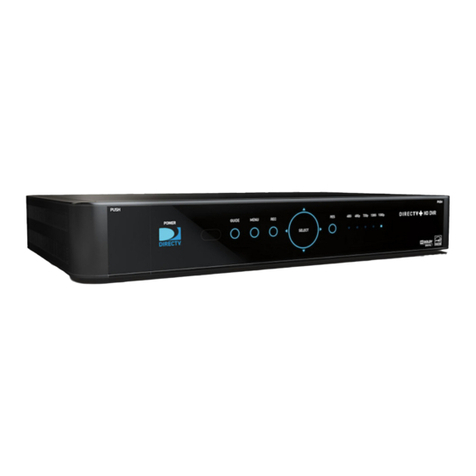
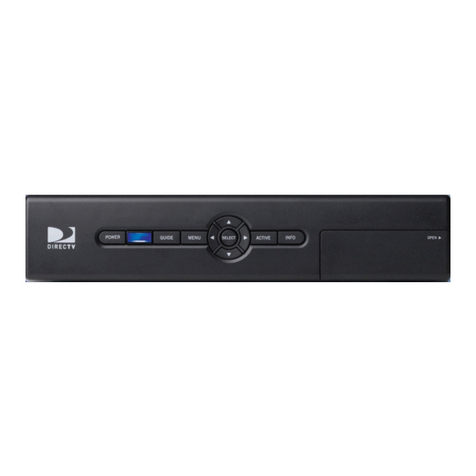
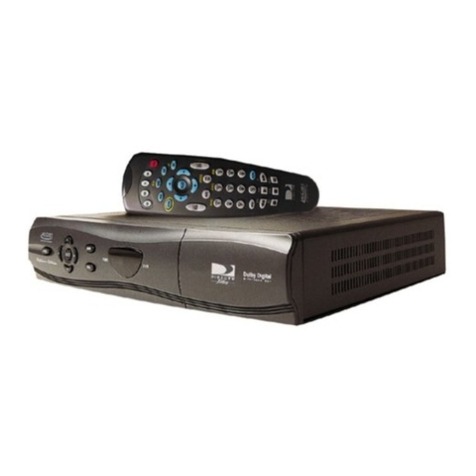
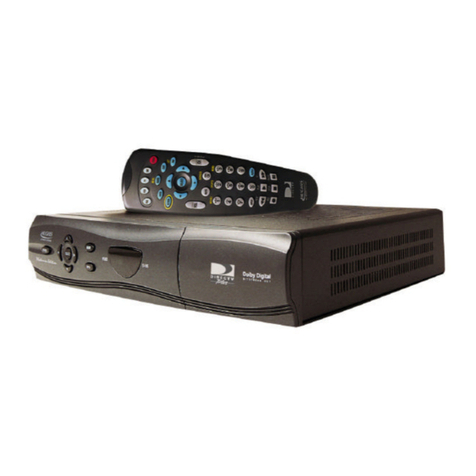
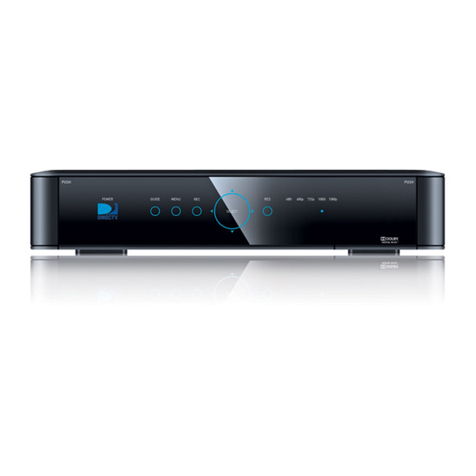
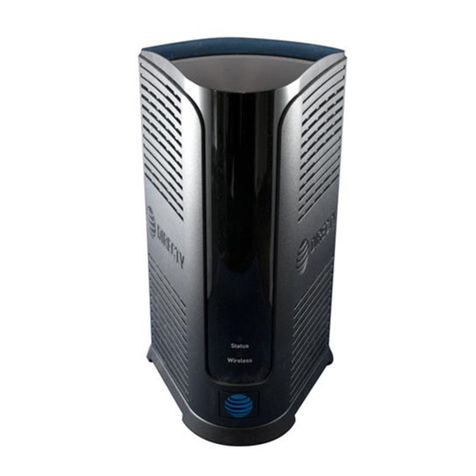
DirecTV Genie User manual

DIRECTV®
Pre-Loaded
GENIE®USERGUIDE

3
2
As a resident in a DIRECTV Pre—Loaded property,
your unit is already set up to receive the best in
television programming—there’s no need for a
technician to visit your apartment or condo. Get
started watching DIRECTV in a few easy steps.
Your residence comes fully equipped with DIRECTV®
Receivers. The best thing about DIRECTV Pre-Loaded
is that you control your options. You should already
have up to four* receivers in your residence, plus some
additional equipment. You can choose to activate
them all or just use one.
•1 Genie® Receiver and up to 3 Genie® Mini clients*
•One remote per receiver or client
•HDMI or component (RCA) cables to connect
your equipment to your television
•Power cords
Note: Additional equipment, including remotes, can be
requested from property management.
Please note that all accounts require that the primary receiver
be activated in order to activate your account. Your dealer
can inform you which of the receivers is the primary receiver
when you call to activate.
If you’re unable to locate your equipment or are missing
equipment, please contact your property manager.
DIRECTV Pre-Loaded User Guide Step 1:
Locate Your Equipment
*Receiver quantity varies by unit. Activated receivers may result in additional charges (for second receiver and beyond).
If you haven’t done so already, you may also
reference the DIRECTV Tips & Tricks booklet you
received from your property manager for additional
information about your DIRECTV® services.

5
4Step 2:
Option 2: Using RCA (Component) Cables
This option supports HD video and audio. You will need two separate RCA cables.
Locate the RCA (Component) ports on the back of the Genie®.
Plug the green, blue and red ends of cable
1 into the corresponding green, blue and
red output ports on the back of the Genie®.
Plug the other ends of the cable into the
corresponding input ports on the back of
your TV.
For audio, plug the red and white ends of
cable 2 into the corresponding red and white
output ports on the back of your receiver.
Plug the other ends of the cable into the
corresponding input ports on the back of
your TV.
DO NOT use the yellow end of the cable.
Set your TV resolution to 1080i or 720p.
Connect your Genie® to power by plugging the power cord
into the Genie® then into your wall outlet. Power the Genie®
and TV.
1
2
3
Note: If you don’t see a clear picture, your TV might not be set on the right input (for example,
component 1). You can change your TV input using your TV remote control or manually by pressing
the Input, Source, TV/Video or A/V button on your TV’s control panel.
Ensure that one end of the coax
cable is securely connected to
the Genie® and the other end is
securely connected to the coax
wall jack. Your coax cable may be
built into your wall. If that’s the
case, just ensure that the coax
cable is securely connected to the
Genie®. Connect the AC power
cable to the Genie®.
Option 1: Using an HDMI Cable
This option supports HD video and Dolby® Digital audio.
Plug one end of the cable into the HDMI
port on the back of your receiver.
Plug the other end
of the cable into the
HDMI port on the
back of your TV.
Connect your Genie® to power by plugging the power
cord into the Genie® then into your wall outlet.
Do not plug the power cord into an outlet
until you’ve completed the other steps.
Locate the HDMI port on the back of the Genie®.
1
2
3
4
Connecting a Genie® Receiver to an HDTV
Genies are considered the primary
receiver and should be connected
to your main (primary) television.
Genies must be connected first and
can operate without connecting
Genie® Minis. Genie® Minis must
have a primary Genie® connected to
work properly. Choose one of the
following two options to plug your
Genie® into your television:
VIDEO
Red, green, blue
and possibly
yellow
AUDIO
Red, white
Do not plug the power cord into an outlet
until you’ve completed the other steps.

7
6
Once you have turned on the Genie® and TV, you
should see the DISPLAY LANGUAGES screen. Follow
the prompts on the screen to complete the initial setup.
Note: The following steps reflect the general setup process.
During initial setup, the actual screen that displays on your
TV may be dierent or the setup process may skip screens.
Step 3: Step 4:
Initial Setup
3
Screen Three: This is the ACTIVATION screen. You should
see both the Receiver ID number and the Access card
number displayed on the screen. Do not call the 1-800
number displayed on the screen. Contact your DIRECTV
Authorized Dealer to ensure you are set up with the
correct base programming package for your property.
1
Screen One: This is the DISPLAY LANGUAGES screen.
Using the arrow keys on the remote control, move to the
language you prefer and press SELECT.
2
Screen Two: This is the SATELLITE DISH SETUP screen.
If all of the cables have been connected properly, then
satellite information should be displayed. If given the
option to enter an Order ID, please do not enter an
Order ID. Using the arrow keys on the remote control,
select CONTINUE.
Once the ACTIVATION screen displays on the TV, you
can connect one or more Genie® Mini clients to other
TVs in your unit (if available).
Option 1: Using an HDMI Cable
This option supports HD video and Dolby® Digital audio.
Connecting a Genie® Mini to an HDTV
Ensure that one end of the coax cable is securely
connected to the Genie® Mini and the other end is
securely connected to the coax wall jack.
Connect the AC power cable to the Genie® Mini.
You will plug your Genie® Mini in once you have
powered on your Genie® and it is displaying the
correct information. This process is outlined in
Step 4.
IMPORTANT:
If DIRECTV® programming displays on your TV instead
of a setup screen (that is, if you are able to view
channels), contact your DIRECTV Authorized Dealer
immediately. The receiver is still active on another
DIRECTV account and will need to be deactivated.
DO NOT ENTER
AN ORDER ID.
Order ID:
Locate the HDMI port on the back of
the Genie® Mini.
Plug one end of the cable into
the HDMI port on the back of
your Genie® Mini.
1
2
Plug the other end of the cable
into the HDMI port on the back
of your TV.
3
Do not plug the power cord into an outlet
until you’ve completed the other steps.
HR
HR

9
8Step 4: Continued
Option 2: Using RCA
(Component) Cables
Locate the A/V out port on the back of the
Genie® Mini and plug the appropriate end of the
S-Video cable into the A/V out port. Plug the
other ends of the cable into the corresponding
input ports on the back of your TV.
Connect your Genie® Mini to
power by plugging the power
cord into the Genie® Mini then
into your wall outlet. Power on
the Genie® Mini and TV.
1
2
Make sure the notification LED on the Genie® Mini(s) is
green. This signifies that it is connected to the Genie®.
If the light is orange and flashing, then check all of the
cables to ensure they are connected correctly.
If, after checking the cables, the Genie® Mini
notification LED is still not green, you may have to add
the Genie® Mini to your Genie® Whole-Home HD DVR
settings. Follow the steps below to add the Genie® Mini
to your Genie® Whole-Home HD DVR settings:
Troubleshooting Genie® Mini
Follow the guided setup screens on the TV(s) connected
to the Genie® Mini(s). Take note of the Receiver ID for the
Genie® Mini(s). You will need the Receiver ID for activation.
1
2
3
5
4
6
7
8
Go to the Genie® HD DVR to begin the
ADD A CLIENT guided setup.
On your remote, press MENU, select
SETTINGS & HELP > SETTINGS > WHOLE-HOME
> MANAGE CLIENT > ADD CLIENTS.
Note the PIN that displays on the screen—you will
need to enter the PIN on your Genie® Mini at its
location. Leave the Genie® HD DVR on this screen
until the setup of the Genie® Mini is complete.
Return to the location where you set up your
Genie® Mini.
Using your remote, enter the PIN you noted in
Step 3.
Select ADD A NEW LOCATION. Enter a custom
name for the location and select SAVE NAME.
A confirmation message will appear. Select OK.
Return to the Genie® HD DVR and select DONE on
the ADD A CLIENT screen.
With the DIRECTV Pre-Loaded system, you can choose
from a variety of digital programming. DIRECTV
Pre-Loaded properties include a base programming
service. Your DIRECTV Authorized Dealer can give you
more information on the programming that is provided
to you as a resident at this property.
To activate your DIRECTV® service, you will need to
call your DIRECTV Authorized Dealer. Your property
manager will have your DIRECTV Authorized Dealer’s
contact information. Your dealer will help you
determine which additional programming and services
best fit your needs so you can fully customize your
DIRECTV experience.
Activate your DIRECTV® Service
Would you like to have access to more channels than what your base programming service oers?
Your DIRECTV Authorized Dealer can upgrade your services to include additional programming.
Would you like to enjoy premium channels like HBO® or SHOWTIME®?
Your DIRECTV Authorized Dealer will oer you the option of adding DIRECTV premium packages that include
premium channels like HBO®, SHOWTIME®, and many others
Are you a sports fan?
Your DIRECTV Authorized Dealer will help you explore premium sports packages that will ensure that you don’t
miss out on your favorite sporting events.
Step 5:
After you have activated your DIRECTV® Service
with your Authorized Dealer, a download screen will
appear and the Genie® will complete its download. It is
important not to turn o or unplug the receiver during
this process, which can take 3-30 minutes. Once the
download has finished, there will be a COMPLETE
button, which you will need to select by using the
SELECT button on the remote.
Complete Genie® Setup
This option supports HD video and audio. You will
need an S-Video-to-RCA cable to connect the
Genie® Mini using component cables.
11
10
Press MENU on your remote.
Select SETTINGS & HELP.
Select SETTINGS.
Select REMOTE CONTROL.
Select PROGRAM REMOTE.
and then select the device
you wish to program.
You can program your Genie® Remote to control the
following:
•TV
•Audio devices (sound bar, surround sound, etc.)
Step 7:
You may need to check the settings on your receiver
to ensure you’re getting the most from your DIRECTV®
programming and are able to view all of the channels
available to you. To do this, follow these easy steps:
Step 8:
Kick up your feet and enjoy your new DIRECTV® service!
You now have the very best in DIRECTV® programming.
Get to know your on-screen guide, find out about your
receiver’s interactive features, learn helpful shortcuts and
more by referencing the DIRECTV Tips & Tricks booklet
or by visiting directv.com.
If you have any questions, contact your DIRECTV
Authorized Dealer.
DIRECTV® Genie® Remote
The new settings will go into eect within a few minutes.
Check Your Settings
Program Your Remote(s)
IMPORTANT:
Before you proceed with the steps below, please make
sure your Genie® remote is in RF MODE. To do this, press
and hold both the MUTE and ENTER buttons at the same
time while pointing at your Genie® or Genie® Mini. The
screen will display APPLYING IR/RF SETUP.
1
2
3
5
4
To program your remote to control a regular HDTV or audio
device, follow these steps:
Follow the on-screen prompts to complete programming
your remote.
Follow the above steps with Genie® Mini(s) and other remotes.
Note: If your remote is not listed, or you need additional
codes, use the code lookup tool to find the 5-digit code for
your device. Simply visit directv.com and type “code lookup
tool” in the search box on the home page.
Press MENU on the remote.
Select SETTINGS & HELP, then
SETTINGS.
Select DISPLAY.
Select PREFERENCES.
In the Guide HD Channels
section, select one of the
following:
•Hide HD Channels
•Hide SD Duplicates
•Show all Channels
Press OK.
1
2
3
5
4
6

Moving? Make sure you leave your equipment in your apartment or condo when
you leave—it’s an in-unit appliance. Contact your dedicated DIRECTV Authorized
Dealer for more information.**
Take your DIRECTV® service with you. You can set up DIRECTV at your new
residence. Leave your receivers in the unit and give DIRECTV® Movers a call to get
set up with new receivers at your new home. Call 1-800-923-1994 to move your
DIRECTV® service.
**Please note: It is the account holder’s responsibility to disconnect services once the DIRECTV Pre-Loaded unit has been vacated. Any charges that may
appear on the account are the responsibility of the account holder, if the account is not disconnected.
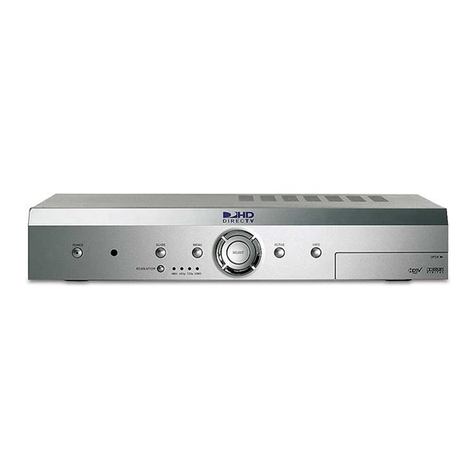
Other manuals for Genie
3
Table of contents
Other DirecTV Receiver manuals

DirecTV
DirecTV D10-200 User manual

DirecTV
DirecTV H20 User manual

DirecTV
DirecTV Genie User manual

DirecTV
DirecTV R34 User manual

DirecTV
DirecTV R15 User manual

DirecTV
DirecTV SL5 User manual

DirecTV
DirecTV H20 User manual

DirecTV
DirecTV D12 User manual

DirecTV
DirecTV HD DVR Receivers User manual

DirecTV
DirecTV D12-300 User manual

DirecTV
DirecTV HIRD-E6 User manual

DirecTV
DirecTV HAH-SA User manual

DirecTV
DirecTV D11 User manual

DirecTV
DirecTV Receiver User manual

DirecTV
DirecTV Genie 2 User manual

DirecTV
DirecTV GENIE HR44 User manual

DirecTV
DirecTV ProScan DSS Receiver User manual

DirecTV
DirecTV D10 Manual

DirecTV
DirecTV D10 User manual

DirecTV
DirecTV HIRD-B4 User manual