Discount Car Stereo A2DIY-CHRY User manual
Courtesy of: DiscountCarStereo.com
Serving the internet community since 1995
A2DIY-CHRY
QUICK BLUETOOTH INSTALLATION GUIDE FOR 1995-02 CHRYLER RADIOS WITH CD CHANGER CONTROLS

PRODUCT SAFETY & DISCLAIMER
READ ALL INSTRUCTIONS CAREFULLY BEFORE INSTALLING, FAILURE TO DO SO MAY CAUSE
PERSONAL INJURY OR DAMAGE TO PRODUCT AND/OR PROPERTY
•This installation guide is provided as a GENERAL installation guide, some vehicles vary and
may require additional steps. We do not accept responsibility for third party labor charges
or modifications. Exercise due-diligence when installing this product.
•We do not accept any responsibility for vehicle damage or personal injury resulting from
the installation of this product.
•Careless installation and operation can result in equipment damage.
Requirements:
cd changer controlling radio
Introduction
Just because you drive an order car does not mean you have to settle for old
technology. Any 1995-02 Chrysler CD changer controlling radio is compatible
with this module and able to make/received phone calls, stream apps (Music,
GPS etc.) The A2DIY-CHRY adapter provides Hands-free calls and music
streaming solution for Smartphone, Kindle, Table etc. A wireless connection
means no wires, clutter or complicated setup. The A2DIY-CHRY plug-n-play
solution connects to factory radio 8-pin CD changer port which guarantees the
best possible sound and replaces the CD changer (if present).
Warning: The A2DIY-CHRY does not work on all Chrysler radios. For this
module to work as described the 1995-02 radio must have CD changer
controls and the following buttons on radio face: (See radio image on page 1)
a.Mode button, Disc ^" printed on preset # 1 and #5, 5-Band EQ.
b.Mode/Eject button, 6 radio presets, Bass and Treble slider controls,
"DIRECT DISC SELECT 1-6" above radio presets.
c. European (Export) radio models:P04704345, P05269484, P04671088,
P4704345-G
See Frequently Asked question at the end of this guide for details.
Installation
Radio removal required. Vehicle specific radio removal is not part of this guide
but available upon request.
1. If vehicle has optional CD changer, it must be permanently disconnected.
2. Connect adapter 8-pin plug (See Fig. 1) to 8-pin “CD” socket on radio (See
Fig. 2)
Fig. 1
8-pin plug
Fig. 2
Radio socket
3. Secure microphone to headliner or visor with included clip (See Fig. 3)

4. Route microphone plug/cable (10 ft. long) down side pillar, under steering
column and into radio cavity,
5. Connect microphone plut to module “MIC” input. (See Fig. 4)
Wind noise (Convertibles) will negatively affect phone audio. Users are
advised to install microphone away from wind/ventilation ducts etc.
Visor microphone
Fig. 3
Fig. 4
Module
Pairing
The pairing process varies between devices but the basic steps are the same.
This process is done upon initial install and will not have to be repeated
1. Turn Ignition and radio “ON”
Adapter LED will flash (pairing mode)
2. On A2DP device: Go to
Settings, Wireless & Networks, Bluetooth
Settings
3. Select
Bluetooth
and turn on.
4. Then select Bluetooth settings
5. Tap
Scan for devices
.
6. Wait for the Bluetooth device name to appear and select it. (See below)
Adapter LED will glow steady
Notes:
1. New! On incoming calls, ring tone and call number announced on car speaker.
Additional tone (static) heard during call number announcement is normal
2. On some Chrysler radios (dependent on software version); the SEEK button
can be used to change tracks, answer/reject calls.
3. *Media remote does not control Chrysler radio functions.

Media remote
Pairing:
Ensure Bluetooth is enabled on your device (e.g., Smartphone/Tablet etc.)
Press and hold pause/play until Blue LED begin flashing
Scan smartphone for available devices and select BT009 from list. (Blue LED
turns off).
Installation:
Attach remote to steering wheel (includes holder) or attach to dashboard using
included double sided tape –your choice.
Because the media button pairs with your Smart device, it can also be used at
home, in the park or wherever you decide to play your tunes.
Operation:
Once paired with smart device (e.g., Phone, Tablet, etc.), users may perform the
following functions on iOS with Bluetooth 3.0 and later or Android 4.0 or later.
Media button functions applies to smartphone NOT Chrysler radio.
Charging:
Media button built-in rechargeable 200mAH battery may last up to 10 days.
Connect included USB cable to charge charging port at the back.
Red LED indicates charging; a full charge is reached after 2 hours at which time
LED turns off.
Bluetooth operation
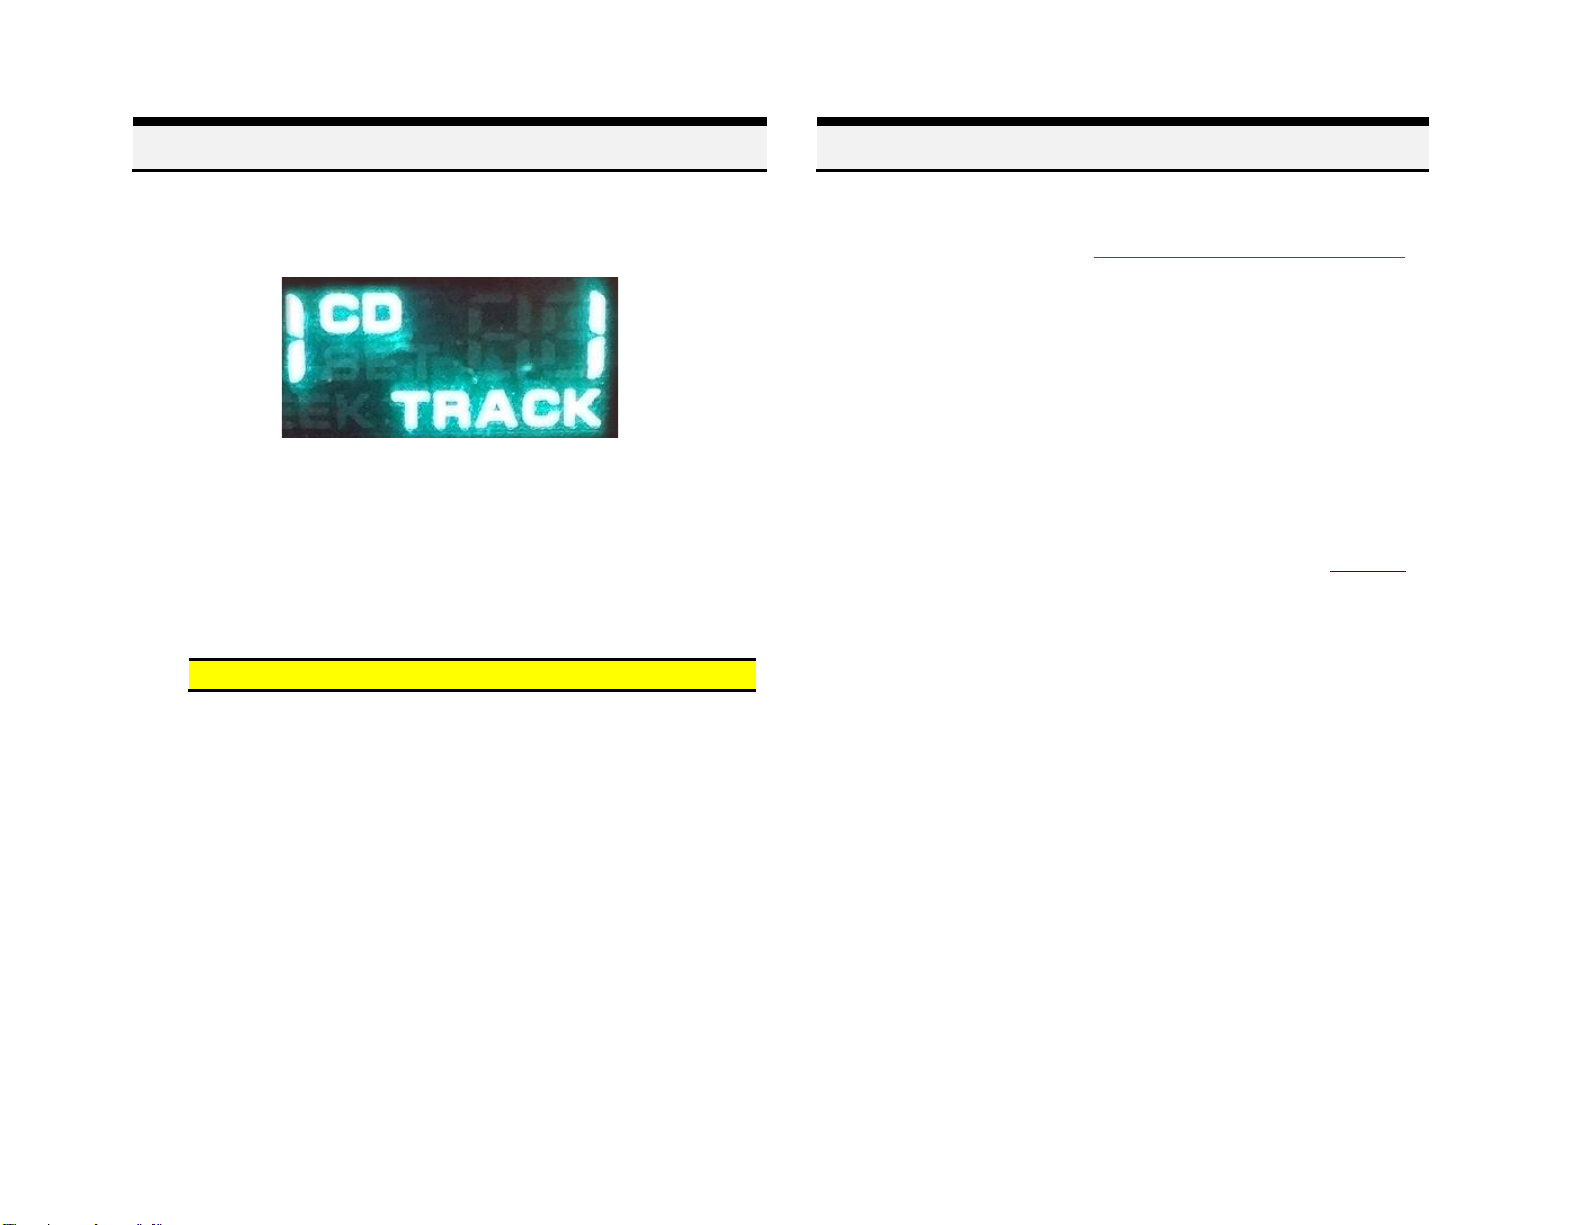
7. Turn ignition and radio “ON”
8. Press “MODE” button on radio to enter Bluetooth mode (See Fig. 5)
Fig. 5
9. Launch streaming application (e.g., Pandora, Apple music etc.)
10. Use device built-in control or media remote to change tracks, adjust
device volume, pause/play etc.
11. Place test call or ask someone to call. Press media remote
“Pause/Play” button to accept/end call.
Warning: Use smartphone built-in controls to access applications
Notes:
1. If playback is distorted or low, adjust volume on Bluetooth device.
2. On incoming calls, ring tone and number announcement plays on car
speakers
3. Bluetooth range is approximately 30 ft. make sure device is within
range
4. *Media remote does not control Chrysler radio functions.
If successful go ahead and reinstall radio
Frequent ask questions & troubleshooting
1. Will the A2DIY-CHRY work on all radios with 8-pin “CD connector?
NO;the A2DIY-CHRY works on 3 Chrysler CD changer controlling radios
described on page 2.
2. My radio has a MODE button. Will the A2DIY-CHRY work?
Probable not. Radio face must have more than a “MODE” button. Refer to
question 1 for additional button/label requirements that guarantee radio
compatibly.
3. Can I use the A2DIY-CHRY to make/receive phone calls?
YES; The A2DIY-CHRY supports Bluetooth music streaming (A2DP) and
Hands-free (HPF) profile.
4. Will I have to disconnect the CD changer?
YES, the A2DIY-CHRY uses the 8-pin CD changer port. Any and all factory
add-ons using this port will need to be disconnected. See our A2D-CHRY to
retain use of the CD changer.
5. Can I use radio buttons to control songs and text display?
YES/NO;Depending on radio software, the SEEK button can be used to
change tracks and accept/reject phone calls, otherwise use device built-in
control and display or media remote.
6. During call number announcement, there is static like noise in
background. Is this normal?
YES. It is normal for background hiss/tone during call number
announcement. The background tone/hiss will cease as soon as
announcement ends or call taken/rejected.
Disclaimer
• This product has no affiliation with Chrysler
• We’re not liable for misuse of this product.
•We recommend professional installation
© 1995-Mar-22 Discount Car Stereo, Inc. All rights reserved. Information in this document is
subject to change without notice. Other products and companies referred to herein are
trademarks or registered trademarks of their respective companies or mark holders.
Table of contents
Popular Automobile Electronic manuals by other brands

Rear view safety
Rear view safety RVS-776718-BT instruction manual

ULTIMATE SPEED
ULTIMATE SPEED UPA 500 A1 operating instructions

Westfalia
Westfalia RVC7000 instruction manual

Webasto
Webasto Telestart T91 installation instructions

ZYLUX
ZYLUX TygerDog TD1000A-X user guide

VDO
VDO TEMPERATURE GAUGE installation instructions


