6
Starting up the mist blower
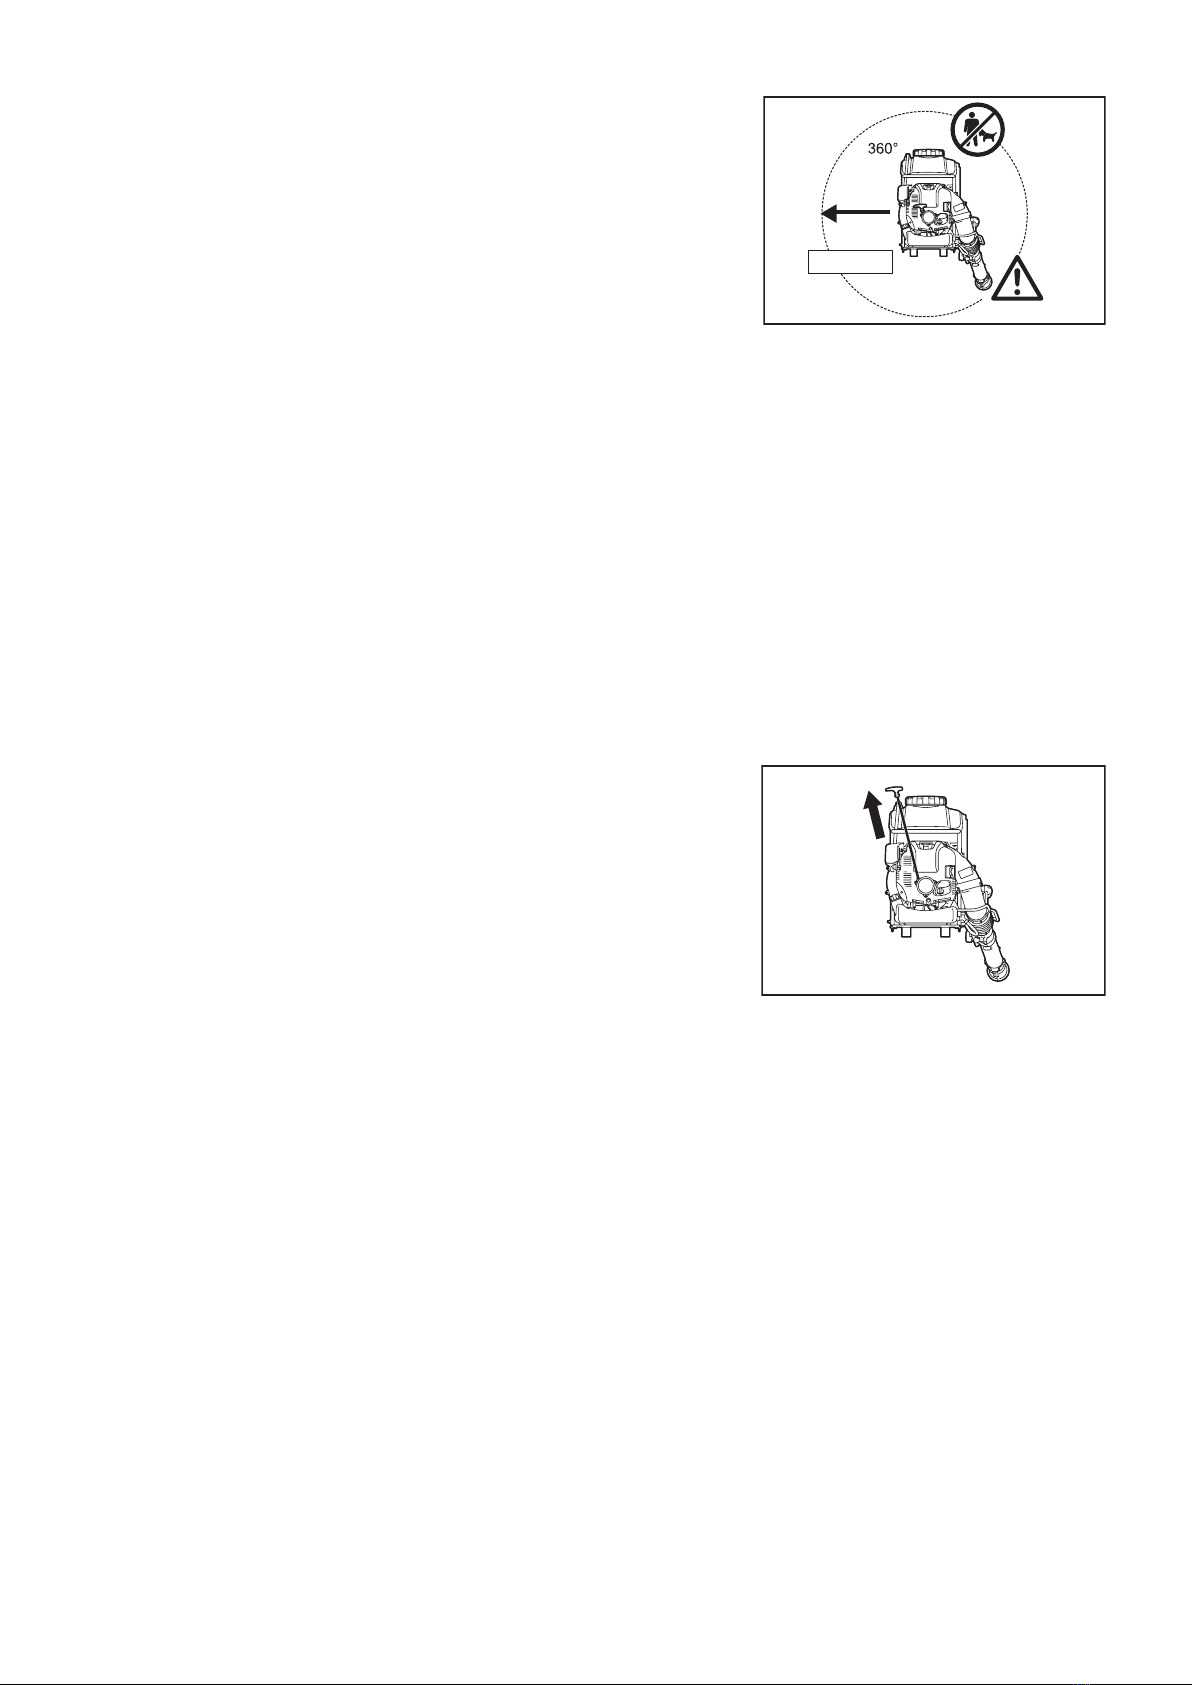
lease make sure that there are no children or other people within a working range
o 20 meters 66 eet 6, also pay attention to any animals in the working icinity.
Neer use the mist blower in urban areas.
Beore operating, always check that the mist blower is sae or operation
Check the security o the throttle trigger. he throttle trigger should be checked or
smooth and easy action. Check or proper unctioning o the throttle trigger lock.
Check or clean and dry handles and test the unction o the l- switch. Keep
handles ree o oil and uel.
o reduce the risk o leakage and skin contact with chemicals, check that the
container cap and all connections in the path o the spray are tight, and be sure
the hose is securely attached and in good condition. Keep the solution discharge
leer closed.
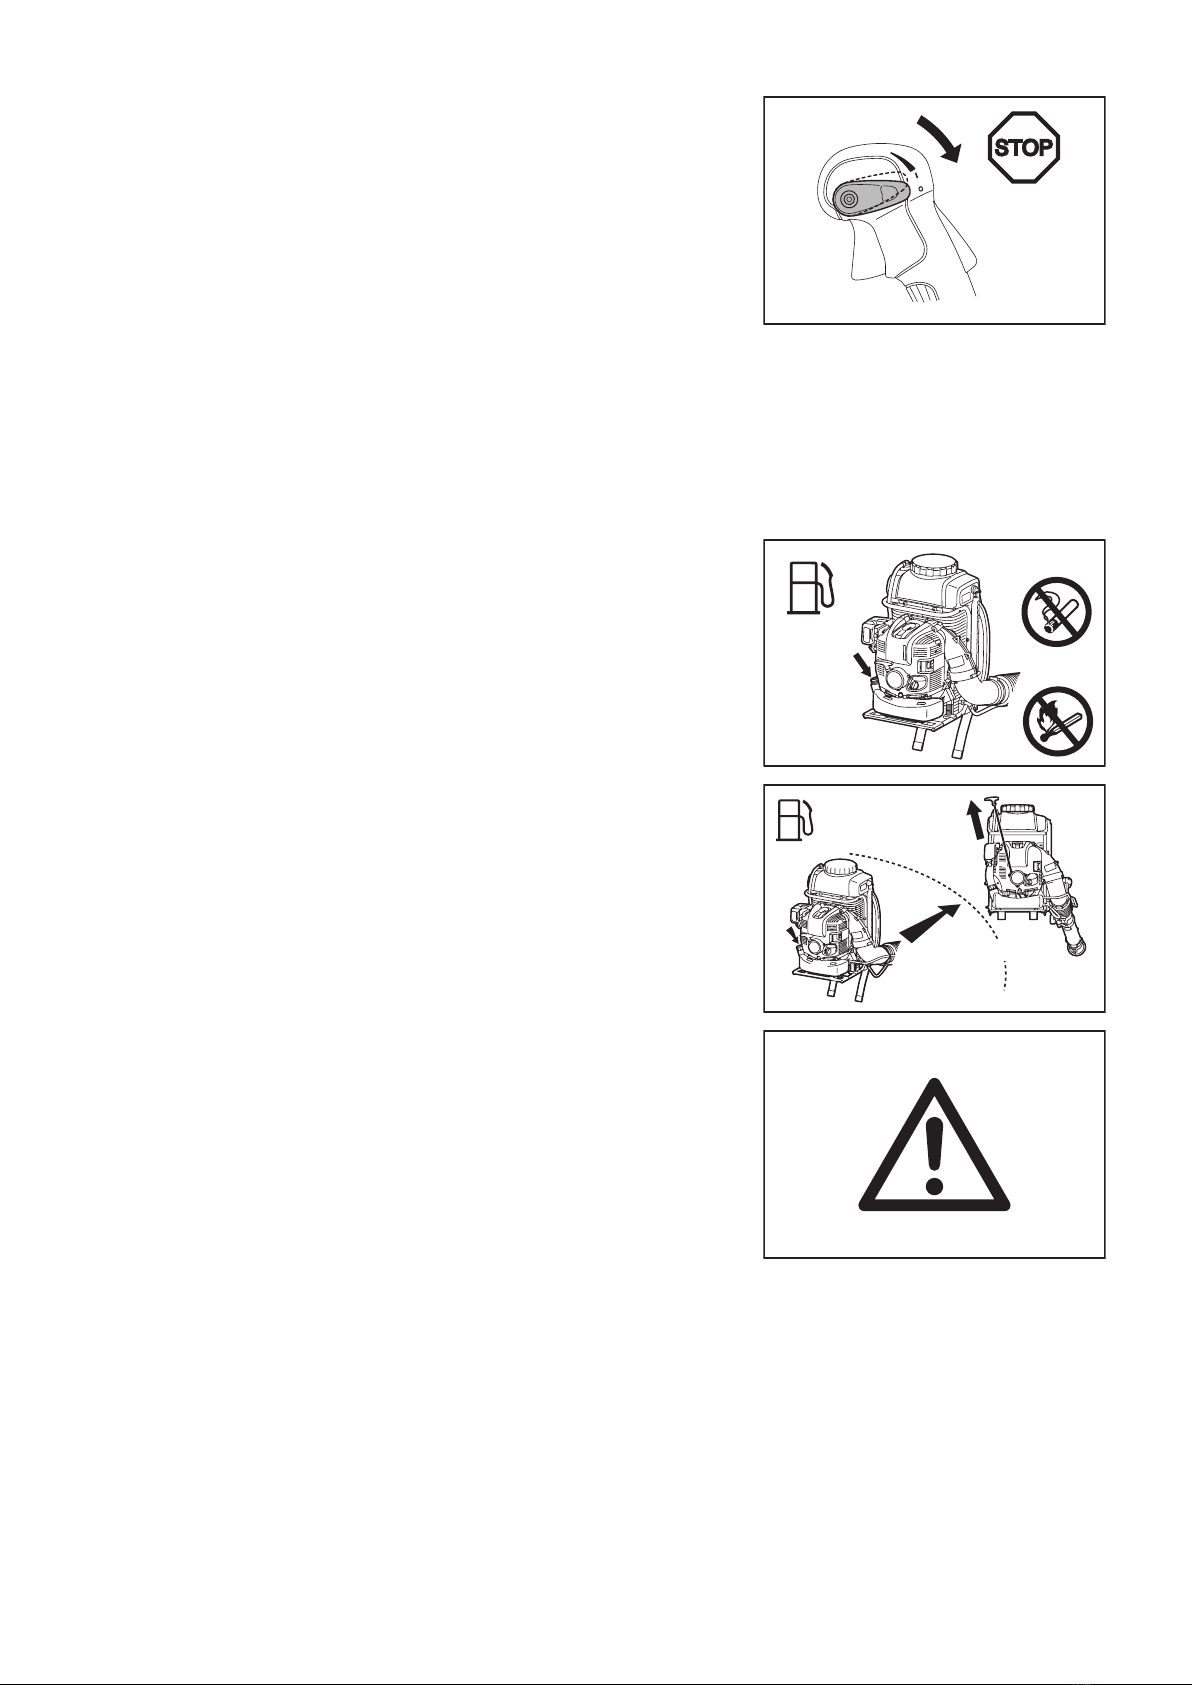
Make sure that the solution discharge leer is closed beore starting the machine.
Check that the spark plug cap is securely mounted on the spark plug a loose
plug cap may cause arcing that could ignite combustible umes and cause a re.
Check condition o harness straps and replace damaged or worn straps.
Adjust shoulder strap to suit your sie beore starting work.
n an emergency, you may slip out o the shoulder strap and throw o the machine
uickly. ractice slipping out o the harness a number o times beore using the
machine in order to become accustomed to it. o not throw o the machine while
practicing as it could damage the machine.
hen you pull the starter handle, do not wrap the starter rope around your hand.
o not let the starter handle snap back, but guide the starter rope to rewind it
properly.
ailure to ollow this procedure may result in injury to your hand or ngers and may
damage the starter mechanism.
he assistance o another person may be needed in placing the mist blower on
your back ater starting. n order to reduce the risk o injury to the assistant rom
thrown objects, chemical sprayliuid or rom contact with hot ehaust umes, keep
the engine at idle speed during this brie period, and do not let your assistant stand
in the area o the outlet nole or ehaust. therwise, the mist blower should be
started and operated without assistance.
Start the mist blower only in accordance with the instructions.
o not use any other methods or starting the engine 7
se the mist blower and the accessories supplied only or applications specied.
Start the mist blower engine only ater the entire machine has been assembled.
peration o the machine is permitted only ater all the appropriate accessories
are attached.
he engine is to be switched o immediately i there are any engine problems.
se the mist blower or single-handed operation with the right hand on the control
handle. Carry as a backpack with the shoulder straps oer both shoulders.
o reduce the risk o loss o control, neer carry the mist blower with the straps
oer one shoulder.
hen working with the mist blower, always wrap your ngers tightly around the
handle, keeping the control handle cradled between your thumb and orenger.
Keep your hand in this position to hae your machine under control at all times.
Make sure your control handle is in good condition and ree o moisture, pitch, oil
or grease.
Always ensure a sae, well-balanced ooting.
n order to keep the solution tank upright and reduce the risk o spillage, do not
bend at the waist. Bend only at the knees and support yoursel as reuired to
ensure proper balance.
emember that a mist blower lled with liuid has a signicant amount o weight.
se etra caution when bending, leaning or walking.
perate the mist blower in such a manner as to aoid inhalation o the ehaust
gases. Neer run the engine in enclosed rooms risk o suocation and gas
poisoning. Carbon monoide is an odorless gas.
Always ensure there is adeuate entilation.
our mist blower is not insulated against electric shock. o reduce the risk o
electrocution, neer operate this mist blower in the icinity o any wires or cables
power, etc. which may be carrying electric current. o not spray on or near
electrical installations.
()
()
()