manuals.online logo
Brands
  1. Home
  2. •
  3. Brands
  4. •
  5. Dolphin
  6. •
  7. Dryer
  8. •
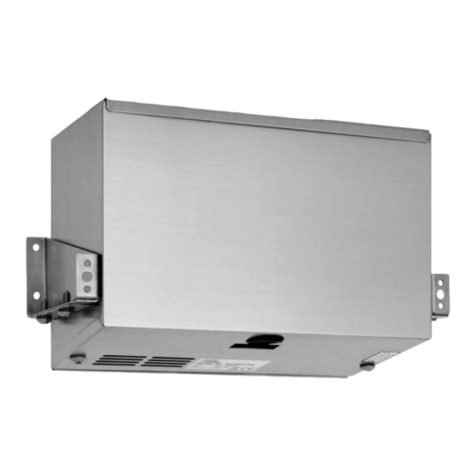
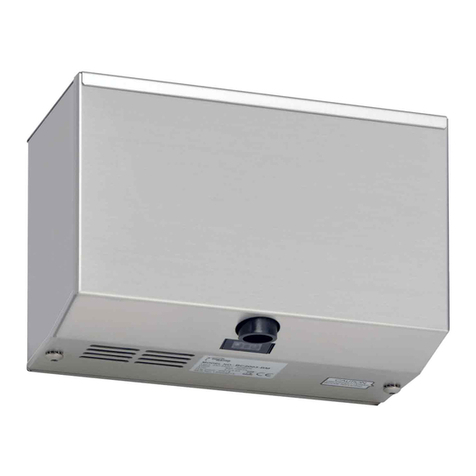
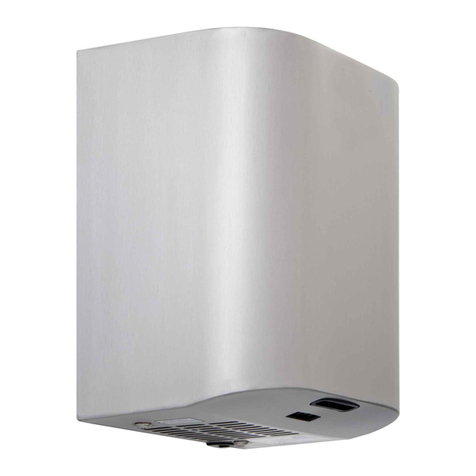
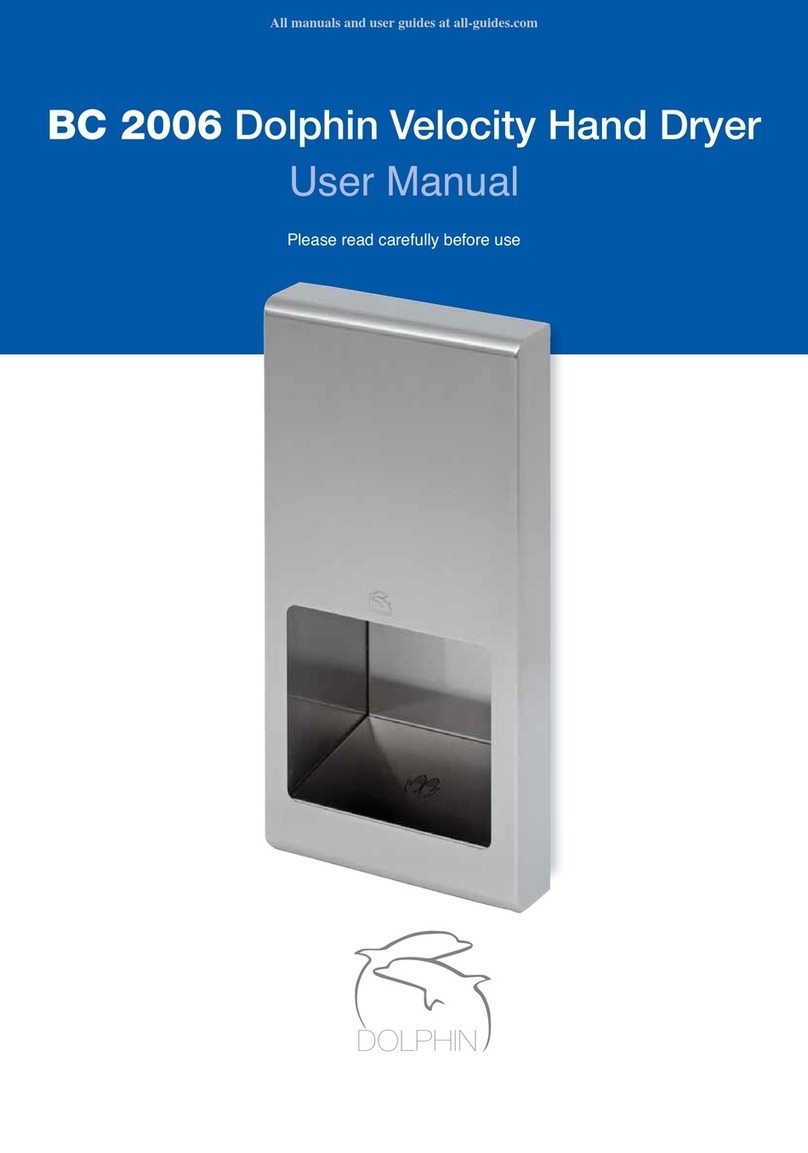
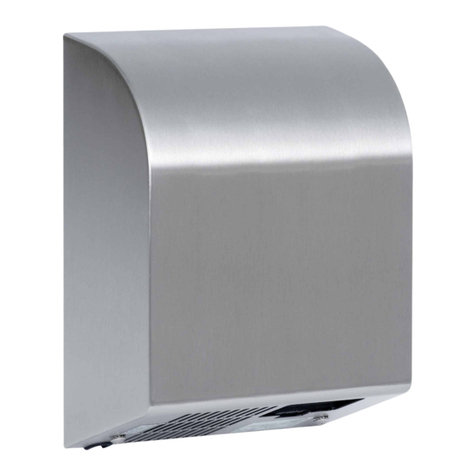
  9. Dolphin BC2001 User manual

Dolphin BC2001 User manual

Other manuals for BC2001

1

This manual suits for next models

2

Other Dolphin Dryer manuals

Dolphin BC 2002 User manual

Dolphin

Dolphin BC 2002 User manual

Dolphin VELOCITY BC 2003BM User manual

Dolphin

Dolphin VELOCITY BC 2003BM User manual

Dolphin BC 2012 User manual

Dolphin

Dolphin BC 2012 User manual

Dolphin BC 2006 User manual

Dolphin

Dolphin BC 2006 User manual

Dolphin ECO BC 2002 User manual

Dolphin

Dolphin ECO BC 2002 User manual

Dolphin BC2201SS User manual

Dolphin

Dolphin BC2201SS User manual

Dolphin BC 2006 User manual

Dolphin

Dolphin BC 2006 User manual

Dolphin BC 2003BM User manual

Dolphin

Dolphin BC 2003BM User manual
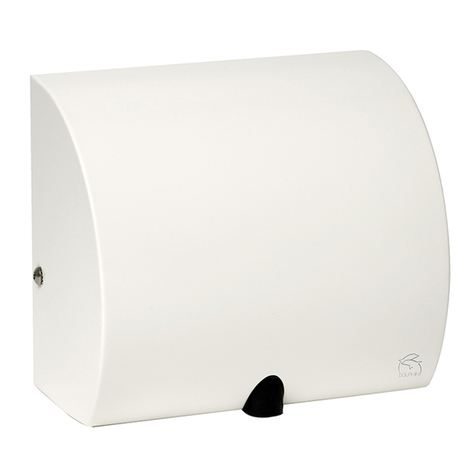
Dolphin Velocity Eco User manual

Dolphin

Dolphin Velocity Eco User manual

Dolphin BC 109 IHD User manual

Dolphin

Dolphin BC 109 IHD User manual

Dolphin ECO BC 2002 User manual

Dolphin

Dolphin ECO BC 2002 User manual

Dolphin BC2001 User manual

Dolphin

Dolphin BC2001 User manual

Dolphin BC 2003BM User manual

Dolphin

Dolphin BC 2003BM User manual

Dolphin BC 2003BM User manual

Dolphin

Dolphin BC 2003BM User manual

Dolphin BC  2201 User manual

Dolphin

Dolphin BC  2201 User manual

Dolphin Velocity BC 2011 User manual

Dolphin

Dolphin Velocity BC 2011 User manual

Dolphin BC 2400 User manual

Dolphin

Dolphin BC 2400 User manual

Dolphin BC2009 Service manual

Dolphin

Dolphin BC2009 Service manual

Dolphin BC2005 User manual

Dolphin

Dolphin BC2005 User manual

Dolphin BC 2200SA User manual

Dolphin

Dolphin BC 2200SA User manual

Dolphin BC 2003BM User manual

Dolphin

Dolphin BC 2003BM User manual

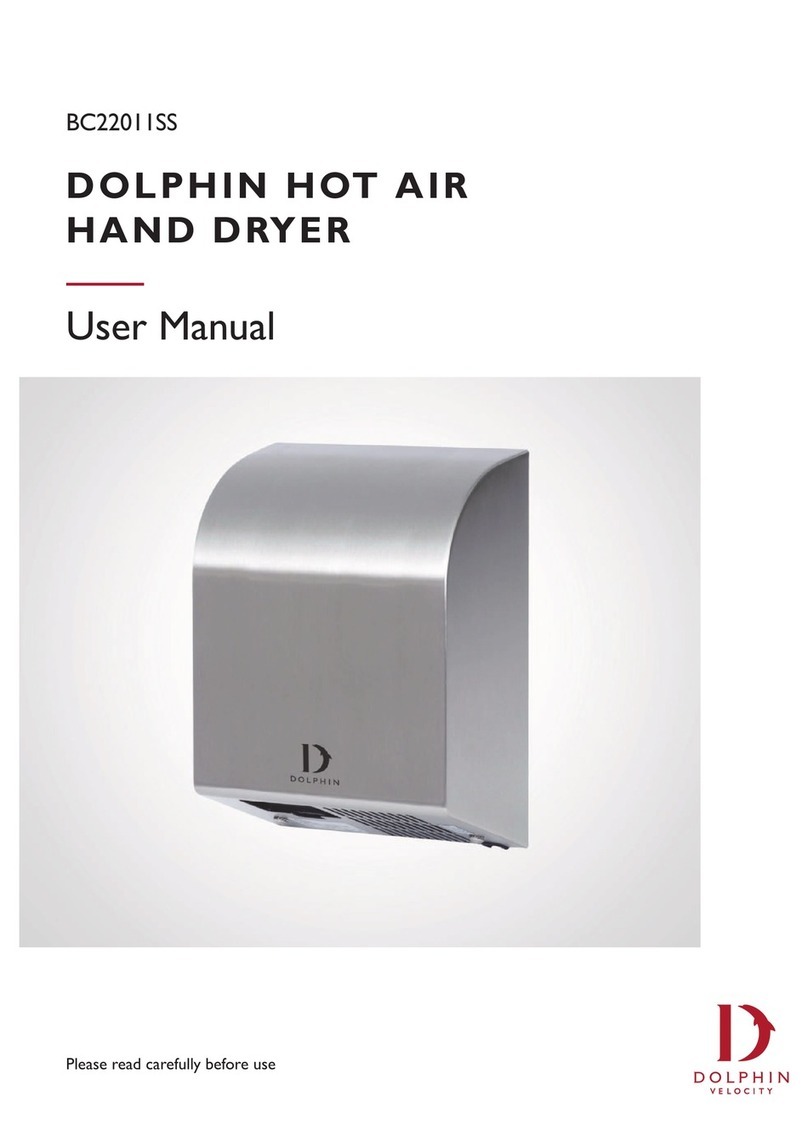
Dolphin BC22011SS User manual

Dolphin

Dolphin BC22011SS User manual

Dolphin bc2002w User manual

Dolphin

Dolphin bc2002w User manual
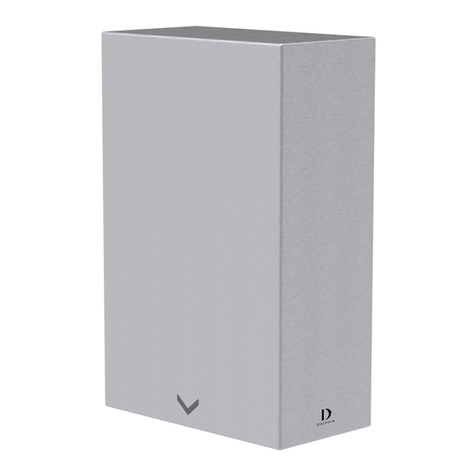
Dolphin 02.4031 User manual

Dolphin

Dolphin 02.4031 User manual

Popular Dryer manuals by other brands

Whirlpool WED9270XL2 parts list

Whirlpool

Whirlpool WED9270XL2 parts list

Kleenmaid KED2000 Repair instructions

Kleenmaid

Kleenmaid KED2000 Repair instructions

SPI Supplies SPI-DRY Operation manual

SPI Supplies

SPI Supplies SPI-DRY Operation manual

Amana NGD5800DW Use & care guide

Amana

Amana NGD5800DW Use & care guide

Bosch WTG86402GB Installation and operating instructions

Bosch

Bosch WTG86402GB Installation and operating instructions

Maytag MED4200BW0 installation instructions

Maytag

Maytag MED4200BW0 installation instructions

ffuuss eos user manual

ffuuss

ffuuss eos user manual

KitchenAid 53-3498 installation instructions

KitchenAid

KitchenAid 53-3498 installation instructions

Schulthess Spirit topLine TW 8340 operating instructions

Schulthess

Schulthess Spirit topLine TW 8340 operating instructions

Whirlpool LGR4624BW0 parts list

Whirlpool

Whirlpool LGR4624BW0 parts list

World Dryer AirMax D M5-972A manual

World Dryer

World Dryer AirMax D M5-972A manual

Alliance Laundry Systems ADEE9BSS user guide

Alliance Laundry Systems

Alliance Laundry Systems ADEE9BSS user guide

Miele PDR 910 EL Operating and installation instructions

Miele

Miele PDR 910 EL Operating and installation instructions

Amana NGD5800TQ0 parts list

Amana

Amana NGD5800TQ0 parts list

Bosch WTA79200GB Installation and operating instructions

Bosch

Bosch WTA79200GB Installation and operating instructions

AEG TR838P4OB user manual

AEG

AEG TR838P4OB user manual

Asko T760 user guide

Asko

Asko T760 user guide

Electrolux EW2H328R2 user manual

Electrolux

Electrolux EW2H328R2 user manual

manuals.online logo
manuals.online logoBrands
  • About & Mission
  • Contact us
  • Privacy Policy
  • Terms and Conditions

Copyright 2025 Manuals.Online. All Rights Reserved.

BC2001 / BC2001B
DOLPHIN VELOCITY HIGH SPEED
HAND DRYER
User Manual
Please read carefully before use
All manuals and user guides at all-guides.com
all-guides.com
ITEM CATEGORYOperating VoltageWarm Air Speed OutputMotor TypeMotor Thermal ProtectionHeater ElementHeater Thermal ProtectionDrying TimeCircuit OperationSensor RangeTiming ProtectionDrip proofIsolationNet WeightShipping WeightUnit SizePERFORMANCE DATATECHNICAL SPECIFICATIONS220-240Vac, 50/60Hz, 1.34-1.6kW75-100m/s, adjustable350-700W, 12000-18000r.p.m., Adjustable; Brush Type, Dual Ball BearingsAuto Resetting Thermostat turns unit off at 95°C {203°F}450-900W, adjustableAuto Resetting Thermostat turns unit off at 85°C {185°F}Less than 15 seconds Infrared Automatic, self adjustingStandard [170 ± 20mm], Adjustable, The range is [120 - 220mm]60 seconds auto shut offIP21CLASS 15.8kg6.6kg201mm (W) x 286.5mm(H) x 175mm (D) (BC2001 ,BC2001B)205mm (W) x 294mm (H) x 180mm (D) (BC2001W) BC2001- Stainless steel; #4 satin finished. (AISI 304 t:1.2 mm)COVER TYPE/ COVER FINISHHand drierHigh-SpeedBC2001BC2001BBC2001WBC2001B- Stainless steel; Bright finished. (AISI 304 t:1.2 mm)Stand-by PowerLess than 0.5W BC2001W- Steel; White porcelain enameled coating. (t:1.6 mm)286.5 mm201 mm175 mm294 mm180 mm205 mm(BC2001 ,BC2001B)(BC2001W)Operating Instructions and Parts Manual (Automatic) Surface Mount
BC2001 User Manual www.dolphinsolutions.co.uk
All manuals and user guides at all-guides.com
Operating Instructions and Parts Manual Hand drierSurface-mounted high speed hand drier General safety information Disconnect power at the service breaker beforeinstalling or servicing. Not for household usemay cause burns. This product is intended for installation by a qualified service person.Use 1.2mm² solid conductor for wiring. All units must be supplied with a 3-wire service.The ground wire must be connected to the dryer's backplate. Failure to properly ground unit could result insevere electrical shock and/or death.WARNINGWARNINGDANGERWARNINGCircuit DiagramCircuit Board ModuleTransistor Power SwitchMO2HE2NMO1HE1LTransistor Power Switch
VR2
GNLG/Y
BlueBrownMotor With Thermal Switch 2AHeater With Thermo-fuse
1234
FORMOTOR
SW.FOR HEATERON1BlackBlackVRGG/YFOR SENSOR Y2 Filter (ONLY 208~240V)
(ONLY 208~240V)
LEDRed(110-120V)/Brown (208-240~277V) White(110-120V)/Blue (208-240~277V)
Thermostat
【Type Y attachment】If the power supply cord is damaged, it must be replaced by the manufacturer or its service agent or a qualified person in order to avoid a hazard. Disconnect the fixed wiring only in accordance with the wiring rules. This appliance is not intended for use by persons (including children) withreduced physical, sensory or mental capabilities, or lack of experience andknowledge, unless they have been given supervision or instruction concerninguse of the appliance by a person responsible for their safety. Children should be supervised to ensure that they do not play with the appliance.NOTE: We do not recommend installing this dryer above a basin. If you are installing this dryer above a basin, please make sure that reflection won’t occur.
BC2001 User Manual www.dolphinsolutions.co.uk
All manuals and user guides at all-guides.com
Installstion1. Make sure power supply breaker is switched off. Installation must be carried out in accordance with the current edition of the local wiring regulations code having jurisdiction. Installation should be performed only by a qualified electrician.2. Place template against wall at desired height (see mounting height recommendations) and mark locations of 4 mounting holes and wire service entry at knockout (KO) location. Note: For two or more dryers, dryers should be no closer than 24 inches (610mm) on center. 3. Remove and retain 2 cover screws and cover.4. Connect supply wires to terminal block where indicated and connect ground wire to base plate with ground screw. A. Connect the live wire (colored red or black or brown ) to the terminal block marked "L". B. Connect the neutral wire (colored white or blue) to the terminal block marked "N". C. Connect the ground wire (colored green or green and yellow) to the terminal block marked " ". Note that colors of live and neutral wires depend on voltage of supply service. 5. Replace cover. Do not over-tighten screws. Connections:Recommended mounting heightsMenWomenChildren 4-7 yearsChildren 8-10 yearsChildren 11-13 yearsChildren 14-16 yearsHandicaped960mm812mm860mm910mm960mm860mm1000mm‘Unit should be mounted to give no less than 300mm clearance from the bottom of the unit to the nearest surface below’- from bottom edge of dryer above finished floor (AF
F
Periodic cleaning of the unit is recommended to ensure optimum performance.Cleaning and MaintenanceDisconnect the electrical supply.Remove the two cover-mounting screws.Remove the cover.Clean all dust lint from the interior of the dryer.Replace the cover. Do not over tighten the screws.Wipe the cover with a damp cloth and mild cleaning solution. Do not Soak. Never use abrasives to clean the cover.OperationNo-touch operation.Shake excess water from hands.Place hands under the outlet to start operation.Rub hands lightly and rapidly.Sto
p
s automaticall
y
after hands are removed.Operating Instructions and Parts Manual Hand drierSurface-mounted high speed hand drier
BC2001 User Manual www.dolphinsolutions.co.uk
All manuals and user guides at all-guides.com
Use wire cutter to remove filter assembly.Fix new filter assembly to the cover.Change filter assemblySettıng AdjustmenetA. Warm air speed adjustment B. Heater Element Switch ON/OFF 1.Switch off the power, loosen the cover screws and remove the cover.2.Adjust the heater switch on the PCB with a small plastic or wood flat blade probe.2-1. Heater ON: Slide the switch to "ON".2-2. Heater OFF:Slide the switch to "1". Use screwdriver to adjust air speed.Install the cover once adjustment is completed.Clockwise: Increases the air speed(+) .Counterclockwise: Decreases the air speed(-) .OperationC. Sensor range adjustment 1.The recommended unit sensor range is 150mm. This can be adjusted from 120mm to 220mm.2.Clockwise: Increases the sensing range(+) .3.Counterclockwise: Decreases the sensing range(-) .4.DO NOT OVERTURN!
SW.FOR HEATERVR.FOR SENSOR
IItt iiss rreeccoommmmeended to change the filter every six months.Operating Instructions and Parts Manual Hand drierSurface-mounted high speed hand drier Turn off power to the dryer at electrical panel.Remove cover.
BC2001 User Manual www.dolphinsolutions.co.uk
All manuals and user guides at all-guides.com
BC2001 User Manual www.dolphinsolutions.co.uk
1
. Pull off the six wires and remove the fixing screws of the timer.
2
. Ensure that the two flanges on the timer to be wedged in the two holes are on the base plate.
3
. Fix the timer to the blower and connect the four wires to the timer as the photos of procedure 1.
All manuals and user guides at all-guides.com
all-guides.com
Sensor replacement1. Pull off the wires that connect timer and remove the fixing screws of the timer.2. Fix the sensor on the sensor bracket as in the photos of procedure 1, and plug the wires on the tim
6
3. Remove the screws from the sensor bracket to take out the sensor.
O
pera
ti
ng
I
ns
t
ruc
ti
ons an
d
P
ar
t
s
M
anua
l
Hand
drier
Surface-mounted high speed hand drier
BC2001 User Manual www.dolphinsolutions.co.uk
All manuals and user guides at all-guides.com
4
. Remove the black screws on the senor. Install the new sensor and reverse Steps 1~3 to fasten the sensor.
BC2001 User Manual www.dolphinsolutions.co.uk
All manuals and user guides at all-guides.com
BC2001 User Manual www.dolphinsolutions.co.uk
Motor replacement1. Remove the wires that connect motor to the timer.2. Loosen the fixing screws of the blower.Operating Instructions and Parts Manual Hand drierSurface-mounted high speed hand drier
All manuals and user guides at all-guides.com
BC2001 User Manual www.dolphinsolutions.co.uk
3. Remove the screw on base plate and fan blower, and then remove the bracket of fan blower.4. Remove upper fan blower, motor rubber (big) and motor in order, and then replace the motor with a new one.Operating Instructions and Parts Manual Hand drierSurface-mounted high speed hand drier
All manuals and user guides at all-guides.com