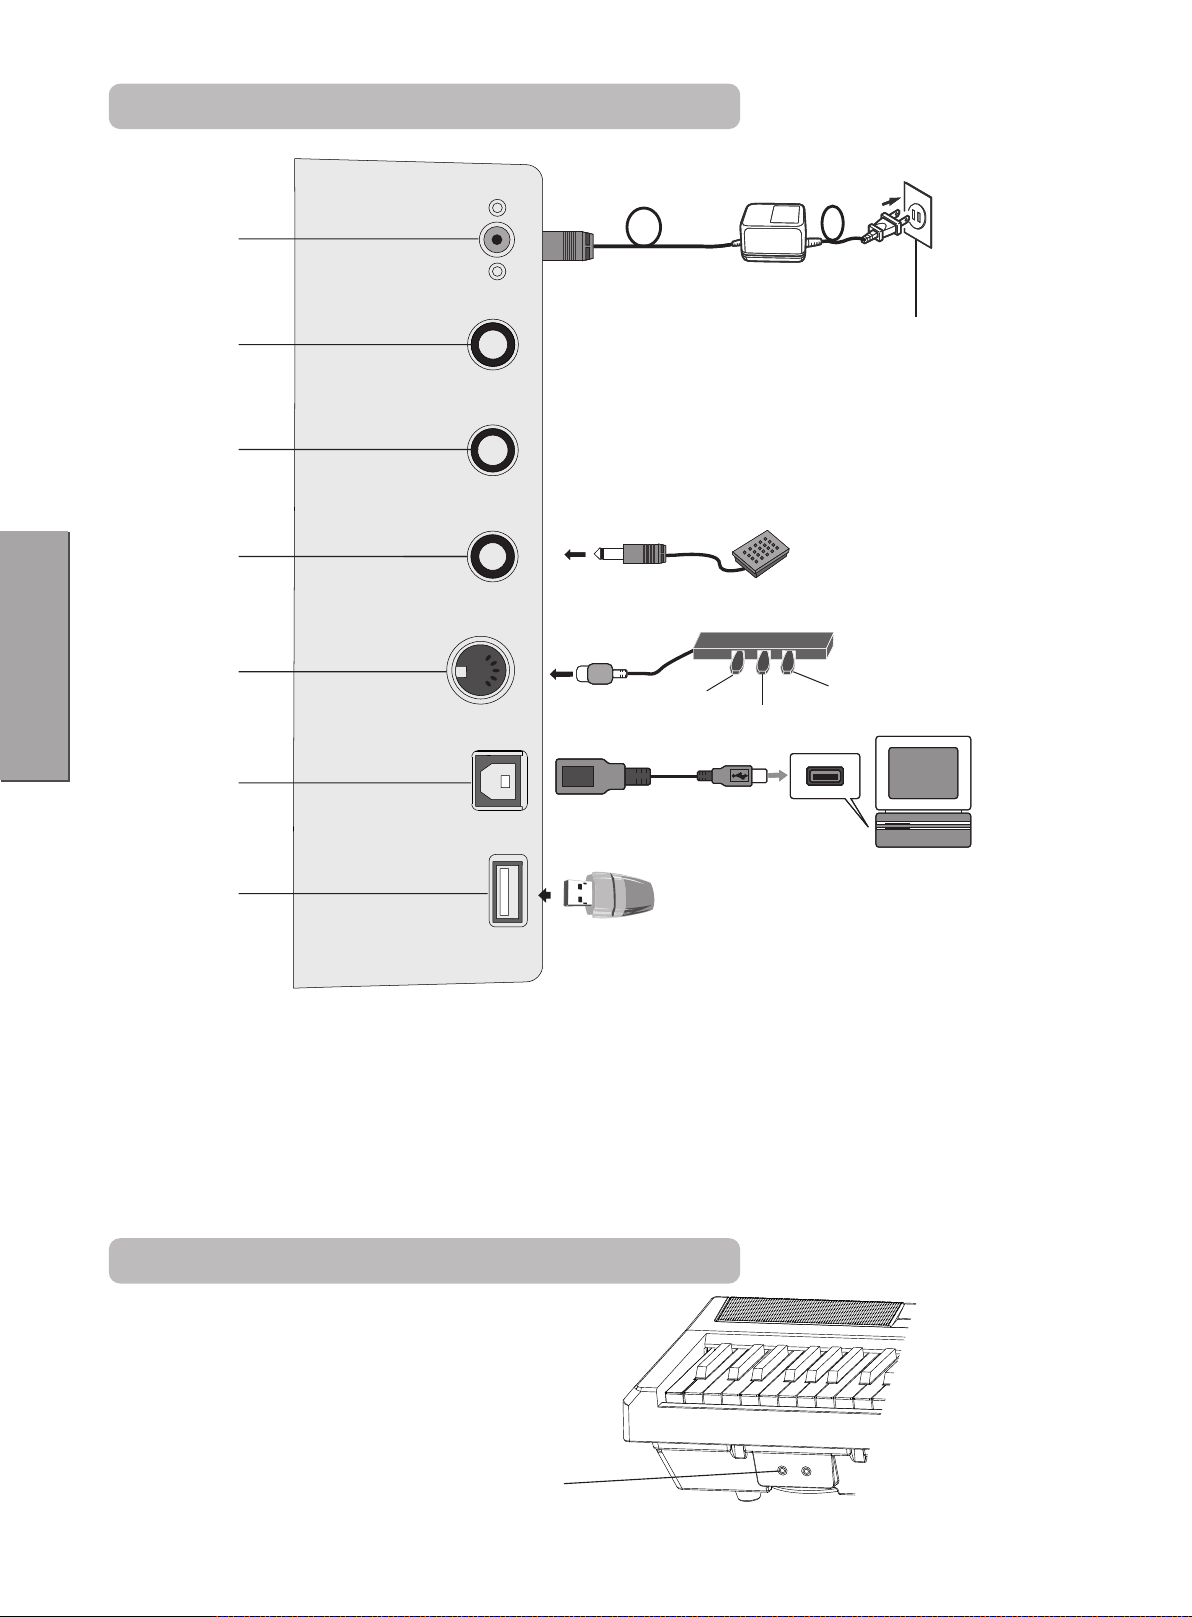
1. As figure shows, connect the power line when using. One end is inserted into the power outlet on the
controller plate at the bottom of piano. The other end is inserted into a 100V-220V household socket.
2. Please unplug the power line and reserve it in an appropriate way when it is not used for a long time.
1. Power Line Socket
2. Audio Output
The product has tenuto pedal function. Please use pedal according
to your needs when playing.
4. Sustain Pedal Socket
Insert the pedal plug into the round jack at the back of the piano and
put through the triple pedals function with speaker effect.
The order is as follows: Soft, Sostenuto , ;Sustain
Single pedal is optional. (Third Point)
5. Pedals Socket
The product can be connected with computer by USB transfer interface. You can learn or play the
keyboard to play, compose, store and operate other functions by the pre-installed music software on the
computer. Edited music or accompaniments built in the music software can be played by the digital piano
which is connected to the software or performed along with accompaniments.
6. USB Transmission Socket
7. MP3 Socket
The connection of headphones will cut off the output of the piano built-in speaker for not disturbing
others when performing.
This product is designed with 2 earphone sockets which you can insert double earphones.
8. Double-Earphone Socket
Soft Sostenuto Sustain
3. Audio Input
It supports external large speaker equipment by audio output plug.
External sound source can be connected to electric piano to play by audio input plug.
1. Insert the flash disk with MP3 format songs into "USB plug" and play MP3 songs in 3 seconds or so.
2. By pressing the MP3 Control " " button, MP3 songs can be paused or replayed.
3. Press once the control button of MP3 Control " " or " " lightly to select previous or next MP3 songs.
4. Adjust the volume of songs by long pressing the MP3 Volume " " or " " control button.
ŸThe peak value of sound needs the control of main volumelever.
Attention!
●Only support songs with MP3 format.
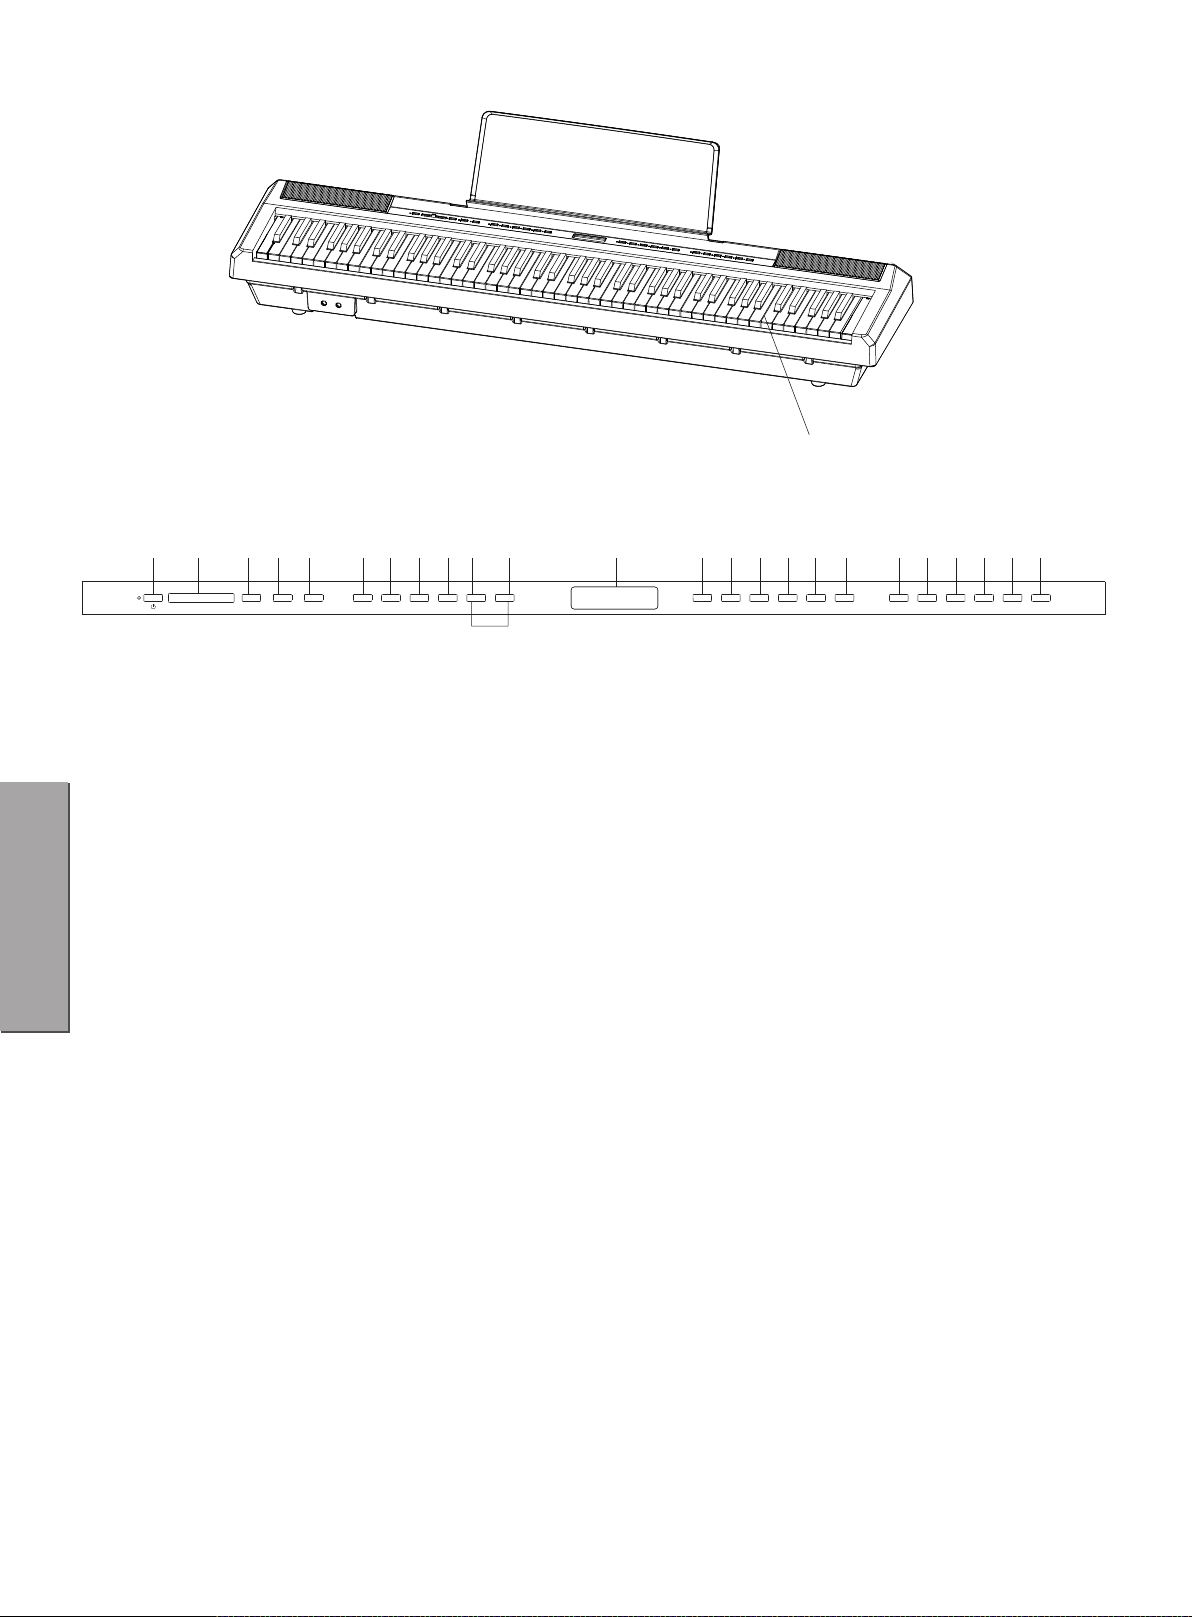
Operations
5