Doyon DSA315 User manual

ÉQUIPEMENT DOYON INC.
1255, rue Principale
Linière, Qc, Canada G0M 1J0
Tel.: 1 (418) 685-3431
Canada: 1 (800) 463-1636
US: 1 (800) 463-4273
FAX: 1 (418) 685-3948
Internet: http://www.doyon.qc.ca
e-mail: [email protected]
DSA315, DSA322, DSA330, DSA336
Product / Produit:
Serial number / Numéro de série:

DSA3xx-A.DOC 08/09 1
DOYON SEMI-AUTOMATIC DIVIDER ROUNDER
INTERCHANGABLE PRESS PORTION
DSA315 / DSA322 / DSA330 / DSA336
TABLE OF CONTENTS
TO GET THE BEST PERFORMANCE FROM YOUR MACHINE, PLEASE READ THIS
MANUAL CAREFULLY.
CHAPTER 1 - RECEPTION OF THE MERCHANDISE . . . . . . . . . . . . . . . . . . . 2
- NAMEPLATE . . . . . . . . . . . . . . . . . . . . . . . . . . . . . . . . . . . . . . . . . 2
CHAPTER 2 - GENERAL INFORMATION . . . . . . . . . . . . . . . . . . . . . . . . . . . . . 3
CHAPTER 3 - THE USE OF THE DIVIDER ROUNDER
3.1 - General description . . . . . . . . . . . . . . . . . . . . . . . . . . . . . . . . . . . . . . . 4
3.2 - Machine’s characteristics . . . . . . . . . . . . . . . . . . . . . . . . . . . . . . . . . . 4
3.3 - Improper use of the machine . . . . . . . . . . . . . . . . . . . . . . . . . . . . . . . . 4
CHAPTER 4 - TECHNICAL DATA
4.1 - General dimensions . . . . . . . . . . . . . . . . . . . . . . . . . . . . . . . . . . . . . . . 5
4.2 - Technical characteristics . . . . . . . . . . . . . . . . . . . . . . . . . . . . . . . . . . . 6
4.3 - Electric specifications . . . . . . . . . . . . . . . . . . . . . . . . . . . . . . . . . . . . . 7
4.4 - Electric installation . . . . . . . . . . . . . . . . . . . . . . . . . . . . . . . . . . . . . . . 7
4.5 - Security system . . . . . . . . . . . . . . . . . . . . . . . . . . . . . . . . . . . . . . . . . . 7
CHAPTER 5 - ELECTRIC CONNECTION AND INSTALLATION
5.1 - Installation . . . . . . . . . . . . . . . . . . . . . . . . . . . . . . . . . . . . . . . . . . . . . 9
5.2 - Electric installation . . . . . . . . . . . . . . . . . . . . . . . . . . . . . . . . . . . . . . . 10
CHAPTER 6 – OPERATING AND REPLACEMENT OF PRESS
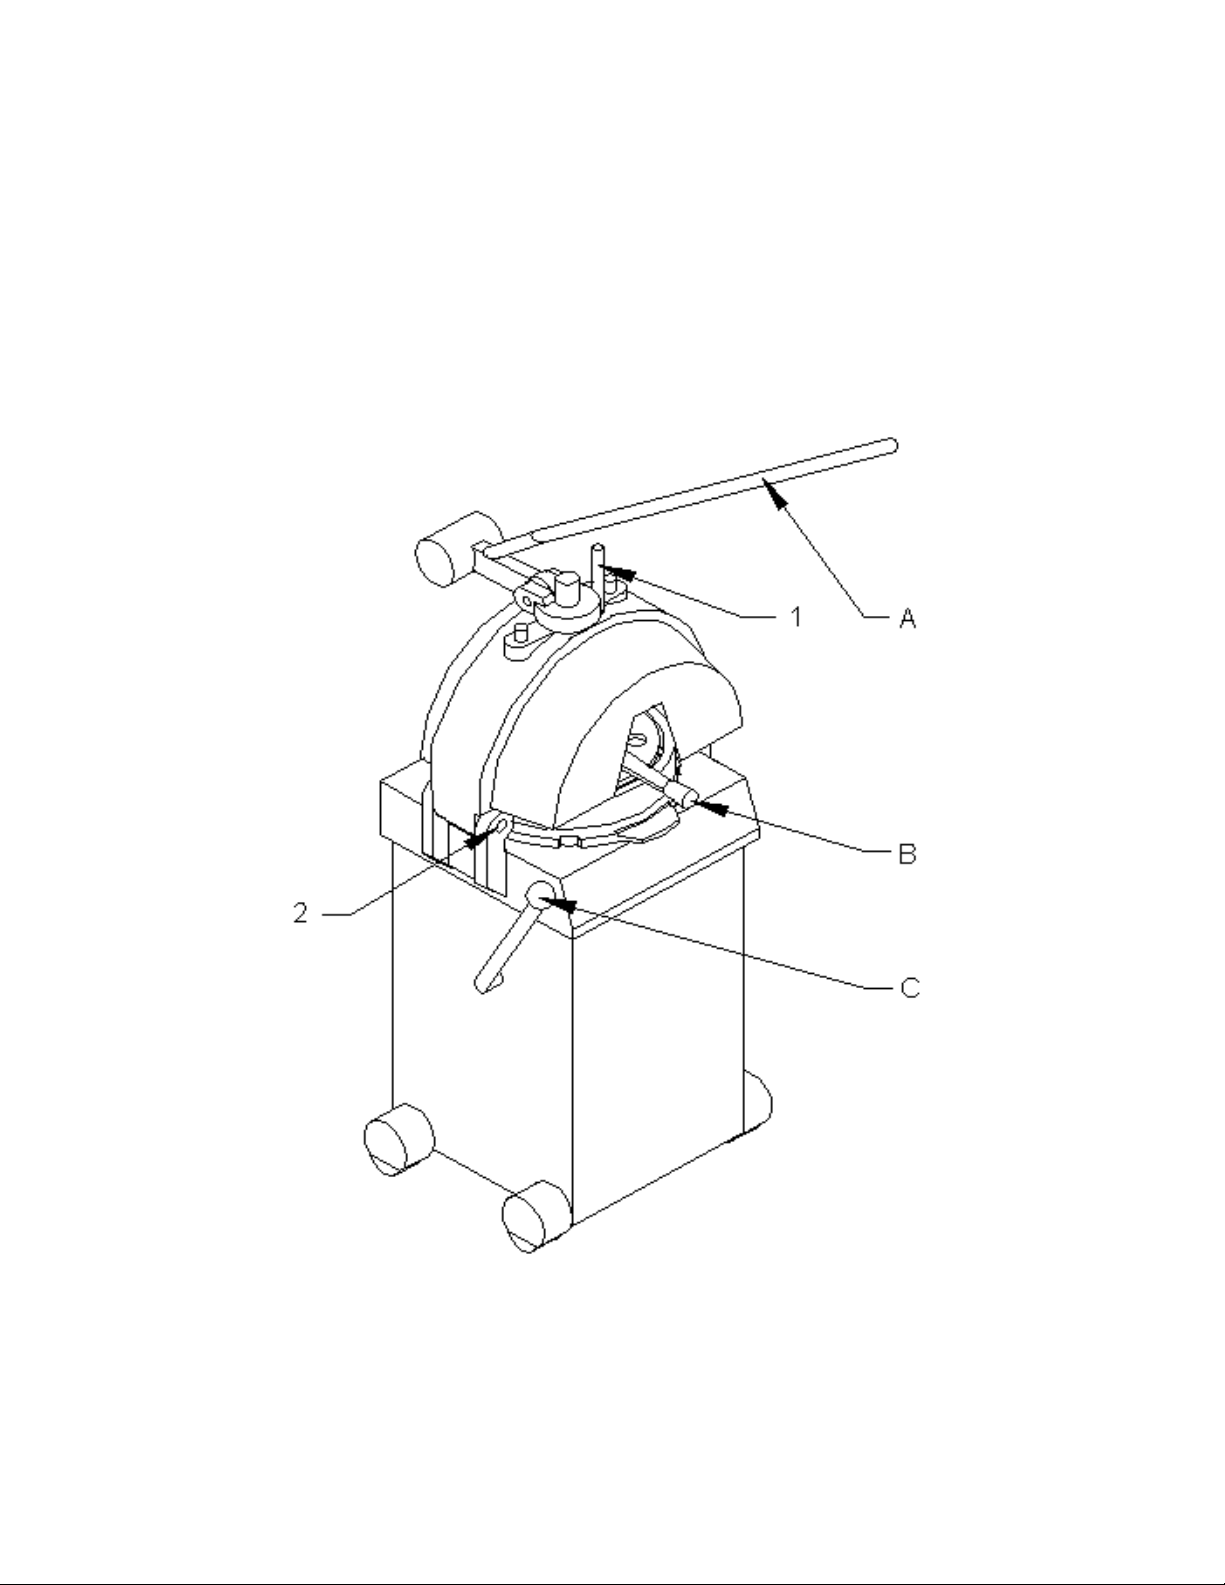
6.1 - Operation . . . . . . . . . . . . . . . . . . . . . . . . . . . . . . . . . . . . . . . . . . . . . 11
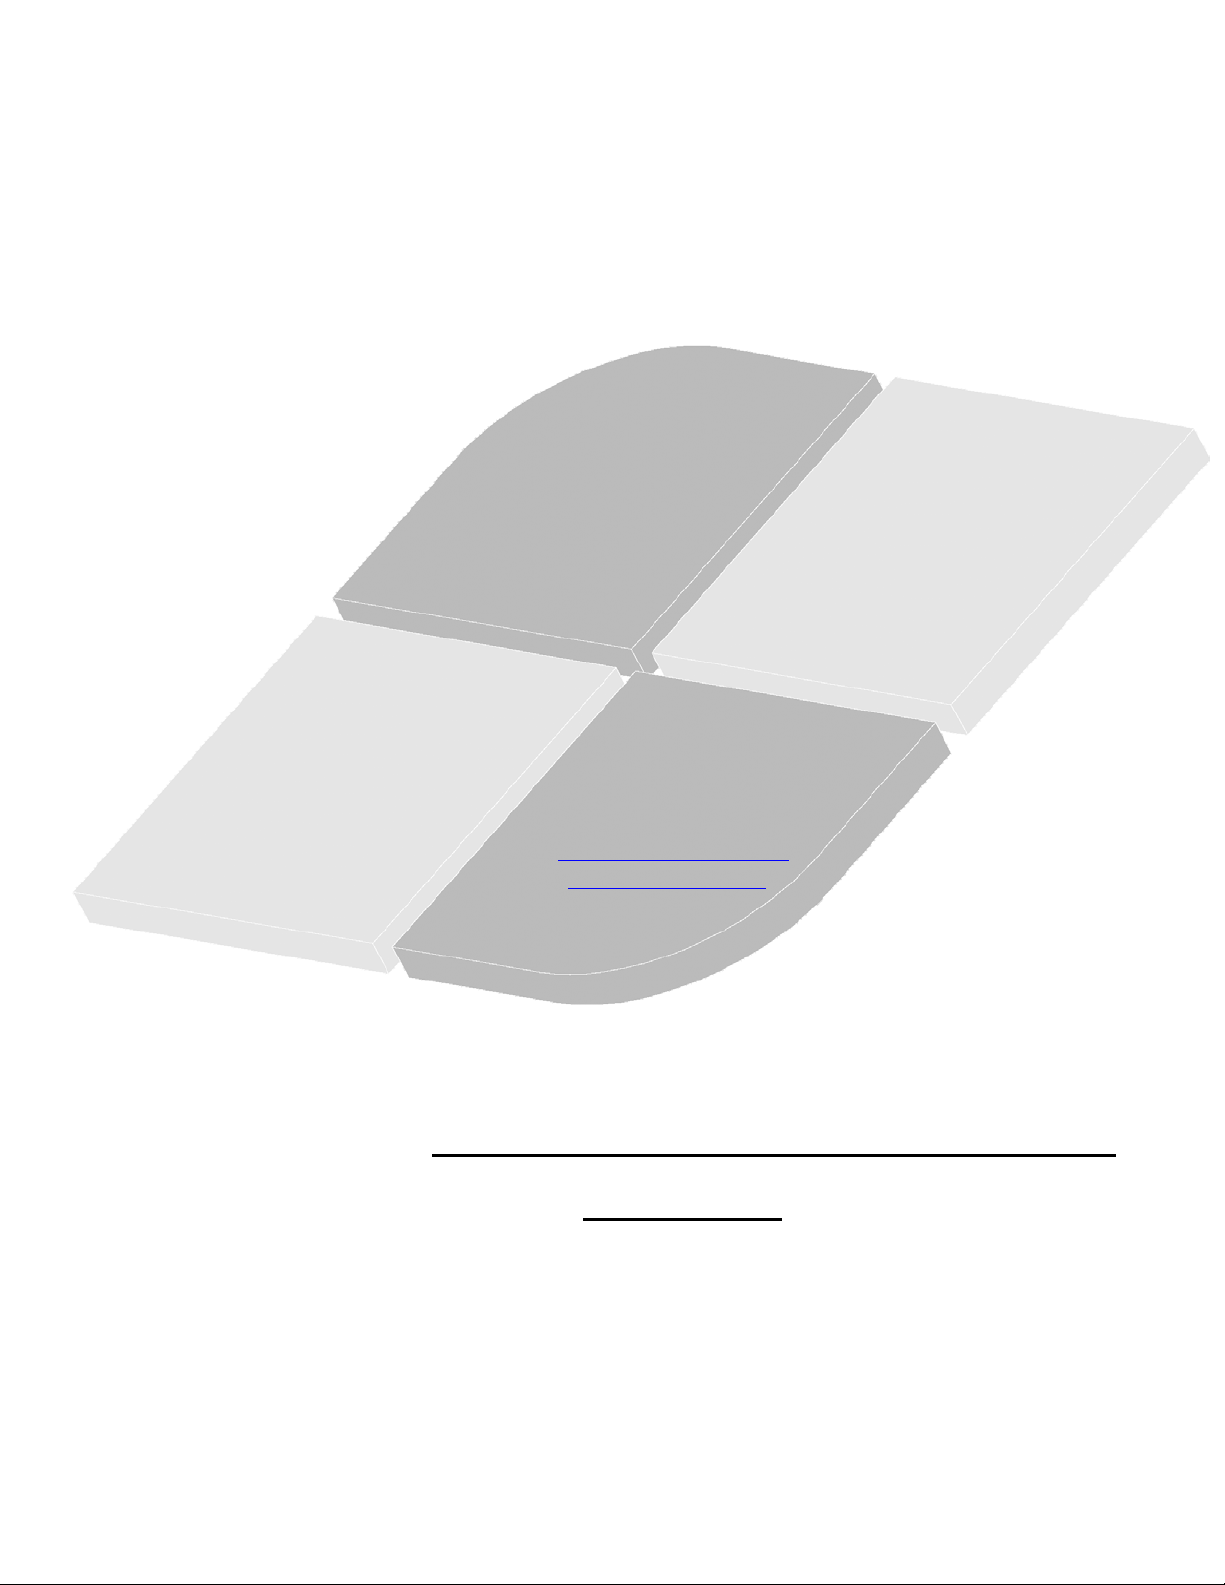
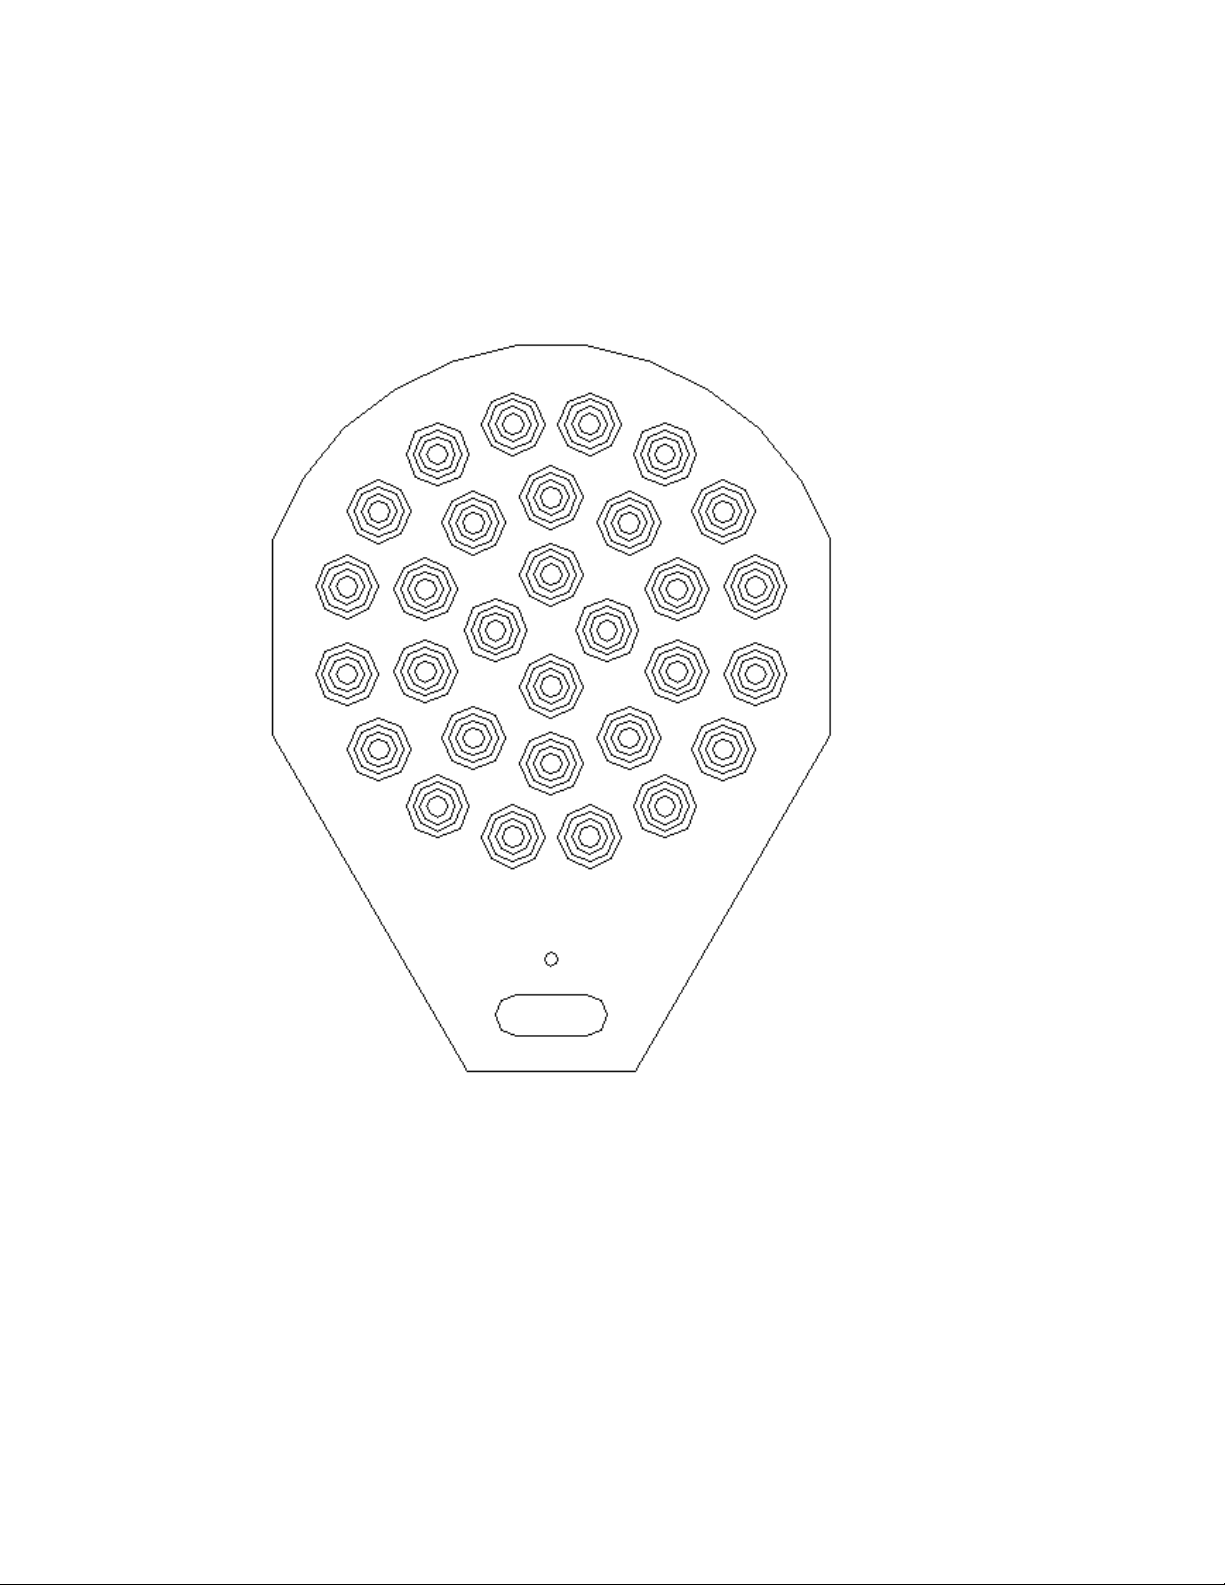
6.2 – Replacement of the press . . . . . . . . . . . . . . . . . . . . . . . . . . . . . . . . 15
CHAPTER 7 - MAINTENANCE . . . . . . . . . . . . . . . . . . . . . . . . . . . . . . . . . . . . . 19
LIMITED WARRANTY . . . . . . . . . . . . . . . . . . . . . . . . . . . . . . . . . . . . . . . . . . . . 21

2
CHAPTER 1
CAUTION
READ ALL INSTRUCTIONS
IMPORTANT
RECEPTION OF THE MERCHANDISE
Carefully verify that the received equipment is not damaged before signing the delivery receipt.
If a damage or a lost part is noticed, write it clearly on the receipt. If it is noticed after the carrier
has left, contact immediately the freight company in order for them to do their inspection.
We do not assume the responsibility for damages or losses that may occur during transportation.
For your safety, this equipment has been verified by qualified technicians and carefully crated
before shipment. The freight company assumes full responsibility concerning the delivery in
good condition of the equipment in accepting to transport it.
NAMEPLATE
Each machine has a nameplate fixed on the machine, with the general characteristics of the
machine.
1. serial number
2. model
3. date
4. phase
5. amperage
6. voltage
7. frequency

3
CHAPTER 2
GENERAL INFORMATION ABOUT THE MACHINE
The machine’s manual must always be kept close to the machine.
•Before switching on and using the machine, read this manual carefully, especially the
safety instructions.
•This manual must be kept in a safe place and be accessible to everyone that uses the
machine.
The manufacturer is not responsible for the machine’s damages in the following
situations:
•Bad use of the machine.
•Problems with electric power.
•Non-authorized changes.
•Deficient upkeep.
•Use of unoriginal parts and products of the machines.
•Not following this manual.
•Repairs made by unauthorized technicians.

4
CHAPTER 3
THE USE OF THE DIVIDER ROUNDER
3.1 - GENERAL DESCRIPTION
The semi-automatic divider rounder was designed to be used by qualified people in the bakery
production.
The semi-automatic divider rounder of 15 22 30 or 36 units
(DSA315/DSA322/DSA330/DSA336) is a manual volumetric weight divider for bakery
dough and can also roll the dough semi automatically.
3.2 - MACHINE’S CHARACTERISTICS
The DSA can divide a maximum of 6.5 Lbs/3 Kg of dough.
The DSA315 divides dough into 15 equal units, from 2.3oz / 60g up to 7 oz / 200g each.
The DSA322 divides dough into 22 equal units, from 1.4oz / 40g up to 4.8 oz / 135g each.
The DSA330 divides dough into 30 equal units, from 1oz / 30g up to 3.5 oz / 100g each.
The DSA336 divides dough into 30 equal units, from 0.8oz / 20g up to 3oz / 83g each.
For example, if you want to divide a 3.3 Lbs/1.5 Kg of dough with a DSA030, each unit will
weight 1.75 oz / 50g.
3.3 - IMPROPER USE OF THE MACHINE
This machine was created to weigh and roll volumetrically the bakery dough. Other uses will
be considered improper.
The manufacturer is not responsible for any machine damages or personal injuries due to
improper use of the machine.
There is no guarantee that the machine will roll perfectly dough with more than 65% of water.

5
CHAPTER 4
TECHNICAL DATA
4.1 - GENERAL DIMENSIONS
The figure 2 shows the machine’s dimensions.
General dimensions of the semi-automatic divider rounder
Model A
Inch/mm
B
Inch/mm
C
Inch/mm
D
Inch/mm
E
Inch/mm
F
Inch/mm
DSA 315 23/585 20/508 54/1371 24/610 83/2108 47/1194
DSA 322 23/585 20/508 54/1371 24/610 83/2108 47/1194
DSA 330 23/585 20/508 54/1371 24/610 83/2108 47/1194
DSA 336 23/585 20/508 54/1371 24/610 83/2108 47/1194
FIG. 2

6
4.2 - TECHNICAL CHARACTERISTICS
•The top structure is completely built in cast iron, giving the machine a compact, stable and
resistant structure.
•Stainless steel knives.
•Aluminum molding plate.
•Dough rounding plate (fig. 3).
Fig. 3
•Chrome steel shafts.
•The cover lifts easily for rapid cleaning.
•Wheel-mounted.
•Synthetic painting that makes the machine’s surface completely smooth and easier to
clean.

7
4.3 - ELECTRIC SPECIFICATONS
DSA315 / DSA322 / DSA330 / DSA336
Voltage 120 Volts 208-240 Volts
Frequency 50/60HZ 50/60HZ
Phase 1 phase 1 phase
Amperage 8 Amps 4 Amps
NEMA configuration 5-15P 6-15P
4.4 - ELECTRIC INSTALLATION
Doyon’s machines have an electric installation in compliance with the American (ANSI/UL
std. 763), Canadian (CSA std. C22.2 no. 195) and European rules. Also have sanitation
conformity to NSF-8
4.5 - SECURITY SYSTEMS
The division process or dough cut, is a mechanical process.
The dangerous parts are protected, so that the hands cannot go through.
A ring protects the user, but also maintains the dough on the dough rounding plate during the
pressing.
The blades are 1/8 in. (3 mm) thick, which hardly causes injuries with a simple hand touch.
The rolling process is semi-automatic, the user only has to pull the lever C, fig. 4.
The electric circuit is inside the machine’s foot. To reach it, you have to remove the back
panel. Nevertheless, this removal is only allowed to authorized technicians.

8
Figure 4
1. Press height-adjusting screw.
2. Machine’s opening pin for cleaning.
A. Press lever
B. Star unbolt lever
C. Automatic roller lever

9
CHAPTER 5
ELECTRIC CONNECTION AND INSTALLATION
5.1 - INSTALLATION
THE MANUFACTURER IS NOT RESPONSIBLE FOR THE MATERIAL AND
PERSONAL DAMAGES CAUSED BY A WRONG INSTALLMENT.
The divider rounder is wheel-mounted: two wheels are mobile and two others are fixed, to
facilitate the machine’s displacements and preventing it to move while in operation.
The floor’s surface, where the machine will be in service, must be solid and horizontally
leveled, in a way to prevent a possible instability and a fall during the working process.
The DSF does not need to be fixed to the floor, it has two anti-vibrate footing supports (fig.
5.1).
Fig. 5.1

10
5.2 - ELECTRIC INSTALLATION
Make sure that the plugs in the room have the same voltage and power presented on the
machine’s nameplate.
The electric plug must be as close as possible to the machine.
Avoid plugging more than one machine on the same electric plug. In case you need to plug
more than one machine on the same electric plug, make sure that it has the electric capacity
for it.
See chapter 4.3 NEMA configuration for the plug on the machine.
Warning! Take all the precautions to avoid dangers of fire, electric shocks and personal
damages. Only qualified people are allowed to intervene in the electric parts of the machine,
always follow these rules:
1. Stop the machine.
2. Switch off the power, the general switch.
3. Unplug the machine.
4. Do the necessary repairs or maintenance.
5. Plug the machine only at the end.

11
CHAPTER 6
OPERATING AND REPLACEMENT OF PRESS
6.1. OPERATION
•Place the dough portion previously weighed on the rounding dish, with little flour and
spread the dough with your hands so it occupy the most area in the moulding circles.
•Place the dish together reel it in post. (fig. 6.1)
Figure 6.1
Figure 6.2
1. Height adjustment screw of the press.
2. Bolt unlocked (to facilitate cleaning of the machine).
A. Lever of the press.
B. Unlock the lever of the knife.
C. Lever automatic rounding of the dough.

12
•In pulling the lever A, press strongly on the dough of the way this is even more extended.
Figure 6.3
•Subsequently, relieving the lever A but without the release, push the lever B to the right ,
which has the function to release the knife cutting. Press again the lever A to drop the
further the knife (figure 6.4).
Figure 6.4
•Currently, the dough portion is quite divided.

13
•To roll the bread, hold down the lever A and pull the lever C towards you , thereby
initiating the process of rounding automatic bread. Wait 4 to 5 seconds and release the
lever C (fig. 6.5), the return to initial position of rest.
Figure 6.5
•Now the bread is fully round.
•Release the lever A, the return to initial position of rest, and remove the dish with the
bread heavy and perfectly coiled.
Figure 6.6
•The process was well over, to divide and new rolling dough portion repeat the process
from the beginning.

14
•Refine the height of the screw press. This time of pressing depends on the size of dough
portion you want to split and curl. It is very important that this adjustment is correct for a
good winding dough of tacos.
Figure 6.7
If the dough dish door slides appear scratched by the star, you can adjust the screw stop of the
lever A to avoid this problem (Figure 6.8).
Figure 6.8

15
6.2. - REPLACEMENT OF THE PRESS
The replacement of the press need not be made by a technical expert, can be made by the
operator of the machine, following the illustrations below:
Remove the two covers:
Pull the cover up and then out.
Remove the rim of the press:
Remove a dish on the machine, take out the safety pin of the dough ring.
Turn the ring counter-clockwise and remove it.
Open the machine in the block above:
Remove the dowel;
Pull the lever A in the position to open up the block top.

16
Unscrew the press:
Unscrew the four nuts manually.
Unscrew the central screw of the press:
Loosen the screw with the key supplied with the machine.
Remove the press:
Pull the hand press, always aligned with the shaft;
Already out of the machine, put the press on a flat surface and clean.
Place the press:
To place a press is to reverse the entire sequence described to withdraw;

17
With the press pushing the machine open manually, always aligned with the central shaft;
Check the alignment between the hole and press the shaft and tighten the central screw;
Tighten the four nuts manually;
Close the top and put the dowel;

18
Reinstall the dough ring and the safety pin;
Place the protective covers of the machine.
Figure 6.9 (*)
(*) - The figure 6.9 refers to the entire sequence of images of the replacement of the press.

19
CHAPTER 7
MAINTENANCE
HOW TO CLEAN THE MACHINE
Every day, at the end of each working period, you have to clean the press by removing off the
residue gathered on the knives and on the grooves of the press.
Also, clean the flour accumulated in the machine. To lubricate the shaft, use alimentary
lubricators.
To clean correctly the machine, you must:
1. Remove the ring’s security pin (fig. 7.1).
2. Pull down the lever (A) of fig. 4 with the dough rounding plate installed in place (fig. 6.1).
3. Turn the ring to remove from the grooves (fig. 7.2).
4. Release lever (A) (fig. 4).
5. Slide off the ring (fig. 7.3).
Fig. 7.1 Fig. 7.2 Fig. 7.3
To reassemble the ring, you must:
1. Put the ring under the press.
2. Pull down the lever (A) of fig. 4 with the dough rounding plate installed in place (fig. 6.1).
3. Turn the ring to fit the grooves (fig. 7.2).
This manual suits for next models
3
Table of contents
Languages:
Other Doyon Commercial Food Equipment manuals