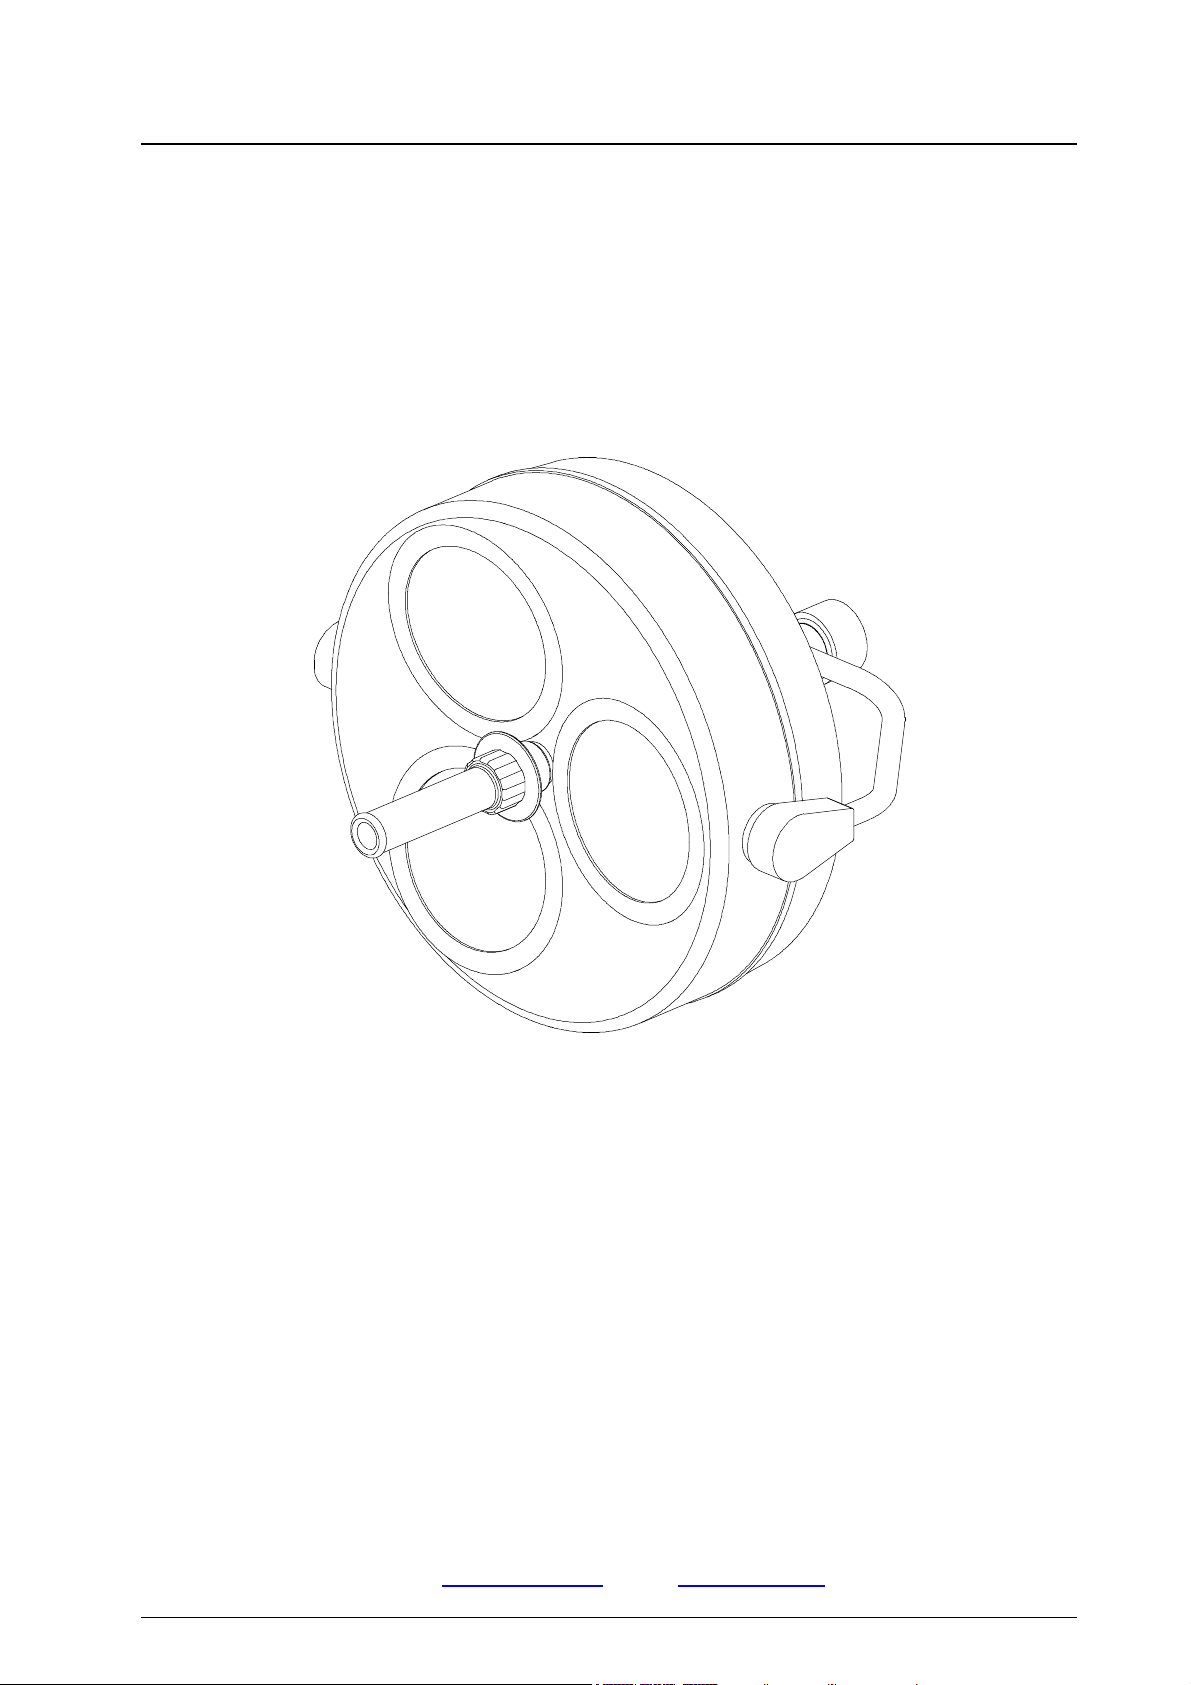
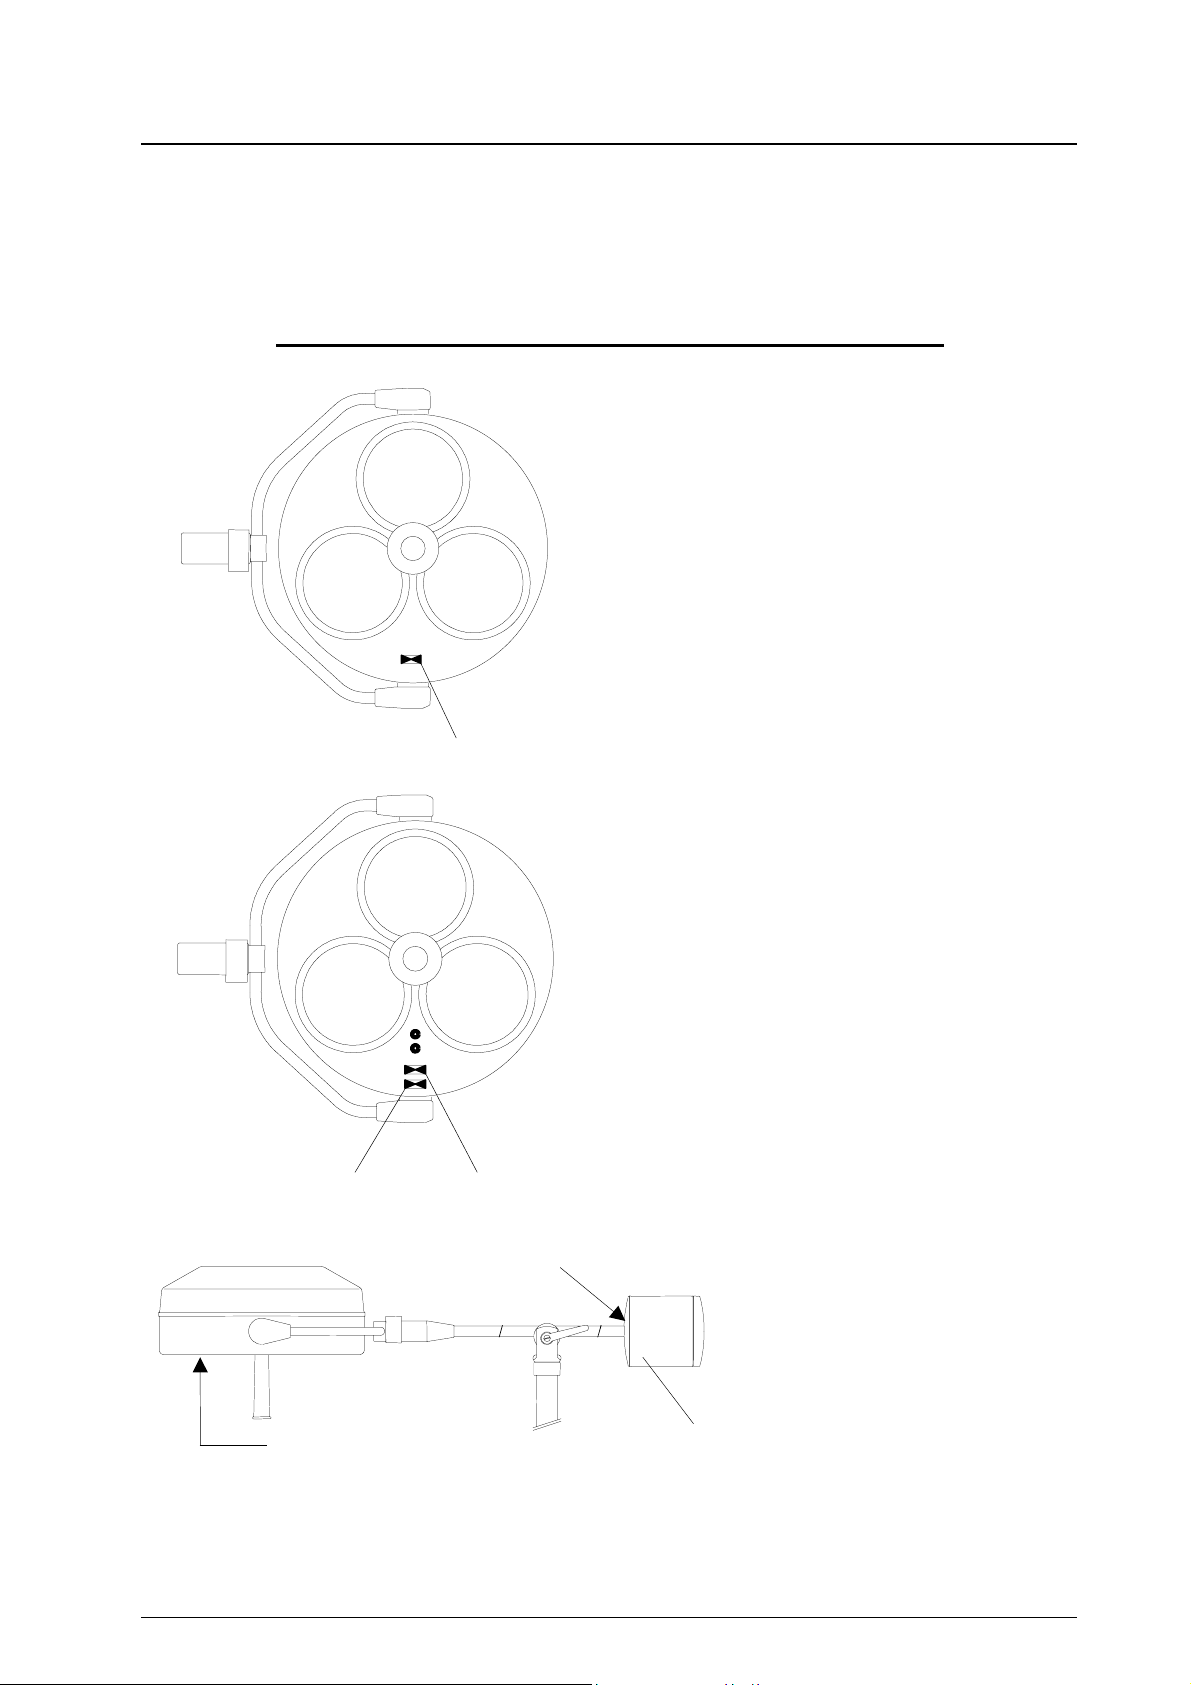
Triaflex R96 Ceiling, Wall, Stand Model Dr. Mach
Lamps and Engineering
When cleaning / disinfecting, the following procedures must be followed:
Process Time (sec.)
Zone 1 Pre-rinse, external, cold, 10 – 15°C 45
Washing, acidic, external 35°C 120
Draining time 10
Re-rinse, external approx. 80°C *10
Draining time *15
Re-rinse, external approx. 80°C *15
Draining time 15
Zone 2 Washing, alkaline, external, 93°C 135
Draining time 10
Re-rinse, external, acidic, 90°C 10
Draining time 15
Re-rinse, external 90°C 15
Draining time 15
Zone 3 Drying, external 100 – 120°C 200
Zone 4 Drying, external 100 – 120°C 200
Door open / close & transport 60
(sluice discharge)
Cycle time overall ca. 290
≈5 minutes
* When occupying the disinfection zone (washing zone 2), the re-rinse and draining times will depend on
the respective objects being washed therein!
Sterilisation
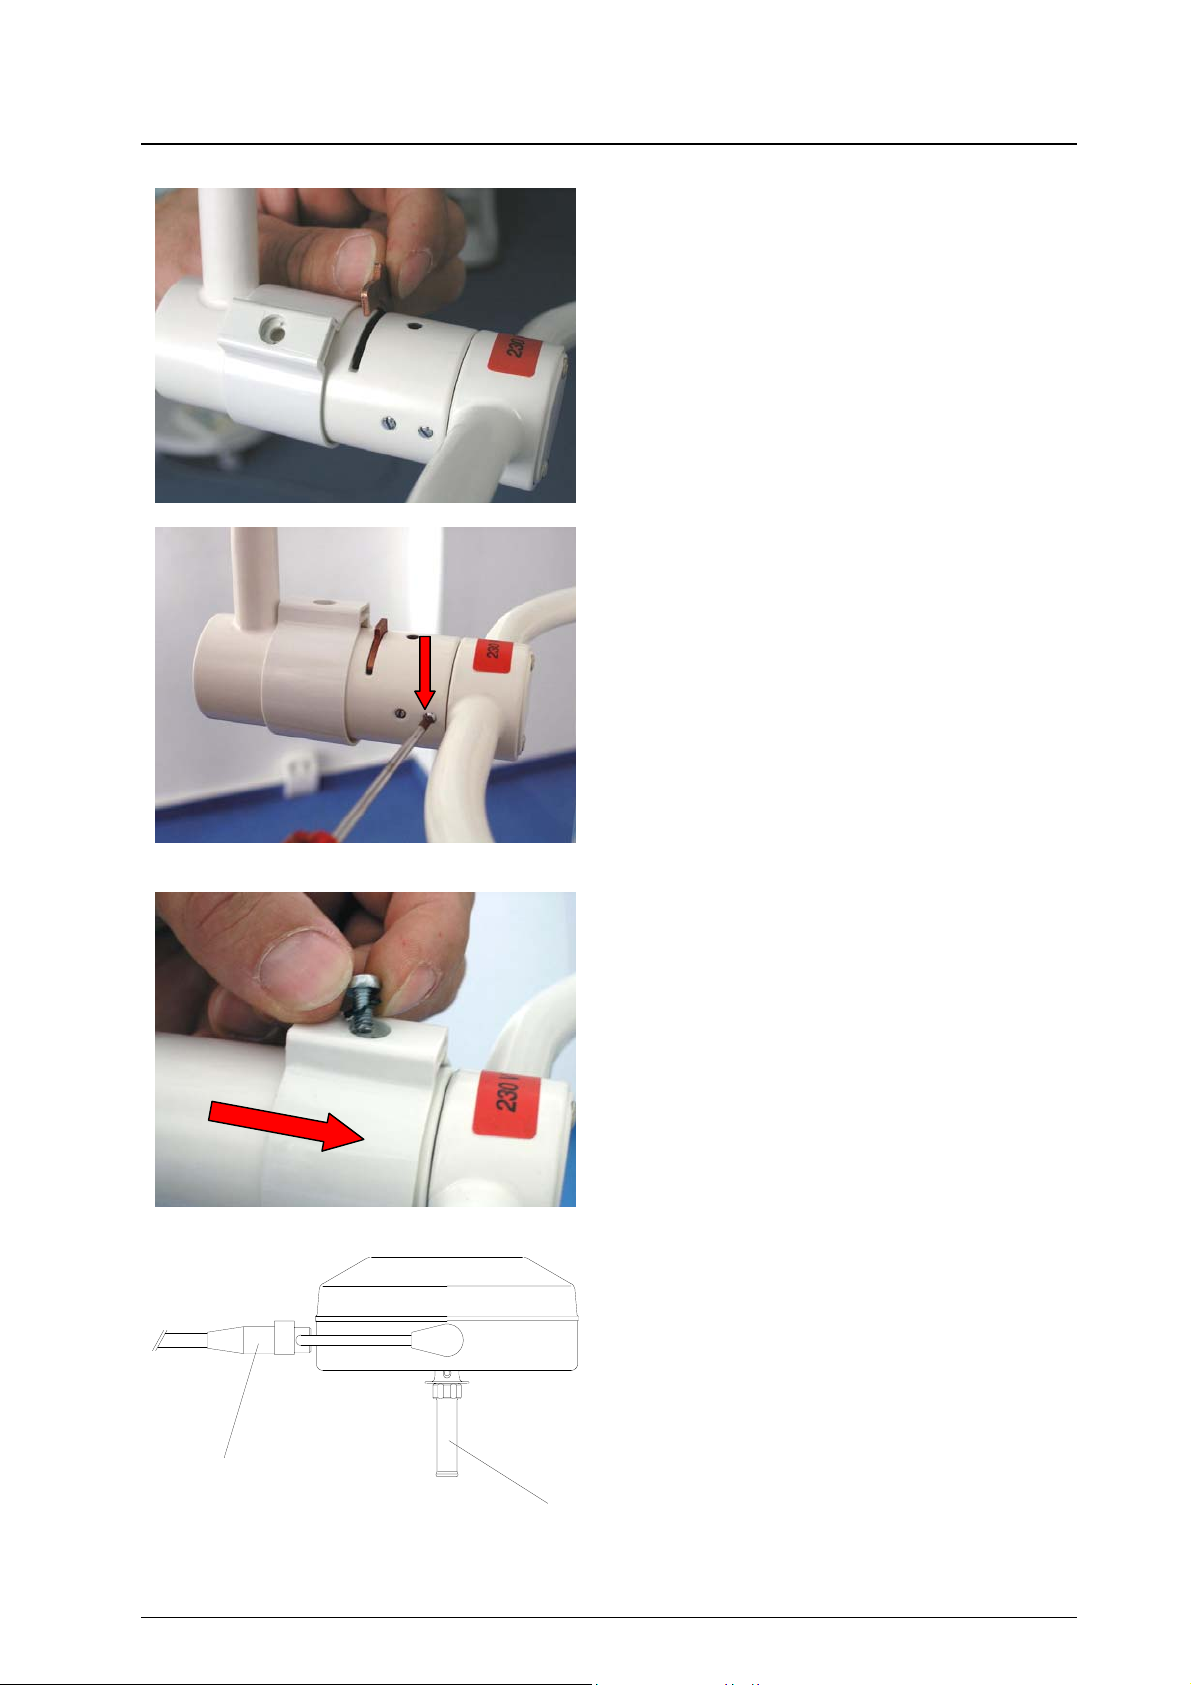
Only previously cleaned and disinfected handles may be sterilised.
The handles are placed in a suitable sterilisation pack (one-way sterilisation pack, e.g. foil / paper sterili-
sation bags, single or double pack) in accordance with DIN EN 868 / ISO 11607 for steam sterilisation
and then sterilised.
Use only the sterilisation procedure listed below for sterilisation. Other sterilisation procedures (e.g. ethyl-
ene oxide, formaldehyde and low-temperature plasma sterilisation) are not permissible.
Steam sterilisation procedure
Validated in accordance with DIN EN 554/ISO 11134
Maximum sterilisation temperature 134°C
Proof in principle of the handles’ suitability for effective sterilisation was provided using a fractional vac-
uum process (Euroselectomat 666 by MMM Münchner Medizin Mechanik GmbH, sterilising temperature
134°C, holding time 7 min.)
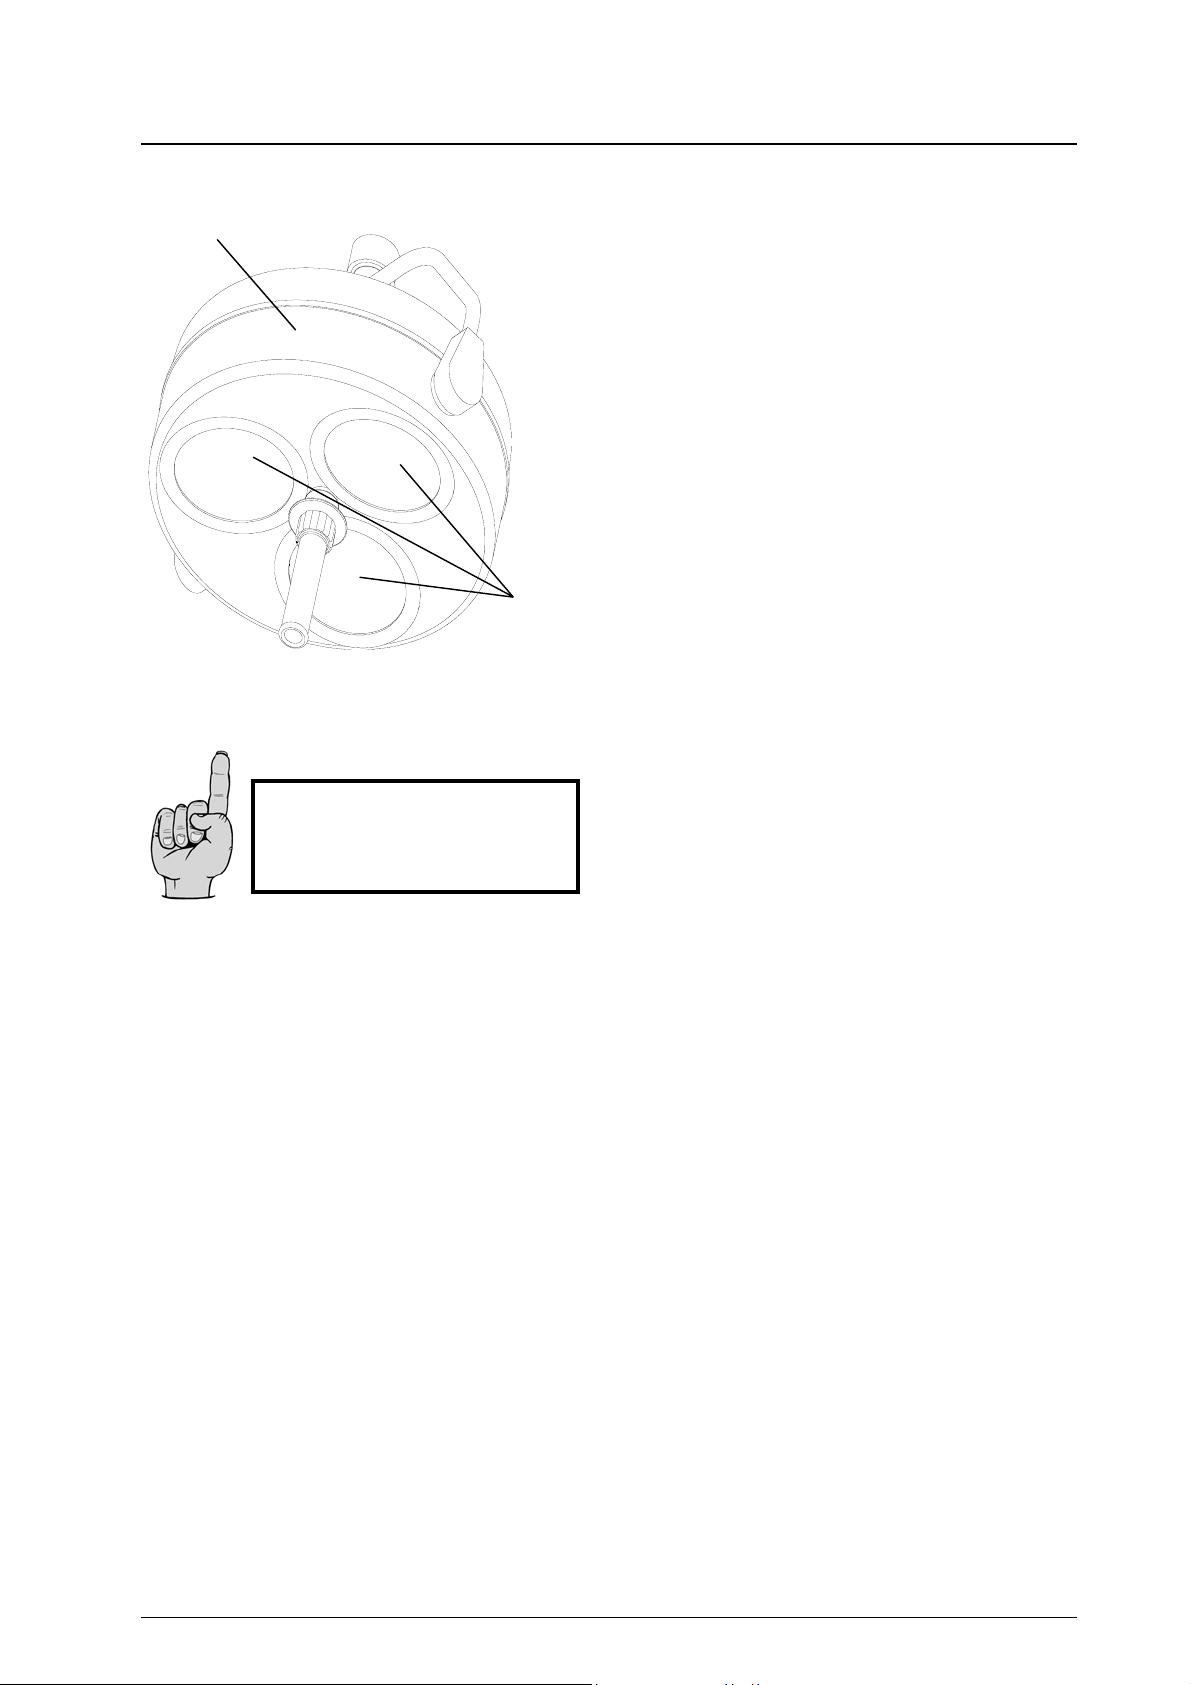
Inspection / durability
The handles should be inspected for damage and changed before re-use, if required.
The handles may be cleaned / disinfected, sterilised and re-used for a maximum of 1000 times. If the
handles are re-used more than 1000 times, then this will be the responsibility of the hospital / clinic.
59220001 Edition 04 30.07.2004 / Bak Page 9/24