manuals.online logo
Brands
  1. Home
  2. •
  3. Brands
  4. •
  5. Dragonfly
  6. •
  7. Projection Screen
  8. •
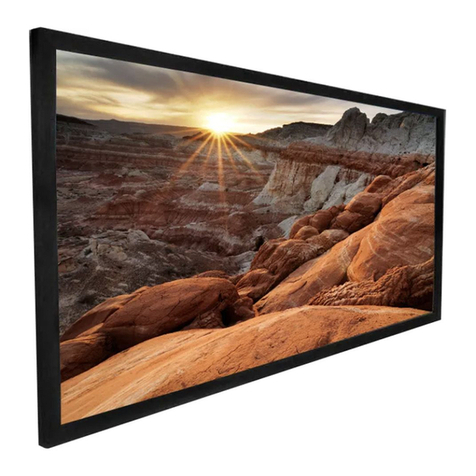
  9. Dragonfly Thinline 92" User manual

Dragonfly Thinline 92" User manual

© 2018 Dragonfly
Fixed Projection Screen Manual
181004-0945
Step 7. Attach and Install the Mounting
Brackets
A. Loosely secure the two mounting brackets to the sliding
nuts in the top frame using the M5 x 8mm screws. The
brackets should just be able to slide left and right.
B. Loosely secure the circular metal half of the magnets to
the lower frame, do not tighten the screws completely,
the brackets should just be able to slide left and right.
Step 8. Hang the Screen
A. Measure the overall Length and height of the screen frame.
B. For Drywall:Drill 4 holes in the wall at the desired height.
The distance of the horizontal holes should be about 2/3
the width of the frame, and the vertical distance of the holes
A
B-105
C. For Concrete: Drive the concrete anchors into the holes
drilled in Step B. Drive 2 M5x40mm Screws into the concrete
anchors leaving 5mm to hang the screen. Install the lower 2
magnet pieces using 2 M5x40mm screws. Hang the screen
on the upper brackets and attach the lower part of the
frame to the wall with the magnets.
AB
C
5mm
Upper
Lower
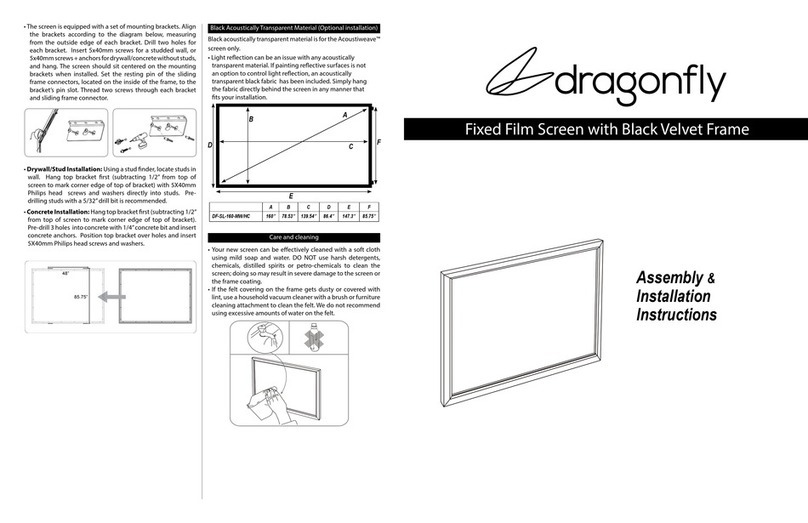
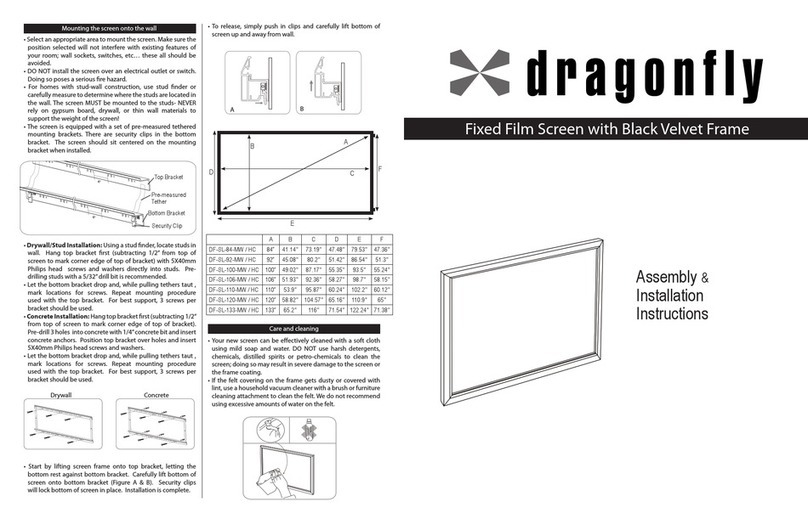
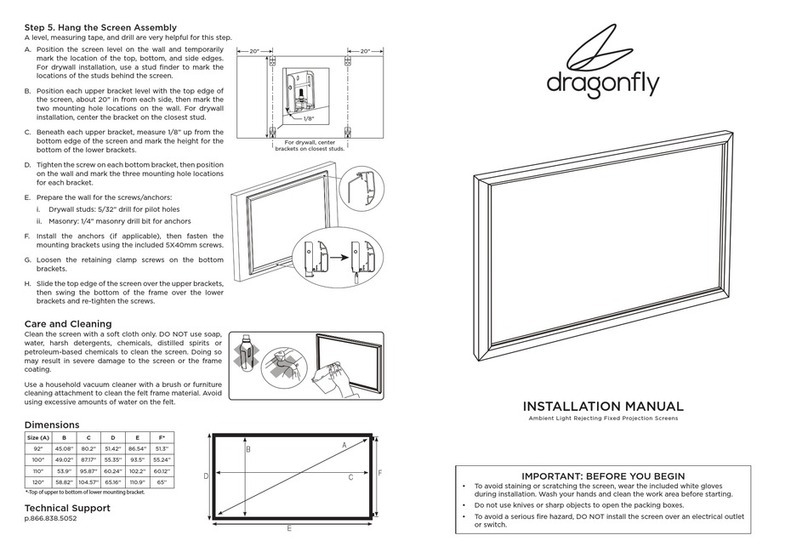
Care and Cleaning
Clean the screen with a soft cloth using mild soap and water only. DO
NOT use harsh detergents, chemicals, distilled spirits or petroleum-
based chemicals to clean the screen. Doing so may result in severe
damage to the screen or the frame coating.
Use a household vacuum cleaner with a brush or furniture cleaning
attachment to clean the felt frame material. Avoid using excessive
amounts of water on the felt.
Dimensions (in Inches)
A B C D E F G
92" 45.4 80.2 45.7 80.7 1.7 1.3
100" 49 87.2 49.6 87.7 1.7 1.3
106" 52 92.4 52.5 92.9 1.7 1.3
110" 53.9 95.9 54.5 96.5 1.7 1.3
120" 57.8 102.8 58.4 103.4 1.7 1.3
Technical Support
p.866.838.5052
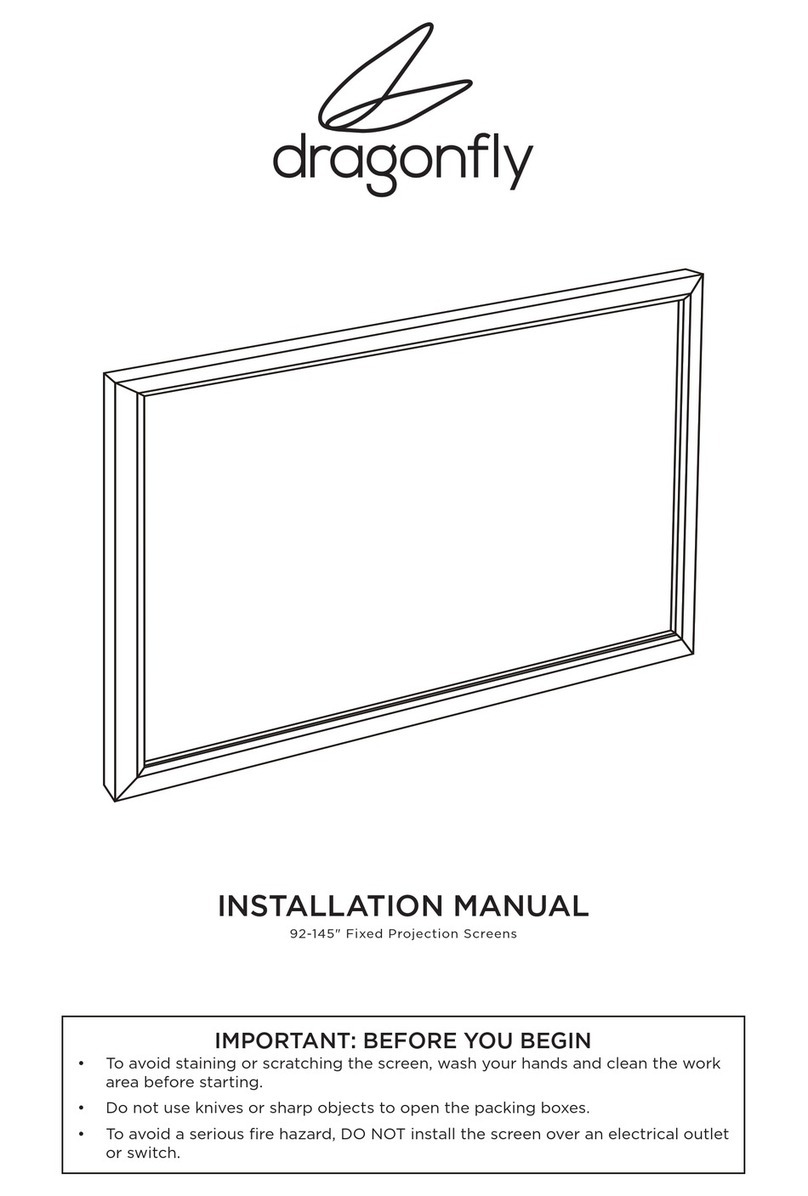
INSTALLATION MANUAL
Ultra White and Ultra Acoustiweave™ Thin-Bezel Fixed Projection Screens
IMPORTANT: BEFORE YOU BEGIN
•To avoid staining or scratching the screen, wear the included
gloves during installation. Wash your hands and clean the work
area before starting.
•Do not use knives or sharp objects to open the packing boxes.
•To avoid a serious fire hazard, DO NOT install the screen over an
electrical outlet or switch.
© 2018 Dragonfly
Fixed Projection Screen Manual
181004-0945
Step 6A
Step 6B-C
Fabric
Edge
Step 4
C (for UAW screen only)
D-E
10 4
7
5
212
11 9
8
1
3
6
Step 5
Step 4. Prepare the Screen Material
A. Lay the protective sheet out on the work surface, and
clean the surface and work area to avoid staining the
screen material.
B. Put on the supplied gloves before handling the screen
material.
D. Roll the screen material out onto the protective sheet,
then lay the frame down onto the material, ensuring the
corners of the frame and fabric are properly aligned as
shown in Step 4.
E. Insert frame rods into the edges of the screen as shown
in step 4.
C. Fit the frame into the black scrim cloth pockets from 4
corners. Adjust the position until the pockets are fixed
tight and the black cloth flat. (For UAW screen only)
Step 5. Attach the Screen Material to the Frame
A. Align the springs to the holes in the screen fabric.
B. Using the spring tool, attach the springs to the screen
material, following the numbering in the image to the
right, ensuring screen and frame stay aligned with
corners. Once the corners are connected, work around
the screen attaching the remaining springs.
C. Ensure all springs are installed straight and
perpendicular to the screen. Any springs installed at
an angle may cause ripples in the screen material.
Step 6. Install Brackets and Frame Bezels
A. With the film screen still laying face down, lay the thin
bezel caps on to the respective horizontal and vertical
edges of the screen. The aluminum side should be facing
up with fabric edges facing out. Refer to Image 6A.
i. The tracks on theback of thethinbezel caps align for
atight fit in each of the corners. Refer to image6B.
B. Once the thin bezel frames are in place and aligned,
install the thin bezel frame brackets.
i. 10 total brackets will be used to tighten all 4 thin
bezel caps in place. 2 brackets for each of the
vertical frames and 3 brackets for each of the
horizontal frames.
C. Hook curved end of the thin bezel bracket to the
outermost track of the thin bezel cap and align it with
a sliding nut. Use the M5x6mm screws to tighten.
Note: There are 4 additional sliding nuts on the horizontal
frames, 2 on each side. These sliding nuts are used to
install the wall brackets.
Step 3. Assemble the Frame
A. Slide the short frame sections into the long frame sections.
B. Insert the 8 frame corner screws into all 4 corners of the
frame and loosely tighten to hold the frame together.
C. Hand-tighten all four screws, ensure the corners are
square, then tighten the screws completely.
D. Lift up and set aside to prepare screen material for assembly.
Step 3
B
x32
C
Hold in center
Smooth material
towards corners
Installation Tips
Take care to pull material evenly before installing the
bezels.
If waves/wrinkles are present, it may be necessary to
remove the bezel and pull the material tightly before
reattaching the bezel.
Refer to the image to the right for the best practice for
smoothing wrinkles that may be present.
© 2018 Dragonfly
Fixed Projection Screen Manual
181004-0945
Step 1. Unpack the Screen
Lay out all parts on a clean, flat surface. To prevent damage, do not unpack the screen material at this time.
NOTE: Quantities below may be greater than needed for assembly.
Package Contents
Thin Bezel Frame
Brackets (10)
M5x6mm Corner
Screws (46)
Sliding Nuts [installed]
(14)
Gloves (2 Pair)
M5x40mm Phillips
Head Screws (6)
Concrete
Anchors (6)
Screen
Material (1)
Screen Frame & Frame Bezels
(2 short, 2 long each)
Tension Rods
(2 short, 2 long each)
Corner Brackets
(8)
Spring Tool (2)
Material Springs
[installed]
*Extra Springs included in the
hardware pack
Protective Sheet
(1)
Black Scrim (1) (Only applied
for UAW screen product)
Step 2. Prepare Frame Sections for Assembly
A. Retention springs are pre-assembled. Please confirm
based on quantity noted on frame label and in the
manual below for the short and long frame sections
and count all prior to install. Any extras needed are
in the hardware pack.
Qty. of Pre-assembly Springs
Screen Size 92 100 106 110 120
Each Long Side 12 12 14 14 14
Each Short Side 7 7 8 8 9
i. The hook on the spring must be on the groove
closest to the inside frame edge.
B. Sliding nuts are pre-installed into frames, 14 total. Sliding nuts are used to install the thin bezel caps, and
wall brackets. Please ensure all 14 sliding nuts are on the frames prior to installing and tightening the
corner brackets.
C. Install the corner brackets to the top and bottom slots of the short frame sections. All corner brackets are
the same size and interchangeable.
M5x8mm Mounting
Screws (3)
Mounting Brackets (2)
Magnets (2)
" " " " "
This manual suits for next models

4

Other Dragonfly Projection Screen manuals

Dragonfly DFM-TAB-84 User manual

Dragonfly

Dragonfly DFM-TAB-84 User manual

Dragonfly Ultra White User manual

Dragonfly

Dragonfly Ultra White User manual

Dragonfly DFRM User manual

Dragonfly

Dragonfly DFRM User manual

Dragonfly DF-SL-92-ALR User manual

Dragonfly

Dragonfly DF-SL-92-ALR User manual

Dragonfly DFRM-TAB-100-MW User manual

Dragonfly

Dragonfly DFRM-TAB-100-MW User manual

Dragonfly 92-145 User manual

Dragonfly

Dragonfly 92-145 User manual

Dragonfly DFM-NTT User manual

Dragonfly

Dragonfly DFM-NTT User manual

Dragonfly DF-TB-XXX-ALR Series User manual

Dragonfly

Dragonfly DF-TB-XXX-ALR Series User manual

Dragonfly DF-SL-84-MW/HC User manual

Dragonfly

Dragonfly DF-SL-84-MW/HC User manual

Dragonfly Acoustiweave DF-SL-160-MW Programming manual

Dragonfly

Dragonfly Acoustiweave DF-SL-160-MW Programming manual

Popular Projection Screen manuals by other brands

Screen Excellence TAM 2L Installer's instructions

Screen Excellence

Screen Excellence TAM 2L Installer's instructions

Classic Exhibits Sacagawea Designs VK-2109 Setup instructions

Classic Exhibits

Classic Exhibits Sacagawea Designs VK-2109 Setup instructions

Remaco MAS-1818 installation guide

Remaco

Remaco MAS-1818 installation guide

HAPRA Home Cinema CT operating instructions

HAPRA

HAPRA Home Cinema CT operating instructions

Elite Screens CineTension 2 Series user guide

Elite Screens

Elite Screens CineTension 2 Series user guide

DNP Supernova XL installation guide

DNP

DNP Supernova XL installation guide

Elite Screens PicoScreen Series user guide

Elite Screens

Elite Screens PicoScreen Series user guide

Simply Elegant 220-101 instructions

Simply Elegant

Simply Elegant 220-101 instructions

Kauber Blue Label XL installation manual

Kauber

Kauber Blue Label XL installation manual

Officeworks STILFORD JBSC129WBK Assembly instructions

Officeworks

Officeworks STILFORD JBSC129WBK Assembly instructions

Draper Premier installation instructions

Draper

Draper Premier installation instructions

Monoprice 7930 instruction manual

Monoprice

Monoprice 7930 instruction manual

Da-Lite ADVANTAGE ELECTROL Instruction book

Da-Lite

Da-Lite ADVANTAGE ELECTROL Instruction book

Elite Screens Insta-DEM Screen Series user guide

Elite Screens

Elite Screens Insta-DEM Screen Series user guide

California Sunbounce SUNBOUNCE-PRO operating instructions

California Sunbounce

California Sunbounce SUNBOUNCE-PRO operating instructions

Da-Lite LARGE ADVANTAGE DELUXE ELECTROL Instruction book

Da-Lite

Da-Lite LARGE ADVANTAGE DELUXE ELECTROL Instruction book

ADEO SCREEN FRAMEPRO installation manual

ADEO SCREEN

ADEO SCREEN FRAMEPRO installation manual

Elite Screens Yard Master 2 Series user guide

Elite Screens

Elite Screens Yard Master 2 Series user guide

manuals.online logo
manuals.online logoBrands
  • About & Mission
  • Contact us
  • Privacy Policy
  • Terms and Conditions

Copyright 2025 Manuals.Online. All Rights Reserved.