DryFlow MarineDry 3
DO NOT install this product in areas where the
following may be present or occur:
• Corrosive or flammable gases, liquids or vapours.
• Ambient temperatures higher than 40ºC or less
than -5ºC.
• Possible obstructions which would hinder the
access or removal of the hand dryer.
IMPORTANT
Read these instructions before
commencing with the installation.
Safety and guidance notes
A. All wiring to be in accordance with
the current I.E.E. Regulations, or the
appropriate standards of your
country and MUST be installed by a
suitably qualified person.
B. The Hand Dryer should be provided
with a local isolator switch capable
of disconnecting all poles, having a
contact separation of at least 3mm.
C. Ensure that mains supply (Voltage,
Frequency, and Phase) complies
with the rating label.
D. The Hand Dryer should only be used
in conjunction with fixed wiring.
E. The Hand Dryer should not be
used where it is liable to be subject
to direct water spray for prolonged
periods of time.
F. This appliance can be used by
children aged 8 and above and
persons with reduced physical,
sensory or mental capabilities or
lack of experience and knowledge
if they have been given supervision
or instruction concerning use of the
appliance in a safe way and
understand the hazards involved.
Children should be supervised to
ensure that they do not play with
the appliance.Cleaning and user
maintenance shall not be made by
children without supervision.
H. Stationary appliances not fitted with
means for disconnection from the
supply mains having a contact
separation in all poles that provide
full disconnection under over
voltage category III, the instructions
state that means for disconnection
must be incorporated in the fixed
wiring in accordance with the
wiring rules.
3
approximately 5mm gap.
4. Locate dryer assembly back plate
over screw heads through key hole
apertures. Pull down against surface
and fully tighten screws
5. Connect the wiring to
the unit as outlined in the Wiring
Instructions (Page 2).
6. Locate cover on back plate and
locate and tighten screws from
underneath (Illustration 2).
IMPORTANT
After installation or servicing, units must be checked,
and only left when electrically and mechanically safe.
Servicing instructions
The minimum service period for the
dryer should be every 3 months or
more frequent intervals as experience
dictates:
1. Isolate the Hand Dryer from the
electricity supply before servicing.
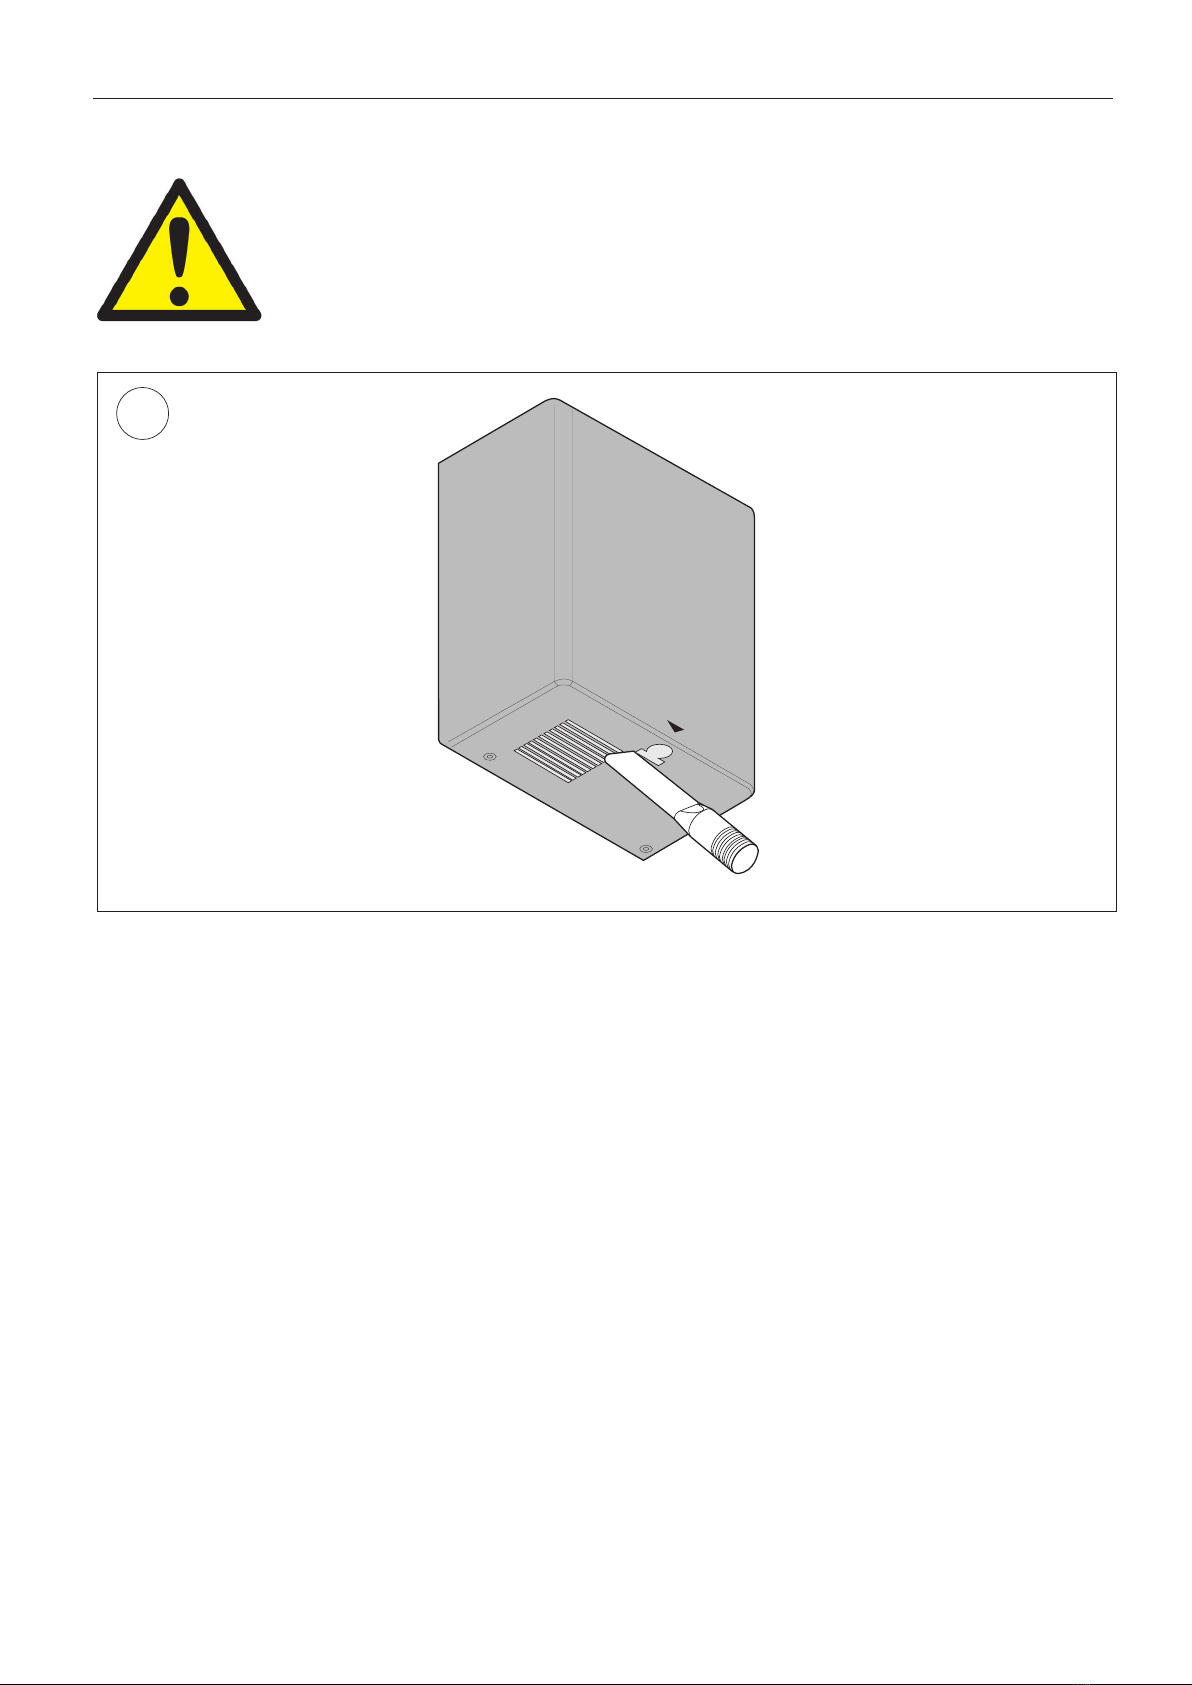
2. Remove dust, fluff and any other
build up of foreign matter from
inlet and outlet grille areas
(Illustration 3).