manuals.online logo
Brands
  1. Home
  2. •
  3. Brands
  4. •
  5. DT Research
  6. •
  7. Medical Equipment
  8. •
  9. DT Research DT592SC Assembly instructions

DT Research DT592SC Assembly instructions

DT592SC/ DT592SU/ DT594SC/ DT594SU
BASIC OPERATION GUIDE
ENGLISH
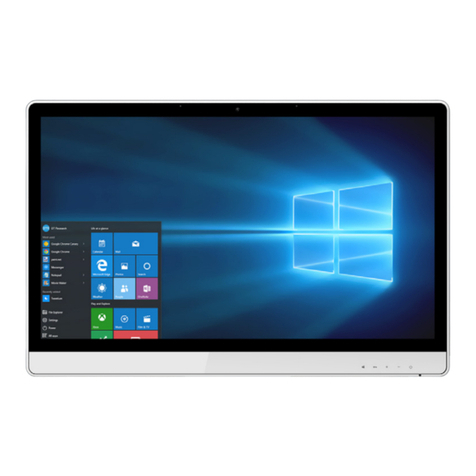
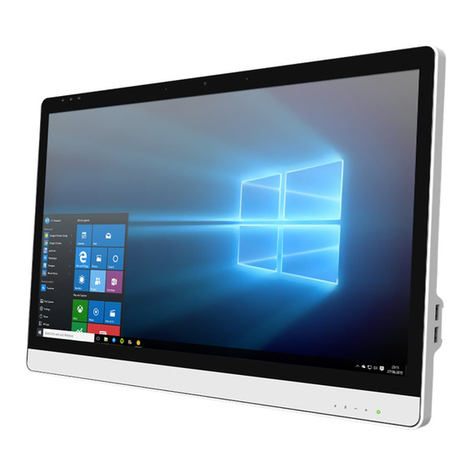
Medical-Cart Computer
DT592SC/ DT592SU/
DT594SC/ DT594SU
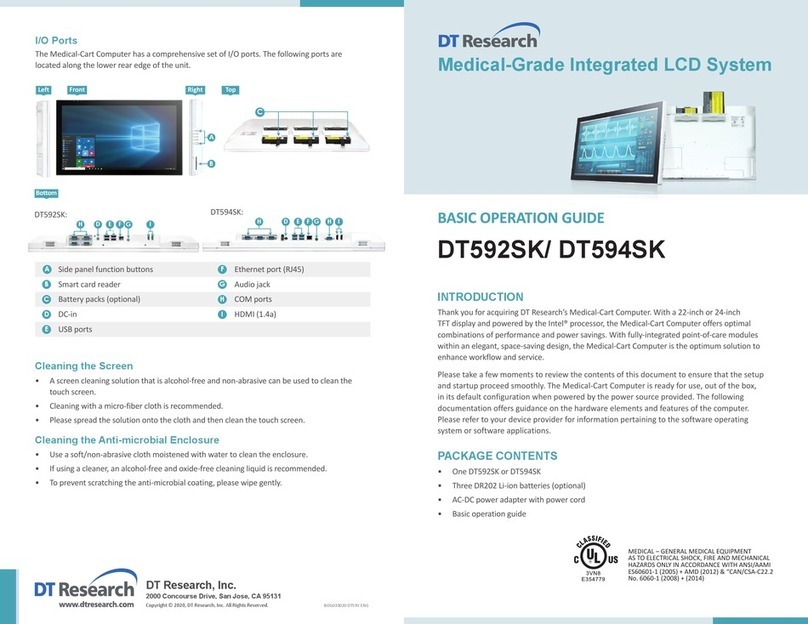
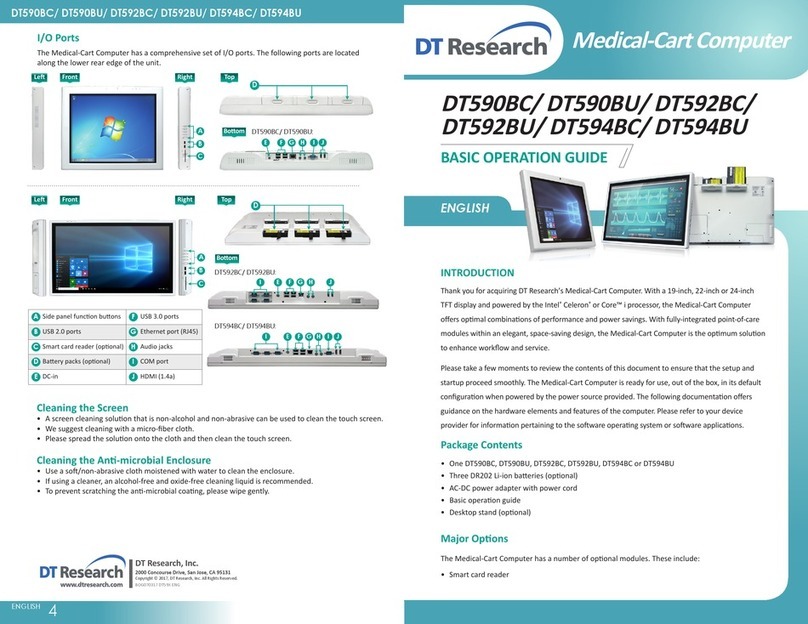
Side panel funcon buons USB ports
USB ports Ethernet port (RJ45)
Smart card reader (oponal) Audio jacks
Baery packs (oponal) COM port
DC-in HDMI (1.4a)
ENGLISH 4
signage dtri com
DT Research, Inc.
2000 Concourse Drive, San Jose, CA 95131
Copyright © 2018, DT Research, Inc. All Rights Reserved.
INTRODUCTION
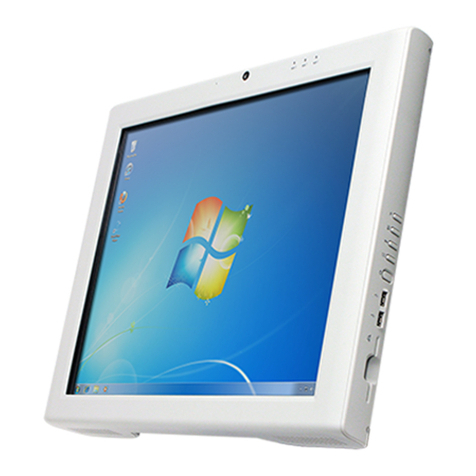
Thank you for acquiring DT Research’s Medical-Cart Computer. With a 22-inch or 24-inch TFT display
and powered by the Intel®processor, the Medical-Cart Computer offers opmal combinaons of
performance and power savings. With fully-integrated point-of-care modules within an elegant,
space-saving design, the Medical-Cart Computer is the opmum soluon to enhance workflow and
service.
Please take a few moments to review the contents of this document to ensure that the setup and
startup proceed smoothly. The Medical-Cart Computer is ready for use, out of the box, in its default
configuraon when powered by the power source provided. The following documentaon offers
guidance on the hardware elements and features of the computer. Please refer to your device
provider for informaon pertaining to the soware operang system or soware applicaons.
Package Contents
One DT592SC, DT592SU, DT594SC or DT594SU•
Three DR202 Li-ion baeries (oponal)•
AC-DC power adapter with power cord•
Basic operaon guide•
BOG 062618 DT59X ENG
I/O Ports
The Medical-Cart Computer has a comprehensive set of I/O ports. The following ports are located
along the lower rear edge of the unit.
Major Opons
The Medical-Cart Computer has a number of oponal modules. These include:
Smart card reader•
NFC/ RFID reader•
A
B
C
D
E
F
G
H
I
J
LeTop
Boom
Front Right
Cleaning the Screen
A screen cleaning soluon that is non-alcohol and non-abrasive can be used to clean the touch screen.•
We suggest cleaning with a micro-fiber cloth.•
Please spread the soluon onto the cloth and then clean the touch screen.•
Cleaning the An-microbial Enclosure
Use a so/non-abrasive cloth moistened with water to clean the enclosure.•
If using a cleaner, an alcohol-free and oxide-free cleaning liquid is recommended.•
To prevent scratching the an-microbial coang, please wipe gently.•
A
B
D
E F
E
I
I F
F
F
H
H
G
G
J
J
C
DT592SC/ DT592SU:
DT594SC/ DT594SU:
MEDICAL – GENERAL MEDICAL EQUIPMENT
AS TO ELECTRICAL SHOCK, FIRE AND MECHANICAL
HAZARDS ONLY IN ACCORDANCE WITH ANSI/AAMI
ES60601-1 (2005) + AMD (2012) & “CAN/CSA-C22.2
No. 6060-1 (2008) + (2014)
DT592SC/ DT592SU/ DT594SC/ DT594SU
ENGLISH 23ENGLISH
Precauons
Always exercise care when operang and handling the•Medical-Cart Computer.
Never disassemble any poron of the enclosure, as this will void any product warranty on the•
Medical-Cart Computer.
Do not use any AC/DC adapter other than the one provided with the device or a replacement•
acquired from the manufacturer.
In the unlikely event that smoke, abnormal noise or strange odor is present, immediately power•
down the Medical-Cart Computer and disconnect all power sources. Please report the problem
to your device provider immediately.
Basic Features
The Medical-Cart Computer integrates a bright 22”, or 24”display with a high performance system,
USB ports, and integrated opons such as capacive touch, hot-swappable baeries, NFC/ RFID
reader, and smart card reader for a comprehensive point-of-healthcare soluon.
Powering ON and OFF
If your Medical-Cart Computer comes with the baery packs, please open the baery slot caps
and then put in the baery packs one by one. If not, please use the AC-DC adapter with the
Medical-Cart Computer for the power supply. To acvate the Medical-Cart Computer, push and
quickly release the Power Buon and the display will come on in a few seconds. To put in Standby
mode, push and quickly release the Power Buon. To turn offfor extended storage, power offthe
device safely using any soware funcon that “shuts down computer”provided in the soware
operang system.
NOTE:
The baery packs shipped with your device may be low in power—please use the AC-DC adapter with the
Medical-Cart Computer when seng up the device for the first me to fully charge the baery packs. You may
charge the baery packs with them aached to the Medical-Cart Computer, or with the oponal baery charger kit.
NOTE:
When the baery pack(s) is (are) charging, the blue-colored Baery LED should blink slowly. If plugging in the
AC-DC adapter does not trigger this blinking acvity and the LED stays dark, the baery pack(s) may have been
drained substanally. Try unplugging/ replugging the AC-DC adapter to the Medical-Cart Computer a few mes to
acvate the charging process.
NOTE:
To conserve power, use (push and quick release) the Power Buon to put the device in “Standby”mode while not
in use. Pushing briefly on the same buon will wake up the system within seconds.
NOTE:
Avoid using the Power Buon (“hold 4+ seconds”feature) to turn offthe device—this form of hardware shutdown
is intended to be a means of recovery from device lockups, and not as normal operaon.
NOTE:
If connecng an external monitor to the Medical-Cart Computer (via HDMI port), you must power the Medical-Cart
Computer with the provided AC-DC power adapter.
Power/Baery LED Status
Blue indicates the baery is 25% to 100% charged•
Blinking blue indicates the baery is charging•
Orange indicates that the baery is between 11% to 25%•
Blinking Orange indicates that the baery is below 10%•
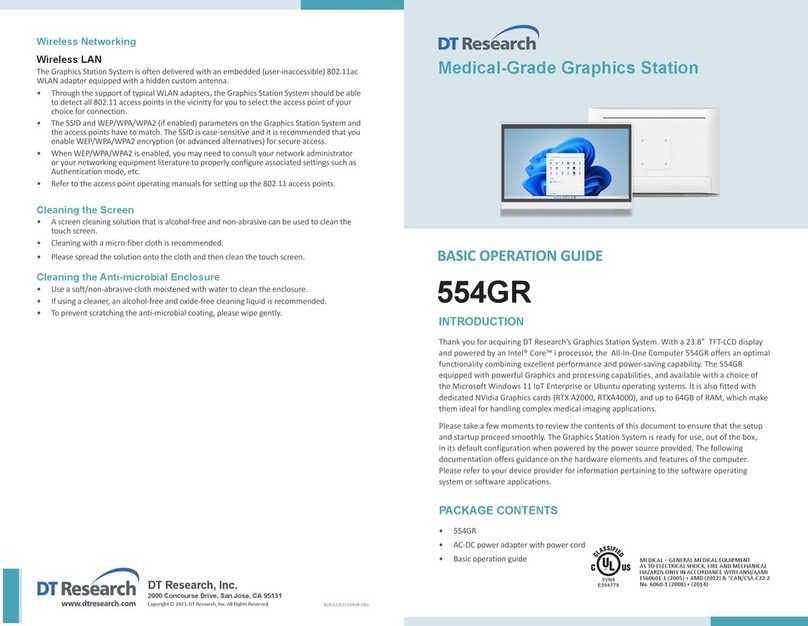
Wireless Networking
Wireless LAN
The Medical-Cart Computer is oen delivered with an embedded (user-inaccessible) 802.11ac
WLAN adapter equipped with a hidden custom antenna.
Through the support of typical WLAN adapters, the Medical-Cart Computer should be able to•
detect all 802.11 access points in the vicinity for you to select the access point of your choice for
connecon.
The SSID and WEP/WPA/WPA2 (if enabled) parameters on the Medical-Cart Computer and the•
access points have to match. The SSID is case-sensive and it is recommended that you enable
WEP/WPA/WPA2 encrypon (or advanced alternaves) for secure access.
When WEP/WPA/WPA2 is enabled, you may need to consult your network administrator or your•
networking equipment literature to properly configure associated sengs such as Authencaon
mode, etc.
Refer to the access point operang manuals for seng up the 802.11 access points.•
Bluetooth
The Medical-Cart Computer features a built-in Bluetooth adapter that operates on the Microso
Windows Bluetooth protocol. The Bluetooth configuraon applicaon is invoked from the System
Tray or from the Control Panel. Follow the instrucons and opons provided within the applicaon
to configure and invoke Bluetooth connecvity with the corresponding peripherals.
NOTE:
Bluetooth devices or accessories that are not compable with the MicrosoWindows Bluetooth protocol may not
work with the Medical-Cart Computer.
Baery Indicator

This manual suits for next models

3

Other DT Research Medical Equipment manuals

DT Research DT590BU Assembly instructions

DT Research

DT Research DT590BU Assembly instructions

DT Research 582T Assembly instructions

DT Research

DT Research 582T Assembly instructions

DT Research DT592SK User manual

DT Research

DT Research DT592SK User manual

DT Research 139CS Assembly instructions

DT Research

DT Research 139CS Assembly instructions

DT Research 362MD Assembly instructions

DT Research

DT Research 362MD Assembly instructions

DT Research 554GR Assembly instructions

DT Research

DT Research 554GR Assembly instructions

DT Research 507T Assembly instructions

DT Research

DT Research 507T Assembly instructions

DT Research DT517MD Assembly instructions

DT Research

DT Research DT517MD Assembly instructions

DT Research DT590BC User manual

DT Research

DT Research DT590BC User manual

Popular Medical Equipment manuals by other brands

BMC G3 B20A user manual

BMC

BMC G3 B20A user manual

Natural Ozone Multipurpose Ozonator user manual

Natural Ozone

Natural Ozone Multipurpose Ozonator user manual

Arcos Burn Navigator Active user manual

Arcos

Arcos Burn Navigator Active user manual

Direct Healthcare Group RoMedic Carina350EM user manual

Direct Healthcare Group

Direct Healthcare Group RoMedic Carina350EM user manual

BioMat Professional user guide

BioMat

BioMat Professional user guide

Hotronic HEAT SOCKS XLP operating manual

Hotronic

Hotronic HEAT SOCKS XLP operating manual

BIOCORP MERCK smartdot Instructions for use

BIOCORP

BIOCORP MERCK smartdot Instructions for use

laerdal 846060 user guide

laerdal

laerdal 846060 user guide

B. Braun microspeed uni Instructions for use

B. Braun

B. Braun microspeed uni Instructions for use

I-Tech Power-Q1000 Premium user manual

I-Tech

I-Tech Power-Q1000 Premium user manual

ZOLL M2 Operator's guide

ZOLL

ZOLL M2 Operator's guide

Mobi Technologies 700030 user manual

Mobi Technologies

Mobi Technologies 700030 user manual

DJO DONJOY Playmaker manual

DJO

DJO DONJOY Playmaker manual

Stryker PINPOINT PC9000 Operator's manual

Stryker

Stryker PINPOINT PC9000 Operator's manual

Sanela SLZM 01 Series Mounting instructions

Sanela

Sanela SLZM 01 Series Mounting instructions

Stryker IsoTour 2872 Operation manual

Stryker

Stryker IsoTour 2872 Operation manual

Lilly HumatroPen 24 mg user manual

Lilly

Lilly HumatroPen 24 mg user manual

Braun Aesculap MACS II Instructions for use/Technical description

Braun

Braun Aesculap MACS II Instructions for use/Technical description

manuals.online logo
manuals.online logoBrands
  • About & Mission
  • Contact us
  • Privacy Policy
  • Terms and Conditions

Copyright 2025 Manuals.Online. All Rights Reserved.