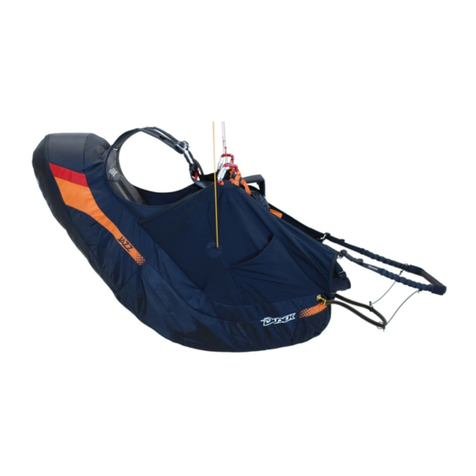
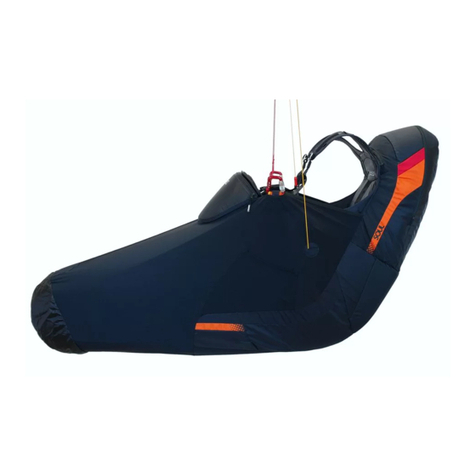
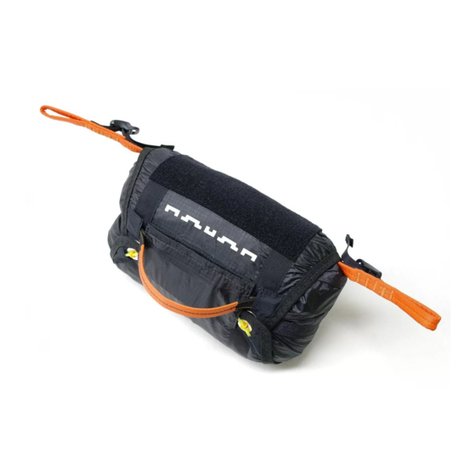
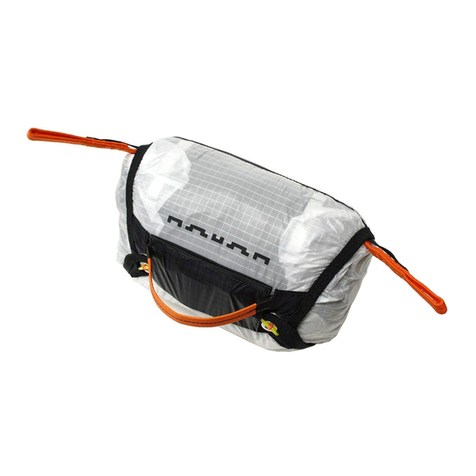
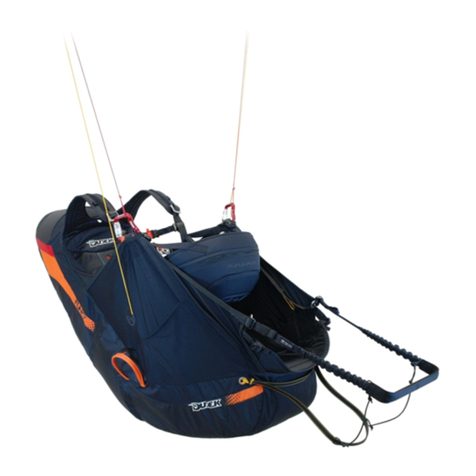
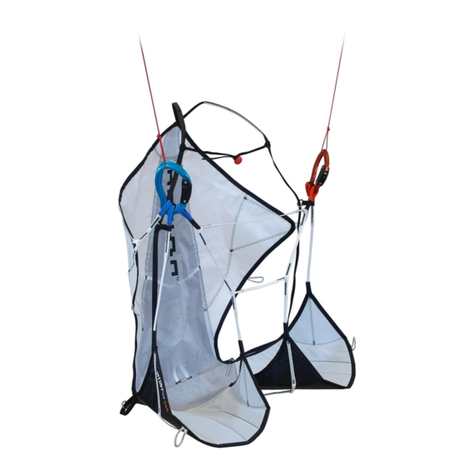
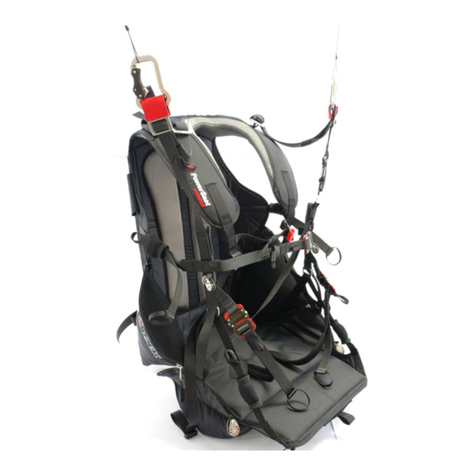
Dudek POWERSEAT LIGHT User manual

POWERSEAT LIGHT
User Manual
V23/09/2021

2
CONTENTS
POWERSEAT LIGHT
Introdu tion
Des ription
Assembly
Res ue hute installation
Speedbar
Ronstan pulleys (optional)
Harness/paraglider onne tion
Harness adjustment
Prote tor
Po kets
Before flight
Res ue hute operation
Landing
Tandem flights and win hing
Storage and leaning
Operation and repairs
Enviromental are
Te hni al Data
Materials
What you have bought
Join us!
Support
Summary
3
4
5
8
13
15
16
17
19
20
21
22
23
24
25
26
27
28
29
30
31
32
33

Congratulations!
Thank you for hoosing the Powerseat Light harness. We have done
our best to present you with highest quality produ t, fulfilling all safety
requirements and offering maximum fun tionality.
Please read this manual arefully before using the harness for the
first time. This will help you utilize all features provided by the
Powerseat Light, thus in reasing omfort and joy of ea h flight.
We wish you a lot of safe and enjoyable airtime!
Safety
Paragliding is a potentially hazardous sport. When flying a paraglider
you have to a ept risks of injury and/or even death. In ompetent or
improper use of the harness may in rease those risks. In ase of any
doubts please ask your dealer or manufa turer
Note: Dudek Paragliders do not bear any responsibility for damages
or injuries resulting from paragliding a tivities.
3
INTRODUCTION
POWERSEAT LIGHT

4
DESCRIPTION
POWERSEAT LIGHT
When designing this harness, we took into
a ount suggestions of our test pilots, as
well as those of paramotor manufa turers
and regular users. The goal of this proje t
was to reate a very light PPG harness. We
su eeded in a hieving a weight of 2,35 kg
in M size, whi h was possible due to
extensive use of light and strong materials,
like arbon fibre or Dyneema.
Powerseat Light is manufa tured in three
sizes: S, M and L. The harness is equipped
as standard with ball-bearing Dudek Smart
Pulleys. Optionally, Ronstan 20 and
Ronstan 30 pulleys an be used instead.
The harness has two po kets: one on the
side and one under the seat plate. The
res ue para hute is pla ed in the side
ontainer. The ontainer and the side
po ket are inter hangeable.
Powerseat Light is meant for paramotors
with movable bars and low hangpoints. It
an be used with and PPG-dedi ated
anopy unless its produ er says otherwise.
The adjustment range of the harness will fit
all pilots. The harness straps system allows
for effe tive ontrol and full use of the
paraglider's apabilities.
Warning: Due to the use of lightweight
materials in the onstru tion of the
harness, it is more prone to damage and is
not re ommended for ompetition flights.

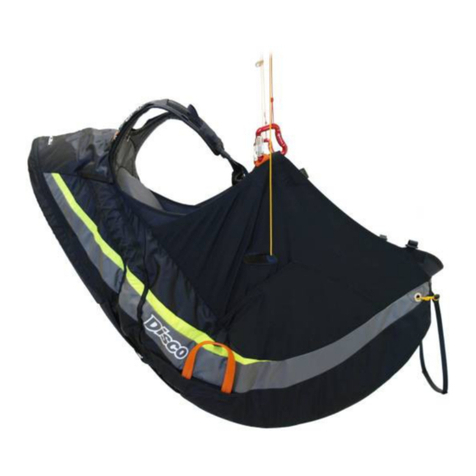
5
ASSEMBLY
POWERSEAT LIGHT
1
2
3
4
5
6
Hangpoint of the harness.
Upper frame hangpoint.
Lower frame hangpoint.
Conne tion of the lower shoulder straps end.
Carabiner loop.
Safety strap.

ASSEMBLY
Harness angpoint
Conne t to the paramotor bars as
des ribed by its manufa turer. Usually,
metal sha kles of proper strength are used.
Upper frame angpoint
Conne t to the upper part of the frame as
des ribed by its manufa turer.
Lower frame angpoint
Conne t to the verti al parts of the frame,
taking are that the onne tion is not too
short.
Note: too short onne tion here an lead to
damaging the harness.
Connecting t e lower end of t e
s oulder straps
Conne t them to the frame verti al parts in
the lower area of the frame. Ideally, use
dedi ated points, given that the paramotor
manufa turer provided them.
Carabiner loops
Put the arabiner loop on the frame bar
and lo k it with a rubber. Then you have a
ready hangpoint to onne t the harness to
the paramotor.

Safety straps
Put the blue end of the strap into a hangpoint of the harness, and the
orange one into a arabiner.
7
POWERSEAT LIGHT
ASSEMBLY

8
POWERSEAT LIGHT
Before installing the res ue hute in a side
ontainer, atta h the V-riser to a
onne tion strap. Use the o-rings to keep
the straps in pla e on the metal qui klinks
(Maillon Rapide C6 or C7). Tighten the
qui klink with a wren h, so that it will not
get loose. Finally, se ure the onne tion by
putting on a neoprene over.
Install the release handle on the res ue
hute bag.
Note: Use the entral loop of the bag. Do
not fix the handle to side loops.
RESCUE CHUTE INSTALLATION

9
POWERSEAT LIGHT
Pla e the res ue para hute in the
ontainer, making sure that the v-strap
protrudes from the ontainer on the
appropriate side.
Close the ontainer starting with flaps 1
and 2. Use assisting lines and pins. Then
lose the #3 flap using proper pins of the
release handle.
Insert the ends of the pins as well as tips of
the release handle into their po kets.
RESCUE CHUTE INSTALLATION

10
POWERSEAT LIGHT
RESCUE CHUTE INSTALLATION

11
POWERSEAT LIGHT
Side container’s volume:
Caution: After ea h installation of res ue
hute in a ontainer, a ompatibility test is
ne essary. In order to do that, hang the
harness, equipped ready for flight. Seat
down in the harness and assume your
usual position in flight. Grab the ontainer
release handle and pull it to the side in a
resolute effort, so that the para hute is
ompletely out of the ontainer. Still, do not
throw it away, so that the bag remains
losed. If the trial was su essful, put the
res ue ba k into the ontainer.
If, however, the para hute ould not be
released properly, possible reasons may
in lude:
• Too big res ue hute ompared to the
ontainer’s dimensions (after airing
and repa king the para hute is
usually slightly bigger than a new one)
• Pulling the release handle not strong
enough or in wrong dire tion (to the
front, ba k or up instead of to the
side)
• The length of pilot’s arm an be a
fa tor in this ase. Espe ially small
pilots an find it diffi ult to throw the
hute away properly.
• Be aware that a umulation of
unfavorable ir umstan es,
aggravated with G-for es in possible
spiral may render opening the res ue
hute diffi ult or outrightly impossible.
After installing the res ue hute, atta h the
ontainer to the harness and onne t the
ends of the V-strap to the points on the
shoulder straps, using two Maillon Rapide
C6 qui klinks. Keep the tapes in pla e with
rubber O-rings. Tighten the squares with a
wren h to avoid uns rewing them
a identally. Pla e the V-strap in its tunnels
and lose them with vel ro.
S M L
Min [cm3] 3900 4300 4600
Max [cm3] 4900 5400 5800
RESCUE CHUTE INSTALLATION

12
POWERSEAT LIGHT
Note: The V-strap must be led outside of
any other parts of the harness/paramotor.
RESCUE CHUTE INSTALLATION

13
POWERSEAT LIGHT
Pushing the speedbar in reases your airspeed. Powerseat Light
originally is not equipped with a speedbar, it must be pur hased as
additional equipment. The installation and adjustment of a speedbar
must be exe uted as follows:
1. Atta h lines to the speedbar (if not assembled already).
2. Pla e the lines in the harness, leading them onse utively through:
• metal rings
• pulleys on both sides of the seat
• pulleys at the ba krest
3. You an put a stopper on the line above these pulleys.
SPEEDBAR
1
2
3

14
POWERSEAT LIGHT
The speedbar must be adjusted so that
pulleys on the risers get together when the
bar is fully depressed. Assembly must be
he ked in flight in smooth onditions on
safe altitude. When ne essary adjust the
lines’ length after landing.
Note: Speedsystem lines annot be too
short. When the speedbar is not depressed
in flight, lines should be slightly sla k.
On the front of the seat plate there is a
re epta le for the speedbar. It’s there to
hold the speedbar in pla e during take-off.
SPEEDBAR

15
POWERSEAT LIGHT
For a more smooth speed-system
operation you an optionally use the
Ronstan pulleys. The set ontains:
• Ronstan 20 pulley
2 p s
• Ronstan 30 pulley
2 p s
• 80 mm Dyneema loop
2 p s
• 90 mm Dyneema loop
2 p s
Put your Ronstan pulleys where the
standard Smart Pulleys were (after
removing them). Use the Dyneema loops
to fix the Ronstan 30s at the ba krest, and
the Ronstan 20s at the seat of the harness.
RONSTAN PULLEYS (OPTIONAL)

HARNESS/PARAGLIDER CONNECTION

17
POWERSEAT LIGHT
Corre t adjustment of the harness has onsiderable effe t on omfort
and safety of operation. The pi ture below shows points to be
adjusted before first flight. It is ne essary to hang somewhere the
paramotor with atta hed harness in order to try it out and ondu t
initial adjustment. After first flights further adjustments will be
inevitable, as exa t adjustment an turn impossible without working
paramotor.
1
2
3
4
5
Shoulder straps
Side straps
Adjustment of the seat extension angle
Chest strap
Leg straps
HARNESS ADJUSTMENT

18
POWERSEAT LIGHT
S oulder straps
Their length must be adjusted so that it is possible to stand straight
with the paramotor on the ba k. In general they should be set short
as possible. In flight the straps remain sla k and it is advised against
tightening them.
Side straps
Low bars make possible to separate pilot’s body from the paramotor’s
frame. Their length must be hosen so that pilot’s ba k will not tou h
the frame. Su h setting will render paramotor’s vibration less
irksome.
Seat plate extension angle
This adjustment will position the seat plate extension plank in most
omfortable angle. During laun h and landing the extension plank will
shift together with the seat plate, thus not requiring any additional
tuning.
C est strap
Keeps the pilot safely in the harness. Its length must fit the paramotor
bars width.
Leg straps
Keep the pilot safely in the harness. Their length must be hosen so
that pre-flight movements and starting run will not be hindered.
However, too long straps will ompli ate sitting in the harness after
laun h.
HARNESS ADJUSTMENT

Powerseat Light harness does not have a prote tor, nor an impa t
pad.
19
POWERSEAT LIGHT
PROTECTOR

Powerseat Light features two side po kets and a bigger one under
the seat. The side po ket is available during flight and you an store
smaller items inside, su h as keys, telephone, et . It an be mounted
on the left or right side, inter hangeably with the side ontainer.
20
POWERSEAT LIGHT
POCKETS
Table of contents
Other Dudek Accessories manuals

Dudek
Dudek Jazz User manual

Dudek
Dudek SIT&FLY 260 User manual

Dudek
Dudek Light 90/110 User manual

Dudek
Dudek PowerSeat comfort User manual

Dudek
Dudek Funky 2018 User manual

Dudek
Dudek POGO 3 User manual

Dudek
Dudek GROUNDMASTER User manual

Dudek
Dudek Soul User manual

Dudek
Dudek Sit&Fly 90/110 User manual

Dudek
Dudek Techno User manual