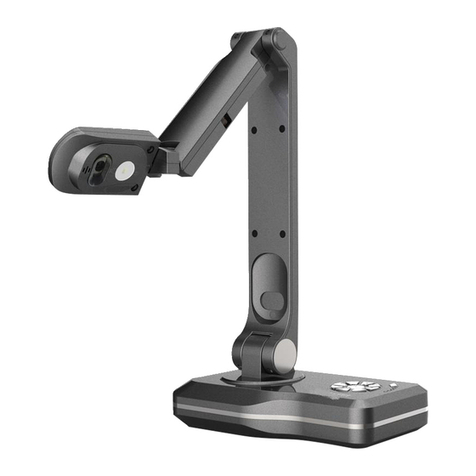
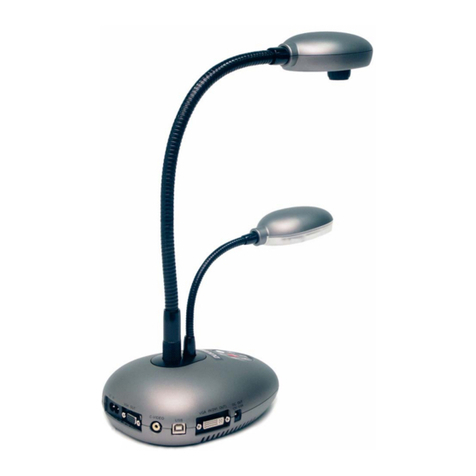
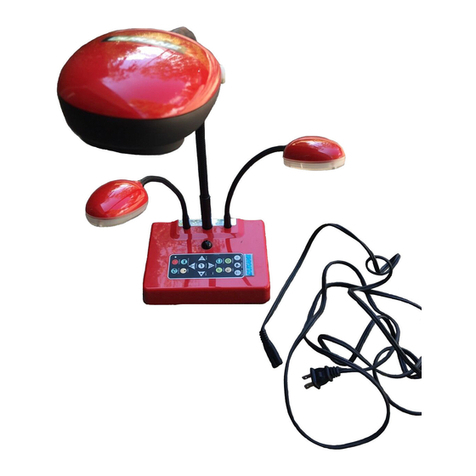
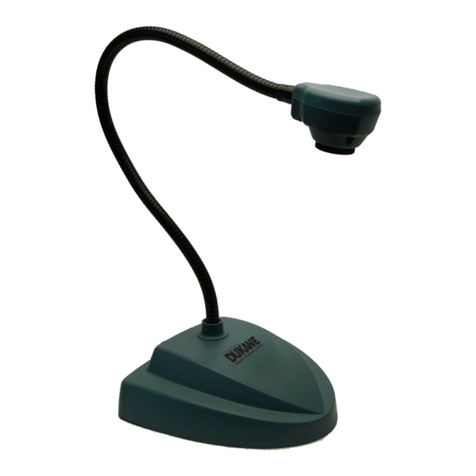
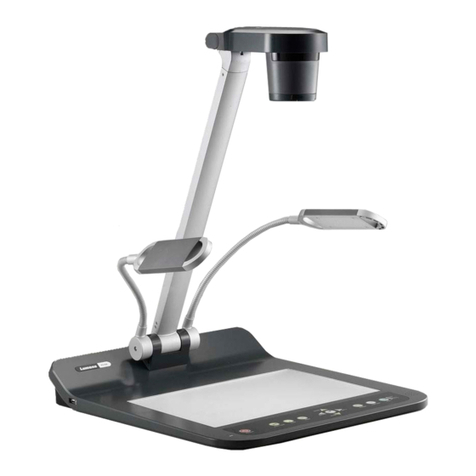
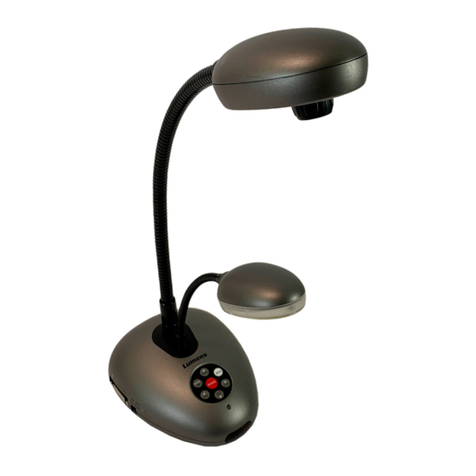
Dukane Camera 250 User manual

Dukane AV
1 of 14
Camera 250 and Camera Software Guide
( Version V1.1 )
DUKANE Audio Visual Products
2900 Dukane Drive, St. Charles, Illinois 60174
Toll-free: 888-245-1966 Fax: 630-584-5156
www.dukaneav.com

Dukane AV
2 of 14
Contents
1. Camera 250 Properties
2. Camera 250, Operating alone ( No computer) Just HDMI or VGA out.
3. Camera Software on the computer ( Using the USB connection to camera )
4. Troubleshooting and operating tips
1.0 Camera 250 Properties
1 5.0M pixels 1/4"CMOS Sensor
2 Large Shooting Area
3 100X Digital Zoom
4 Max. 30fps Frame Rate & HDMI Output
5 Simply one-touch Auto Focus & Video Recording
6 Built-in LED lights to provide bright images
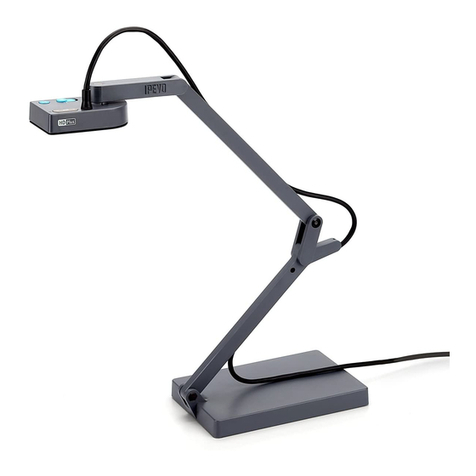
7 Foldable Mechanical Structure allows users portability and easy storage.
8 Rotating camera head & split screen functions
9 PC Free Live annotation ( No computer needed )
10 Connectivity: Connect directly to any projector to share images of objects or document's content. With a
projector, the native aspect ratio is automatically detected, so the image fills the screen.
11 Excellent pictures: High refresh rate of 30 frames per second which offers smooth, clear live video images,
plus 100x digital zoom. Can support Full HD (1920 x 1080). Options are 480p, 720, 1080p resolution output.
12 Various I/O ports: HDMI output, , VGA output , VGA input, USB Type A. With the USB Type A port , users
can use the PC free Live Annotation mode by connecting a USB mouse directly to the port.
13 Computer Free Live Annotation Mode: PC less annotation allows teachers to connect an USB mouse
directly and annotate with line, circle, shapes, plus writing, etc. on the live image.
14 Intuitive buttons: The camera has highly visible, dedicated buttons to auto focus; switch between inputs;
zoom in and out; take photos; or record video.
15 Flexibility: Camera head rotates through 270 degrees to adjust the viewpoint. Science teachers can easily
position it by a microscope to share a close-up view. Or they can use the close-up view from the camera
directly.
16 Advanced Application Software: Use the included computer software for USB image capture, editing or
video operations.
17. Create lesson notes: Add written notes or audio commentary to videos or pictures with the built-in
microphone and live annotation feature with simple-to-use drawing tools.
Dukane AV
3 of 14
Side Panel Ports
Push Button Controls on base

Dukane AV
4 of 14
IR Handheld remote Control
Use for controlling the camera at a distance.
100X
Technical properties
Operating modes
1. Camera 250 Operating alone ( No computer) Just HDMI or VGA out.
a. Connect camera with the HDMI cable to projector or display panel.
b. Connect camera with the VGA (out ) cable to projector or display panel.
2. Use the USB cable to connect camera to computer. Use software in computer.
3. Use VGA in port to connect to computer for the computer image. Use the VGA out port to connect
to the projector or display. Can use the VGA / HDMI button to switch between the camera and the
computer images. Need long press on the button.
Dukane AV
5 of 14
2.0 Camera 250 Operating alone ( No computer) Just HDMI or VGA
PC less ( No Computer Connected Operation )
1. Plug in the power adapter and power cable to camera.
2. Connect the HDMI or VGA (out) cable from Camera to Display.
3. Turn on the Camera.
4. Operate the camera using the control buttons on camera base and the on-screen menu at bottom of the
image.
Option 1; Add an USB mouse or a wireless USB mouse to the USB port for control of the image cursor and
to annotate the image.
Option 2; For a touch screen display, connect the USB port to the touch screen USB port. Then can control
the cursor by touch. May need to calibrate the touch screen.
Or Display only
Optional USB connection
Camera
Projector or Panel
Power
HDMI or
VGA
Menu from above HDMI or VGA Display ( on bottom)
Camera image with bottom Menu
On-Screen Menu

Dukane AV
6 of 14
Using the on screen menu options
Contrast ( Compare images )
Compare captured and live images.
Compare and show multiple images
Show picture in picture
Using the SD Card
1. Insert SD card in slot.
2. When SD card is correctly inserted, images and videos will be saved automatically to the card.
3. Remove the card by pushing inward and releasing. Card will spring outward.
Recording images or video
1.Set the size and position of the image.
2. Press the Auto-OK button for focus
3.Click the camera or video icon in the menu for storage on the SD card.
Also cam use the remote control for these functions.
The SD card can be backed up by copying the files with a computer.
On Screen Menu

Dukane AV
7 of 14
Annotation tool Menu
Main Menu
Control settings
Gear icon on menu bar
1 Focus :Continuationorsingle
2Focusdistance:Farornear
3Photographmode:Color/Black-white/negative
4Imagemode:Textandimagesingleselectornot,
afterselection,imageparameter(brightness,
contrastratio,saturation,sharpness,andvolume)
Self-adjustimageparameters.
5TopLEDlight:1sectionshift
6SideLEDlight:3sectionsshift
7Anti-glare/flicker:50Hzor60Hz
8Language:EnglishorChinese
9Pixelselection:1920*1080、1280*720、1280*1024
and1023*768
10FormatSDcardoperationandtorestorethe
defaultparameters:Aftertheparameter
modification,thefirstsave,thenexit.
CONTROL MENU ITEMS
Annotation
Click on the pencil icon to get the annotation menu.
1 Back to main interface
2 Save interface
3 Empty interface annotation
4 Cancel last operation
5 Brush
6 Clean
7 Drawing tools
8 Line thickness
9 Color selection
Annotation Menu tools

Dukane AV
8 of 14
3. Software on the computer ( Using the USB connection)
The application software is for use with USB 2.0 camera output. It will operate with both the camera model
150 and 250. Check website for the latest version of the software.
1. Plug in the power adapter and power cable to camera.
2. Connect the USB cable to the PC and the camera.
3. Install the software on the computer.
4. Operate the software by clicking on the Icon.
5. Final image can be displayed on the computer screen and also by a projector or
panel.
3.1. Install the Software
Install the Visualizer program from the CD or the Dukane web site.
For the website;
See the Downloads on the website product page, or the Downloads on the SUPPORT
section.
On the website for the camera, go to the model on;
http://dukaneav.com/documentcamerasandvisualizers
Then clink on the Downloads.
On the dukaneav.com website SUPPORT page go to SUPPORT / Product Downloads /
Document Camera / Show Products / and the model.
Note that the software file may exceed 300MB in size.
The software icon should be present on the desktop if the normal install procedure is followed.
Power
USB
Camera
Output image
to display by
HDMI or VGA
3.2. Operation of camera
Double click the Visualizer icon to open the software.
The control menu disc should appear.
This menu lets you choose 5 modes of operation.
1. Presenter; operates the camera
2. Desktop: shows your computer desktop
3. Video: lets you record videos
4. Contrast; use to compare images
5. Scan; For file management and image processing
Center is " Setting" ; when clicked provides options;
Saving File path; where the images are saved
About; Software information
Exit Close the software program

Dukane AV
9 of 14
Presenter Mode ( Camera image and operation )
For startup, use the Presenter mode to view the camera image.
The Presenter window has menus on the right side for annotation and a tray
menu to control the image properties.
Presenter window
Annotation Menu
Image Menu
Control Menu disc
Basic controls (button on top right)
Located at top of the annotation menu bar.
Click to open.
Basic controls
Annotation Menu items ( Side bar )
minimize menu
Cancel
Brush Black
Brush Red
Brush Blue
Flash Brush
Continued on next page
Presenter
Basic Controls Menu

Dukane AV
10 of 14
Annotatiom menu continued
Choice, select
Rectangle
Circle
Ellipse
Triangle
Text
Sub menu for annotation
Eraser
Delete
Color
Line, curve, dash
Line thickness
Opacity
Type
Other camera
Image Menu ( at the bottom )
Use image menu to control properties like the focus, contrast, brightness, saturation, size, resolution, and
rotation. Also the display, freeze, image capture (camera icon), and time lapse photos.

Dukane AV
11 of 14
Desktop on the circular menu
One added icon in the tool-bar for the Desktop. It is for the desktop operations . Layout
options. Other tools have the same functions. You can annotate, clean, snap and other
operations on the pre-prepared document.
Video recording on the circular menu
Click the Video.
Then click the start icon
To STOP the recording, clink the circular menu Stop
Contrast / Capture on the circular menu
Use to compare images
Camera scan
Active tool bars
Desktop
Contrast
/ Capture
Video /
Stop

Dukane AV
12 of 14
Single frame image
Two images compared
4 images compared

Dukane AV
13 of 14
Scan on the circular menu
Use for file management and advanced image processing.
File management window.
Image capture window.
Image processing window.
Toolbar options
Cancel
Revert
Brightness Saturation
Contrast ratio Correct black edge
Cut
Flip horizontal
Flip vertical
Gray scale
Binaryzation
Antiphase
Anaglyph
Sharpen
Use
Resetting
Brouser window.
Scan

Dukane AV
14 of 14
4. Troubleshooting and operating tips
Software will not open.
1. Check whether the USB cable is connected correctly.
2. Go to company official website to download the latest software version.
Other
1. Manual format is PDF, if it does not open, please install PDF reader.
2. Please use the USB interface of the host computer to provide a stable power supply.
3. If removing camera from the computer, please close the camera software first, then turn off the camera power,
and finally disconnect the HDMI , VGA, or USB cable.
4. For other issues try to restart your computer.
DUKANE CORP AV SERVICE DEPT
2900 Dukane Drive
St Charles, IL 60174
800-676-2487 / 630-762-4032
Fax 630-584-5156
www.dukaneav.com
20190523
TROUBLESHOOTING CAMERA 250
Other manuals for Camera 250
1
Table of contents
Other Dukane Document Camera manuals

Dukane
Dukane Camera 101 User manual

Dukane
Dukane Camera 335B User manual

Dukane
Dukane Camera 335 User manual

Dukane
Dukane 210 User manual

Dukane
Dukane 220C User manual

Dukane
Dukane DVP506 User manual

Dukane
Dukane Camera 105 User manual

Dukane
Dukane Camera 250 User manual

Dukane
Dukane 220E User manual

Dukane
Dukane DVP508 User manual

Dukane
Dukane Camera 202 User manual

Dukane
Dukane Document Camera Manual

Dukane
Dukane Camera 105 User manual

Dukane
Dukane Camera 150 User manual

Dukane
Dukane DVP509 User manual

Dukane
Dukane DVP510 User manual

Dukane
Dukane DVP510B User manual

Dukane
Dukane AV-P720U User manual

Dukane
Dukane Camera 202 User manual

Dukane
Dukane 210 User manual