Duncan Vapor Trail Deluxe User manual


Takes the best-in-class analog delay sounds of Vapor
Trail and adds Tap-Tempo, Expression Control,
Presets, and unique and exciting special delay modes,
making for an analog delay pedal unlike any other on
the market.
The Vapor Trail Deluxe uses an all analog signal path,
with bucket brigade-based delay circuitry, tap tempo
and delay divisions of quarter note, dotted eighth,
eighth, and eighth note-triplet. There are also modes
for micro delay, pitch sequence, runaway and pitch
bender.
You should always start with the REPEATS setting
below 12:00 to make sure that excessive feedback
doesn’t occur when switching to different mode types.
You can then adjust the Repeats where you want for
the desired effect.

1 2 3
4 6
7
810
911
5
1. Mix
2. Repeats
3. Time
4. Depth/Multi
5. Rate
6. Mode
7. Preset Indicators
8. Left LED Indicator
9. Left Footswitch
10. Right LED Indicator
11. Right Footswitch
Top Panel

12 13 14 15
16
12. Input Jack
13. Wet/Insert Jack
14. Output Jack
15. Power Jack
16. TRS Expression
Control Jack
Rear/Side Panel

Mix
Sets the mix level of the delay effect. Mix pot will con-
trol Wet signal only, not Dry. Fully clockwise will result
in an overbalance of Wet level
Repeat
Sets the regeneration of the delay effect. Fully counter-
clockwise will result in a single repeat, fully clockwise
will create innite repeats that oscillate into feedback
Time
Sets the tempo of the delay, from 37 mS to 1200 mS.
Turning the knob clockwise increases the delay time
resulting in longer delays
Depth/Multi
Sets the depth of the modulation effect and will change
in special delay modes
Rate
Sets the rate of the modulation effect
Mode
Selects between the 4 tap divisions (1/4 note, dotted
1/8 note, 1/8 note, 1/8 note triplet) or one of four spe-
cial delay modes (micro delay, pitch sequence, runaway,
pitch bender)

Preset Indicators
• 1, 2 or 3 solidly lit – indicates which preset is active
• 1, 2 or 3 slow blinking – indicates a parameter has
been changed. You can save the new settings by
pressing both Left and Right footswitches for 1 second
(see Saving Presets)
• 1, 2, or 3 fast blinking – indicates you are in SAVE
Preset mode
• No presets lit – indicates MANUAL mode is active and
the pedal will operate where all the knobs are set
• M solidly lit – indicates PRESET mode is active and
you can select presets 1-3 or M by tapping the right
momentary footswitch. Turns off after 4 seconds
Left LED Indicator
• Off indicates Bypass is active, ON indicates effect is
engaged
• Flashing 3 times indicates Trails is active.
Left Momentary Footswitch
• Tap to Engage/Bypass the effect
• Press/Hold to engage Preset Select mode.
• Press/Hold during power up: Turn on/off Trails
Feature
Right LED Indicator
Indicates the delay tempo with a blinking indicator

Right Momentary Footswitch
• Tap 2 or more times to select the delay tempo
• In Preset Select mode, tap to scroll and select one of
the 3 Presets or Manual (M)mode
Input Jack
Plug a musical instrument in here or the signal from a
preceding pedal
Output
Input
Delay
Insert
Mix
WET/INSERT Jack
There are many creative
ways you can use the wet/
insert jack.
1. Connect othe pedals to
just the repeats. Send a
wet signal to any other FX
pedal or chain of pedals for
additional modulation of
the repeats. Use a stereo Y
adaptor with a “tip-send/ring-return (TRS) connector
on one end. Plug the TRS male plug into the Wet Insert
Jack on the Vapor Trail. Plug the other ends into your
In and Out jacks on your other pedal. Have fun coming
up with new tones!
2. Activate the wet signal from a volume type foot pedal.
Again, use a patch cable with a “tip-send/ring-return’
connector.
3. Separate wet and dry outputs for stereo, or special

recordings. Your wet signal will come from the rear
Wet Insert Jack, again with a TRS connector. The
standard Output Jack on the end of the Vapor Trail will
be the Dry send. Note in this setup, the Mix knob has
no effect on the dry signal going to the Insert Jack or
Output jack. It only controls the wet signal at the main
output jack. Blending will be controlled by the level of
your stereo amps or channel faders.
Output Jack
Run a cable from here to your amplier or the next pedal
on your board
Power Jack
Apply 9 -18V, 150mA minimum, Use a plug with 2.1mm
internal diameter, center negative.
TRS Expression Control Jack
The expression pedal can control all the knob parame-
ters except for mode. When the expression pedal is at
either extreme, any pot moved will be recorded as the
value for that extreme (low or high).
NOTE: For best results if the expression pedal has an
adjustment pot, we recommend that it be set to the
lowest setting.

Initial Setup
Power the Vapor Trail Deluxe with a 9-18Vdc (center
negative) power supply capable of providing at least
150 milliamps. Connect your instrument to the input
jack and send the output to your amplier, mixer, or
interface.
The Vapor Trail Deluxe comes with 3 presets saved in
locations 1-3 that you can use to preview the pedal. You
can start with one of these and modify them to your lik-
ing. You can also go to Manual Mode M (no preset LEDs
lit) which reads the current physical knob settings.
When creating your own effect, we suggest starting
by setting the MIX knob at 12:00 o’clock, the REPEATS
knob at 9:00, the DEPTH/MULTI and RATE knobs fully
counterclockwise. The MODE control can be set to
whichever delay setting you would like, but mode 1 (1/4
note) is always a good place to start with. You can then
use the Depth/Multi and Rate knobs to add modulation
to the delay.
Controls
ON/BYPASS
The primary function of the left footswitch is to engage
or bypass the circuitry. When the effect is engaged the
left LED will be lit.
SELECTING A PRESET (PRESET MODE)
• To select a stored preset press and hold the left
footswitch for 1 second to enter preset mode. The M
LED will turn on to indicate the footswitch is now in in
Preset mode. The right footswitch (Tap/Hold) is used
to select the preset.
• Tap the RIGHT footswitch to cycle through each of the
3 presets and M mode (Manual Mode). After selecting
the desired preset let the pedal sit for 3 seconds
and pedal will load the preset and return to normal
operation.
SET DELAY TIME (TEMPO)
The primary function of the right footswitch is to set the
delay time by tapping the footswitch 2 or more times.
SAVING PRESETS
When you’ve found a sound you like you have two
options to store your settings:
1. Save to current location:
• Press & Hold both footswitches at the same time. The
“M” LED will light, indicating you are in Preset Save
Mode.
• Press & Hold both footswitches again. The 2 LEDs
next to the Preset you are saving to will ash indicat-
ing the new settings have been saved. The preset will
go solid.
2. Save to new preset location:
• Press & Hold both footswitches at the same time to
enter PRESET SAVE mode. The ‘M” LED will light and
the currently loaded preset LED will blink rapidly.

• Press the Right footswitch to desired Preset location.
• To save, Press & Hold both footswitches for 1 second.
The 2 LEDs next to the Preset will ash indicating the
new settings have been saved.
NOTE: When you are in PRESET SAVE mode and you
want to exit without saving press the Left footswitch. Or
after 5 seconds the pedal will exit PRESET SAVE mode.
TRAILS MODE (ON/OFF)
This is set by pressing and holding the Left footswitch
while powering up the pedal.
1. Tails Mode OFF:
• Press and hold the Left footswitch while powering up
the pedal. If the left LED turns on and off, then trails
mode is off.
2. Tails Mode ON:
• Press and hold the Left footswitch while powering up
the pedal. If the LED ashes 3-times, then trails mode
is on.
NOTE: When the pedal is set to trails ON mode, the
bypass LED will do a fast fade only when you bypass the
effect. If the pedal is set to trails OFF mode, the light will
turn on and off with no fade.
Special Delay Modes
MICRO DELAY (MODE POSITION 5)
• Delay Time Range: 6ms – 300ms
• This mode is great for slap back or double track guitar
sound.

• Use with the Depth/Multi and Rate knobs to create
unique chorus type sounds or Leslie effect.
PITCH SEQUENCE (MODE POSITION 6)
• Depth/Multi selects how many steps occur in the
sequence
• Rate selects the length of each step, based on the tap
tempo or time setting.
SPECIAL SEQUENCE MODES
With the power off, rotate the MODE switch to the
desired position [1-8]. Press/Hold the Right footswitch
down while powering up the pedal.
PATTERNS
1. Pattern 1
[-U-D-U-D-U-D-U-D-U-D-U-D-U-D-U-D]
2. Pattern 2
[-UDU-DUD-UDU-DUD-UDU-DUD-UDU-DUD]
3. Pattern 3
[--UU--DD-U-D-U-D--UU--DD-U-D-U-D]
4. Pattern 4
[--DD--UU-D-U-D-U--DD--UU-D-U-D-U]
5. Pattern 5
[UUDDUDUDUUDDUDUDUUDDUDUDUUD-
DUDUD]
6. Pattern 6
[DDUUDUDUDDUUDUDUDDUUDUDUDDUUDU-
DU]
7. Random 1
[-U-DRRRRRRRRRRRR-U-DRRRRRRRRRRRR]

8. Random 2
[RRRRRRRRRRRRRRRRRRRRRRRRRRRRRRRR]
Legend:
‘-’ No change
‘U’ Pitch shift Up
‘D’ Pitch shift Down
‘R’ Random (Up, down or none)
RUNAWAY (MODE POSITION 7)
Be careful not to set the REPEATS too high or keep
your foot on the footswitch too long or you can dam-
age your speakers. This mode will ramp down as soon
as you take your foot off the footswitch.
• Press/Hold Right footswitch to engage the runaway
mode.
• Once engaged it will ramp feedback for as long as your
foot is holding down the footswitch.
• When the footswitch is released the feedback will
return to where the control was set.
• The ramp and release time are preprogramed.
• Release the footswitch to terminate the runaway
before getting to an undesirable state.
• Depth/Multi, rate, tap work normally (quarter note
delay)
PITCH BENDER (MODE POSITION 8)
• Press/Hold Right footswitch to engage the bender.
• Depth / Multi control selects which direction the pitch
will go
o Depth/Multi set below noon will drop the pitch

down rst then return to normal
o Depth/Multi set above noon the pitch will go up
rst then return to normal.
• Mod Rate control sets the amount of glide (time it
takes to reach the new pitch)
• Time sets the delay time when not engaged (quarter
note)
Using an Expression Pedal
For best results if the expression pedal has an adjust-
ment pot, we recommend that it be set to the lowest
setting.
To use the expression pedal you must rst store the
same sound in both “toe down” and “heel down” posi-
tions.
1. Push expression pedal all the way down (toe down).
2. Create a sound you like.
3. Move each knob slightly so the positions will be
recorded.
4. Lift expression pedal all the way up (heel down).
5. Move each knob slightly so the exact same positions
will be recorded
NOTE: You now have the same sound programed at both
toe and heel positions. The expression pedal has no effect.
Next you will need to program the specic settings you
want to change with the expression pedal.
1. Decide which parameter you want to change.

2. Program the toe down position
• Push expression pedal all the way down (toe down).
• Turn the chosen parameter knob to the value you want
for down.
3. Program the heel down position
• Lift the expression pedal all the way up (heel down)
• Turn the chosen parameter knob to the value you want
for up.
4. Press/Hold both Bypass & Tap switch to save
To add more complexity you can stack effects. Just repeat
steps 1-4 to add parameters to you preset.

Factory Reset
Press/Hold both footswitches while powering up the
pedal. This will reset the pedal to the original factory
settings and presets.
Tech Specs
Type of circuitry: All-analog signal path using Bucket-
Brigade Devices with digital control of functions.
Bypass: True hard-wire bypass with selectable
active-bypass trailing repeats mode
Control functionality:
Mix – Wet signal 0% to 200% (Dry xed at 100%)
Repeats – Continuous adjustment from one echo
to full runaway
Time – Normal: 37ms to 1200 ms; Micro: 6ms to 300ms
Depth – Modulation from off to Insane
Rate – 10 seconds per cycle to 10 cycles per second
Mode – Four fractional beat settings plus four exotic
modes (see user manual)
Auxiliary Functions: Expression pedal sweeps smoothly
between two user-selected control settings. Insert jack
provides and wet channel insert loop and wet-only output.
Input Impedance: 1 Megohm
Output Impedance: 1000 ohms
Gain Range: Dry Channel: unity gain.
Wet Channel: off to +6dB maximum.
Note: The Wet Channel has different specications
below due to its use of analog Bucket Brigades.
THD: Dry channel: 0.003% @ 1Vrms output

Wet Channel: 1% @ 100mVrms output,
3.5% @ 1Vrms output
Noise referred to input: Dry Channel: <-102dBV,
400Hz to 20kHz
Wet Channel: <-96dBV, 400Hz to 20kHz
Frequency response: Dry Channel: 2Hz – 150kHz
Wet Channel: 30Hz to 2kHz
Power: External 9V to 18V regulated DC adapter
(center pin negative)
Current consumption: 150mA Maximum
Dimensions: 3.57” x 4.80” x 1.60”, exclusive of knobs
and connectors
Weight: 0.9lbs

Sample Settings
Ambient Wash
Lush, present delay
tones
Pair this preset with
a large Hall Reverb,
and prepare for the
ethereal magic
Slow modulation
creates space and
dimension
Chicken Slap
Slapback delay that’s
perfect for chicken
pickin’
Micro delay with
few repeats creates
depth, but stays out
of the way during
those fast Tele runs
Subtle modulation
creates a tape-like
delay effect

Fender Bender
Long, in-your-face
delay tones with 8+
repeats
Pitch Bender mode
adds aunique upper
and lower octave
jump to your wet
signal
Provides an inter-
esting otherworldly
character to your
lead lines
Warbling Robo-Delay
Quick delay tones with
5+ repeats
Pitch Sequence mode
adds an oscillating
pitch shifter that
creates an expressive
wobbling effect
Engage this effect to
get in touch with your
inner Trent Reznor

Favorite Settings
Table of contents
Other Duncan Accessories For Musical Instruments manuals

Duncan
Duncan STL-1b Quick start guide

Duncan
Duncan Jimi Hendrix Signature Loaded Pickguard Quick start guide

Duncan
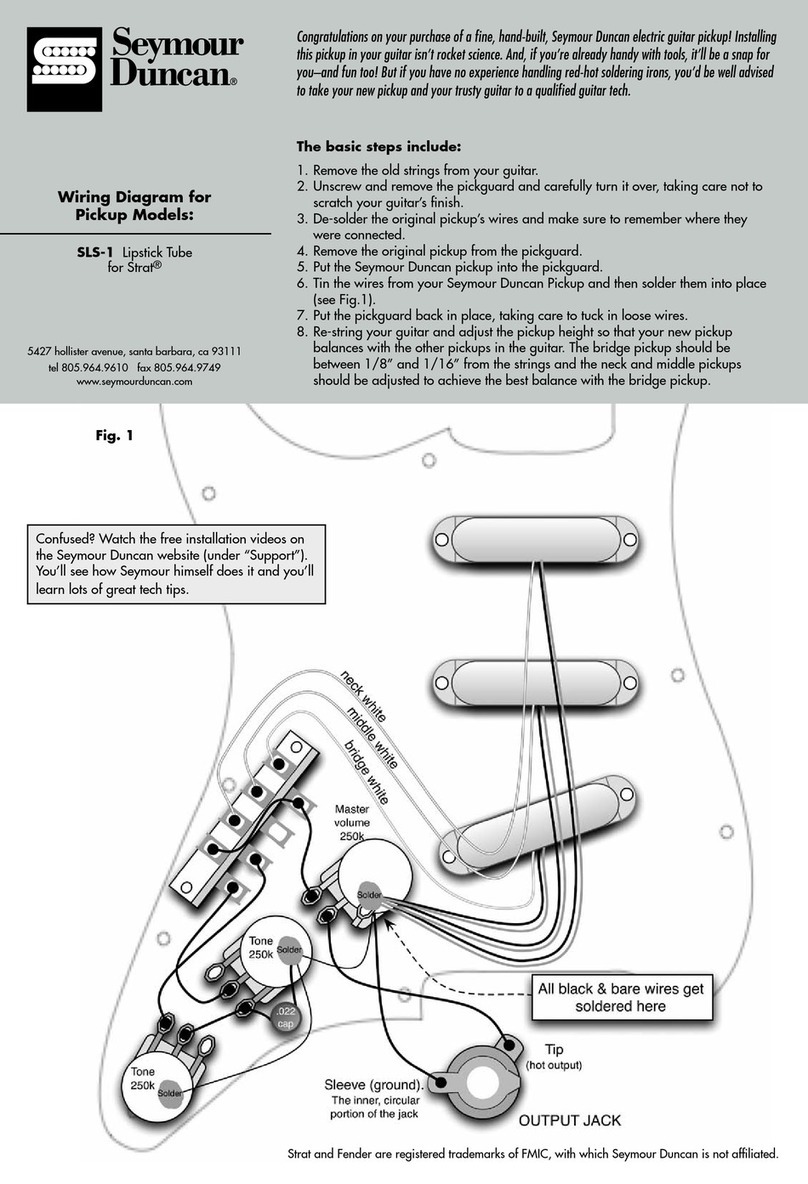
Duncan SLS-1 Quick start guide

Duncan
Duncan Apollo Jazz Bass - neck Manual

Duncan
Duncan Vintage for Jazzmaster SJM-1 Quick start guide

Duncan
Duncan SH-8n Invader Quick start guide

Duncan
Duncan BLACKOUTS AHB-2 User manual

Duncan
Duncan BLACKOUTS AHB-1 Quick start guide

Duncan
Duncan SM-1 Quick start guide

Duncan
Duncan JB Jr. SJBJ-1 Quick start guide