Dunelm Bay Curtain Pole User manual
Popular Household Hardware manuals by other brands

Kallista
Kallista Per Se P77618-00-CP installation guide

Lefroy Brooks
Lefroy Brooks FLEETWOOD M2-5099 Installation, operating, & maintenance instructions
Miele
Miele APFD 203 operating instructions
norix
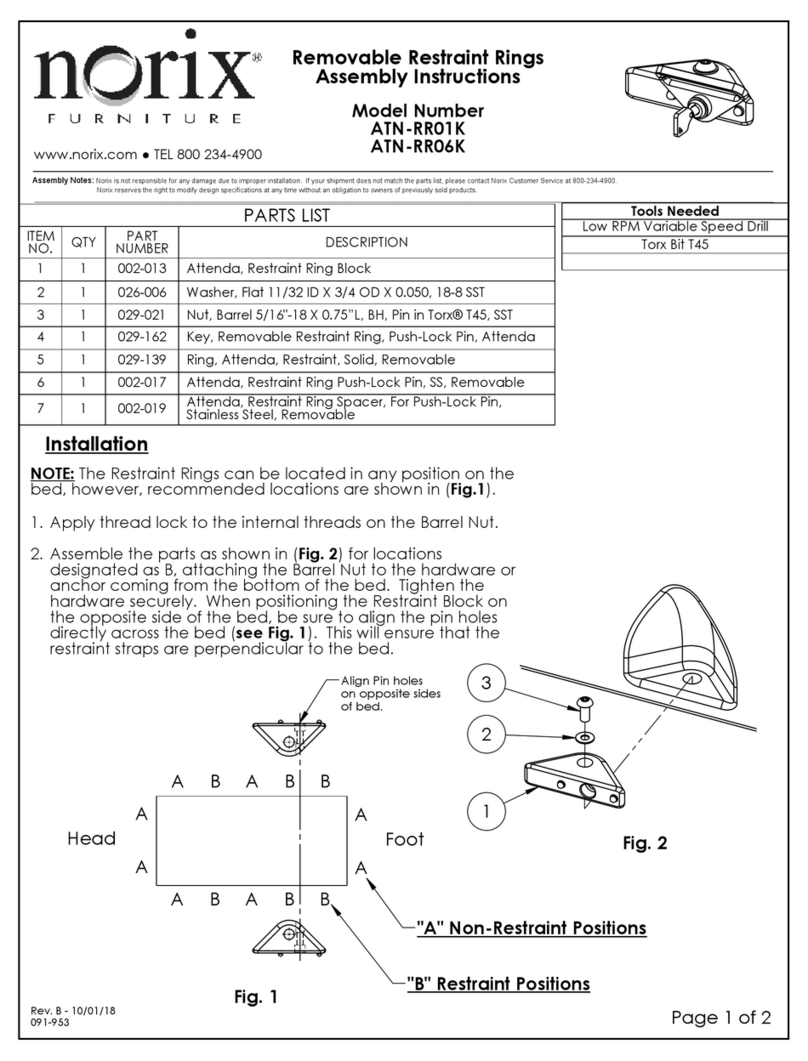
norix ATN-RR01K Assembly instructions
Dorma
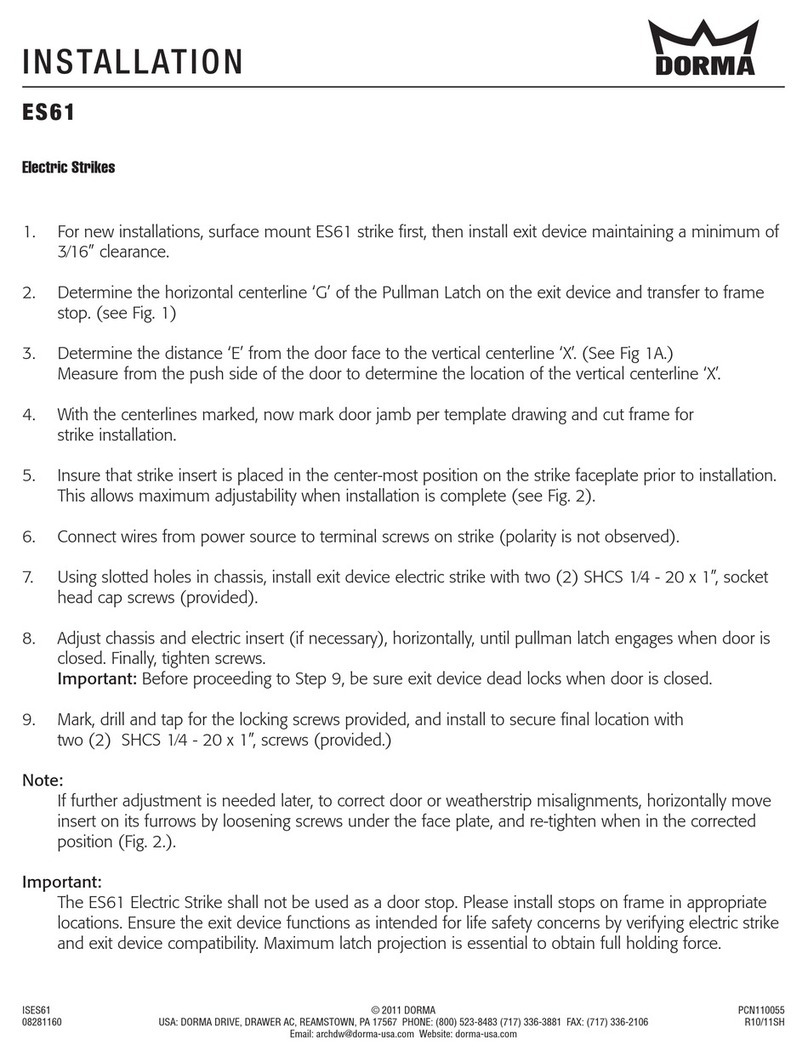
Dorma ES61 installation guide
Stratco
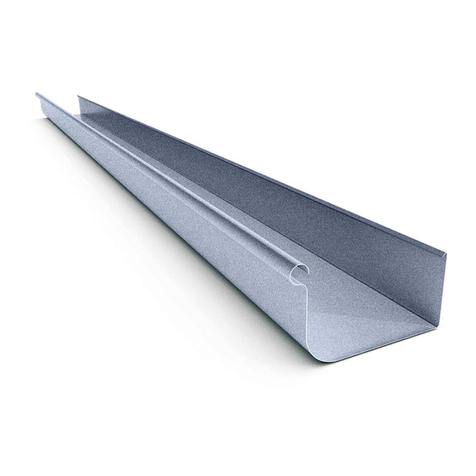
Stratco Gutters installation guide

Lefroy Brooks
Lefroy Brooks X1-3091 Installation, operating, & maintenance instructions
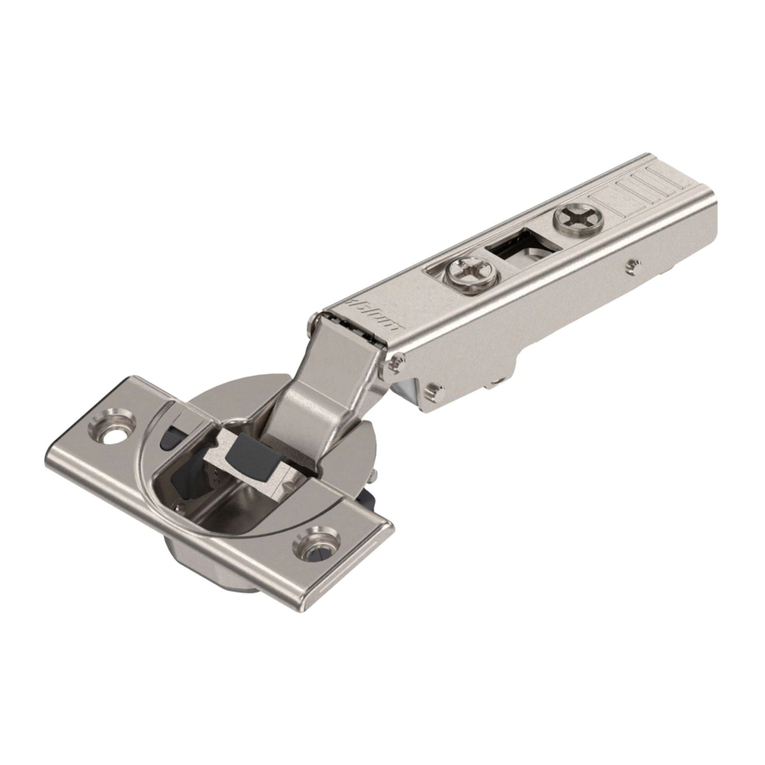
BLUM
BLUM CLIP Cleaning and Maintenance Manual

Safe
Safe SC 809 user manual

Lefroy Brooks
Lefroy Brooks M1-5122 Installation, operating, & maintenance instructions

Lefroy Brooks
Lefroy Brooks K1-5311 Installation, operating, & maintenance instructions

Lefroy Brooks
Lefroy Brooks M1-5103 Installation, operating, & maintenance instructions
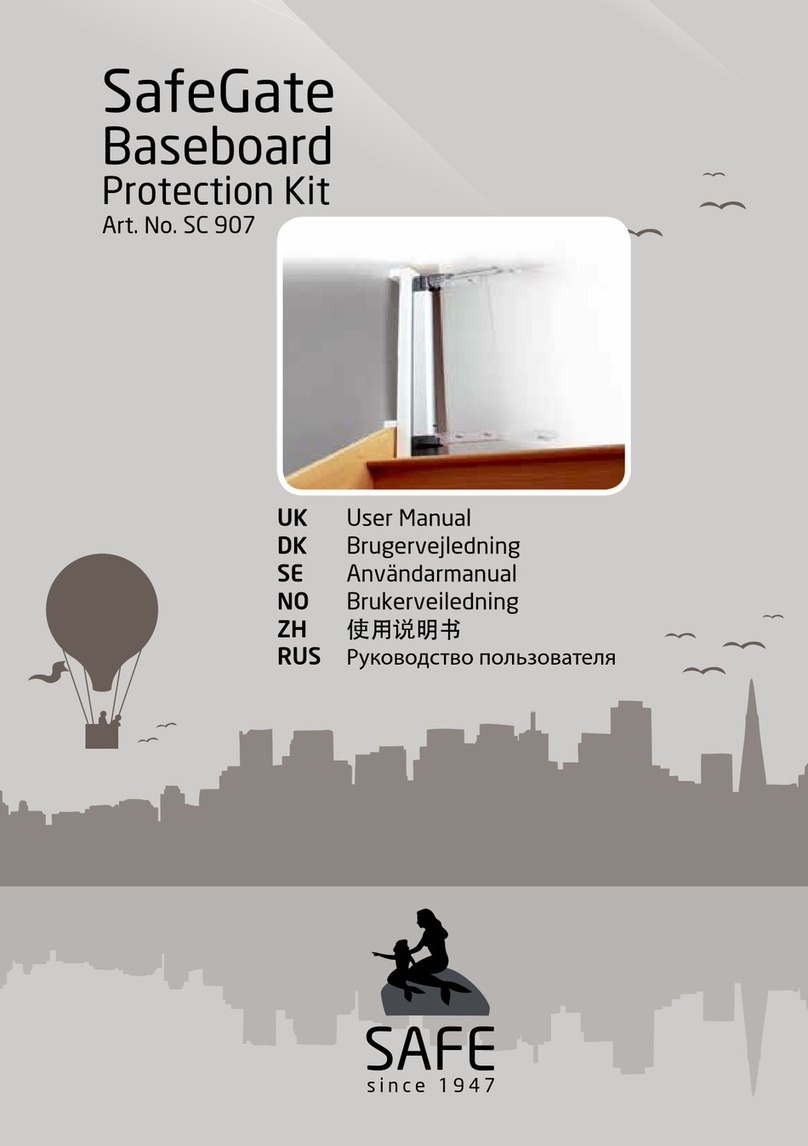
Safe
Safe SafeGate SC 907 user manual

Lefroy Brooks
Lefroy Brooks X1-3001 Installation, operating, & maintenance instructions

Kvadrat
Kvadrat Ready Made Curtain installation guide

TESA
TESA Powerstrips 59782-00000-00 Product information
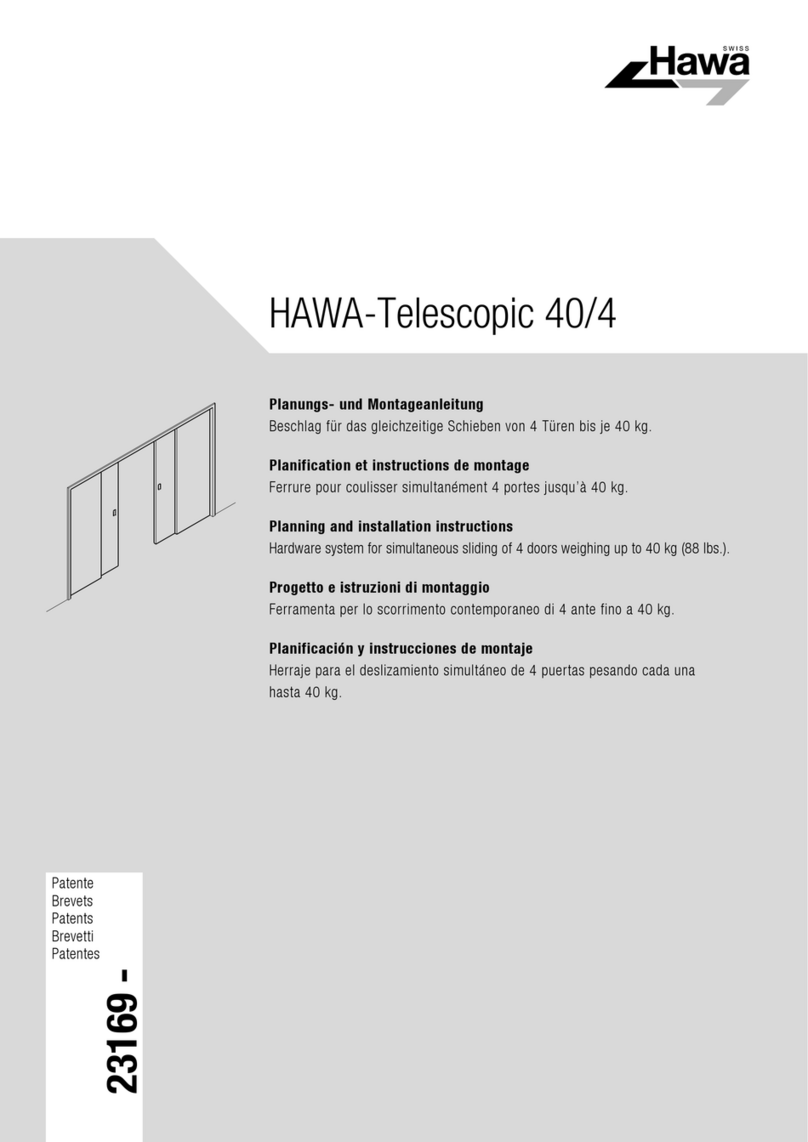
hawa
hawa Telescopic 40/4 Planning and installation instructions
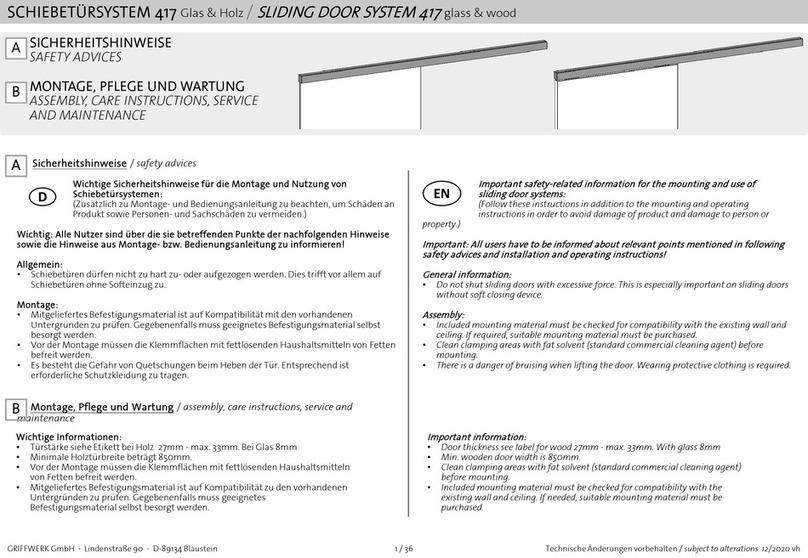
Griffwerk
Griffwerk 417 ASSEMBLY, CARE INSTRUCTIONS, SERVICE AND MAINTENANCE


