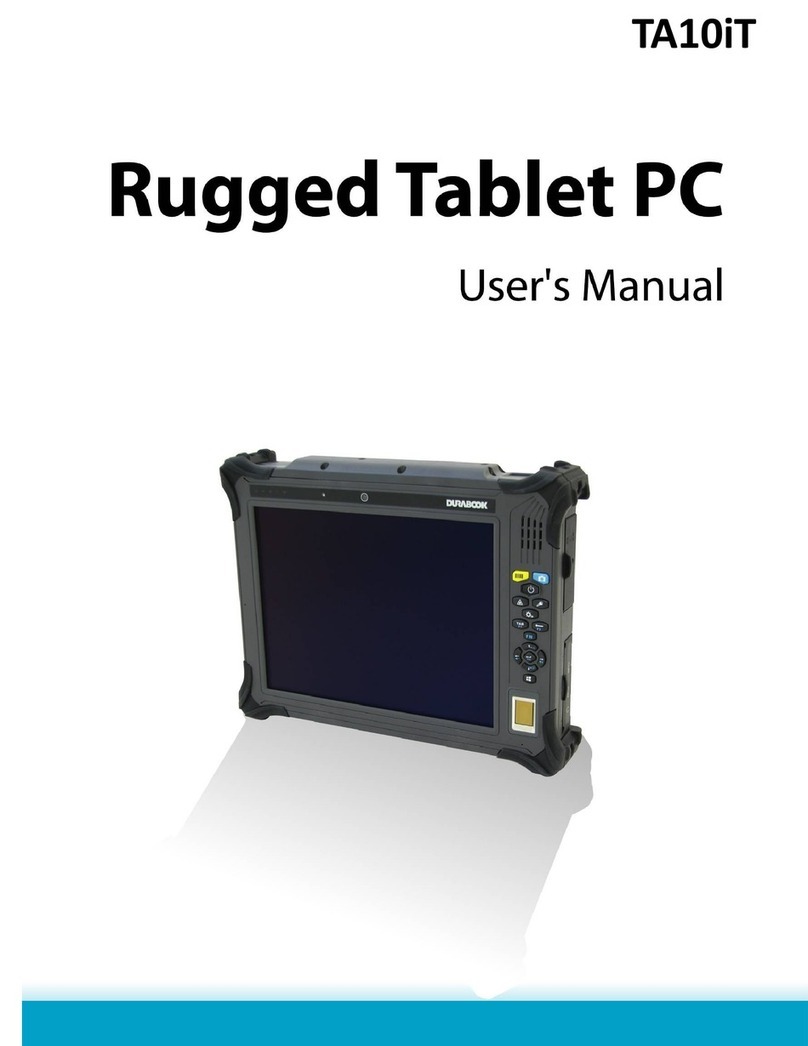
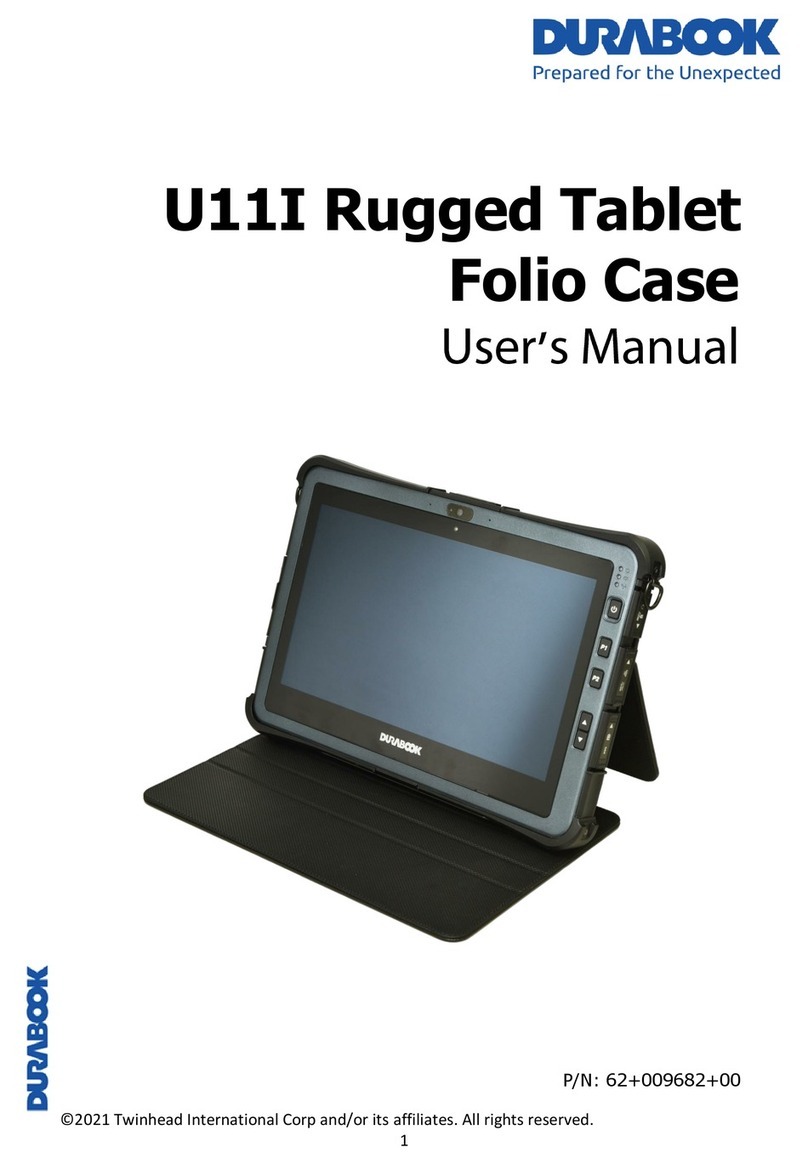
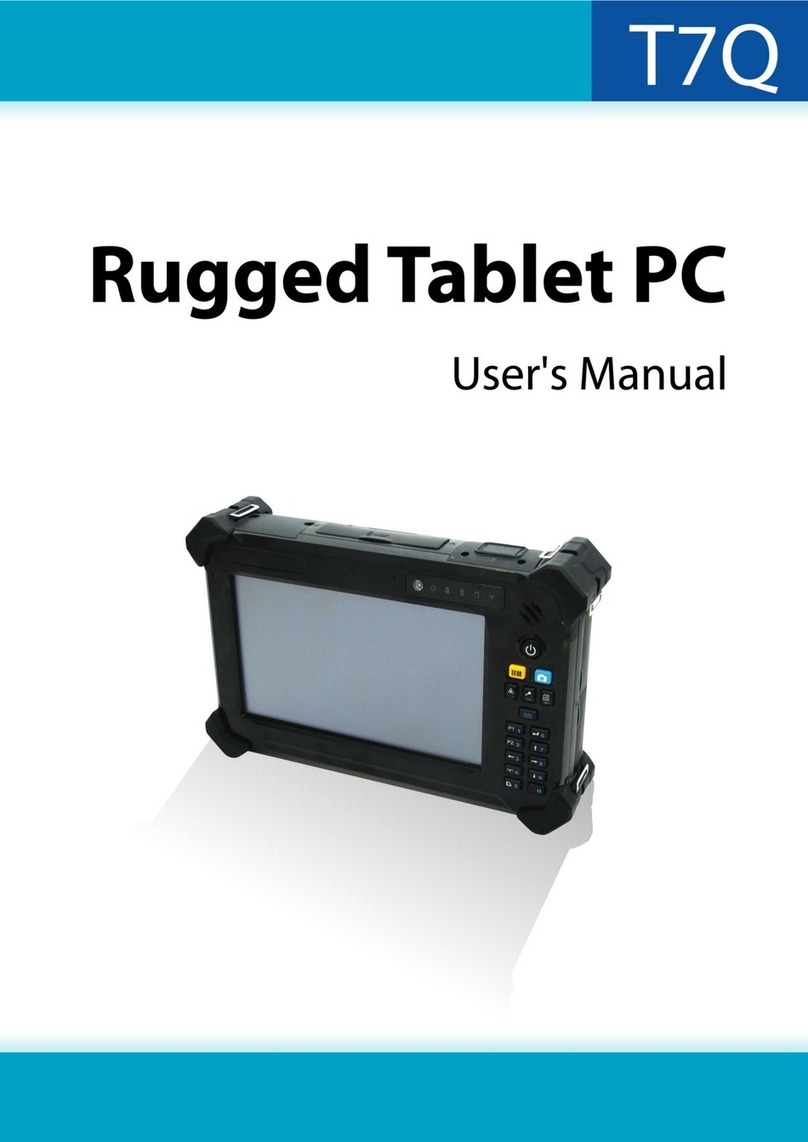
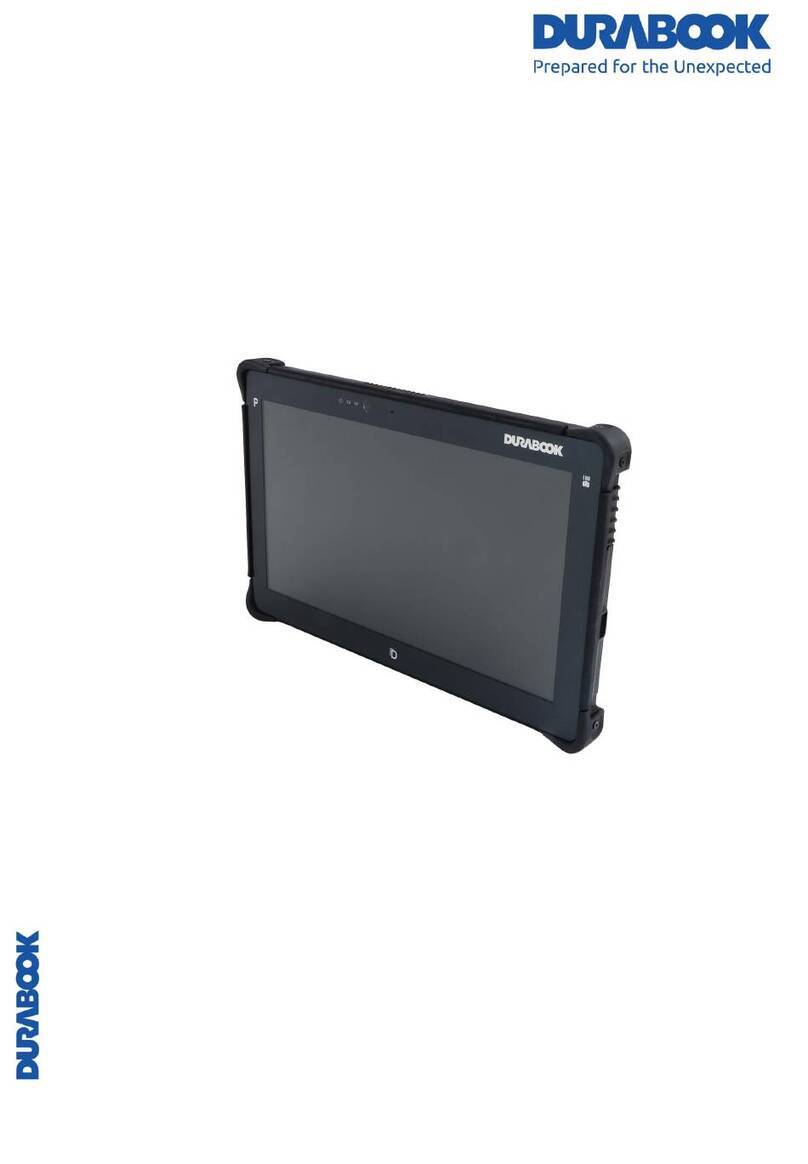
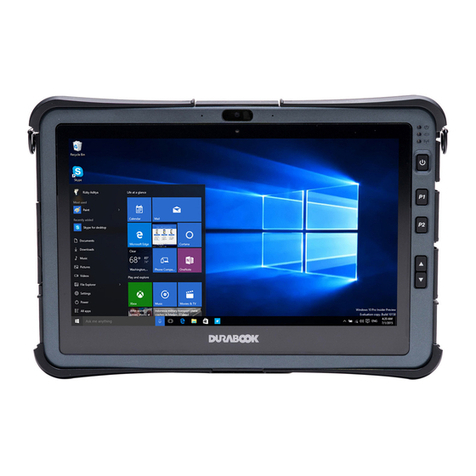
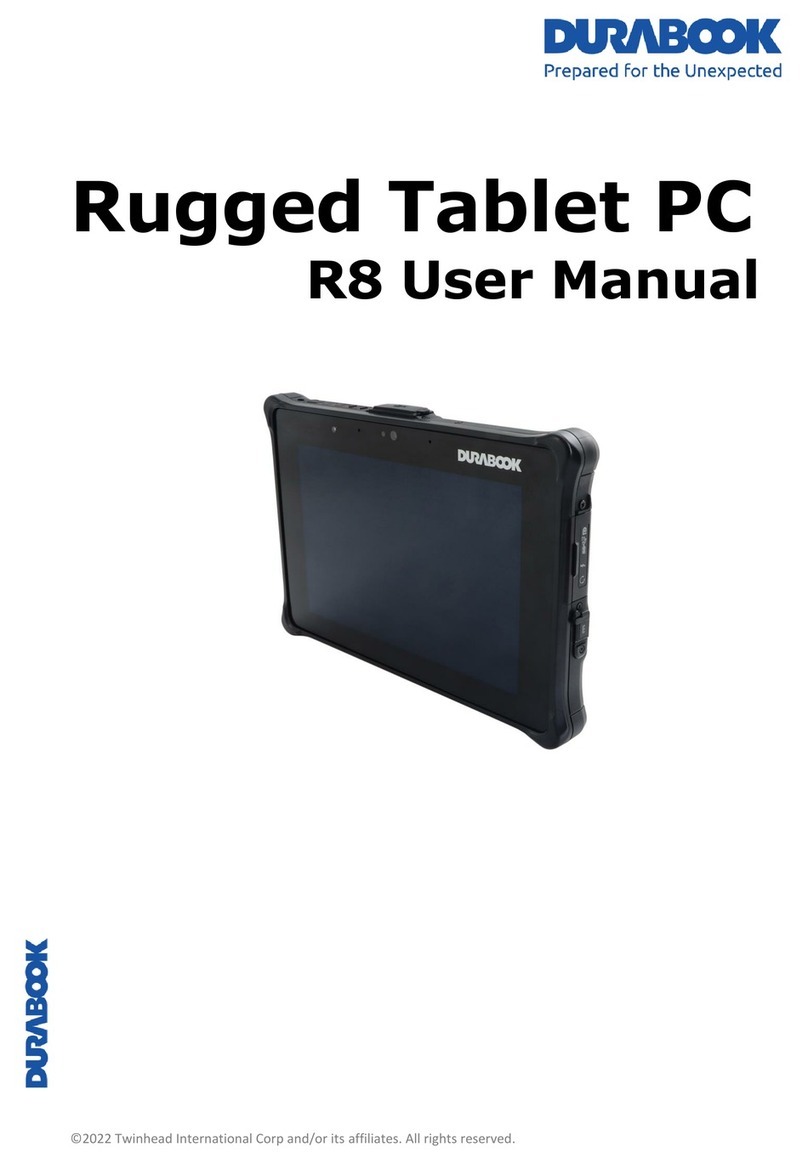
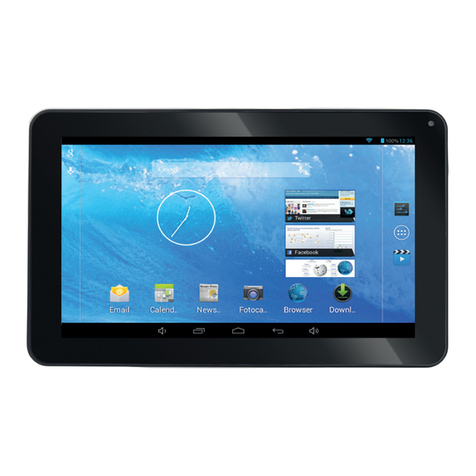
Durabook T7Q User manual

по вопросам продаж и поддержки обращайтесь:
Архангельск (8182) 3-90-72 Астана +7(7172)727-132 Белгород (4722)40-23- 4 Брянск (4832)59-03-52
Владивосток (423)249-28-31 Волгоград (844)278-03-48 Вологда (8172)2 -41-59 Воронеж (473)204-51-73
Екатеринбург (343)384-55-89 Иваново (4932)77-34-0 Ижевск (3412)2 -03-58 Казань (843)20 -01-48
Калининград (4012)72-03-81 Калуга (4842)92-23- 7 Кемерово (3842) 5-04- 2 Киров (8332) 8-02-04
Краснодар (8 1)203-40-90 Красноярск (391)204- 3- 1 Курск (4712)77-13-04 Липецк (4742)52-20-81
Магнитогорск (3519)55-03-13 Москва (495)2 8-04-70 Мурманск (8152)59- 4-93 Набережные Челны (8552)20-53-41
Нижний Новгород (831)429-08-12 Новокузнецк (3843)20-4 -81 Новосибирск (383)227-8 -73 Орел (48 2)44-53-42
Оренбург (3532)37- 8-04 Пенза (8412)22-31-1 Пермь (342)205-81-47 Ростов-на-Дону (8 3)308-18-15
Рязань (4912)4 - 1- 4 Самара (84 )20 -03-1 Санкт-Петербург (812)309-4 -40 Саратов (845)249-38-78
Смоленск (4812)29-41-54 Сочи (8 2)225-72-31 Ставрополь (8 52)20- 5-13 Тверь (4822) 3-31-35
Томск (3822)98-41-53 Тула (4872)74-02-29 Тюмень (3452) -21-18 Ульяновск (8422)24-23-59
Уфа (347)229-48-12 Челябинск (351)202-03- 1 Череповец (8202)49-02- 4 Ярославль (4852) 9-52-93
единый адрес: dbk@nt-rt.ru
Rugged Tablet PC
User's Manual
durabook.nt-rt.ru T7Q

Table of Contents
Co p y r ig h t
...........................................................................................................................................
4
Reg u la to r y S t a t e m e n t
....................................................................................................................
4
Federal Communications Commission Statement
...................................................................................................................................
4
Declaration of Conformity
................................................................................................................................................................................
4
RF exposure warning.
..........................................................................................................................................................................................
5
Canada, ndustry Canada ( C) Notices
........................................................................................................................................................
5
Battery Disposal.
....................................................................................................................................................................................................
6
Safety In s t r u c t io n s
.......................................................................................................................
7
BEFORE YOU START
.......................................................................
9
Pa c k a g e C o n t e n t s
...........................................................................................................................
9
Fe a t u r e s
...........................................................................................................................................
0
Co m p o n e n t s
....................................................................................................................................
Front View
...............................................................................................................................................................................................................
11
Back View
................................................................................................................................................................................................................
13
Left View
..................................................................................................................................................................................................................
13
Right View
................................................................................................................................................................................................................
14
Top View
..................................................................................................................................................................................................................
14
Bottom View
............................................................................................................................................................................................................
15
Status ndicators
...................................................................................................................................................................................................
15
GETTING STARTED
.......................................................................
16
Po w e rin g U p Y o u r Ta ble t P C
.....................................................................................................
6
Connecting the AC Adapter.
............................................................................................................................................................................
16
Using Battery Power
.........................................................................................................................................................................................
16
In st allin g t h e Bat ter y
.................................................................................................................
7
Charging the Battery
.........................................................................................................................................................................................
17
Charging Time
......................................................................................................................................................................................................
17
Checking the Battery Level
..............................................................................................................................................................................
18
When to replace the Battery Pack
.................................................................................................................................................................
18
Removing the Battery.
........................................................................................................................................................................................
18
Startin g Y o u r Ta b le t P C
.............................................................................................................
9
Turning On Your Tablet PC
............................................................................................................................................................................
19
Changing the Display Orientation
...............................................................................................................................................................
19
Shutting Down Your Tablet PC.
....................................................................................................................................................................
19
Us in g t h e S t y l u s
...........................................................................................................................
20
Calibrate the Screen
..........................................................................................................................................................................................
20
Usin g t h e O n-S c r ee n K e y b o a r d
...............................................................................................
2
Us in g t h e Q u ic k M e n u
.................................................................................................................
22
Us in g t h e C a m e r a
..........................................................................................................................
24
Us in g t h e M em o ry Ca r d s
............................................................................................................
28
nserting a Memory Card
................................................................................................................................................................................
28

Removing a Memory Card
..............................................................................................................................................................................
28
AKING CONNECTIONS
..............................................................
29
Co n n e c t in g U S B D e v ic e s
............................................................................................................
29
Co n n e c t in g Pe rip h er a l D e v ic e s
................................................................................................
30
Co n n e c t in g to W ir e l es s Co n n e c t io n s
...................................................................................
3
Connecting to a Wireless Local Area Network
........................................................................................................................................
31
Connecting to a Bluetooth Device
...............................................................................................................................................................
32
POWER ANAGE ENT
................................................................
33
Us in g t h e Po w e r Pl a n
.................................................................................................................
33
Us in g t h e Po w e r S a v in g M o d e
..................................................................................................
34
USING THE BIOS SETUP UTILITY
..............................................
35
BIO S S etu p M e n u
..........................................................................................................................
35
Startin g t h e B IO S S etup Ut il it y
.............................................................................................
35
Na v ig a tin g a n d En t er in g In fo r m a tio n in B IO S
...................................................................
36
Main M e n u
.......................................................................................................................................
36
Ad v a n ce d M e n u
..............................................................................................................................
37
Bo o t M e n u
.......................................................................................................................................
37
Secu rity M e n u
................................................................................................................................
38
Sav e & Ex it M e n u
..........................................................................................................................
38
TROUBLESHOOTING
....................................................................
39
SPECIFICATIONS
.........................................................................
40

Copyright
Copyright® 2012. All rights reserved.
No part of this user anual ay be trans itted, stored in a retrieval syste , or
translated into any language or co puter language, in any for or by any
eans, without the prior written per ission of the anufacturer. Infor ation is
subject to change without prior notice.
Regulatory Statement
Federal Communications Commission Statement
This equip ent has been tested and found to co ply with the li its for a Class
В digital device, pursuant to Part 15 of the FCC Rules. These li its are designed
to provide reasonable protection against har ful interference in a residential
installation. This equip ent generates, uses, and can radiate radio frequency
energy and, if not installed and used in accordance with the instructions, ay
cause har ful interference to radio co unications. However, there is no
guarantee that interference will not occur in a particular installation. If this
equip ent does cause har ful interference to radio or television reception,
which can be deter ined by turning the equip ent off and on, the user is
encouraged to try to correct the interference by one or ore of the following
easures:
■ Reorient or relocate the receiving antenna.
■ Increase the separation between the equip ent and the receiver.
■ Connect the equip ent into an outlet on a circuit different fro that to
which the receiver is connected.
■ Consult the dealer or an experienced radio/TV technician for help.
Shielded interconnect cables and shielded AC power cable ust be e ployed
with this equip ent to insure co pliance with the pertinent RF e ission li its
governing this device. Changes or odifications not expressly approved by the
syste 's anufacturer could void the user's authority to operate the equip ent.
Declaration of Conformity
This device co plies with part 15 of the FCC rules. Operation is subject to the
following conditions:
■ This device ay not cause har ful interference
■ This device ust accept any interference received, including interference
that ay cause undesired operation.

RF exposure warning
This equip ent ust be installed and operated in accordance with provided
instructions and ust not be co-located or operating in conjunction with any
other antenna or trans itter. End-users and installers ust be provided with
antenna installation instructions and trans itter operating conditions for
satisfying RF exposure co pliance.
SAR Value: 1.53 W/kg
This device is operation in 5.15 - 5.25GHz frequency range, then restricted in
indoor use only, Outdoor operations in the 5150~5250MHz is prohibit.
This device is slave equip ent, the device is not radar detection and not ad-hoc
operation in the DFS band.
Canada Industry Canada (IC) Notices
This Class В digital apparatus co plies with Canadian ICES-003 and RSS-210.
Operation is subject to the following two conditions: (1) this device ay not
cause interference, and (2) this device ust accept any interference, including
interference that ay cause undesired operation of the device.
Radio Frequency (RF) Exposure Information
The radiated output power of the Wireless Device is below the Industry Canada
(IC) radio frequency exposure li its. The Wireless Device should be used in such
a anner such that the potential for hu an contact during nor al operation is
ini ized.
This device has been evaluated for and shown co pliant with the IC Specific
Absorption Rate ("SAR") li its when installed in specific host products operated
in portable exposure conditions.
Canada avis d'Industry Canada (IC)
Cet appareil nu erique de classe В est confor e aux nor es canadiennes ICES-
003 et RSS-210.
Son fonctionne ent est sou is aux deux conditions suivantes : (1) cet appareil
ne doit pas causer d'interference et (2) cet appareil doit accepter toute
interference, nota ent les interferences qui peuvent affecter son
fonctionne ent.
Informations concernant I'exposition aux fr£quences radio (RF)
La puissance de sortie e ise par I'appareil de sans fil est inferieure a la li ite
d'exposition aux frequences radio d'Industry Canada (IC). Utilisez I'appareil de
sans fil de fagon a ini iser les contacts hu ains lors du fonctionne ent nor al.

Ce peripherique a ete evalue et de ontre confor e aux li ites SAR (Specific
Absorption Rate - Taux d'absorption specifique) d'lC lorsqu'il est installe dans
des produits hotes particuliers qui fonctionnent dans des conditions d'exposition
a des appareils portables.
Battery Disposal
THIS PRODUCT CONTAINS A LITHIUM-ION OR NICKEL-METAL HYDRIDE
BATTERY IT MUST BE DISPOSED OF PROPERLY CONTACT LOCAL
ENVIRONMENTAL AGENCIES FOR INFORMATION ON RECYCLING AND
DISPOSAL PLANS IN YOUR AREA.
ANNEX IV
Symbol for the marking of electrical and electronic equipment
The sy bol indicating separate collection for electrical and electronic equip ent
consists of the crossed-out wheeled bin, as shown below. The sy bol ust be
printed visibly, legibly and indelibly.

Safety Instructions
'^ ^ y \ Always keep strong agnetic or electrical objects away fro your
‘ tablet PC.
ПЙн
ADO NOT use or store your tablet PC in extre e te peratures.
&DO NOT place your tablet PC near fire or other sources of heat.
DO NOT expose to dust or corrosive aterials.
DO NOT ta per the battery. Keep it away fro children.
DO NOT expose your tablet PC to sudden changes in te perature
or hu idity. Keep your tablet away fro air conditioners or
heating vents.
DO NOT atte pt to service your tablet PC yourself. Any atte pt
to do so will ake the warranty invalid.
When servicing, refer to qualified service personnel.
For better environ ental protection, waste batteries should be
collected separately for recycling or special disposal.

To avoid exposed skin, such as the User's lap, held or touched for long periods
due to botto enclosure ay cause the injury fro heat after long ti e usage.
CAUTION FOR ADAPTER
THIS TABLET PC IS FOR USE WITH DEDICATED AC ADAPTER.
BATTERY SAFETY
DANGER OF EXPLOSION IF BATTERY IS INCORRECTLY REPLACED.
REPLACE ONLY WITH THE SAME OR EQUIVALENT TYPE RECOMMENDED BY THE
MANUFACTURER. DISPOSE OF USED BATTERIES ACCORDING TO THE
MANUFACTURER'S INSTRUCTIONS.

Before You Start
Congratulations on your purchase of this tablet PC.
This rugged tablet PC is portable and provides users with axi u obile
co puting experience in a wide range of working environ ents. Before you
begin using your tablet PC, read this chapter to fa iliarize yourself with the ain
co ponents installed in the syste .
Package Contents
The following ite s co e with your package. If any of the is da aged or
issing, please contact your retailer.
Tablet PC
Stylus Pen
Hand-strap
Power cord
Desktop Cradle
Power adapter
LTE Antenna
NOTE
The pictures are for reference only, actual ite s ay slightly differ.

Features
• Intel Cedar Trail-M platfor
• Operating syste supports Microsoft® Windows 7 and Window 8
• 7 " WSVGA TFT Touch LCD display
• S all size and light weight
• Spill and Dust Proof
• Rugged design, up to ilitary standard (MIL-STD 810G)
• Built-in 5MP ca era
• Support G-sensor for LCD auto-rotation
• Intel WLAN capability
• Bluetooth connectivity
• WWAN
• Optional integrated barcode scanner (support 1D/2D barcode reading)
• Optional RFID reader (support ISO 15693, 14443A/B stand)

Components
Front View
No. Item Description
1Light sensor Use to detect the current level of visible light in the
surrounding environ ent.
2Status Indicators
(Power, Battery,
HDD, Wireless)
Indicate the corresponding function status.
See "Status Indicators" on page 15.
3Speaker E it sound.
4 Power Press to power on and off the tablet PC.
5Scanner Press to trigger the Barcode scan function.
6 Ca era Press to activate the Ca era Application.
7 Stealth ode Press to disable all e itting lights and sound.
8Quick enu Press to access the Quick enu.
9 Security Press to exit Windows and enter SAS (Secure
Attention Sequence) ode.
n

No. Item Description
10 Nu Lock Press to e ulate Nu Lock key.
NOTE
When the nu erical ode is activated, the keypad
backlight (blue) lights on. If the keypad is left idle
for 60 seconds, the backlight will auto atically
turn off.
11 Prog ra i Press to access your favorite progra s.
12 Enter Press to e ulate the Enter key.
13 Progra 2 Press to access your favorite progra s.
14 Arrow (up) Press to e ulate the Up key.
15 Arrow (left) Press to e ulate the Left key.
16 Arrow (right) Press to e ulate the Right key.
17 WLAN
(Wi-Fi and Bluetooth) Press to activate wireless LAN or Bluetooth
co unication.
18 Arrow (down) Press to e ulate the Down key.
19 Rotate Press to rotate the display.
20 Nu ber (0) Press to enter 0.

Back View
No. Item Description
1 Ca era LED flash Provide additional lighting when taking pictures
under the low light environ ent.
2Ca era Use to take pictures.
3 Battery co part ent Contain the battery.
4 Battery latch Lock the battery in place.
Left View
No. Item Description
1 Kensington lock slot Connect to a Kensington-co patible tablet PC
security lock.
2 DC-in jack Connect the power adapter.

Before You Start
Right View
o o o d o
I/O A I/O В
No. Item Description
1Serial port Connect a peripheral device, such as a printer or
(RS-232/RS-485) other device with serial port.
2LAN (RJ-45) port Connect to a local area network (LAN) using an
Ethernet cable.
3 USB port(s) Connect USB peripheral devices.
Top View
o e
No. Item Description
1ExpressCard slot and
PC Card slot Use to insert one 34/54 ExpressCard or Type II PC
Card.
2 Card reader Use to insert e ory cards to transfer pictures,
usic, and data between your tablet PC and flash
co patible devices. The card reader supports SD
(Secure Digital), SDHC, Mini-SD (with adapter),
MMC (Multi- edia card), MMC+, Mini-MMC (with
adapter) cards.

Bottom View
O
No. Item Description
1 Docking station port Connect the tablet PC to a docking station.
Status Indicators
The status indicators in the upper left corner of the keyboard light up when a
particular function of the tablet PC is active. Each indicator is arked with a
sy bol. r
a a e
4
1
V
Icon Item Description
0Power The LED always lights on (green) when the syste is
running. When the syste is in sleep ode, the LED
blinks.
0 0 Battery
Indicate the battery status:
• Green light eans the battery is fully charged.
• Orange light eans the battery is being charged.
• Blinking orange light eans the OTP of the battery pack
is activated.
• Red light eans the battery power is low.
0HDD A blinking green LED indicates HDD activity (data is being
read or written).
«т» WLAN Indicate the status of wireless LAN or Bluetooth
co unication. The LED always lights on (blue) when the
function is enabled.

Getting Started
This chapter will guide you on how to use your tablet PC.
Powering Up Your Tablet PC
Your tablet PC can be powered up using the AC adapter or the Lithiu -ion
battery.
Connecting the AC Adapter
The AC adapter powers up your tablet PC and charges the battery.
1. Connect the AC adapter to the DC-in jack of your tablet PC.
2. Connect the AC adapter to the power cord.
3. Plug the power cord to an electrical outlet.
Using Battery Power
1. Install a charged battery in the battery co part ent.
2. Re ove the AC adapter (if plugged). Your tablet PC will auto atically use
the battery power.
NOTE
• If your tablet PC is connected to an electrical outlet and the battery is
installed, your tablet PC uses power fro the electrical outlet.

Installing the Battery
To install the battery, follow the steps below:
1. Align and insert the battery to the battery
co part ent.
2. Push co pletely until the battery locks into
place.
3. Slide the battery latch to the lock position to
secure the battery.
Charging the Battery
The Lithiu -ion battery is not fully-charged upon purchase.
To charge the battery, follow the steps below:
1. Install the battery to your tablet PC. See procedures above.
2. Connect the AC adapter to the DC-in jack of your tablet PC.
3. Connect the AC adapter to the power cord.
4. Plug the power cord to an electrical outlet.
Charging Time
Number of
battery pack Charging duration
(at 25°C)
13.5 hours
26.5 hours
NOTE
• The charging ti e ay be longer if you are using your tablet PC while
charging the battery
CAUTION
• DO NOT charge the battery if the te perature is below 0°C or higher than
50°C.
• Use only the supplied AC adapter. Using other AC adapters ay da age the
battery or your tablet PC.

Checking the Battery Level
It is i portant that you onitor the battery status regularly to ensure you do not
run out of power at a critical o ent.
To check the re aining battery power, double tap the battery icon in the syste
tray. - 1 Ф) 3:35 PM
3/24/2011
The battery screen appears:
8 hr 45 mm (87%) remaining
Battery *1: 80% remaining
Battery *2: 94% remaining
Select a power plan:
lo Balanced
Power saver
Adjust screen brightness
More power options
When to replace the Battery Pack
The battery perfor ance gradually decreases over ti e and usage. We
reco end you to replace your battery pack after 18 to 24 onths of usage.
Removing the Battery
To re ove the battery, follow the steps below:
• Slide the battery latch to the unlock position.
NOTE
• Make sure the syste has shut down before you change the battery.

Starting Your Tablet PC
Turning On Your Tablet PC
Press the ® button until the Power LED lights up.
Changing the Display Orientation
You can rotate the display orientation to suit your preference.
Press the
GE3
button to rotate the display 90° clockwise.
Shutting Down Your Tablet PC
It is i portant to properly shut down your tablet PC to avoid the loss of unsaved
data. To shut down your tablet PC, do the following:
Tap Start > Shut down.
Wait for your tablet PC to turn off power co pletely
before re oving the power source (if necessary).
___________

Using the Stylus
This tablet PC co es with an integrated stylus for accurate control input to the
LCD touch panel and digitizer. You can use the stylus to point, select, or drag
ite s or objects on the screen.
Calibrate the Screen
To ensure touch accuracy, calibrate the screen.
1. Tap Start > Control Panel.
2. Select Tablet PC Settings.
Adjust your co puter 4 settings
r S Location and Other
Sensors
D Notification Area taons
Mouse
^ Parental Controls
Perfor ance Infor ation m m _
,. , Щ Petsortalizdtion
and Tools
Power Options
o L R e c o v e r y
kM Sound
Syste
Jb troubleshooting
J Progra s and features
,7^ Region and language
(у Speech Recognition
i f Tablet PC Settings
J & User Accounts
/
A
a
Network and Scaring
Center
Pen and Tc«ich
Pbone and Moile
Kealtek HD Audio Manager
Re oteApp and Desktop
Connections
Sync Center
Taskbar and Start Menu
Windows CardSpace
- -
3. Tap Calibrate.
4. Follow the on-screen instructions to
co plete screen calibration.
f Tablet PC Settings
Display | other
Configure
Configure your pen and touch | ^ r . l
displays. 1
____
^tup...
_______
I
Display options
Display j l. Mobile PC Display ▼
Details: Single Touch Input Available
at Calibrate..
Choose the order in which your screen rotates.
Go to Orientation
Reset,,.
J
Other manuals for T7Q
2
Table of contents
Other Durabook Tablet manuals

Durabook
Durabook U11I Office Dock User manual

Durabook
Durabook U11 User manual

Durabook
Durabook T7Q User manual

Durabook
Durabook TA10iT User manual

Durabook
Durabook T7Q User manual

Durabook
Durabook R11 User manual

Durabook
Durabook TA10iT User manual

Durabook
Durabook R8 User manual

Durabook
Durabook R11 User manual

Durabook
Durabook R11 User manual