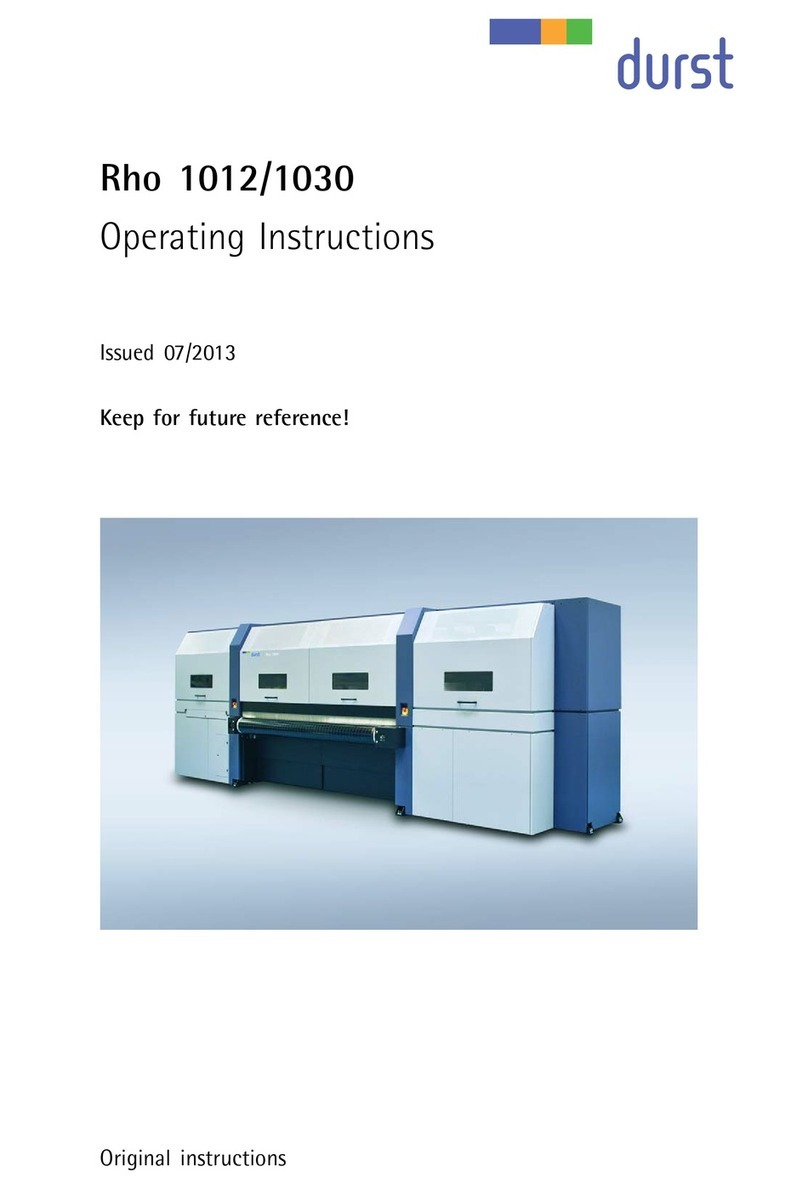
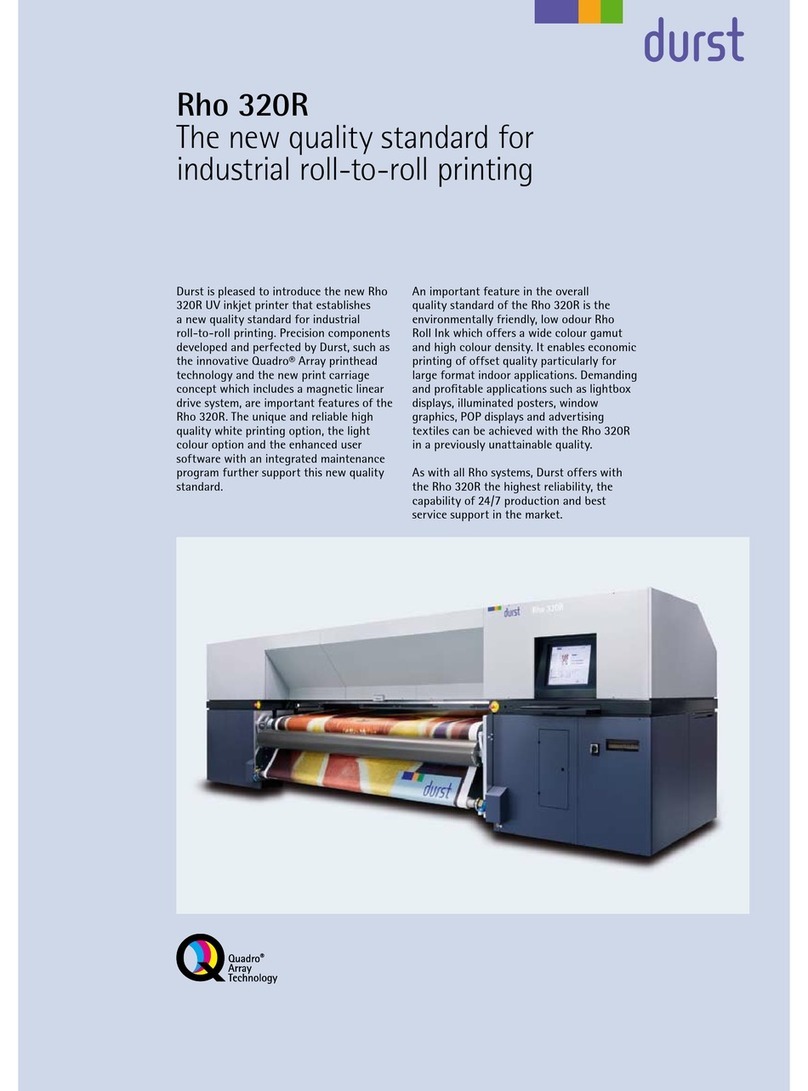
Durst Omega 2 User manual

Omega 2
Operating instructions
Issued 07/2014
Retain for future use!
Original instructions


Omega 2 Contents
Contents
A About these operating instructions ..................................... 8
B Safety ..................................................................... 10
C Description ............................................................... 22
D Installation and commissioning ......................................... 27
E Operation ................................................................. 28
F Software .................................................................. 45
G Faults ..................................................................... 67
H Service .................................................................... 68
I Decommissioning and disassembly ................................... 85
J Appendix .................................................................. 86
2004 – 2014 © Durst Phototechnik AG – www.durst-online.com, Omega 2, Issued 07/2014 3 / 91

Table of Contents Omega 2
Table of Contents
A About these operating instructions .................................. 8
1 Using these operating instructions........................... 8
2 Symbols and markings........................................ 8
2.1 Structure of warnings...................................... 9
B Safety...................................................................... 10
1 Intended use ................................................... 10
1.1 Impermissible use ......................................... 10
2 Duties of the owner............................................ 10
3 Safety and monitoring equipment............................ 11
3.1 Protective equipment...................................... 11
3.2 Signs on printer ............................................ 11
4 Ambient conditions ............................................ 14
5Modifications, attachments and changes in location....... 14
6 Connection of external devices .............................. 14
7 Electromagnetic compatibility ................................ 14
8 Specific types of danger ...................................... 14
8.1 UV light ..................................................... 15
8.2 Hot surfaces................................................ 15
8.3 Electrical energy ........................................... 15
8.4 Rotating parts and print carriage......................... 15
8.5 Danger of crushing from the roll mounts ................ 15
8.6 Contact with ink ............................................ 15
8.7 Risk of fire .................................................. 16
9 Protective clothing............................................. 16
9.1 Safety goggles and protective gloves.................... 16
10 Handling inks and media...................................... 16
10.1 Loading/unloading media ................................. 16
10.2 Refilling ink ................................................. 16
11 Maintenance and cleaning.................................... 17
12 Disposal ........................................................ 17
13 Emergencies ................................................... 18
13.1 Emergency-Stop switch................................... 18
13.2 What to do in case of an emergency .................... 18
13.3 Switching on the printer again after an emergency
stop.......................................................... 18
14 Faults ........................................................... 19
14.1 Handling faults ............................................. 19
15 Avoiding damage to property................................. 19
15.1 Ink ........................................................... 19
15.2 Print head maintenance................................... 19
4 / 91 2004 – 2014 © Durst Phototechnik AG – www.durst-online.com, Omega 2, Issued 07/2014

Omega 2 Table of Contents
15.3 Careful handling of the encoder ruler.................... 20
15.4 Cleaning .................................................... 20
15.5 Lubrication.................................................. 20
15.6 Magnetic field of the linear guide......................... 21
C Description ............................................................... 22
1 Printer........................................................... 22
1.1 Workstation................................................. 23
1.2 Ink supply unit.............................................. 23
1.3 Cleaning system ........................................... 24
2Workflow........................................................ 25
D Installation and commissioning ...................................... 27
E Operation ................................................................. 28
1 An overview of daily tasks .................................... 28
1.1 Performing daily tasks..................................... 28
2 Workstation..................................................... 28
2.1 Connection of external devices........................... 28
2.2 Booting up and shutting down the workstation ......... 29
3 Switching printer on and off................................... 29
3.1 Switching on printer........................................ 30
3.2 Switching off printer........................................ 30
4Refilling ink ..................................................... 31
4.1 Changing a refill tank...................................... 31
5 Setting suction area ........................................... 34
5.1 Procedure................................................... 34
6 Changing media ............................................... 34
6.1 Unloading medium......................................... 35
6.2 Loading a roll media....................................... 35
6.3 Taking up a roll medium on the unloading side......... 39
6.4 Cutting roll medium on the unloading side and
removing it.................................................. 41
6.5 Loading a plate medium................................... 41
7 Interrupting printing............................................ 44
7.1 Interrupting printing of adhesive film..................... 44
F Software................................................................... 45
1 Basic functions................................................. 45
1.1 Installation .................................................. 45
1.2 The menu bar .............................................. 45
1.3 Status bar................................................... 46
1.4 Basic operation............................................. 46
2 Setting up printer .............................................. 46
2.1 Hotfolders................................................... 46
2004 – 2014 © Durst Phototechnik AG – www.durst-online.com, Omega 2, Issued 07/2014 5 / 91

Table of Contents Omega 2
2.2 Switch-on and switch-off times ........................... 50
2.3 Ink costs .................................................... 51
2.4 Queue....................................................... 52
2.5 General basic settings..................................... 52
2.6 Software validation ........................................ 53
3 Managing media data ......................................... 54
3.1 Buttons on the right edge of the dialog window ........ 54
3.2 Creating and editing media channels.................... 55
4 Operating printer functions ................................... 55
4.1 Basic functions............................................. 55
4.2 Cleaning function .......................................... 57
4.3 Ink heating.................................................. 58
4.4 Maintenance................................................ 58
4.5 Ink batch tracking.......................................... 59
5 Printing.......................................................... 60
5.1 An overview of activities................................... 60
5.2 Preparation of jobs in hotfolder........................... 61
5.3 Queue....................................................... 63
6 Calling up statistics ............................................ 64
6.1 Opening statistics.......................................... 64
7 Calling up printer state via the network...................... 64
7.1 Calling up state............................................. 66
G Faults...................................................................... 67
H Service .................................................................... 68
1 Inspection and cleaning intervals ............................ 68
2 Cleaning conveyor belt........................................ 69
3 Clean light trap carrier ........................................ 69
4 Lubricating carriage guide .................................... 70
5 Cleaning encoder ruler........................................ 71
6 Changing lubricating plates................................... 73
7 Cleaning housing .............................................. 74
8 Changing main ink filters...................................... 74
9 Cleaning UV LED.............................................. 76
10 Servicing print heads and the printing plate ................ 79
10.1 Preparing for cleaning..................................... 79
10.2 Sucking out nozzles ....................................... 80
10.3 Wiping print heads wet.................................... 82
10.4 Wiping printing plate....................................... 83
I Decommissioning and disassembly................................. 85
J Appendix.................................................................. 86
1 Technical data.................................................. 86
6 / 91 2004 – 2014 © Durst Phototechnik AG – www.durst-online.com, Omega 2, Issued 07/2014
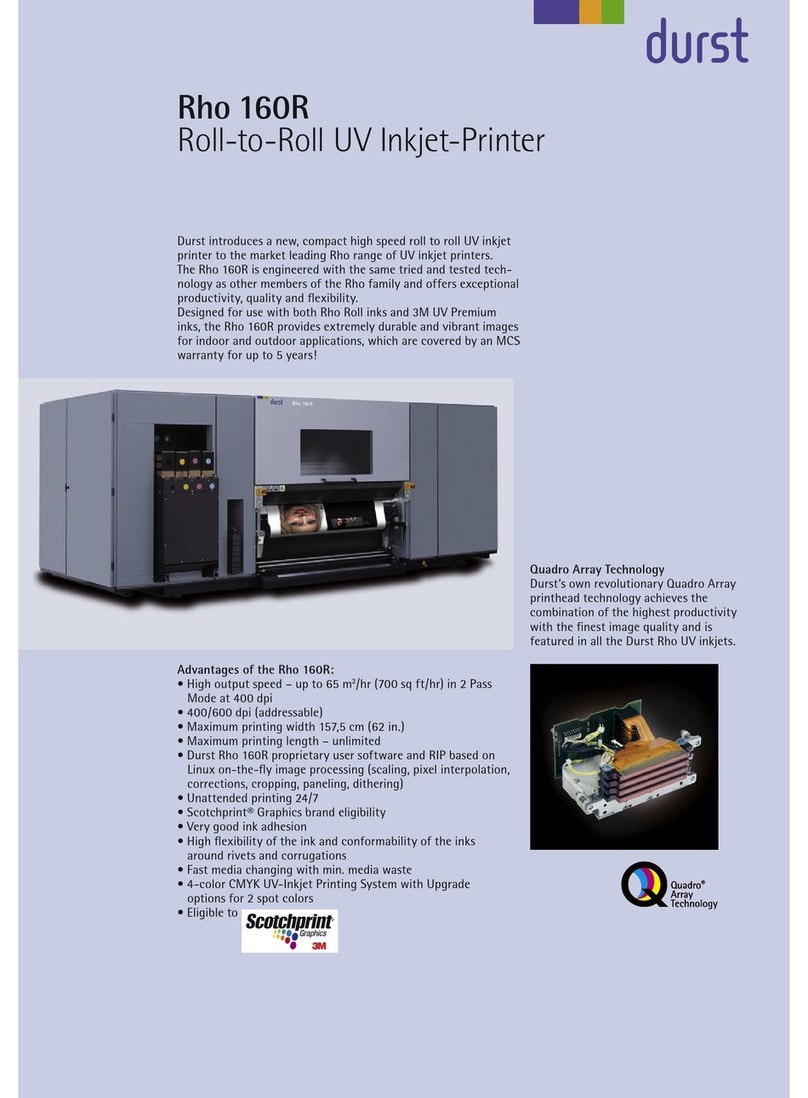
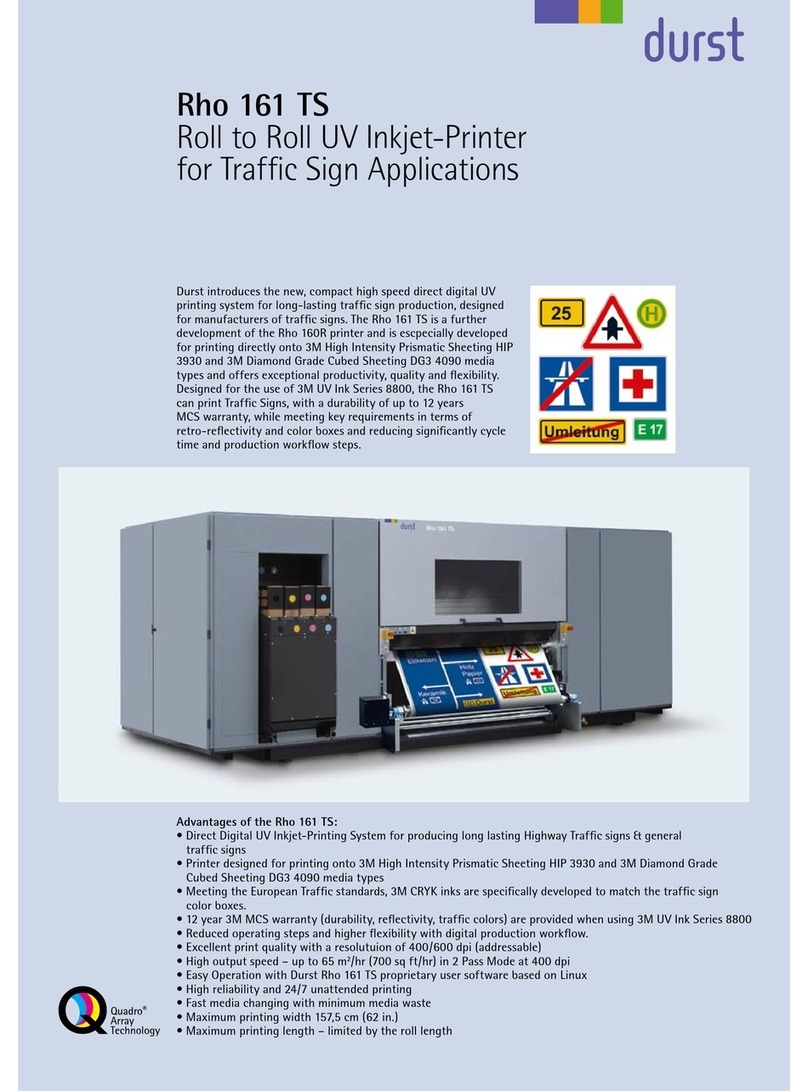
Omega 2 Table of Contents
1.1 General specifications..................................... 86
1.2 Print specifications......................................... 86
1.3 Media specifications....................................... 87
1.4 Workstation................................................. 88
1.5 Requirements for installation site ........................ 88
2 Scope of delivery .............................................. 88
3 Accessories and spare parts ................................. 89
2004 – 2014 © Durst Phototechnik AG – www.durst-online.com, Omega 2, Issued 07/2014 7 / 91
A About these operating instructions Omega 2
A About these operating instructions
1 Using these operating instructions
These operating instructions are part of the unit.
1. Ensure that these operating instructions are accessible to personnel
at all times.
2. Any supplements received from Durst Phototechnik AG are to be included
with these operating instructions.
3. Give these operating instructions to any subsequent owners or users
of this unit.
2 Symbols and markings
The following symbols are used in these operating instructions:
Symbol Meaning
Requirement for an action
One-step action
1. Stepwithinamulti-stepaction
Result of an action or sequence of actions
Information on easier or safer work
(→Page 22 / Description) Cross reference
Imminently hazardous situation that, if not
avoided, results in death or serious injury.
Potentially hazardous situation that, if not
avoided, could result in death or serious
injury.
Potentially hazardous situation that
may result in minor injury if the safety
precautions are not complied with.
Potentially hazardous situation that, if not
avoided, may result in property damage.
The following typographical markings (e.g. bold) are used in these operating
instructions for differentiating between types of information:
Example Meaning
Start Queue Operating element on unit, e.g.
buttons, levers etc.
Software element, e.g. menu name,
menu entry, operating elements etc.
start File name, path name
[ALT] Keyboard key
8 / 91 2004 – 2014 © Durst Phototechnik AG – www.durst-online.com, Omega 2, Issued 07/2014
Omega 2 A About these operating instructions
2.1 Structure of warnings
Warnings are structured as follows (here: example for the warning level
WARNING):
Type and source of danger!
Consequence of the danger
Measure for avoiding the danger
Read and observe the warnings.
2004 – 2014 © Durst Phototechnik AG – www.durst-online.com, Omega 2, Issued 07/2014 9 / 91
B Safety Omega 2
BSafety
Read these operating instructions before using the printer and ensure
that you have understood everything!
If it is determined that damage has been caused by a person's
non-compliance with these operating instructions, Durst Phototechnik
AG is in no way liable. Safe operation of the printer is only ensured
when the following safety precautions and warnings are observed
exactly.
1 Intended use
The printer is suitable for printing roll media and plate media within the
specified limit values (→Page 86 / Technical data).
1.1 Impermissible use
The printer may not be used to print the following media:
Animals
Foodstuffs
Media outside the specified limit values
Media with an ignition point of less than 80 °C (176 °F)
2 Duties of the owner
To ensure the safety of personnel, the owner must take the following safety
measures:
The personnel must posses the appropriate qualifications and be
sufficiently trained.
The stipulated protective equipment must be made available to the
personnel (→Page 89 / Accessories and spare parts).
The warnings on the printer must always be legible and be kept in a
visible and clean condition.
Sufficiently bright illumination for the personnel must be ensured.
All regional and national regulations and safety requirements must be
observed.
10 / 91 2004 – 2014 © Durst Phototechnik AG – www.durst-online.com, Omega 2, Issued 07/2014

Omega 2 B Safety
3 Safety and monitoring equipment
3.1 Protective equipment
The purpose of the protective equipment for loading and unloading
media and ink is to prevent the user from being exposed to electrical
or mechanical danger. Under no circumstances may the method of
functioning of this equipment be changed.
The sliding doors must always remain closed and may only be opened
for maintenance and checks, e.g. checking of the material advance. If the
sliding doors are not closed, the printing process cannot start.
3.2 Signs on printer
1
2
3
8
9
10
11
4
5
7
6
Fig. 1 Position of signs
2004 – 2014 © Durst Phototechnik AG – www.durst-online.com, Omega 2, Issued 07/2014 11 / 91
B Safety Omega 2
3.2.1 Rating plate
1 Serial number
Fig. 2 Rating plate (example)
Position 5: Door near main switch
3.2.2 Safety signs
All safety signs attached to the printer must be observed.
Safety sign Position (→Page 11 / Po-
sition of signs)
Meaning
3: At print carriage
10: Light trap carrier
8: Ink supply
unit/loading
compartment
9: Cleaning
access/interior
Wear protective gloves
3: At print carriage
10: Light trap carrier
8: Ink supply
unit/loading
compartment
9: Cleaning
access/interior
Wear safety goggles
1, 2: UV lamp heads Warning on UV light
The unit may only be
operated with a filter
mat
12 / 91 2004 – 2014 © Durst Phototechnik AG – www.durst-online.com, Omega 2, Issued 07/2014
Omega 2 B Safety
Safety sign Position (→Page 11 / Po-
sition of signs)
Meaning
1, 2: UV lamp heads Warning on hot surfaces
4: Main switch Mechanical parts in
motion
Read the operating
instructions
7 (examples): On all lids Warning on dangerous
electrical voltage
11: On the interior at the
guide rails
Warning on magnetic field
6: Lid on loading side Limbs could be caught and
crushed
9: On cleaning access door The door must always be
closed and locked!
2004 – 2014 © Durst Phototechnik AG – www.durst-online.com, Omega 2, Issued 07/2014 13 / 91
B Safety Omega 2
4 Ambient conditions
The printer may only be operated under the specified ambient conditions
(→Page 86 / Technical data).
5 Modifications, attachments and changes in
location
The printer is installed and commissioned by authorized Durst service
technicians.
The installation location of the printer may not be changed. Structural
stresses and strains are taken into account during installation. Any
change to the installation location or structural modifications to the
building must be approved by Durst Phototechnik AG.
Opening the printer housing, electronics case and covers, except for
routine work, and opening the workstation or unplugging the cable may
only be performed by authorized Durst service technicians.
Print heads may only be replaced by authorized Durst service technicians.
TheUVlampprotectionpreventsreflected light from drying out the ink in
the print head, thus damaging it. The UV lamp protection may therefore
not be removed.
6 Connection of external devices
The computer features a Fast Ethernet connection (SELV) for connection to
LAN/WAN networks. Only SELV-compatible peripheral devices approved by
Durst may be connected to the printer.
7 Electromagnetic compatibility
For users in the US The printer has been tested and corresponds with the restrictions for a Class
A digital unit in agreement with the regulations of the FCC, Paragraph 15.
These restrictions serve to provide appropriate protection against harmful
interference with equipment used commercially. This printer generates, uses
and radiates energy in the radio frequency range and can, if not installed or
used in accordance with the requirements of these operating instructions,
cause harmful interference in radio communication. The use of the system in
a residential area can lead to such interference. In this case, damage/loss
caused by the interference are the fault of the user.
8 Specific types of danger
The printer has been constructed using state-of-the-art technology and
following the recognized technical safety regulations. Areas of danger which
cannot be avoided through design are provided with appropriate protective
equipment. If the printer is used improperly, however, the user or third
parties risk death or injury. The printer itself or another medium could also
be damaged.
14 / 91 2004 – 2014 © Durst Phototechnik AG – www.durst-online.com, Omega 2, Issued 07/2014

Omega 2 B Safety
8.1 UV light
UV light emitted by the UV lamps onto the print carriage can cause lethal
burns and damage to the eyes. The viewing windows filter out UV rays.
Do not remove the sliding doors.
Check to make sure the sliding doors are closed and locked during
printing.
8.2 Hot surfaces
The UV lamps on the print carriage are heated up to temperatures exceeding
65 °C (149 °F). Contact with the UV lamps can cause severe burns.
Before carrying out work on the UV lamp head wait at least half an hour
after the unit has been switched off until the lamps have cooled down.
Wear protective gloves when working on the UV lamp head.
8.3 Electrical energy
The printer has a leakage current greater than 3.5 mA. Safe operation of the
printer is ensured via a fixed connection to the ground wire.
The entire unit is not de-energized even when the main switch is switched
off. Only the separator element set up and defined during installation can be
used as the power isolator.
Do not touch any cables or electrical components even when the main
switch is switched off.
8.4 Rotating parts and print carriage
Hair, jewelry and clothing can be caught by rollers and the conveyor belt and
drawn in. This can lead to lethal crushing injuries to limbs.
Danger of knocks and crushing during uncontrolled movements of the print
carriage.
Do not remove the sliding doors.
Do not remove the covers.
Do not wear long hair, jewelry or loose clothing.
8.5 Danger of crushing from the roll mounts
When inserting the ends of the axes into the roll mounts, there is a danger
of crushing due to the high weight of the medium.
Wear protective gloves.
When loading the roll, do not grip the ends of the axes.
8.6 Contact with ink
Coming into contact with ink is harmful to your health. Dangerous areas are:
2004 – 2014 © Durst Phototechnik AG – www.durst-online.com, Omega 2, Issued 07/2014 15 / 91

B Safety Omega 2
Ink supply unit with Durst refill tank
Carriage guide
Light trap carrier
Uncuredinksonprintedmediaduetoinsufficient UV exposure
Observe the safety data sheets supplied with the ink.
Operate the printer with Durst inks only.
Wear protective gloves and safety goggles when cleaning the print
heads, adding ink or emptying the waste tray.
Avoid allowing ink to contact your face or eyes, e.g. by rubbing your eyes
with dirty hands.
If contact with the skin occurs, wash affected areas with pH-neutral soap
and water.
Carry out all specified inspection and cleaning work.
8.7 Risk of fire
Flammable media can ignite as a result of the UV lamps heating up.
Do not print media which have an ignition point of less than 80 °C (176
°F).
9 Protective clothing
9.1 Safety goggles and protective gloves
When cleaning the ink supply unit or the print heads, wear the protective
gloves provided for this purpose and recommended safety goggles
(→Page 89 / Accessories and spare parts).
10 Handling inks and media
The operating personnel should familiarize themselves with the printer before
loading and unloading the media and inks.
10.1 Loading/unloading media
Since media have a considerable weight, ensure that your footing is
secure before loading/unloading.
Before loading/unloading, ensure that there are no obstacles near the
printer.
10.2 Refilling ink
Use only the 1 L refill tanks intended for the printer (→Page 89 / Ac-
cessories and spare parts).
16 / 91 2004 – 2014 © Durst Phototechnik AG – www.durst-online.com, Omega 2, Issued 07/2014
Omega 2 B Safety
11 Maintenance and cleaning
If the service work is not carried out sufficiently, all warranty and
guarantee claims are null and void.
Apart from the activities described in the chapter entitled "Service", the
customer may not perform maintenance or cleaning work. Regular and
additional special service may only be performed by authorized Durst
service technicians.
Only spare parts and consumable media which have been specially
developed and optimized by Durst may be used.
When cleaning the housing or workstation, the printer and workstation
must be switched off and de-energized via the power isolator.
The housing may only be cleaned with a lightly moistened cloth or a
dust brush.
Under no circumstances may cleaning agents end up on the interior of
the printer or workstation.
12 Disposal
Tools and accessories that come into contact with ink must be disposed
of in an environmentally-friendly manner according to local regulations.
This includes, among other things:
– Ink and ink waste
– Cleaning cloths
– Protective gloves
–Airfilters
–Refill tanks
–Inkfilters
Information on proper disposal of Durst inks can be found on the data
sheet for media safety contained in the ink refilling set or which can be
obtained from Durst Phototechnik AG.
2004 – 2014 © Durst Phototechnik AG – www.durst-online.com, Omega 2, Issued 07/2014 17 / 91

B Safety Omega 2
13 Emergencies
13.1 Emergency-Stop switch
1 Emergency-Stop switch
Fig. 3 Emergency-Stop switch
The printer can be switched off with the main switch or one of the
Emergency-Stop switches.
13.2 What to do in case of an emergency
13.2.1 Switching off printer
Switch off the printer with one of the Emergency-Stop switches or the
main switch if a fault occurs that could endanger personal safety.
13.2.2 First aid in case ink contacts skin, mucous membranes or
eyes
Wash affected areas with pH-neutral soap and water. Under no
circumstances should solvents be used, as it remove oils from the skin
and increase irritation.
Change your clothes immediately if heavy contamination has occurred.
If some spray has entered your eyes, wash your eyes immediately with
lots water and contact a doctor.
13.3 Switching on the printer again after an emergency
stop
13.3.1 Reactivating Emergency-Stop switch
1. Turn Emergency-Stop switch to the right.
Emergency-Stop switch pops out.
18 / 91 2004 – 2014 © Durst Phototechnik AG – www.durst-online.com, Omega 2, Issued 07/2014
Omega 2 B Safety
2. Switch on printer.
14 Faults
14.1 Handling faults
If the printer stops unexpectedly:
– Switch off the printer with the Emergency-Stop switch and/or the
Main switch.
– Notify the Durst customer service.
If a media jam occurs, never reach under the covers with your hand.
15 Avoiding damage to property
15.1 Ink
If no refill tanks are connected to individual quick connectors in the ink supply
unit, debris can end up in the ink circuit. There is also a risk that the ink can
dry out under the influence of sunlight.
Unsuitable, soiled or hardened ink can damage print heads and the ink circuit.
Use only Durst ink.
Do not use ink longer than the time period specified by the ink
manufacturer.
Use the provided cover caps to close off the quick connectors in the
ink supply unit which are not used.
15.2 Print head maintenance
The print heads can be damaged if the ink dries out.
Carry out all prescribed maintenance work on the print heads
(→Page 68 / Service).
2004 – 2014 © Durst Phototechnik AG – www.durst-online.com, Omega 2, Issued 07/2014 19 / 91

B Safety Omega 2
15.3 Careful handling of the encoder ruler
1
Fig. 4 Encoder ruler
Scratching the encoder ruler (1) reduces the functionality of the printer.
Do not touch the encoder ruler with hard objects.
15.4 Cleaning
The print heads can dry out as a result of improper cleaning. This will lead to
decreased printing quality or even the failure of individual nozzles.
Due to soiling on the nozzle plate, the ink can be smeared on the printed
medium.
Soiled filters and soiling on the conveyor belt can lead to malfunctioning of
the exhaust and ventilation. This can cause the following damage:
Failure of electronic components
Overheating of the UV lamps
Collision of the print carriage with the medium due to overheating of the
conveyor belt
Soiling on the conveyor belt and on the encoder ruler reduce print quality.
Unsuitable cleaning tools, corrosive cleaning agents and the penetration of
liquids into the printer or workstation can cause damage.
Carry out all specified cleaning work.
Use only the specified cleaning tools.
15.5 Lubrication
Improper lubrication of the carriage guide and the use of the lubricating plates
past the specified usage duration shortens the service life of the bearings.
Carry out all specified service work.
20 / 91 2004 – 2014 © Durst Phototechnik AG – www.durst-online.com, Omega 2, Issued 07/2014
Table of contents
Other Durst Printer manuals

Durst
Durst Rho 320R User manual

Durst
Durst Theta 76 User manual

Durst
Durst Gamma 60/61 User manual

Durst
Durst Theta 76 User manual

Durst
Durst Rho 600 Pictor User manual

Durst
Durst Rho SP 60 User manual

Durst
Durst Rho 160R Instruction manual

Durst
Durst Rho 1012 User manual

Durst
Durst Automatic Photo Book Station User manual

Durst
Durst Theta 76R User manual