3
Do not drop the device. It may cause critical damage to the hard drive.
Do not touch the power plug with wet hands or use defective power cables & electric outlets. It may cause electric
shocks or fire.
Keep all magnetic materials away from the TViX. Magnetic materials such as speakers or magnets may erase or
cause damage to the data stored in the hard disk.
Do not try to disassemble or remodel the device. It may cause malfunction or fire.
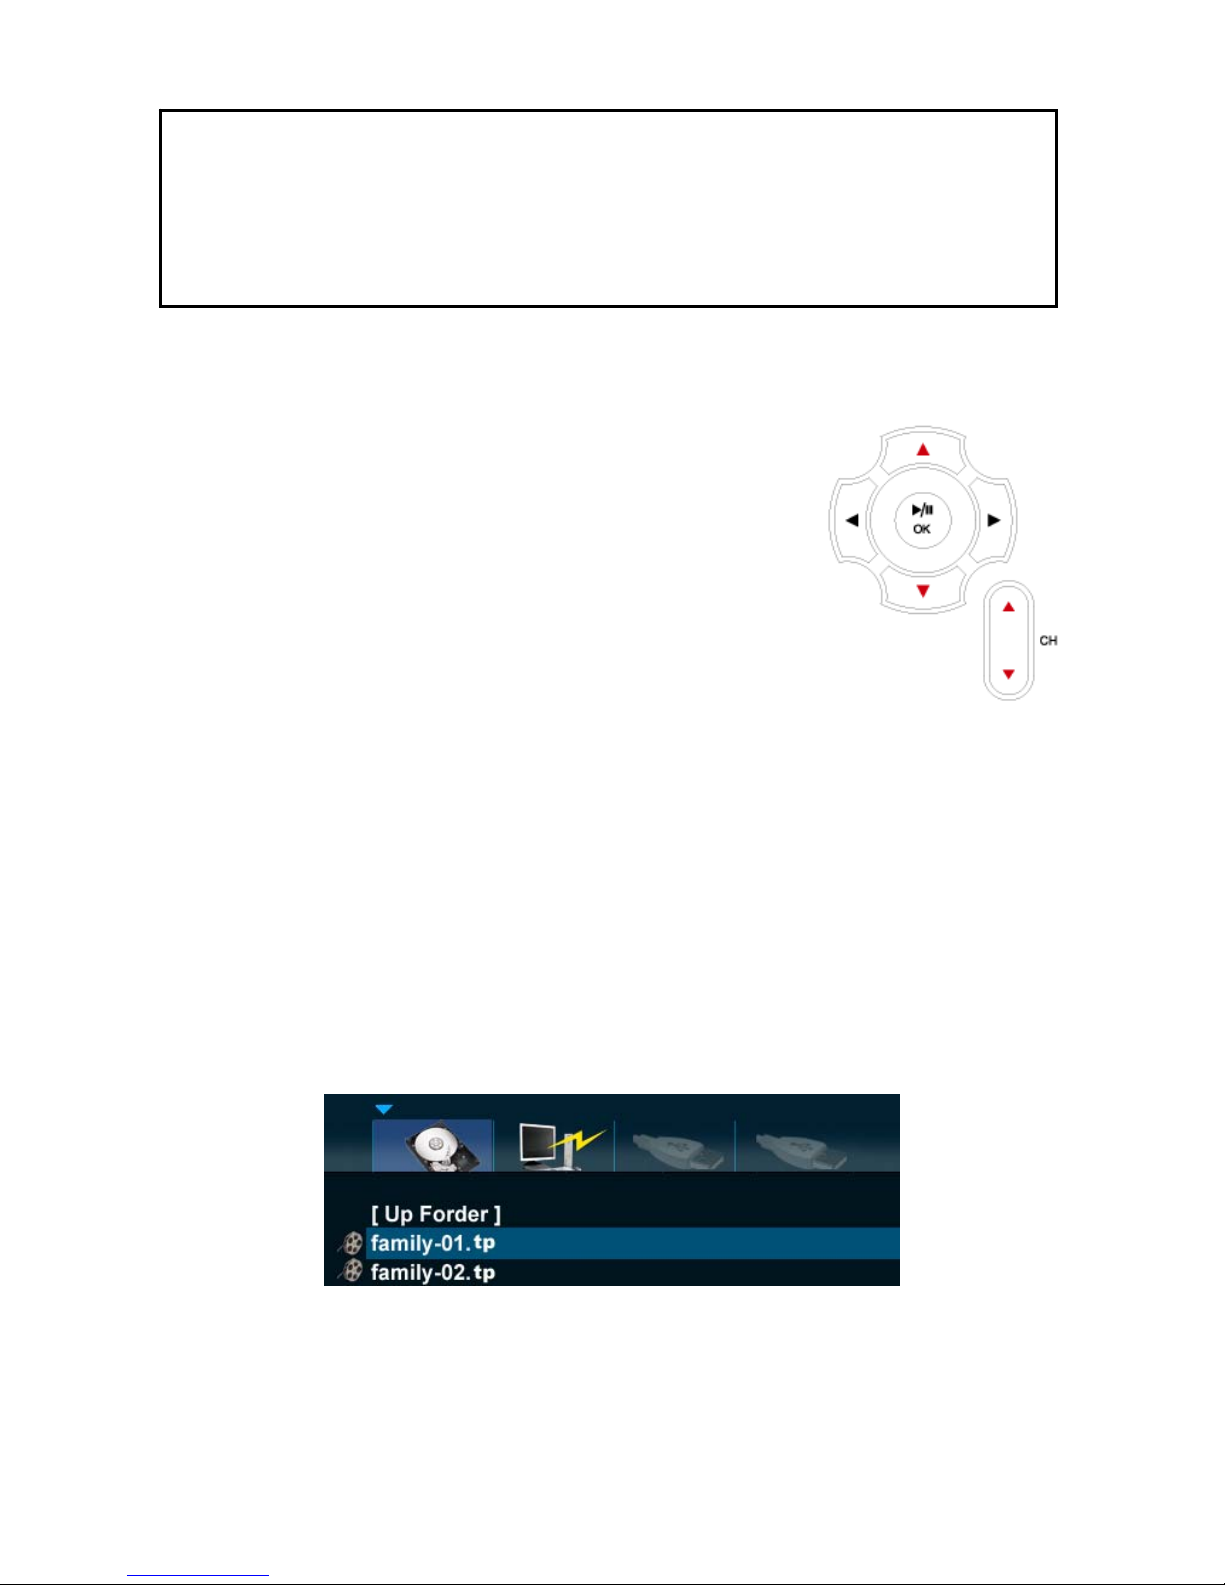
Starting TViX HDTV mode can take about 12~13 seconds.
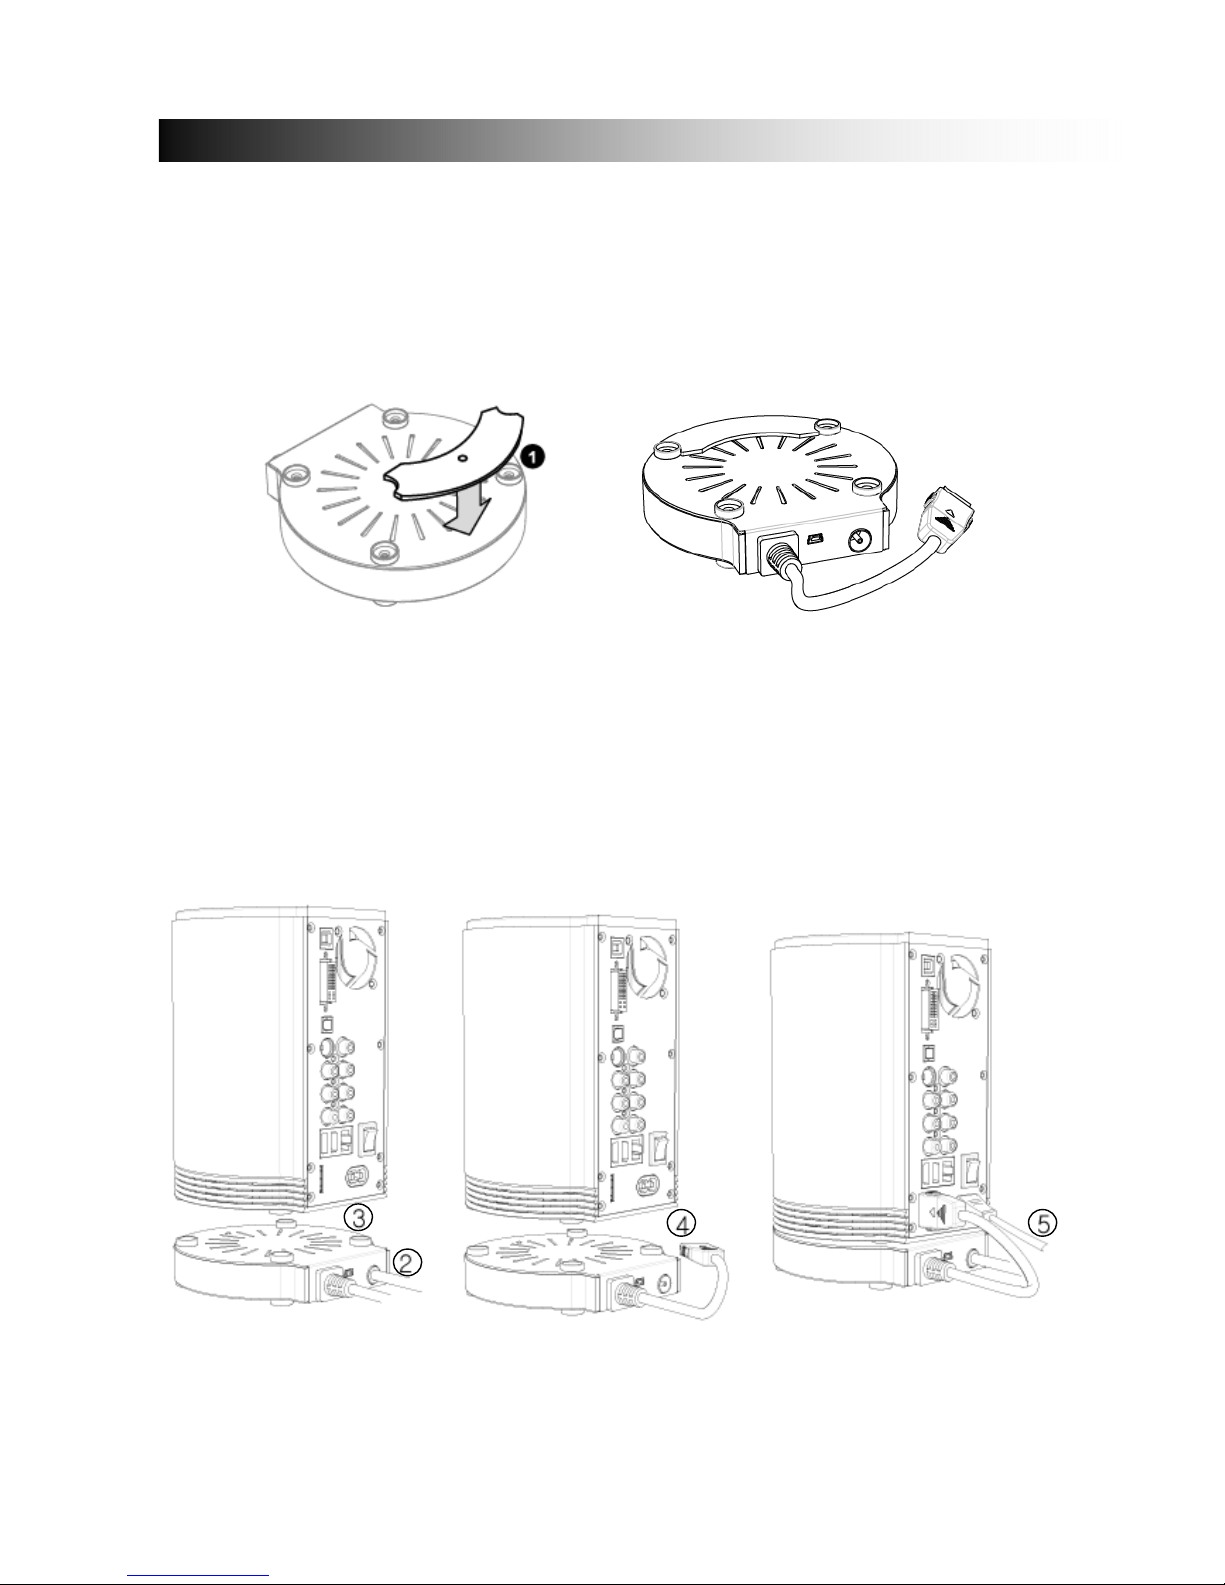
Do not detach the 24 pin cable when the TViX is working. It may damage the TViX or the tuner and void
your warranty.
Do not detach the tuner box when the TViX is working. It may damage the TViX or the tuner and void
your warranty.
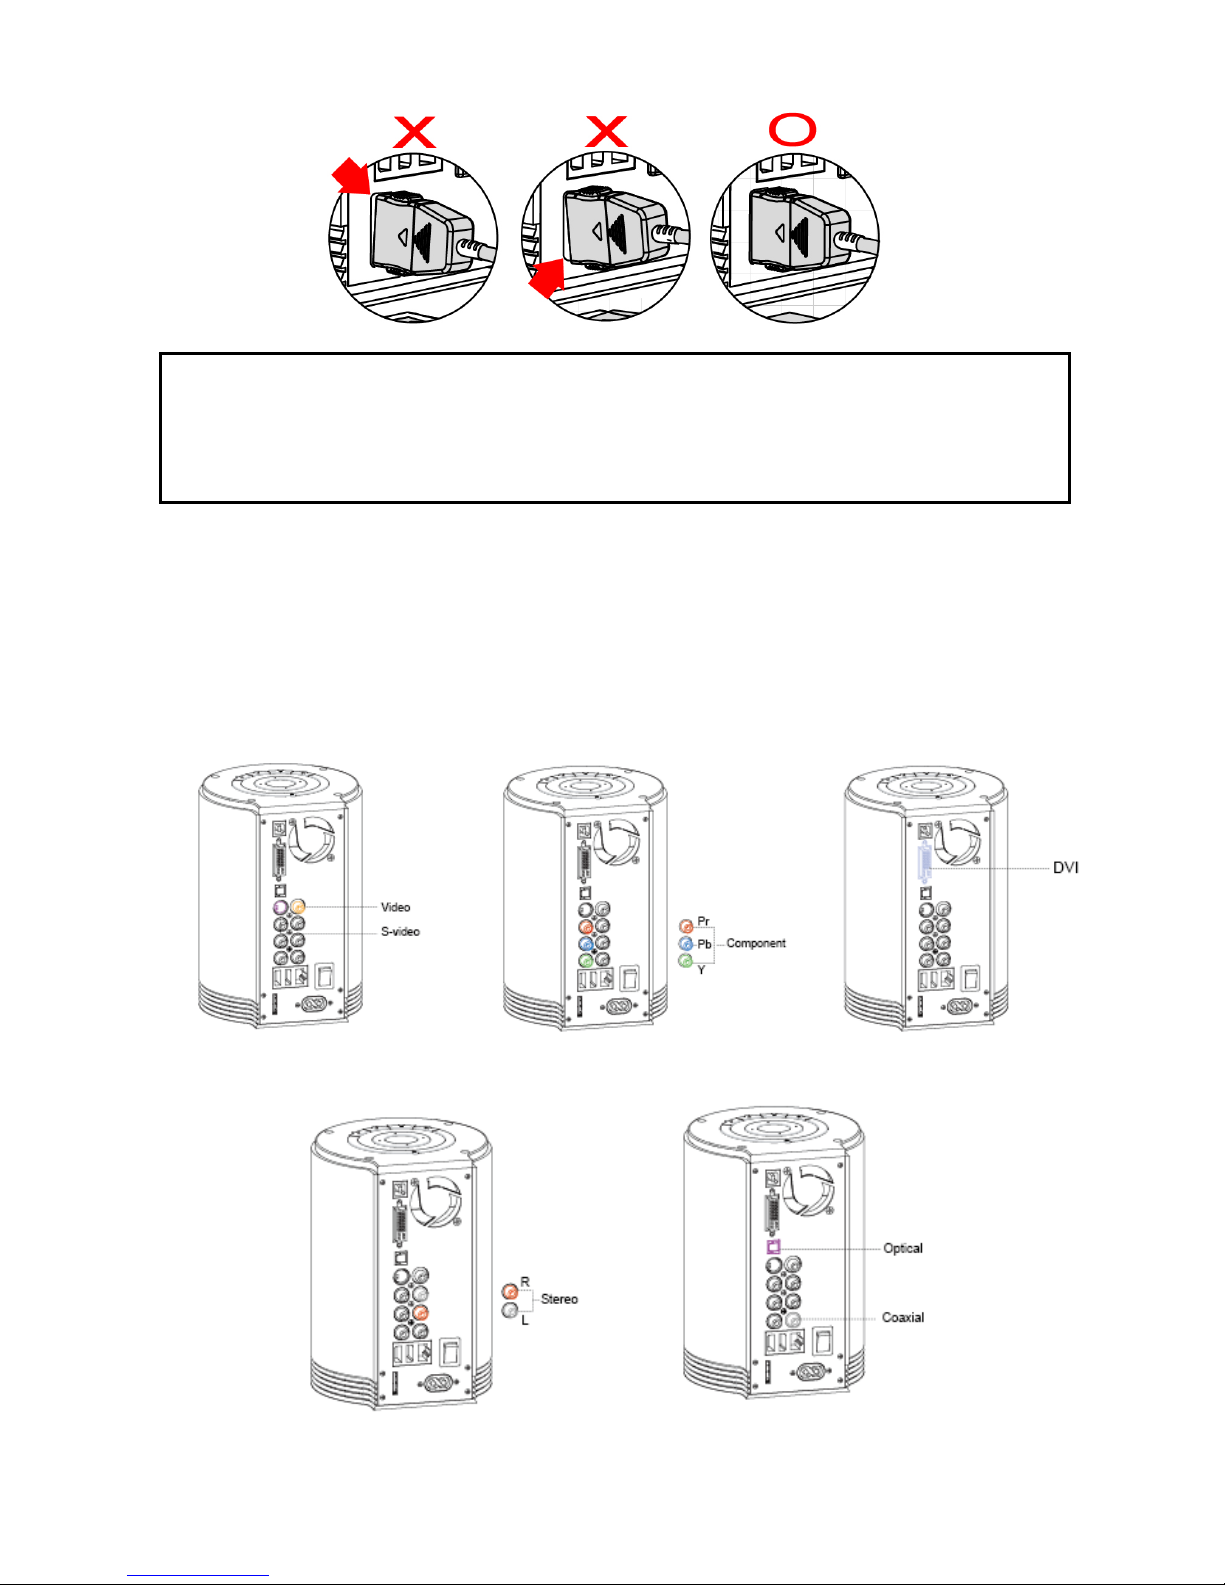
We recommend using a threaded-type antenna connector.
TV out, ZOOM, and default volume depend on the TViX’s setting.
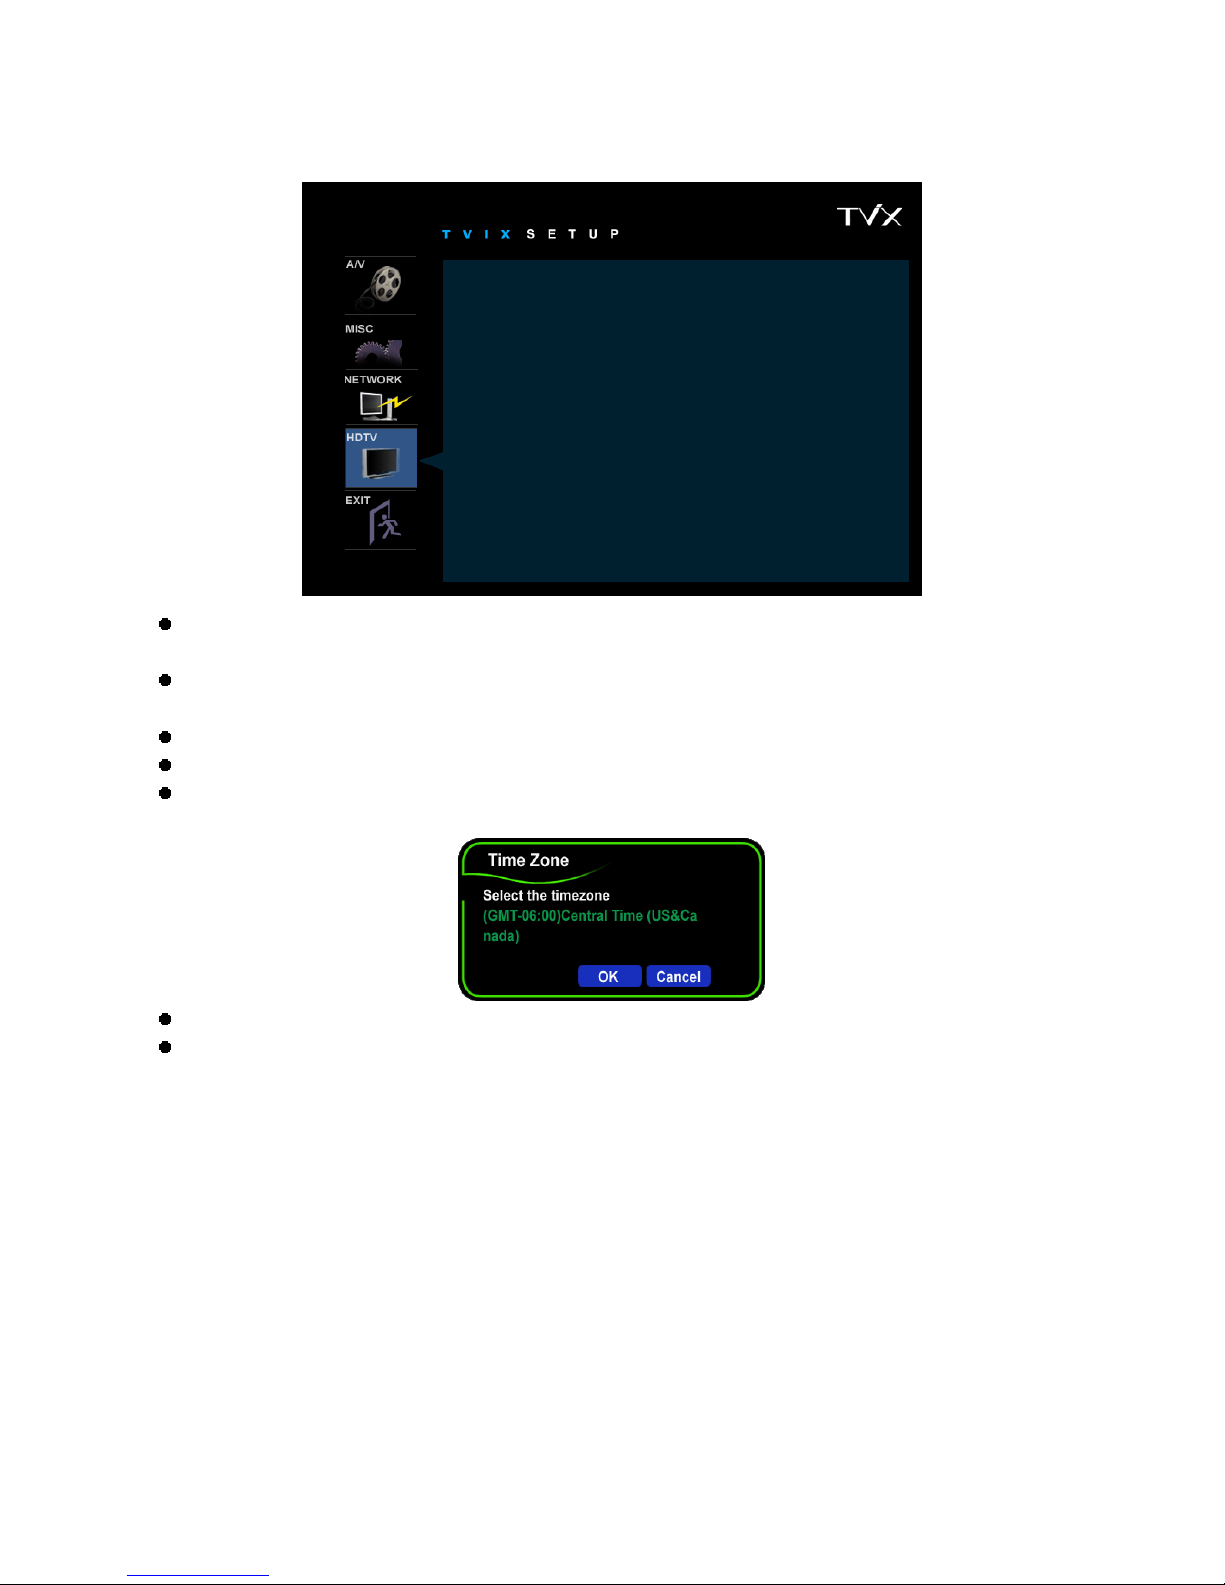
Checking Digital signal Reception
•Press the INFO button on the remote control. The Signal strength meter will appear on the left-bottom.
•If signal strength meter indicates less than 14.9db, adjust your antenna to increase the signal strength.
Continue to adjust the antenna until you find the best position with the strongest signal.
You can resolve the following problems by pressing O.K button.
•When the audio and video are not synchronized.
•When there is noise on the audio.
•When there are video-freezing problems.
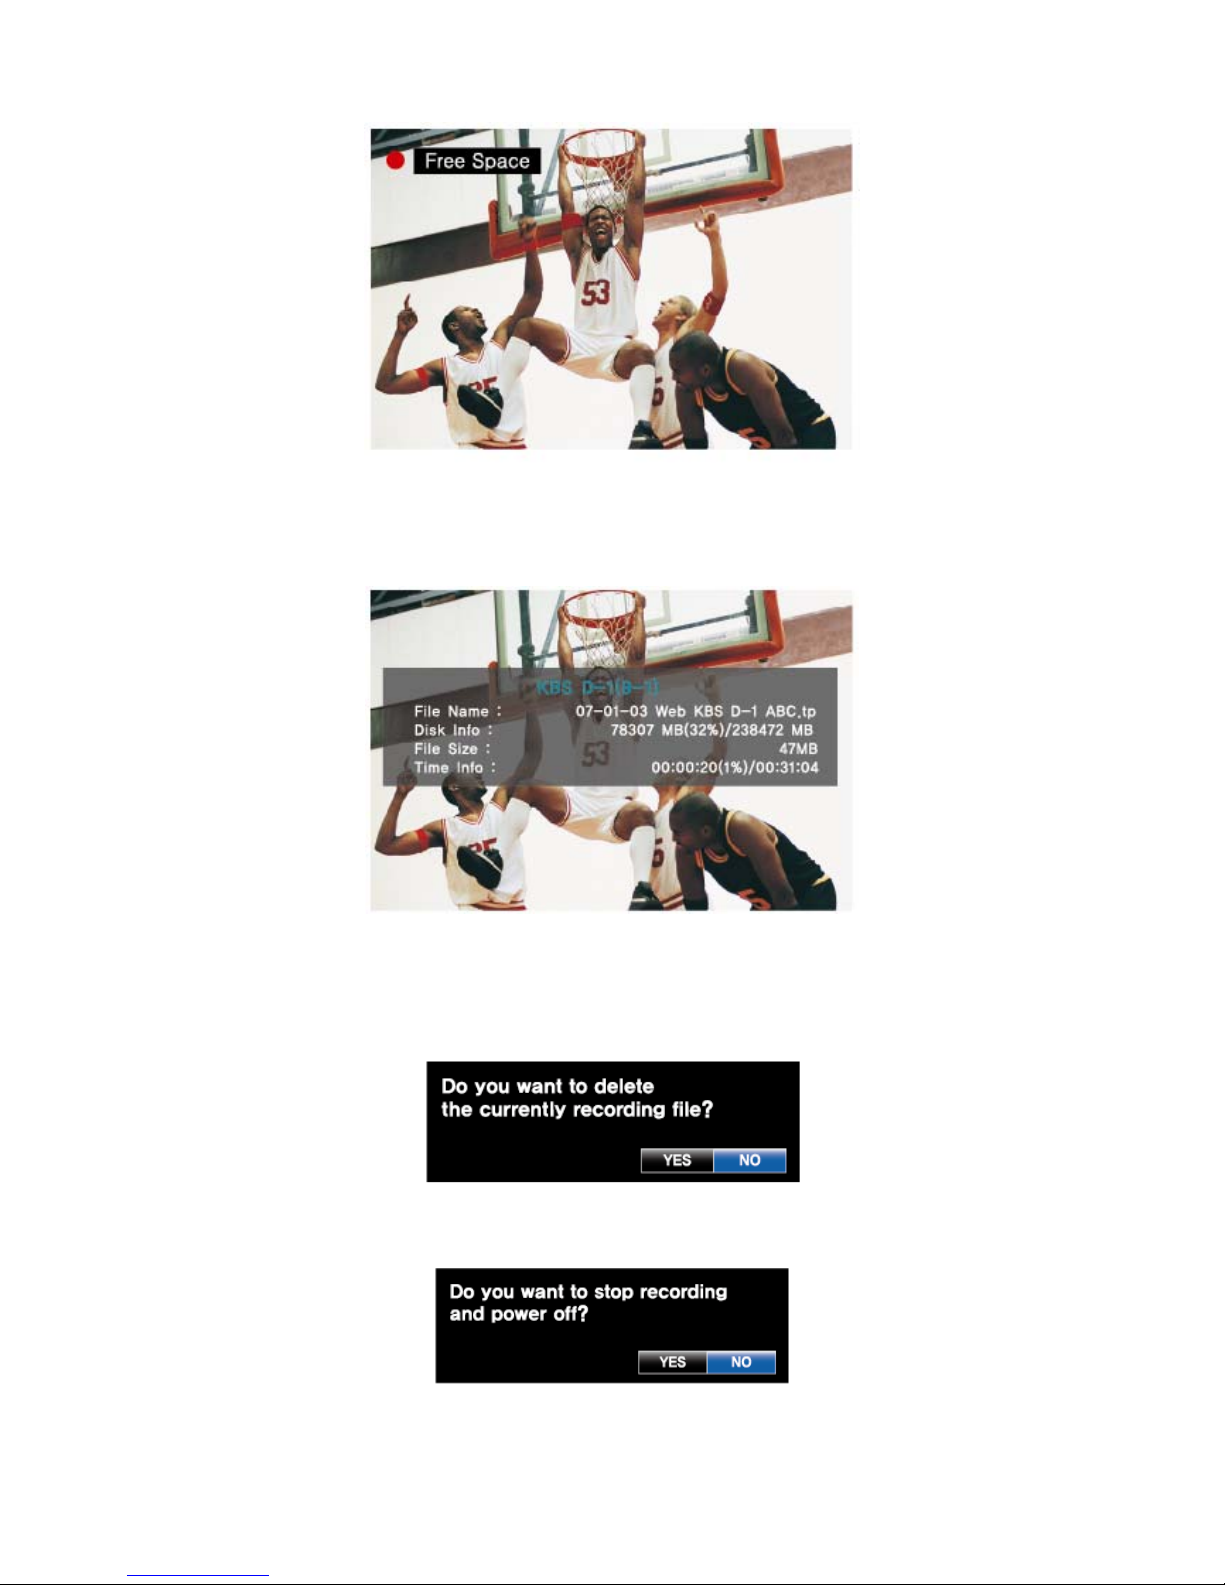
Record Notice
•The first partition of the internal hard disk must use the NTFS format. FAT32 format can cause an error
message.
•When the signal is weak or unstable, recording cannot work properly.
•When the hard disk is unstable, recording cannot work properly. So you must run Check Disk
sometimes.
•Hard disk requires the Check Disk, you must run the Check Disk sometimes
Unplug this apparatus when they are lightening storms or unused for a long time.
Do not connect the USB host or network when the HDTV mode is active.
These can be cause stuttering or jerky motion. We recommend connecting the USB host or network only
in the file mode.
Usage Precautions and Notes