manuals.online logo
Brands
  1. Home
  2. •
  3. Brands
  4. •
  5. DVS
  6. •
  7. Fan
  8. •
  9. DVS EC Reclaim User manual

DVS EC Reclaim User manual

Other DVS Fan manuals

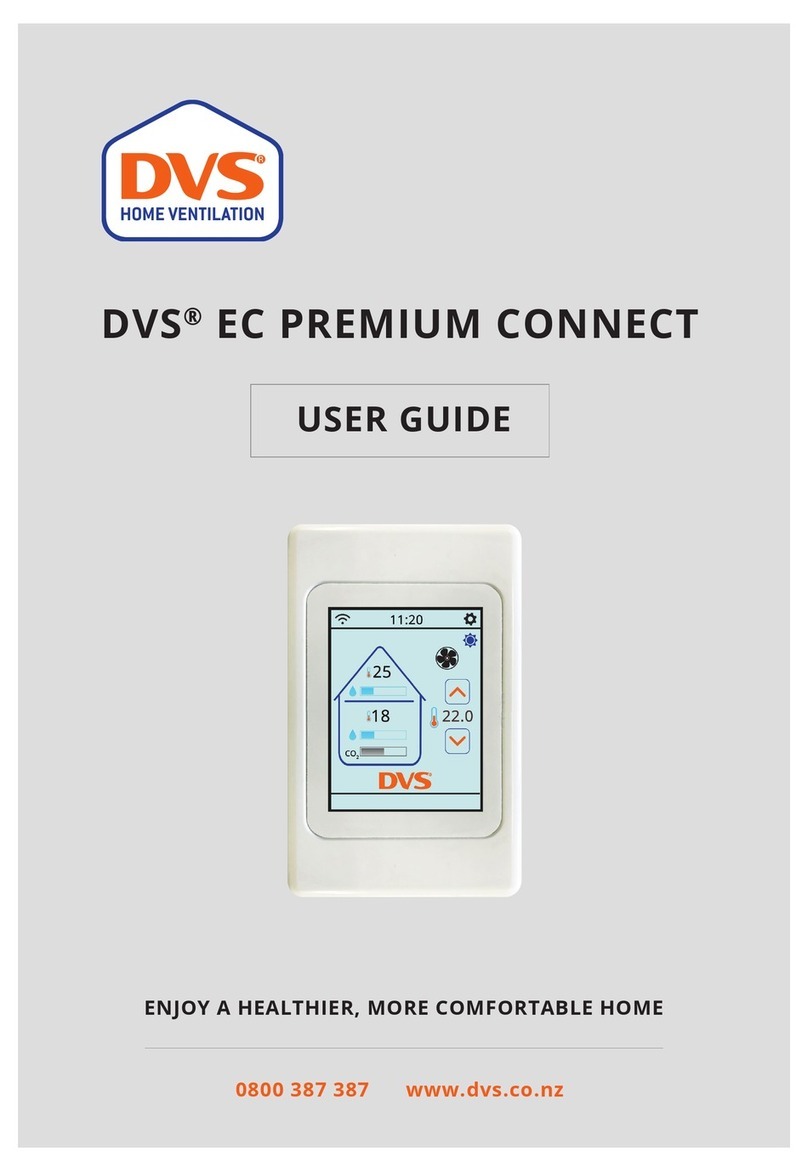
DVS EC PREMIUM CONNECT User manual

DVS

DVS EC PREMIUM CONNECT User manual

DVS G3 Instruction Manual

DVS

DVS G3 Instruction Manual

Popular Fan manuals by other brands

Minka Group minkaAire Wave F843 instruction manual

Minka Group

Minka Group minkaAire Wave F843 instruction manual

Airflow Adroit DV50 instruction manual

Airflow

Airflow Adroit DV50 instruction manual

Vornado 270 Series owner's guide

Vornado

Vornado 270 Series owner's guide

comfort air TH-10D instruction manual

comfort air

comfort air TH-10D instruction manual

Livoo DOM386 instruction manual

Livoo

Livoo DOM386 instruction manual

Holmes BLIZZARD HAOF-90 owner's guide

Holmes

Holmes BLIZZARD HAOF-90 owner's guide

Taurus GRECO 16 ELEGANCE manual

Taurus

Taurus GRECO 16 ELEGANCE manual

Quorum PINNACLE installation instructions

Quorum

Quorum PINNACLE installation instructions

Monte Carlo Fan Company 3DIR58RBD-V1 Owner's guide and installation manual

Monte Carlo Fan Company

Monte Carlo Fan Company 3DIR58RBD-V1 Owner's guide and installation manual

Craftmade UH52 installation guide

Craftmade

Craftmade UH52 installation guide

Jocel JVA030658 instruction manual

Jocel

Jocel JVA030658 instruction manual

MIKA MFB1211/GR user manual

MIKA

MIKA MFB1211/GR user manual

Harbor Breeze RLG52NWZ5L manual

Harbor Breeze

Harbor Breeze RLG52NWZ5L manual

Allen + Roth L1405 instruction manual

Allen + Roth

Allen + Roth L1405 instruction manual

ViM KUBAIR F400 ECOWATT Technical manual

ViM

ViM KUBAIR F400 ECOWATT Technical manual

HIDRIA R10R-56LPS-ES50B-04C10 user guide

HIDRIA

HIDRIA R10R-56LPS-ES50B-04C10 user guide

BLAUBERG Ventilatoren CENTRO-M 100 L user manual

BLAUBERG Ventilatoren

BLAUBERG Ventilatoren CENTRO-M 100 L user manual

Triangle Engineering HEAT BUSTER SPL Series owner's manual

Triangle Engineering

Triangle Engineering HEAT BUSTER SPL Series owner's manual

manuals.online logo
manuals.online logoBrands
  • About & Mission
  • Contact us
  • Privacy Policy
  • Terms and Conditions

Copyright 2025 Manuals.Online. All Rights Reserved.

DVS®EC Reclaim
Enjoy a healthier, more comfortable home
0800 387 387 www.dvs.co.nz
User Guide
Mechanical Ventilation with Heat Recovery (MVHR)
Displayed on the home screen
Temperature Display
System On / O
Main Display
Will show fan operation Indication.
Moving symbol = Fan On
Static symbol = Fan O
Press for 2 seconds to
turn the system On / O.
By pressing the Temperature
Display button you can check the
Temperature at the control panel
and the Supply Air Temperature
in the system fan. The associated
LED will illuminate indicating
which temperature you are
viewing. You can toggle between
each by pressing more than once.
To increase
or decrease
the calibrated
condensation
control setting
(air supply rate)
press Increase or
Decrease.
Air Supply
See Temperature
Display.
LED Indicators
DVS®EC Reclaim | User Guide
Main display
Fan on / o indication:
Pressing either or while displaying House temperature or Supply temperature
will change to displaying the FAN ON or FAN OFF indication.
Heat purge and High temperature shut o functions
Programmable automatic Heat purge function
(This function can be turned o or on and adjusted by the user)
The system has a pre-programmed Heat Purge Function available. The installer has
programmed this, matching the air ow rates to your home, when the system was installed.
When turned on by the user, this function increases the air ow rate automatically
through the system when the supply air temperature, (measured in the air supply fan)
rises above the pre-set temperature. The purge temperature is typically set to 27oC. This
can be adjusted by the user. If the fresh air intake (outside the home) is cooler than the
system temperature, this helps to purge the system of built-up heat, this in turn means the
system will operate for longer on warm days when it would otherwise shut down on high
temperature (if the high temperature shut o is activated).
Note: In a standard set up, this function is turned o.
Phone 0800 387 387 | www.dvs.co.nz
Turning heat purge function on and o and altering the setting (Factory set to o):
To enable the Heat Purge function - Press and hold the temperature display button
house and supply indicators will ash. “OF” (o) will be displayed on the screen.
Adjust to the desired Heat Purge activation temperature, using or buttons.
We recommend a setting of 27oC. The system will automatically increase airow when the
supply air is above this temperature.
The feature can be turned o by pressing or until “0F” is displayed.
After 15 seconds without pressing a button, the menu will exit and return to
Fan Operation ON / OFF display.
Note: ‘OF’ on the controller means ‘OFF’
Note: There is no indication on the control panel to show the system is in
Heat Purge Mode.
Programmable High air supply temperature shut o
(This function can be turned o or on and adjusted by the user)
When this function is turned on by the user, the system will continue to supply air until
the system automatically shuts down at the pre-set high temperature cut-out (typically
32oC). This is to prevent the system adding warmth to a home which is already warm
during warmer periods.
Note: In a standard set up, this function is turned o.
Turning high temperature shut o function on and o and altering the setting
(Factory set to 32oC):
Holding down the button for 5 seconds will enter the shortcut for setting the High
Temperature shut o. Both LEDs (house and supply) will ash.
The system will shut o when the supply air is above this temperature.
The display will show the current High Temp cut out temperature, or “0F” if the feature
is o. Pressing or will change the cut out temperature, and ensure the High
Temperature cut out feature is activated.
The feature can be turned o by pressing or until “0F” is displayed.
After 15 seconds without pressing a button, the menu will exit and return to
Fan Operation ON / OFF display.
Note: ‘OF’ on the controller means ‘OFF’
For further assistance please call DVS® on 0800 387 387 or visit www.dvs.co.nz
DVS® EC Reclaim Installed on:
Installed by:
Helix® Carbon Hybrid
Filter(s) type and number:
Helix®
Useful Tips
System performance
Your DVS® will help to provide a healthier,
drier living environment. A combination of
ventilation, heating (in cooler months) and
cooling (in warmer months) are all keys
to providing a drier, healthier and more
comfortable living environment.
Your DVS® will provide you with very
ecient ventilation.
Winter: (or cooler months). Your DVS® is
programmed to supply enough ventilation
for your home based on the size of your
home. If the home is now drier, you may wish
to reduce the level of ventilation (air supply),
see page one. The ideal being to have the
minimum level of ventilation while retaining
a drier, healthier home. If the home is not
yet drier, you can increase the air supply
adjustment to ventilate at a higher level.
Summer: (or warmer months). Experience
has found that increasing the air supply
setting to higher levels provides better
ventilation in warmer months.
If you feel you have system performance
issues, turn the system o and call
0800 387 387 so that we can assist you.
Filter(s)
Helix® lters for DVS® are highly ecient
and will remove even very small dust
particles. They are expected to remain
ecient for approximately 12 months. The
serviceable life of the DVS® lter(s) will vary
with location and environmental factors,
therefore DVS® strongly recommends
annual replacement.
Maintenance of the equipment, including
replacement of the air lter(s) with genuine
DVS® lter(s), is required to ensure the
durability and performance of the system for
the warranty period and beyond.
Washing the lter(s) will destroy the lter’s
ability to perform eciently and will result in
dust build up in the system and in the home.
Call us on 0800 387 387 or visit
www.DVS.co.nz to purchase lters.
Five year warranty
DVS® Manufactured and branded products
carry a 5 year on site parts and labour warranty.
The warranty is dated (begins) on the day of
installation and/or supply of the goods.
Non DVS® manufactured and branded products
are not manufactured by the company. Non
DVS® manufactured and branded products
therefore, carry the warranty provided by the
specic product manufacturer.
The warranty covers manufacturing faults in
the product (equipment) and product failure
caused by incorrect installation.