Quick Start Guide
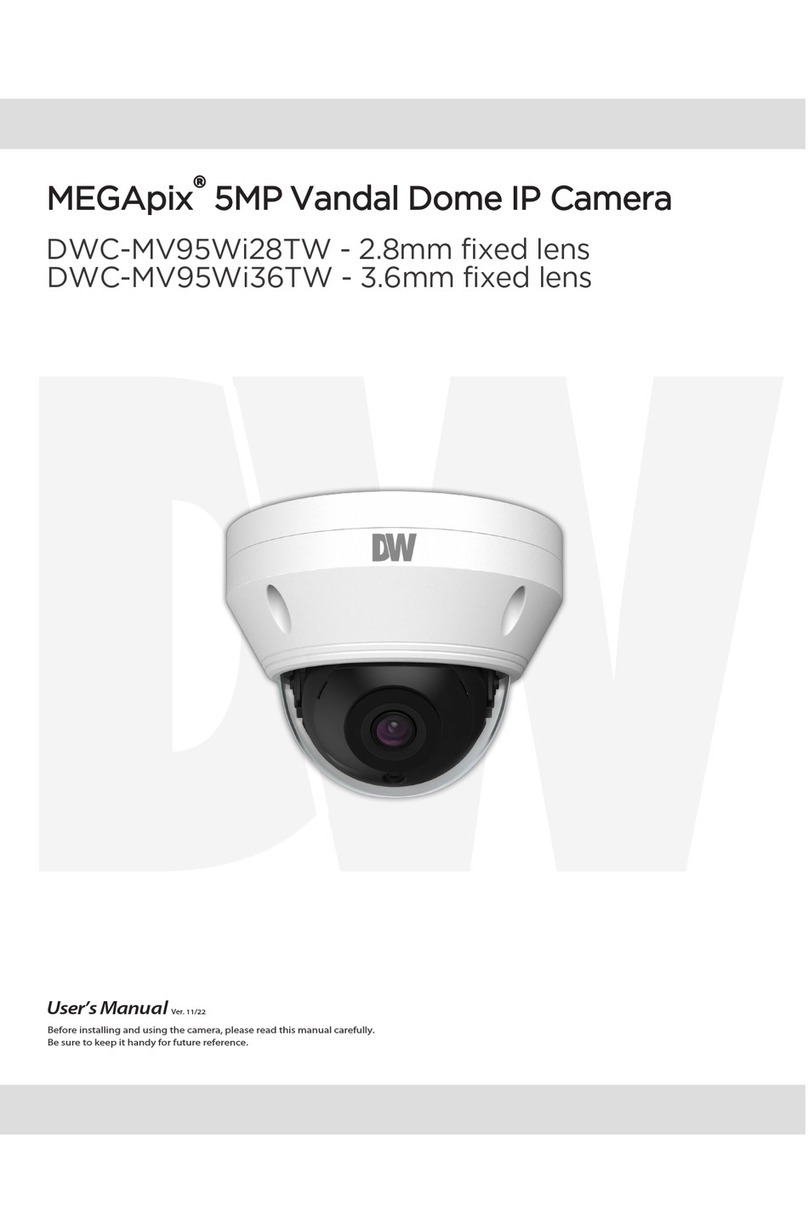
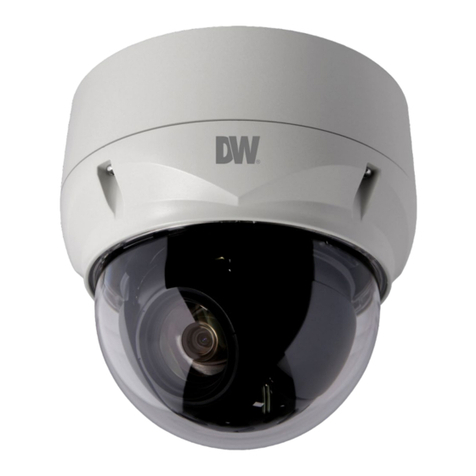
DWC-MPTZ30X
Default Login Information
Username: admin Password: admin
WHAT’S IN THE BOX
QSG Manual 1 Set Adaptor Ring 1 Set
PoE Injector 1 Set Waterproof Cap 1 Set
2P – 5P
Safety Wire 1 Set Screw Type 1 Set
Connector
AC Cord 1 Set
ACCESSORIES NEEDED TO INSTALL DWC-MPTZ30X
For Wall Mount: For Ceiling Mount: Parapet Bracket:
DWC-P30WM DWC-P30CM DWC-P30PARAM
For Corner and Pole Mount Bracket:
DWC-P30CNM (Must be
purchased with DWC-P30WM)
NOTE: Mounting accessories are required and sold separately.
NOTE: Download All Your Support Materials and Tools in One Place
1. Go to: http://www.digital-watchdog.com/support-download/
2. Search your product by entering the part number in the ‘Search by Product’ search
bar. Results for applicable par t numbers will populate automatically based on the
part number you enter.
3. Click ‘Search’. All supported materials, including manuals, Quick Start Guides
(QSG), software and firmware will appear in the results.
Attention: This document is intended to serve as a quick reference for initial
set-up. It is recommended that the user read the entire instruction manual for
complete and proper installation and usage.
Tel: +1 (866) 446-3595 / (813) 888-9555 digital-watchdog.com
Technical Support Hours:
9:00AM – 8:00PM EST, Monday thru Friday
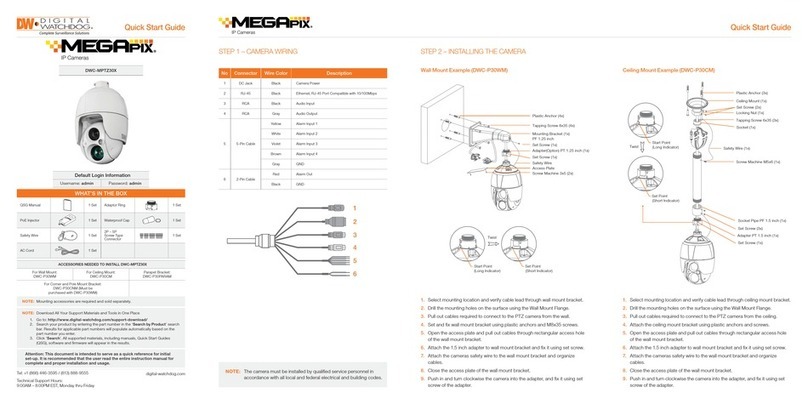
STEP 1 – CAMERA WIRING
No Connector Wire Color Description
1 DC Jack Black Camera Power
2 RJ-45 Black Ethernet, RJ-45 Port Compatible with 10/100Mbps
3 RCA Black Audio Input
4 RCA Gray Audio Output
Yellow Alarm Input 1
White Alarm Input 2
55-PinCable Violet Alarm Input 3
Brown Alarm Input 4
Gray GND
Red Alarm Out
62-PinCable
Black GND
1
2
3
4
5
6
NOTE: The camera must be installed by qualified service personnel in
accordance with all local and federal electrical and building codes.
STEP 2 – INSTALLING THE CAMERA
Wall Mount Example (DWC-P30WM)
Plastic Anchor (4x)
Tapping Screw 8x35 (4x)
Mounting Bracket (1x)
PF 1.25 inch
Set Screw (1x)
Adapter(Option) PT 1.25 inch (1x)
Set Screw (1x)
Safety Wire
Access Plate
Screw Machine 3x5 (2x)
Twist
Start Point Set Point
(Long Indicator) (Short Indicator)
1. Select mounting location and verify cable lead through wall mount bracket.
2. Drill the mounting holes on the surface using the Wall Mount Flange.
3. Pull out cables required to connect to the PTZ camera from the wall.
4. Set and fix wall mount bracket using plastic anchors and M8x35 screws.
5. Open the access plate and pull out cables through rectangular access hole
of the wall mount bracket.
6. Attach the 1.5 inch adapter to wall mount bracket and fix it using set screw.
7. Attach the cameras safety wire to the wall mount bracket and organize
cables.
8. Close the access plate of the wall mount bracket.
9. Push in and turn clockwise the camera into the adapter, and fix it using set
screw of the adapter.
Quick Start Guide
Ceiling Mount Example (DWC-P30CM)
Plastic Anchor (3x)
Ceiling Mount (1x)
Set Screw (2x)
Locking Nut (1x)
Tapping Screw 6x35 (3x)
Socket (1x)
Start Point
Twist (Long Indicator) Safety Wire (1x)
Screw Machine M5x6 (1x)
Set Point
(Short Indicator)
Socket Pipe PF 1.5 inch (1x)
Set Screw (3x)
Adapter PT 1.5 inch (1x)
Set Screw (1x)
1. Select mounting location and verify cable lead through ceiling mount bracket.
2. Drill the mounting holes on the surface using the Wall Mount Flange.
3. Pull out cables required to connect to the PTZ camera from the ceiling.
4. Attach the ceiling mount bracket using plastic anchors and screws.
5. Open the access plate and pull out cables through rectangular access hole
of the wall mount bracket.
6. Attach the 1.5 inch adapter to wall mount bracket and fix it using set screw.
7. Attach the cameras safety wire to the wall mount bracket and organize
cables.
8. Close the access plate of the wall mount bracket.
9. Push in and turn clockwise the camera into the adapter, and fix it using set
screw of the adapter.
