Customer Service 1-888-707-1880 Dyaco Canada Inc. 2018
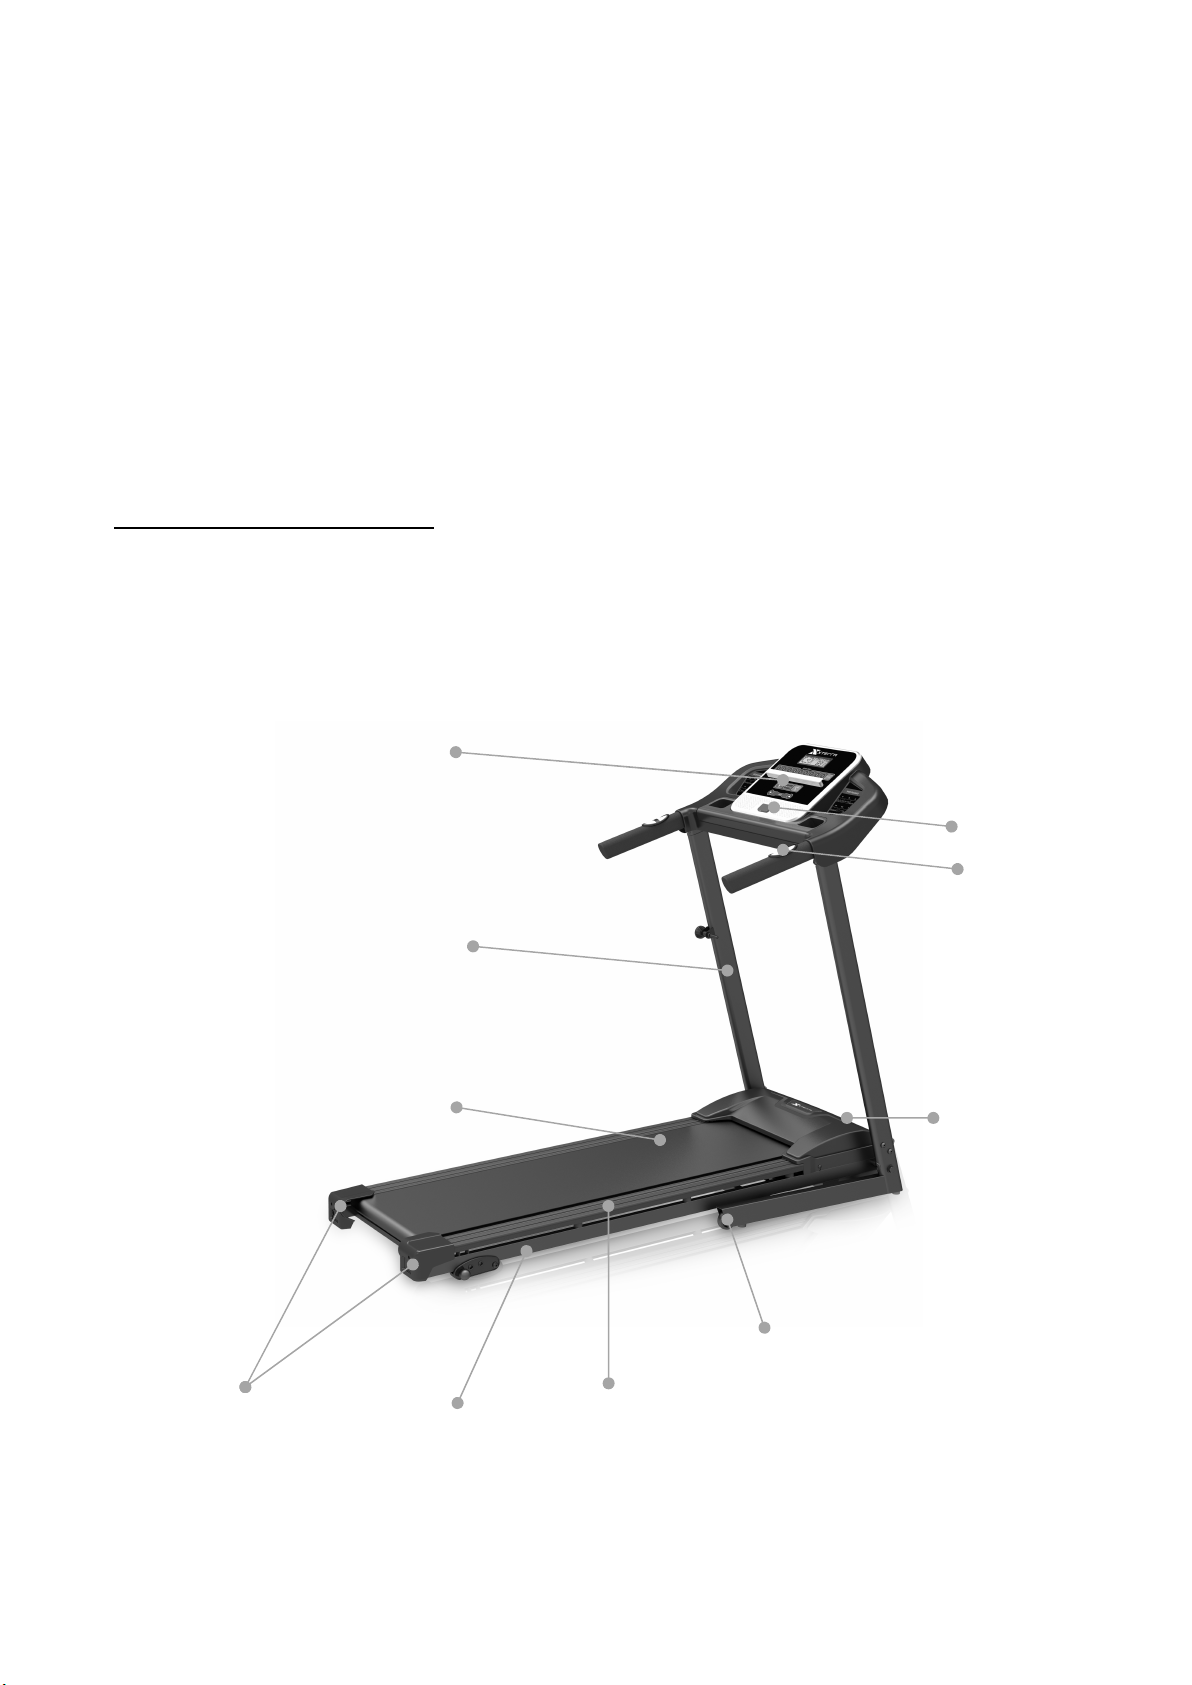
4
9. Do not operate the treadmill where aerosol products are used or where oxygen is being
administered.
10. Read, understand, and test the emergency stop procedure before using the treadmill.
Do not insert any objects into any openings.
11. Inspect and properly tighten all parts of the treadmill regularly.
12. Keep children and pets away from this equipment at all times while exercising.
13. Handicapped individuals should have medical approval and close supervision when using
this treadmill.
14. Do not place hands or feet under the treadmill. Always keep hands and legs off of the
treadmill when others are using it.
15. Never turn on treadmill while standing on treadbelt. Always hold the handrails while using
the treadmill. Always return the treadmill to the slowest speed to provide for safe dismount
and low speed restart.
16. To disconnect, turn all controls to the off position, then remove plug from outlet.
17. Do not attempt to raise, lower or move the treadmill until it is properly assembled. See
assembly on page 8 and to fold and move the treadmill on page 10-11. Care must be
taken when lifting or moving the equipment, so as not to injure your back. Always use
proper lifting techniques. Use the treadmill only for its intended use as described in this
manual. Do not use any attachments that are not recommended by the manufacturer.
18. User weight should not exceed 250lbs (114 kg).
19. Never allow more than one person on the treadmill at once.
20. Warm up 5 to 10 minutes before each workout and cool down 5 to 10 minutes afterward.
This allows your heart rate to gradually increase and decrease and will help prevent
straining muscles.
21. Never hold your breath while exercising. Breathing should remain at a normal rate in
conjunction with the level of exercise being performed. If dizziness, nausea, chest pains, or
any other abnormal symptoms are experienced while using this equipment, STOP the
workout at once. CONSULT A PHYSICIAN IMMEDIATELY.
22. Start your program slowly and very gradually increase your speed and distance.
23. Always wear suitable clothing and footwear while exercising. Do not wear loose fitting
clothing that could become entangled with the moving parts of your treadmill. Do not walk
or jog barefoot, in stocking feet or loose-fitting shoes or slippers.
24. This treadmill is intended for in-home use only. Do not use the treadmill in any commercial,
rental or institutional setting.
25. This exercise equipment is not intended for use by persons with reduced physical,
sensory or mental capabilities, or lack of experience and knowledge.
26. Close supervision is necessary when this appliance is used by, on, or near children,
invalids, or disabled persons.
WARNING: Before beginning any exercise program consult your physician. This is
especially important for individuals over the age of 35 or persons with preexisting health
problems. Read all instructions before using any fitness equipment. We assume no
responsibility from personal injury or property damage sustained by or through the use
of this product.
SAVE THESE INSTRUCTIONS - THINK SAFETY!