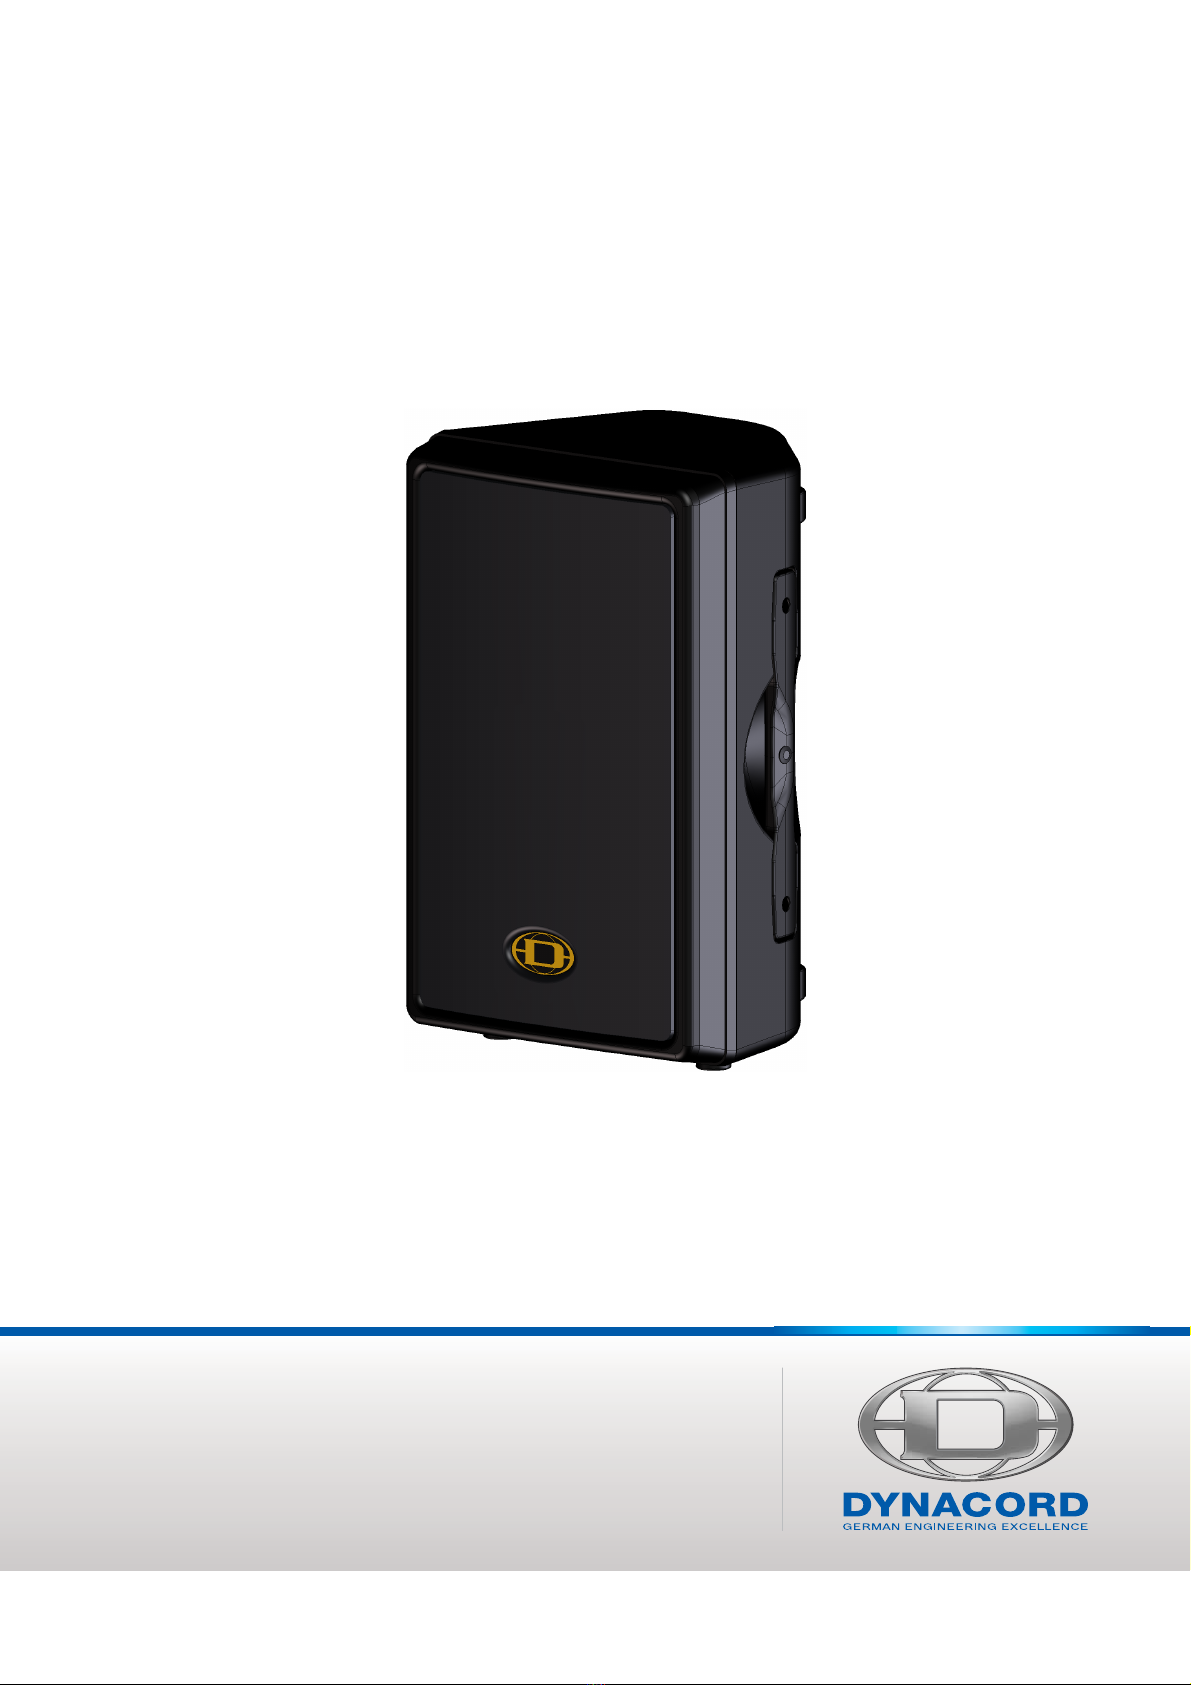
D 8A
6
4 LIMIT INDICATOR (LIMIT)
Brief blinking of the LIMIT LED indicates that the
power amplifier of the D 8A is operated at its limits.
Short-term blinking is uncritical, because the integra-
ted limiter compensates minor distortion. Constant
lighting of the LED indicates that the sound is negatively af-
fected. Reducing the output volume is strongly recommen-
ded.
5 MASTER LEVEL CONTROL (MASTER)
Level control for adjusting the
power amp’s overall amplification.
6 MICROPHONE LEVEL CONTROL (MIC)
Level control for adjusting the amplifi-
cation of the signal at the MIC IN input.
7 INPUT CONNECTOR FOR MICROPHONE AUDIO SIGNAL (MIC IN)
Audio input for connecting an balan-
ced audio signal with microphone le-
vel.
CAUTION: Before making any connections or discon-
nections, make sure to set the level control
to the counterclockwise stop.
8 MODE SELECTION SWITCH (LO-CUT/FULLRANGE)
If the D 8A is used as a fullrange sys-
tem, select FULLRANGE (button not
pressed).
If a subwoofer without a low-cut signal output is used, i.e.
the identical audio signal is used for the D 8A and the sub-
woofer, select LO-CUT (button pressed) for activating the
internal low-cut filter of the D 8A. If the D 8A is connected
to the HI OUT output of a subwoofer with integrated low-
cut filter, select FULLRANGE to avoid having the two low-
cut filters of the subwoofer and D 8A in series.
The setting LO-CUT can also be used for monitor or delay
applications, when a high bass level is not necessary.
9 INPUT CONNECTOR FOR AUDIO SIGNAL (LINE IN)
Electronically balanced input for the
connection of a line level signal sour-
ce such as mixer, signal processor,
etc. Establishing a connection is pos-
sible via phone or XLR-type plugs.
Whenever possible, balanced signal
feed is always preferable to guard against potential noise
or HF-interference.
CAUTION: Before making any connections or discon-
nections, make sure to set the level control
to the counterclockwise stop.
10 OUTPUT CONNECTOR (MASTER OUT)
The output connector provides the
Master Signal (Line+Mic) for ”carry-
ing through“ the input signal. The
level of the output signal is inde-
pendent of the setting of the Mas-
ter level control (”Pre Fader”).
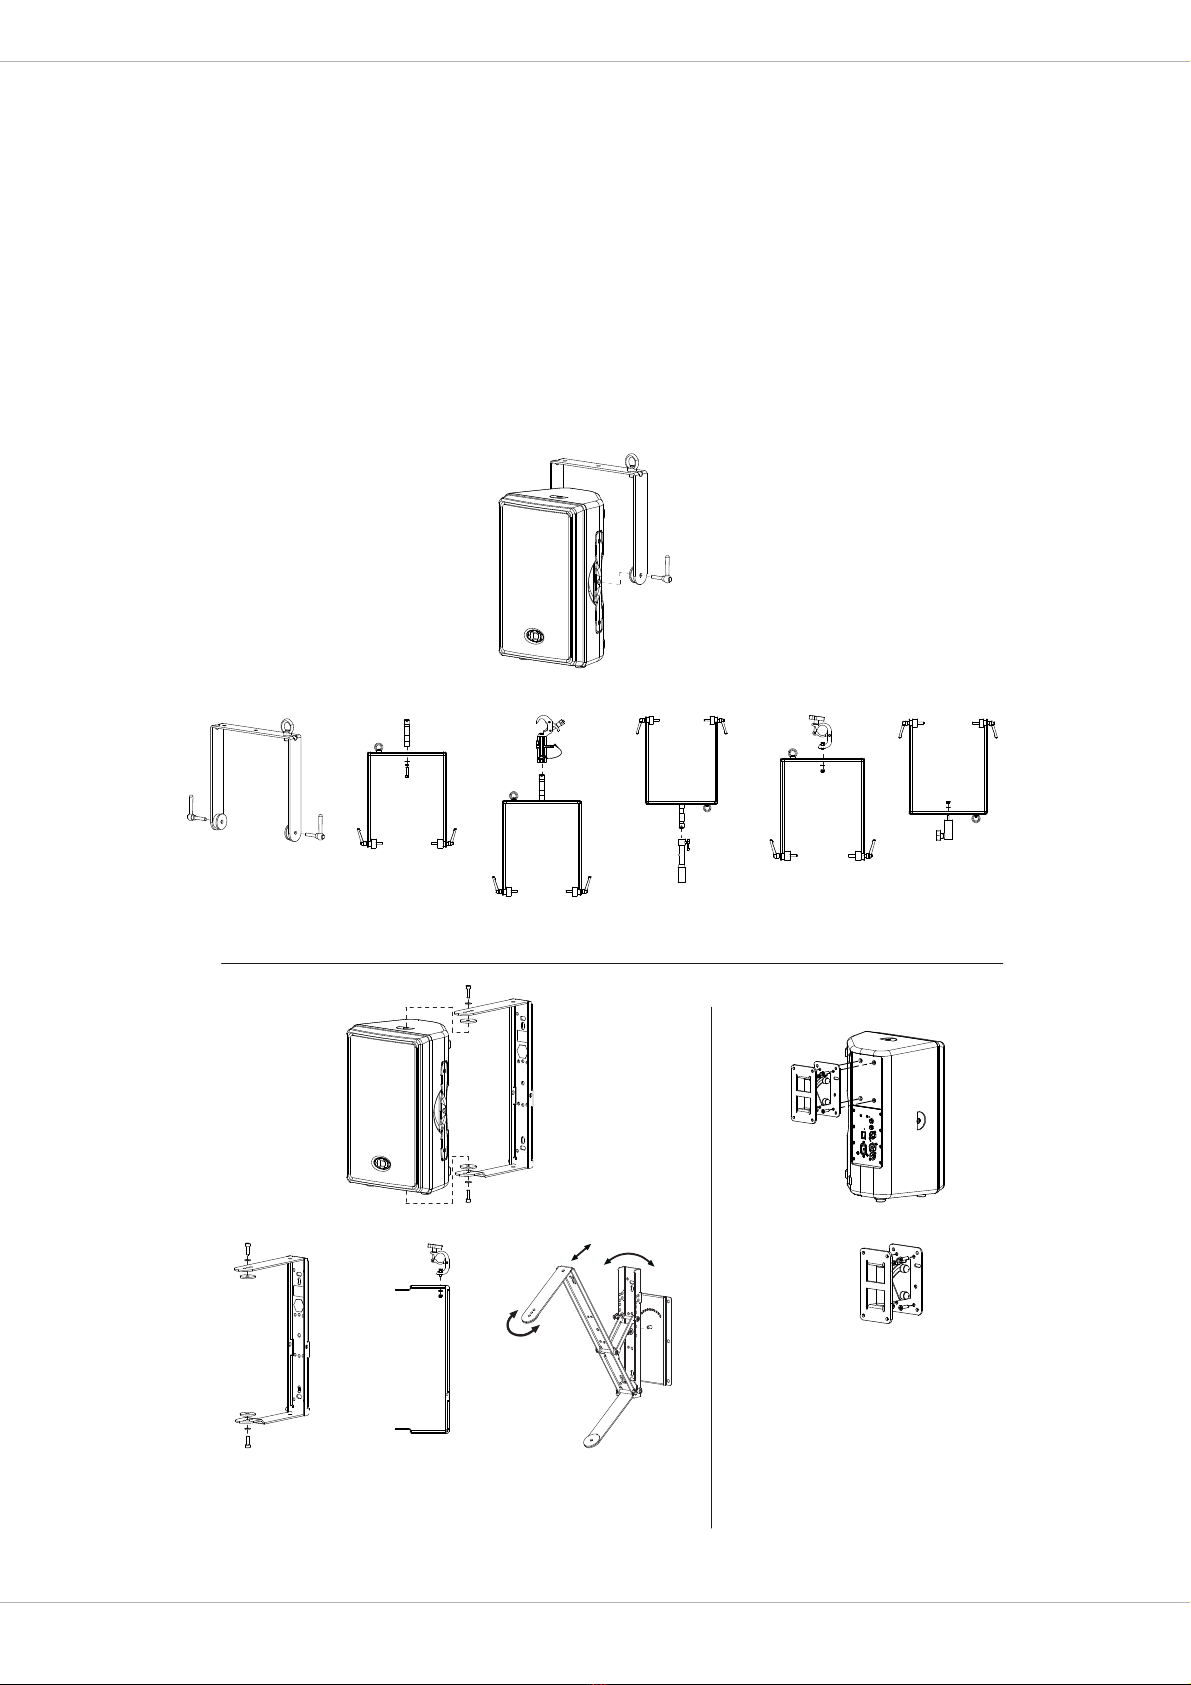
2.2 System Setup
CAUTION: After installing the system, first switch on
the mixing console and position the mixer’s
master faders to their minimum settings.
That followed, switch on the D 8A and use
the MASTER to adjust the desired volume
setting. Otherwise, high sound levels
caused by unintentional playback of a pro-
gram source could be the result, which
might cause hearing damage.
This Quick Start Manual outlines setup and operation of
the D 8A connected to a DYNACORD CMS mixer.
1. Place the D 8A, mounted on pole-mount stands to
the left and to the right. The lower edges of the spea-
ker systems should be approximately 1,8 meters
above the audience to provide sufficient coverage
and to prevent that listeners nearby are subject to
extreme sound levels.
2. Using suitable XLR-type cables connect the Master
Outputs of your mixing console, e.g. DYNACORD
CMS 1000, to LINE IN of the D 8A. Position the mas-
ter faders on the mixer to their minimum setting.
Now, switch on the mixer.
3. Connect the D 8A to the mains outlet using the sup-
plied mains cord. Plug the connector into the MAINS
IN socket. Use the Mains switch to power-up the
D8A.
4. Set the level control MASTER of the D 8A to 0dB.
5. Connect a audio source, e.g. CD player, to a line level
input of the mixer, e.g. CMS 1000. Set all rotary con-
trols of the mixing console input channel to their cen-
ter position. Adjust the input channel’s ‘Gain‘ control
so that the Peak LED should not light at all or blink
only once in a while.
6. Slowly raise channel fader and master faders on the
mixing console to the desired positions – i.e. volume
settings.
7. Your system is now ready for operation. Individual
sound adjustments necessary can be made using the
controls of the mixer’s corresponding input chan-
nels.
8. Now, have fun with your D 8A system!
9. After use, first switch off the D 8A and then the
mixing console, so that distracting power-off noise
will not occur. When using a DYNACORD CMS mixer,
no power-off noise will be output from the ‘Master
Outputs‘. This allows switching off the mixer first
without a problem.