8Troubleshooting
Troubleshooting
Caution: Do not open the open the receiver or transmitter
cases. There are no user serviceable parts inside.
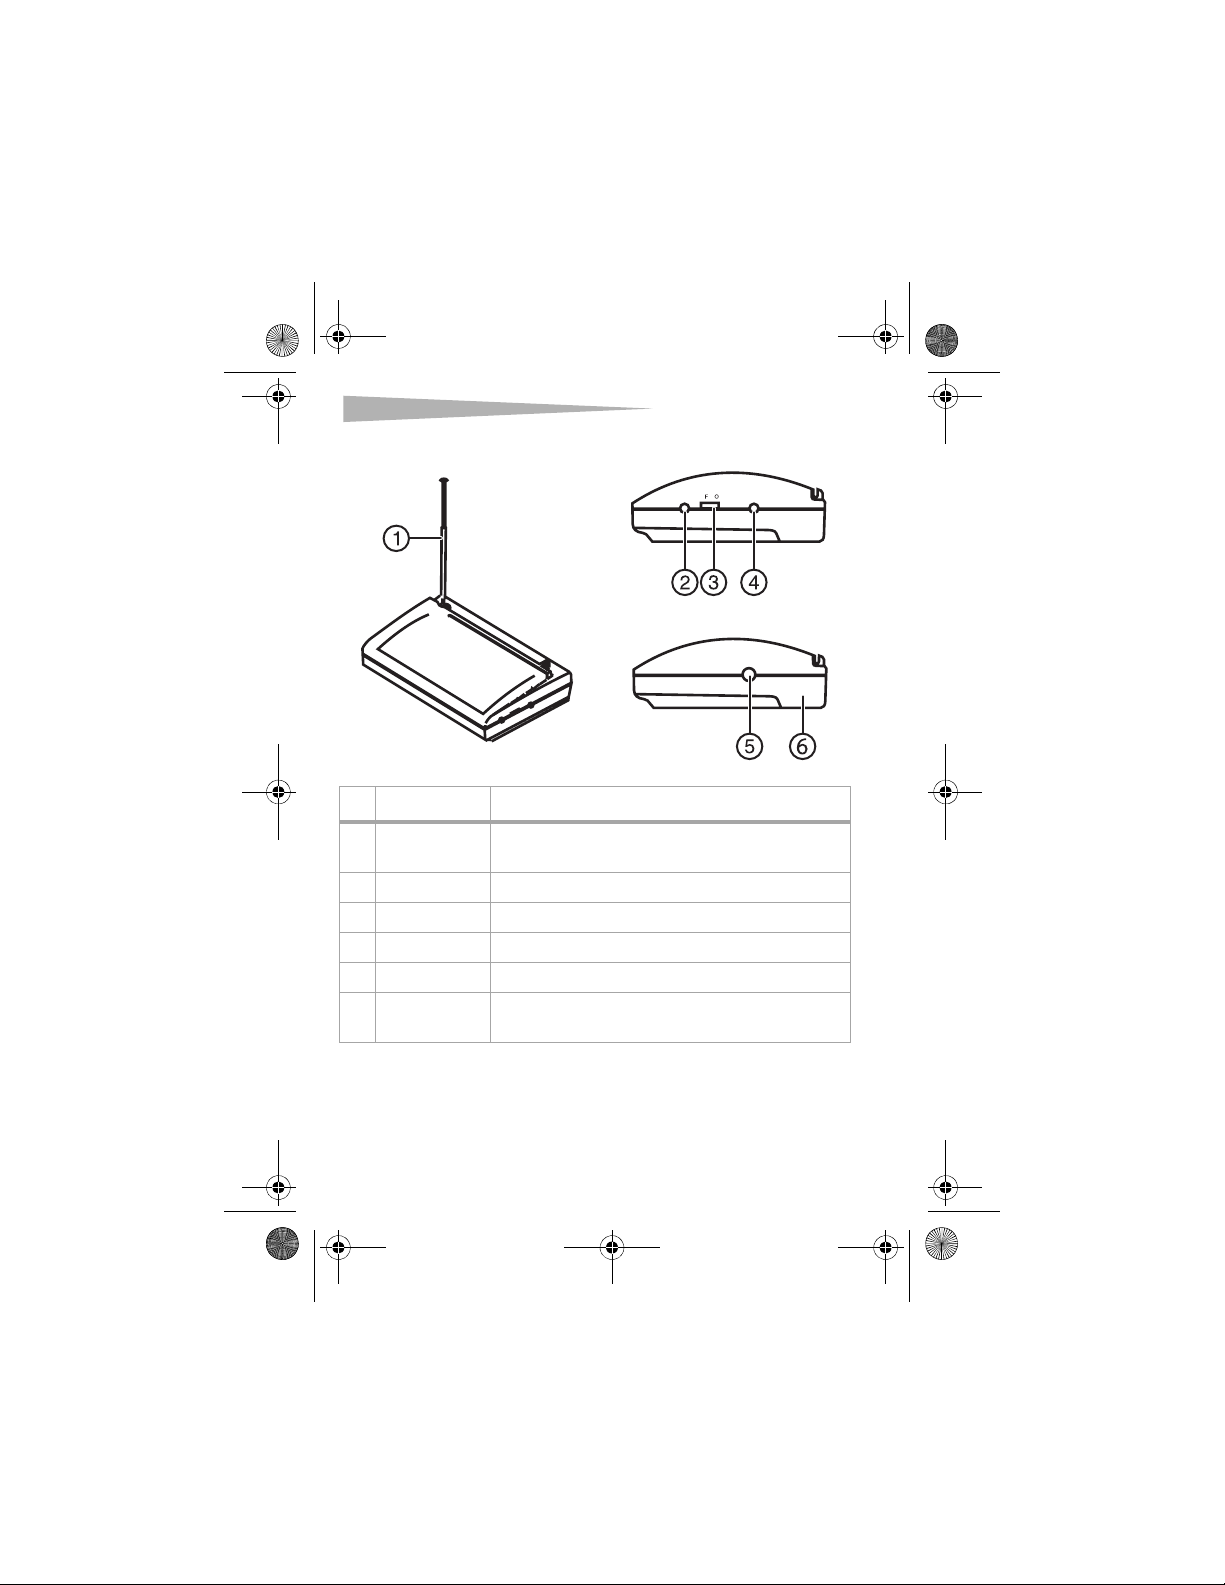
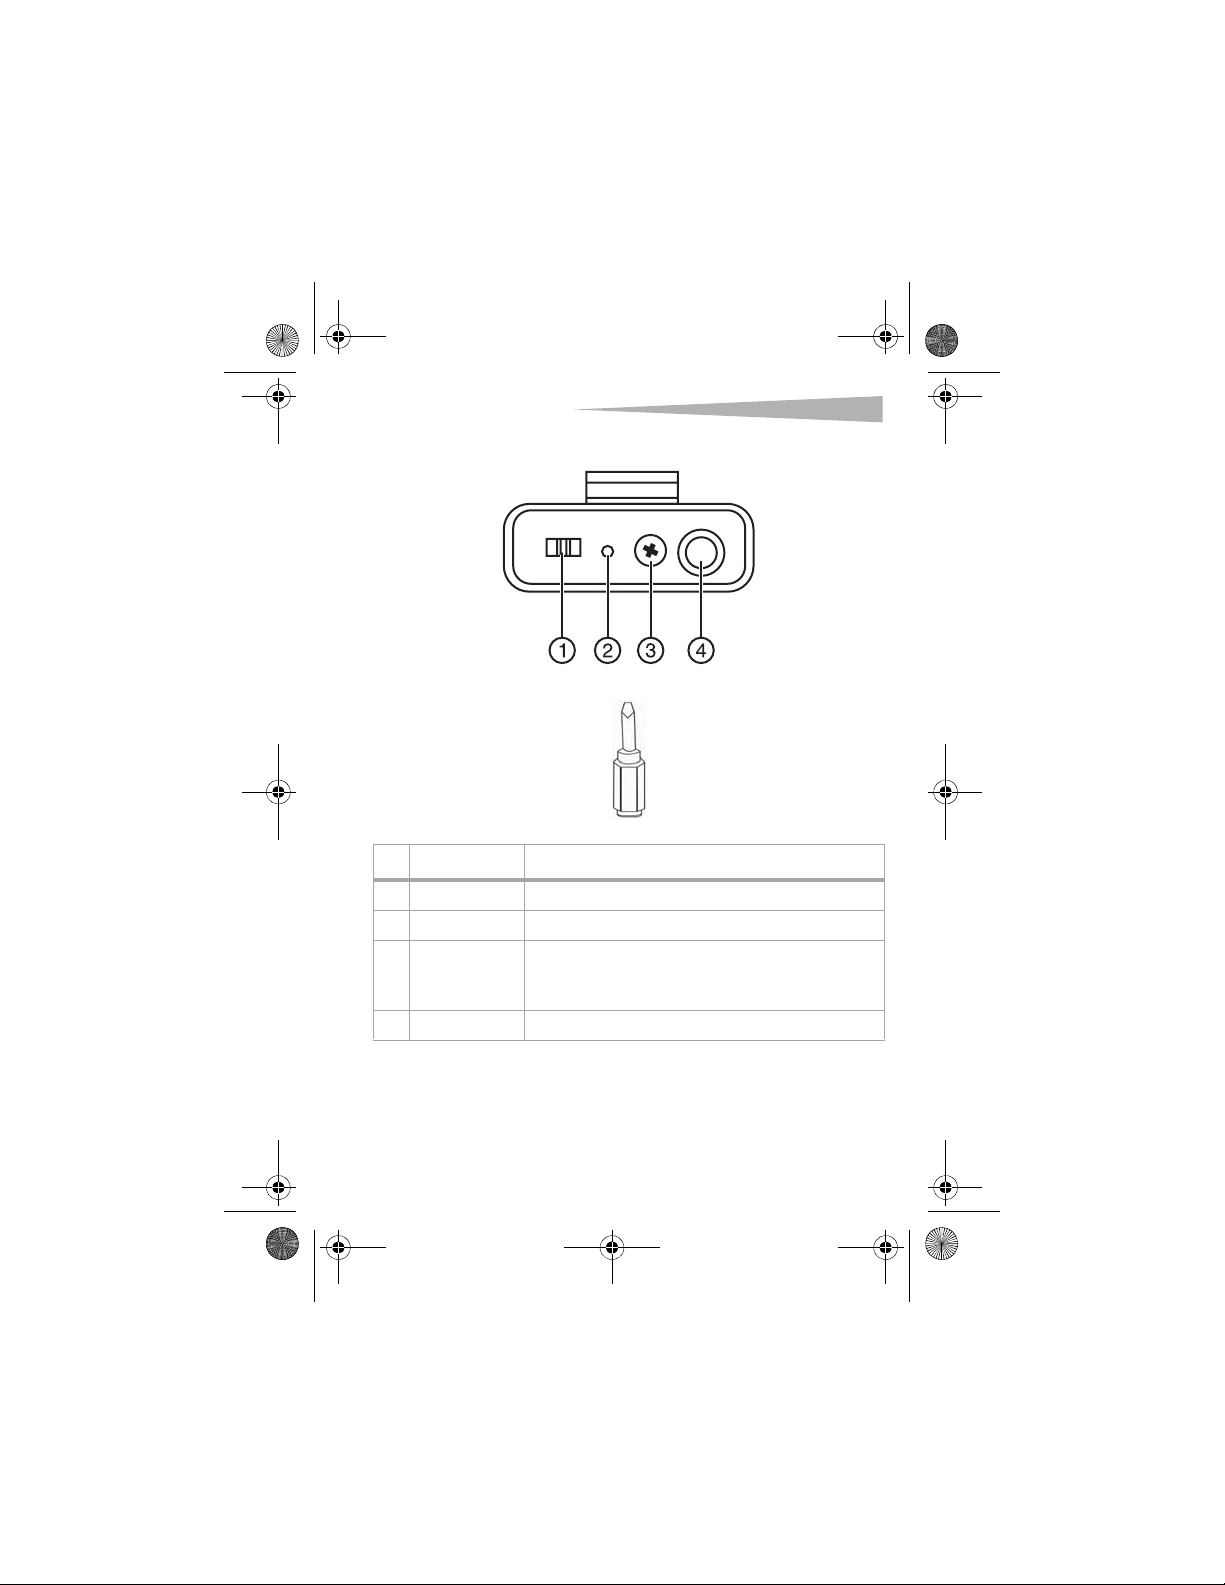
Symptom Possible solution
Receiver is turned on, but POWER
indicator does not light. • Make sure that the batteries are installed
correctly. You must match the + and –
symbols on the batteries with the + and –
symbols in the battery compartment.
• Make sure that the batteries have a charge.
Change the batteries, if necessary.
The RF indicator lights when
speaking into the headset, but
there is no sound.
• Make sure that the volume control is not
set too low.
• Make sure that the audio cable is
connected securely to the receiver and
amplifier.
The signal range is too small. • Make sure that the antenna is fully
extended.
• Make sure that the batteries are installed
correctly. You must match the + and –
symbols on the batteries with the + and –
symbols in the battery compartment.
• Make sure that the batteries have a charge.
Change the batteries, if necessary.
• Make sure that the receiver or transmitter
are not located within a magnetic field.
DX-M1113.fm Page 8 Tuesday, September 19, 2006 7:07 AM