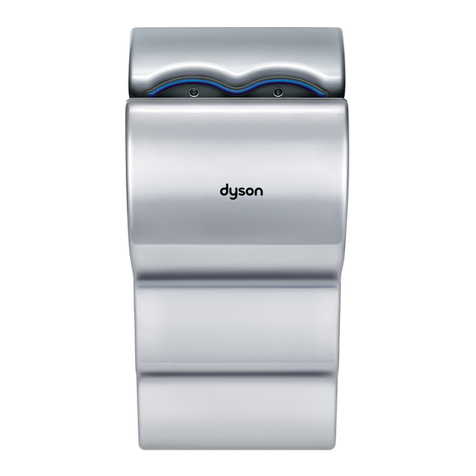
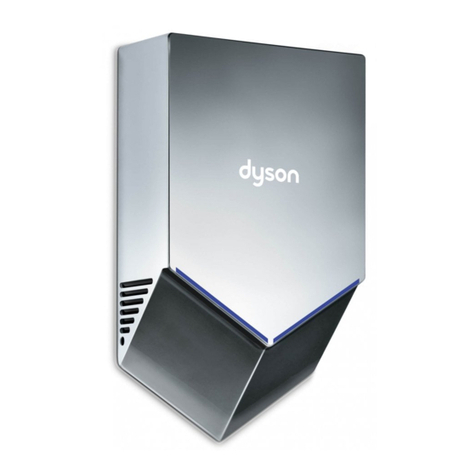
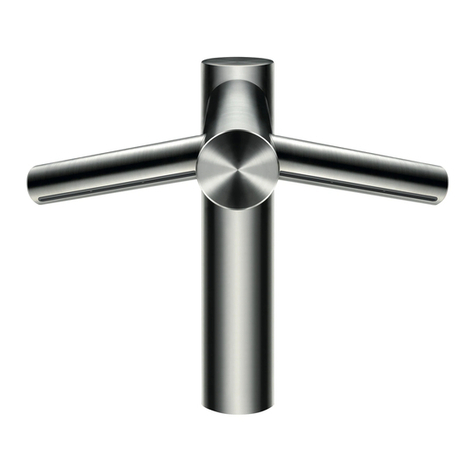
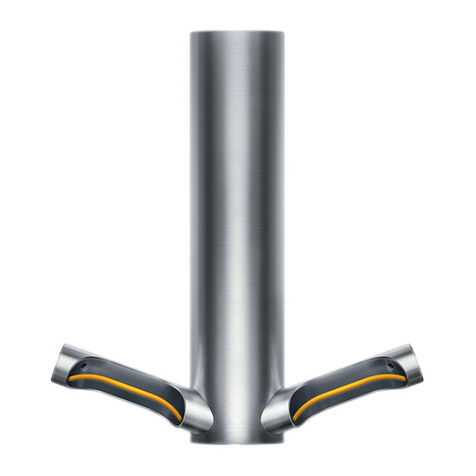
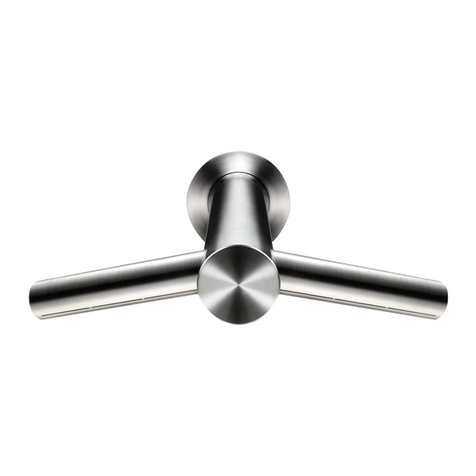
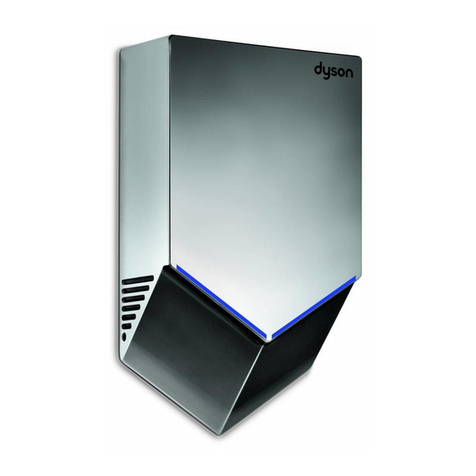
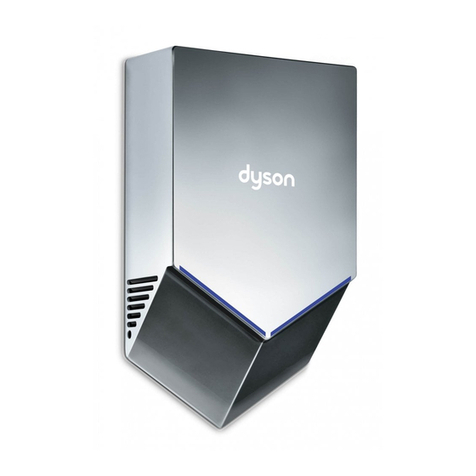
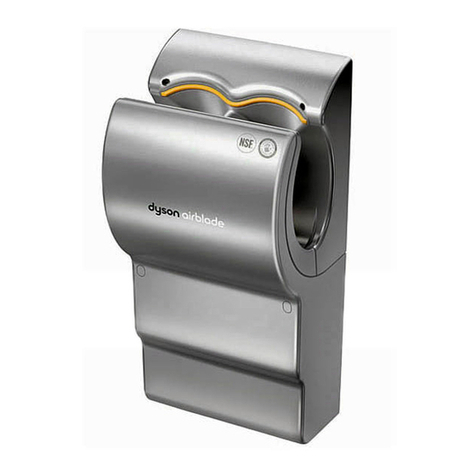
Dyson AIRBLADE V User manual


4
6
7
8
9
10
11
12-14
15
Glossary of Terms
Contents of Box
•Tools needed
Installation Procedures
• Electrical requirements
• Positioning
• Mounting Bracket
• Removing the Fascia Cover
• Connecting to Electrical Supply
• Refitting Front Fascia& Access Panel
Final Inspection
Cleaning and Maintenance Advice
Troubleshooting
Limited Warranty Information
Contacting Dyson
ACAUTION: Risk of electric shock! Do not remove casing or attempt repair unless unit is being /_
serviced by qualified service personnel. If casing is removed or handled improperly the internal
components of the Dyson Airblade TM hand dryer may cause harm or become permanently damaged.
WARNING: To reduce the risk of fire or electric shock, do not expose the internal mechanism/
components of this unit to rain or moisture.
General notes:
The instructions contained within the Owner's Manual must be read carefully before attempting to install the
Airblade TM hand dryer. Read and retain for future reference.
Failure to accurately follow the instructions may result in the incorrect operation of the Airblade TM hand dryer,
damage to property and/or personal injury.
Dyson will not be held liable for any damage to property or personal injury as a result of failure to comply with
the instructions contained herein.
Do not use Airblade TM hand dryer for anything other than drying hands.
The Airblade TM hand dryer must be grounded properly.
Trouble free operation and safety can only be continued by using genuine Dyson spare parts.
WARNING:
This product may contain substances known to the state of California to cause cancer, birth defects and other
reproductive harm. Wash hands after handling.

C,iii_,o:_!_15s_ii:_ii_,_'__#o'ii_'iI"iiii:i__i_'_i_ii__i;
Air
Sensors x 4
Front fascia
Dyson Digital Motor
Dyson AirbladeTM hand dryer
Information pack containing:
• Owner's Manual including warranty information
• Registration information and reply envelope
• Mounting Template
• Tamper proof service fool
• Mounting bracket
To install the Airblade TM hand dryer you will need:
Electric drill & appropriate bits
Phillips screwdriver
Flat-head screwdriver
Level
Pencil or marking fool
Appropriate electrical fittings
(6) screws, toggle or masonry bolts and appropriate fittings.
(Recommended minimum size of 0.25")
Dyson recommends the use of protective clothing, eyewear
and materials as necessary.
Rating plate
Access ganel Air inlet
HEPAfilter

Electrical requirements
Check that the electrical supply
will correspond with the rating
plate located on the lower left
side of the unit.
If the unit is connected to any
electrical supply other than what
is stated on the rating plate of the
unit, permanent damage or
improper/unsafe operation of the
Airblade _"hand dryer may result.
A means for all pole disconnection
must be incorporated in the fixed
wiring to the appliance in
accordance with local wiring
regulations.
Installation work and electrical
wiring must be done by qualified
person(s) in accordance with all
federal, state and local applicable
codes and standards, including
fire-rated construction.
The Dyson Airblade TM
hand dryer requires:
A separate or dedicated circuit
A minimum 15 amp time delay
fuse or circuit breaker
If you have any questions
on the installation please
call our Dyson Helpline toll
free at 1-888-DYSON-AB

Positioning Mounting Bracket
/_ WARNING: Before
beginning any installation
work you must confirm the
following:
Make sure that the eledricai
supply has been disconnected or
switched off before attempting
installation to avoid the risk of
electrical shock or electrocution.
Ensure no pipe work (gas, water,
air) or electrical cables, wires or
ductwork are located directly
behind the drilling area.
/t,, Select a location that will allow
accessibility to the Airblade TM
and proper clearance from
surroundings and floor. Make
sure that the unit is installed in
compliance with all building
codes and/or regulations.
Position the mounting template
provided on the wall where the
Airblade TM hand dryer is to be
installed.
Bracket mounting height: ....
39" adult male height
36" adult female height
32" chlid/wheeJchalr user helghl
Electrical supply connection
Floor
Recommended heights are shown
in Fig1, but may need to be
adjusted for each individual
installation.
Mark the 6 mounting holes as
highlighted in Fig1
Verify marks are level and in the
correct locations.
Drill holes where marked.
mm.
k
t
2"
29.75"adult male hdght
26.75"adult female height
22 75"chfld/wheelchdr user height
C
There are two electrical entrance
locations available to ease with
the installation of the Airblade TM
hand dryer. Mark only one of
the electrical supply locations
illustrated in Fig1 and drill the hole
large enough to accommodate
the incoming flexible metal conduit
and supply cable.
Ensure that marks are level and
in the correct location as illustrated
in Fig 2.
Securely fasten the mounting
bracket to the wall.
Recommended minimum anchor
size of 0.25"
I I
...... .... .......
t t

Removing the
Fascia Cover
/_ WARNING: Use caution
when removing casing.
The casing may have sharp
edges/corners which may
cut or cause harm.
Place the Airblade TM hand dryer
face up on a dry and clean work
surface to protect the product and
the property from damage.
Remove the (5) tamper proof
screws from the unit in the
sequence illustrated in Figs3-5
with the provided tamper proof
service tool, then remove the
fascia cover as illustrated in Fig6
t

Connecting to the
Electrical Supply
/_ CAUTION: Risk of electric
shock! Do not remove
casing or attempt repair
unless unit is being
serviced by qualified
service personnel.
If casing is removed or
handled improperly the
internal components of
the Dyson Airblade TM may
cause harm or become
permanently damaged.
Connect to the electrical supply
using approved flexible or solid
conduit and electrical fittings.
Ensurethat the flexible or solid
conduit and the electrical cable
is of sufficient length to make
the necessary connection to
the backplate and that sufficient
length to reach the terminal block.
Step 1.
Using a flat-head screwdriver, pry
the appropriate metal knock-out
from backplate in one of the
locations pictured in Fig7
Step 2.
Install electrical entrance fitting
into knock-out.
If mounting in knock-out 1:
Laythe unit flat on its back.
Remove the T-25 Torx screw at the
bottom of the PCB housing, tilt the
PCBhousing up and pull
downward as illustrated in Fig8
Pulloutward of gasket and turn the
PCBHousing clockwise and set off
to the side. Routethe incoming
supply wires to the terminal block
and secure them into the proper
locations as illustrated in Fig9
Reconnect the PCB Housing in the
opposite order as it was removed.
Proceed to step 3.
If mounting in knock-out 2:
Route the incoming supply wires
to the terminal block and secure
them into the proper locations
as illustrated in Fig9
View from Back
O
o
o
o
\

Connecting to the
Electrical Supply cont.
Step 3.
Terminal block connections:
] 20 volt unit:
Secure the Line, Neutral and
Ground wires into the proper
terminal block locations.
Hanging unit
Hang the unit on the secured
mounting bracket as illustrated
in Fig 10
Secure the unit through the 4 holes
in the lower section of the unit,
illustrated in Fig11
Refitting Fascia &
Access Panels
Attach the front fascia panel back
on by latching the top lip onto
the middle fascia first and then
pivoting the fascia cover
downward until flush.
Install the bottom left and right
tamper proof screws back into the
machine using the supplied tool.
Install the (2) tamper proof screws
back into the inner section of the
fascia panel.
Re-install the Access panel and
tamper proof screw.
Recommended minimum anchor
size of 0.25"
120v MODEL [J_'l]J]
/
............................... ,>/'
//'
/
/{'
L@N
t t

iiiisiii_'_ii_il;ii_ii!ii',_ii_iii_zl::il;_ii_i_c_iiii_o_i_',ii_
Testing Cleaning Advice Maintenance Advice
Make sure that power is switched
on to the unit.
Place hands into the Airblade TM
hand dryer and unit and airflow
will begin automatically.
Withdraw hands slowly upwards
through the air a couple times
to thoroughly dry hands in
12 seconds.
Remove hands and the unit
will shut off.
Please register your product
information with us.
•You may send in the
completed registration card in
the provided pre-paid envelope.
• Call our Dyson Helpline toll
free at 1-888-DYSON-AB
• Visit us on the web at
www.dysonairblade.com
Surfaces
Make sure that all surfaces of
the Airblade TM hand dryer are
cleaned daily with a soft cloth
and non-abrasive, non-caustic
cleaning solution.
Air Inlet
Regularly check at the base of the
Airblade TM hand dryer to ensure
that it is free from dust and debris.
If the air inlet gets dirty simply
remove dust or debris with a dry
cloth or vacuum Fig12
Make sure that all of the Airblade TM
hand dryer's surfaces and the
(4) sensor lenses are wiped down
daily to maintain uninterupted
operation of the unit Fig13

Important: Turn off power before troubleshooting/servicing.
Note: Please try and have model & serial number available before calling the Dyson Helpline.
The model/serial plate is located on the left, lower side corner of the unit.
Problem Action If Problem Persists
The AirbladeTM hand dryer fails Check to make sure the unit is connected and wired correctly, and that it isturned on. Call Dyson Helpline at
to start. 1-888-DYSON-AB
The Airblade TMhand dryer is Check sensor lenses are clean. Call Dyson Helpline at
turning on and off erratically. 1-888-DYSON-AB
The Airblade TM hand dryer Check the air inlet at the base is clean and free of dust. Call Dyson Helpline at
sometimes cuts out when in use, If the air inlet is dusty, simply remove dust with dry cloth or vacuum cleaner. 1-888-DYSON-AB
but resumes operation after a
period of time.
Air is coming out of the front or Check for and remove any obstructions. Call Dyson Helpline at
back of unit. 1-888-DYSON-AB
Unit is making a rattling noise. Ensure that none of the tamper proof screws are loose. Call Dyson Helpline at
Tighten if necessary. 1-888-DYSON-AB
They are illustrated in figs 3-6 of this manual.
Unit continues to run after user Unit runs for approximately 4-6 seconds Call Dyson Helpline at
removes hands. The unit is operating correctly. There is a time delay function built into the unit. 1-888-DYSON-AB
Unit runs for longer periods than 6 seconds -
Check to ensure that the IR sensors are not obstructed or dirty.
Unit is not drying hands as fast as Verify that the air inlet is not blocked or obstructed. If necessary, clean the air inlet Call Dyson Helpline at
it used to. with a vacuum or damp cloth. 1-888-DYSON-AB
Unit runs for a couple of seconds Verify that the air inlet is not blocked or obstructed. If necessary, clean the air inlet Call Dyson Helpline at
and then turns off. with a vacuum or damp cloth. 1-888-DYSON-AB

• 5 year parts limited warranty
•Additional 1st year labor limited warranty
•Dedicated Dyson helpline
The full terms and conditions of the Dyson limited warranties are described on
the following pages.
Thank you for choosing to buy the Dyson Airblade TM.
if you have a question about the Dyson Airblacle TM hand dryer, please call the
Dyson Helpline at 1-888-DYSON-AB with your serial number and purchase
information. Your serial number can be found on the serial plate, located at the
lower left side of the unit.
Most of the time problems can be handled over the phone by our trained
technical support staff. If service is required (which may include replacing
a defective part), our staff will coordinate and discuss options to have your
machine serviced by Dyson or its authorized agent, tf your machine is covered
under warranty, and the repair is covered, Dyson will provide replacement parts
at no cost to the unit owner (which can be installed by Dyson or its authorized
agents for additional costs at prevailing rates) for a period of 5 years from date
of purchase (or date of delivery, whichever is later).
In addition, during the 1st year, this warranty provides at no extra cost to
unit owner all the labor necessary to ensure that your Dyson Airblade TM
hand dryer is in proper operating condition. All repair work pursuant to
this warranty must be carried out by Dyson or its authorized agents.
Repairs or replacement of your Dyson Airblade TM machine under any
Dyson warranty will not extend the period of any warranties herein.
The product owner is responsible for securing access to the product. Any
parts replaced or removed by Dyson or its authorized agents during the
first year will become the property of Dyson.
This product is protected by the following Intellectual Property Rights Patent/Patent Application Nos:
GB 2428570; MY 20063471; TH 0601003575; TW 95127597; WO 2007/015040; GB 2434195; TH 0601006285; TW 96101042; WO 2007/080364; GB2434266; TW 95148304; WO 2007/083075;
GB2428571 ; MY 20063473; TH 0601003578; TW 200722021 ; WO 2007/015045; MY 20063477; TH 0601003579; TW 200722022; WO 2007/015046; GB 2434094; WO 2007/080412;
GB2434095; PCT/GB07/O00106; GB 2428568; MY 20063476; WO 2007/015041 ; MY 20063475; TW 95127598; WO 2007/015039; GB 2434160; TW 96101015; WO 2007/080363; GB 2428573;
WO 2007/015042; MY 20063470; GB 2428572; MY 20063474; TH 0601003577; TW 95127599; WO 2007/015044; GB 0618483.2; PCT/GB07/O00426; GB 0618616.7; GB 2435133; PCT/
GB07/000379; GB 2428569; MY 20063472; TH 0601003576; TW 200722020; WO 2007/015043; GB 2434745; TW 95149367; PCT/GB06/O04681 ; AU 309345; CA 113889; JP 2005-37027;
NZ 406935; US 29/244,805; ZA A2005/1819; CN 200630131448.3; ED 469689-0001 ; GB 2433428
Equivalent patents, registered designs and applications exist in other countries
NSF Protocol 335 Hygienic Cornrnercial Hand Dryers

Please register your product with us.
There are 3 ways to do this:
• You may fill out and send in the completed pre-paid registration card
• Call our Dyson Helpline toll free at 1-888-DYSON-AB
• Visit us on the web at www.dysonairblade.com
This will confirm ownership of your Dyson Airblade TM hand dryer in the
event of an insurance loss and enable us to contact you if necessary.
_/jf/Jf_
jf
jff
Your serial number can be found on the rating plate.
Note your serial number for future reference:
IqF1F1F1F1F1F1F1F1F1F1F1F1F1F1F1F1F1
5 Year Parts Limited Warranty
All factory parts of your Dyson Airblade TM hand dryer are
warranted against original defects, material and workmanship
when used in accordance with the Owner's Manual for a
period of 5 years.
The 5 year parts limited warranty commences on the date
of purchase (or on the date of delivery, whichever is later).
The 5 year parts limited warranty will expire on the fifth
anniversary of its commencement. The unit owner must provide
proof of purchase before any replacement parts will be provided
for repair pursuant to this warranty. Without this proof of
warranty, the owner is liable to pay for any parts on the product
by Dyson or its authorized agents at the prevailing rate.
All functional factory replacement parts can be installed by
Dyson or its authorized agents for additional costs at the
prevailing rates.
Additional 1st Year Labor Limited Warranty
This warranty commences on the date of purchase (or on the
date of delivery, whichever is later). The 1 year labor limited
warranty will expire on the 1st anniversary of its commencement.
In addition, during the 1st year, this warranty provides at no
extra cost to unit owner all the labor necessary to ensure that
your Dyson Airblade TM hand dryer is in proper operating
condition. All repair work pursuant to this warranty must be
carried out by Dyson or its authorized agents. Any labor charges
involved with defective replacement parts after the 1st year
labor limited warranty expires are the sole responsibility of the
product owner.

The 5 year parts limited warranty and the additional 1st
year labor limited warranty are subject to the following:
What is not covered by the 5 year parts limited warranty or the 1 year labor
limited warranty.
Dyson B2B, tnc. shall not be liable for costs incurred as a result of:
• Machines purchased from an unauthorized dealer.
• Accidental damage, faults caused by negligent use or care, misuse,
neglect, careless operation or handling of the machine which is not
in line with the Dyson Airblade TM Owner's Manual.
• Use of parts not in accordance with the Owner's Manual of the
Airblade TM hand dryer.
• Blockages, other than those caused by soap and water in normal use.
In case of other types of blockages please refer to the Troubleshooting
section of the Owner's Manual or call the Dyson Helpline for advice.
• External sources such as weather.
• Repairs or alterations carried out by unauthorized parties or agents.
• Faulty installation except where installed by Dyson B2B, tnc. or an
authorized agent.
• Use of parts and/or accessories other than those produced, assembled,
installed or recommended by Dyson B2B, Inc. or an authorized agent.
If you have any doubts as to what is covered by your warranties, please call
the Dyson Helpline at 1-888-DYSON-AB.
Warranty Service
• Please fill out and return the Product Registration Form, or register
online at www.dysonairblade.com or call the Dyson Helpline at
1-888-DYSON-AB.
• Before any service can take place, the terms of both warranties require
that you contact the Dyson Helpline with your serial number, and the date
of purchase or delivery (which ever comes later).
• Please keep your purchase receipt or information in a safe place to
ensure that you have this information available.
• All covered repair work will be carried out by Dyson B2B, Inc. or its
authorized agents.
• Any replaced defective parts will become the property of Dyson B2B,
Inc. during the first year.
• Service under the warranties (which may include replacing a defective
part) will not extend the period of any warranty.
• If your machine is not functioning properly, please call the Dyson
Helpline at 1-888-DYSON-AB. Most issues can be resolved over the
telephone by our trained helpline and technical support staff. If this is
not possible, Dyson B2B, tnc. will arrange for your Dyson Airblade"
hand dryer to be repaired pursuant to the terms of the Dyson
Airblade _"warranties.
Other Limitations and Exclusions of Warranties
• Any representations, warranties or conditions relating to your Dyson Airblade _',
express or implied, statutory or otherwise, including but not limited to warranty
of rnerchantability or warranty of fitness for a particular purpose, are limited to
the duration of this warranty. This limitation is not allowed by sorne states and
so this limitation may not apply to you.
• Your rernedy for breach of the warranties is limited to the warranties described
above. Dyson B2B, Inc. will not be liable for any consequential darnages or
incidental darnages you rnay incur in connection with your purchase and use of
your Dyson Airblade TM hand dryer. This limitation is not allowed by sorne states
and so this limitation may not apply to you.
• In no event shall Dyson B2B, Inc. be liable for any darnages arising directly or
indirectly frorn any tort (including negligence or gross negligence) cornrnitted
by Dyson B2B, Inc. or it's affiliates, agents or ernployees, or for any breach of
contract, fundarnental or otherwise.
• These warranties give you specific legal rights. You may have other rights which
may vary by state.
• These warranties are not transferable.

Dyson Helpline can be contacted by calling 1-888-DYSON-AB
When calling the Dyson Helpline, please make sure you have the serial
number and the purchase date of the Airblade :u hand dryer ready. The serial
number can be found on the warranty registration information enclosed or
the serial plate located on the lower left side of the unit.
For further information about the Airblade TMhand dryer, please visit
www.dysonairblade.co m
The Airblade Mhand dryer is covered by a 5 year parts limited warranty
and an additional 1st year labor limited warranty. See enclosed warranty
registration information for details.
You can register your warranty online at www.dysonairblade.com
or by calling 1-888-DYSON-AB
For further information about what is included in the Dyson 5 year parts
limited warranty and additional 1styear labor limited warranty, please visit
www.dysonairblade.co m
C
TESTED. CERTIFIED. HYGIENIC.


;3;S 36
37
38
39
40
41
42
43
44-46
47
Glosario
Contenido de la caja
• Herramientas necesarias
Procedimientos de instalaci6n
• Requisitos el6ctricos
• Colocaci6n
• Soporte de montaje
• C6mo quitar la tapa frontal
• Conexi6n al suministro de electricidad
• C6mo volver a colocar la tapa frontal
y el panel de acceso
Inspecci6n final
Consejos de limpieza ymantenimiento
Soluci6n de problemas
Informaci6n acerca de la garantia limitada
C6mo comunicarse con Dyson
APRECAUCION: iRiesgo de descarga el@ctrica! No quite la carcasa ni intente reparar el /_
secador a menos que el personal capacitado est@ a cargo de la reparaci6n. Si quita la carcasa
o Io manipula de manera inapropiada, los componentes internos del secador Dyson Airblade TM
podrian causar lesiones o daEarse de forma permanente.
ADVERTENCIA: Para reducir el riesgo de incendio o descarga el@ctrica, no exponga el
mecanismo y los componentes internos de esta unidad a la Iluvia o humedad.
Notas generales:
Antes de instalar el secador de manos Airblade TM lea detenidamente las instrucciones del manual del
propietario. Lea y conserve el manual; puede necesitarlo en el futuro.
Si no sigue las instrucciones al pie de la letra, corre el riesgo de utilizar el secador Airblade TM de manera
incorrecfa y provocar dahos materiales y lesiones a personas.
Dyson no serd responsable de los dahos materiales o las lesiones a personas que resulten del incumplimiento
de las instrucciones aqui expresadas.
No utilice el secador Airblade TM para otro prop6sito que no sea secar las manos.
El secador de manos Airblade TM debe estar correctamente conecfado a fierra.
Para que el secador Airblade TM funcione con seguridad y sin inconvenientes, utilice repuestos originales Dyson.
ADVERTENCIA:
Este producto puede contener sustancias que, segOn el estado de California, provocan cancer, defecfos
cong_nitos y ofros dahos reproductivos. Ldvese las manos despu_s de tocar la unidad.
Other manuals for AIRBLADE V
7
Table of contents
Languages:
Other Dyson Dryer manuals

Dyson
Dyson Airblade WD06 Guide

Dyson
Dyson Airblade AB04 User manual

Dyson
Dyson Airblade Series User manual

Dyson
Dyson Airblade Tap User manual

Dyson
Dyson airblade AB02 User manual

Dyson
Dyson Airblade AB01 User manual

Dyson
Dyson Airblade A03 User manual

Dyson
Dyson Airblade AB06 User manual

Dyson
Dyson AIRBLADE V User manual

Dyson
Dyson Airblade Mk2 AB06 User manual
Dyson
Dyson AB11 User manual

Dyson
Dyson AIRBLADE V User manual

Dyson
Dyson AIRBLADE V User manual

Dyson
Dyson AB09 User manual

Dyson
Dyson AB 14 User manual

Dyson
Dyson AIRBLADE V User manual

Dyson
Dyson Airblade AB01 User manual
Dyson
Dyson ab08 User manual

Dyson
Dyson ab08 User manual

Dyson
Dyson Airblade AB06 User manual