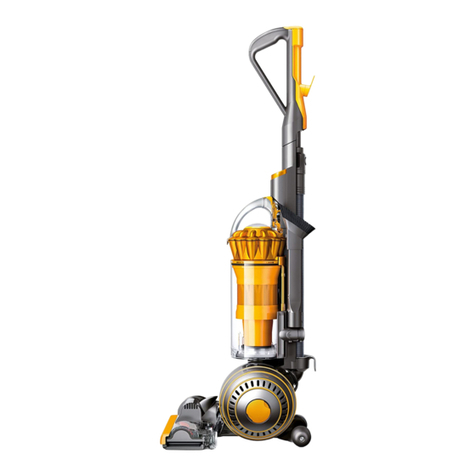
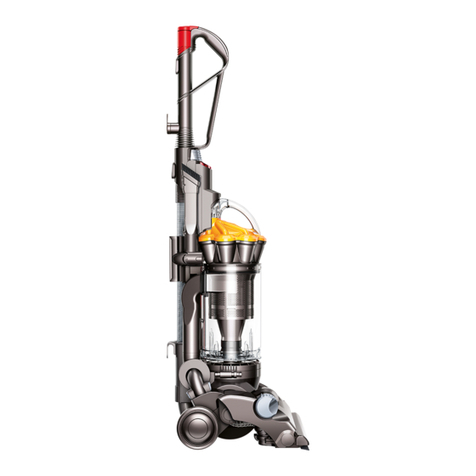
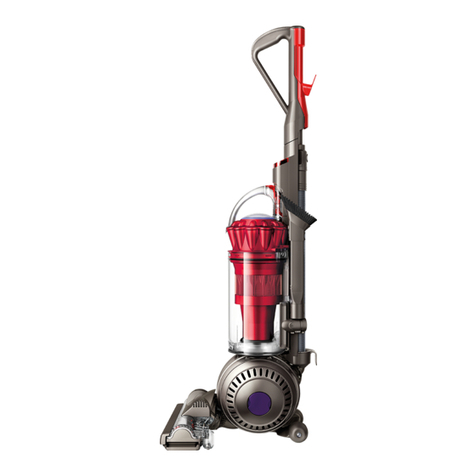
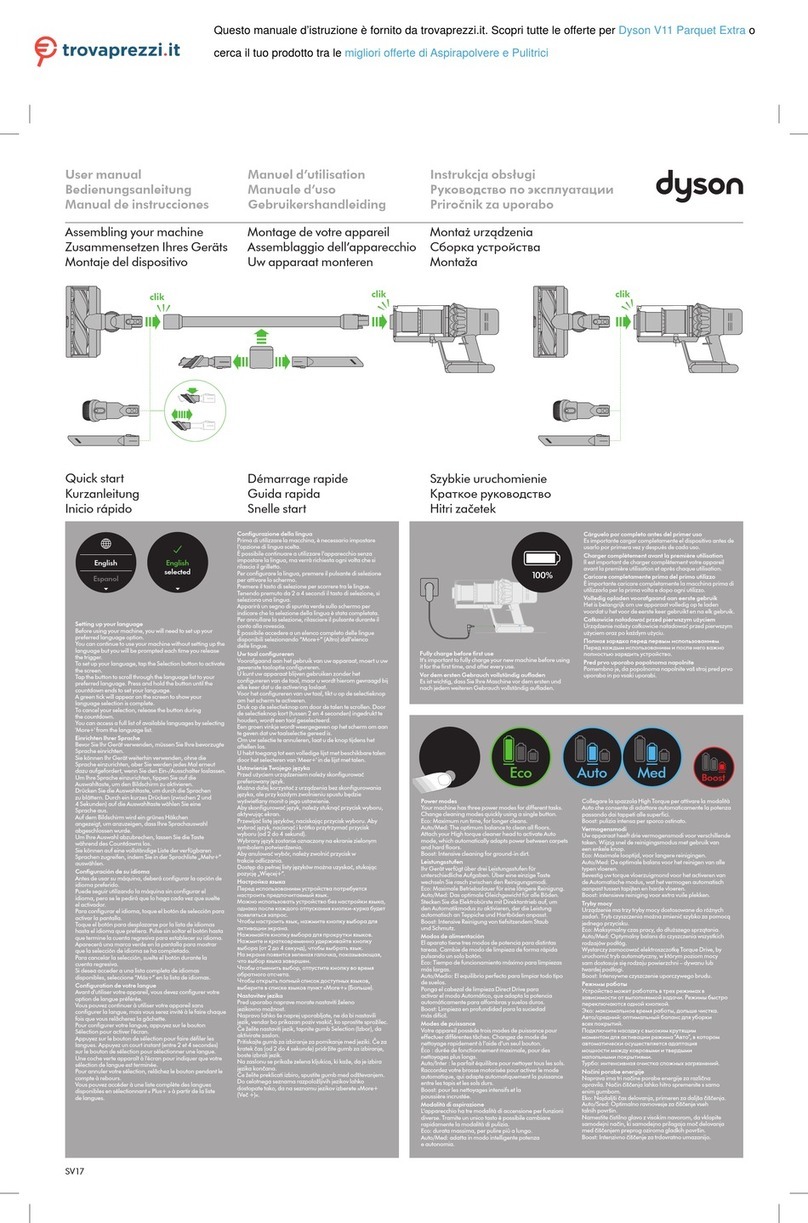
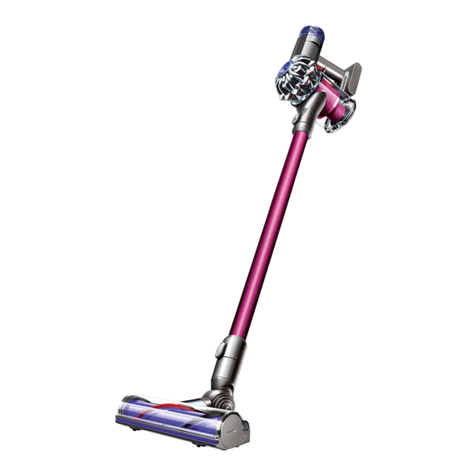
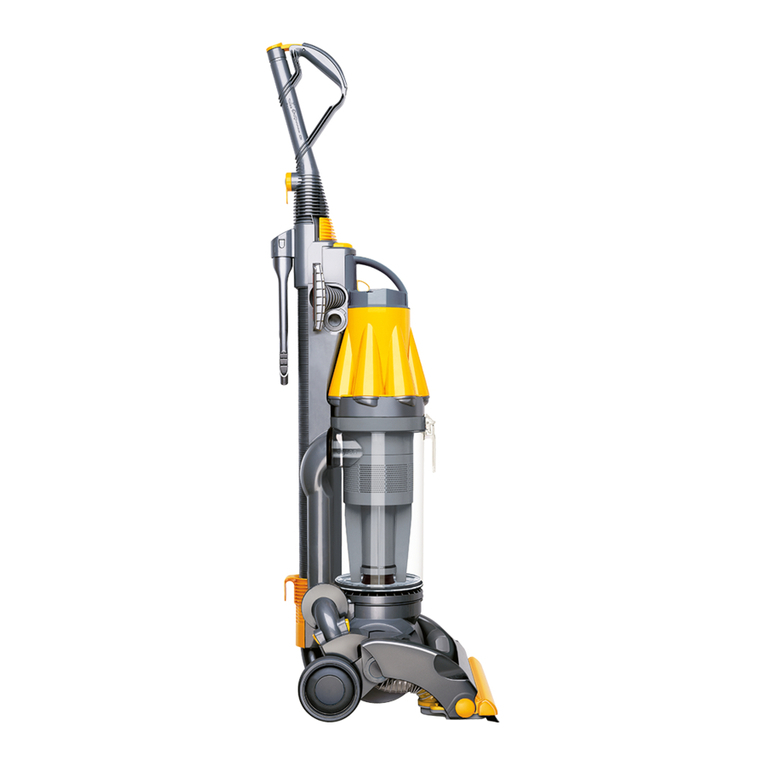
Dyson Ball User manual

dyson ball
OPERATING MANUAL
ASSEMBLY
~
u
~
1
61
"\
;---
--
. .
-
.....,.
__
./
~
clik
-
4
II
-
-
• -2
3
UP20

IMPORTANT
SAFETY
INSTRUCTIONS
BEFORE
USING
THIS
MACHINE
READ ALL INSTRUCTIONS
AND
CAUTIONARY
MARKINGS
IN
THIS
MANUAL
AND
ON
THE
MACHINE
When using an electrical appliance, basic precautions should always be followed, including
the following:
&
WARNING
These
warnings
apply
to
the
machine,
and
also
where
applicable,
to
all tools, accessories,
chargers
or
mains
adaptors.
TO
REDUCE
THE
RISK
OF
FIRE,
ELECTRIC
SHOCK,
OR INJURY:
1.
This Dyson machine
is
not intended
for
use by young children
or
infirm persons with reduced
physical, sensory
or
reasoning capabilities,
or
lack
of
experience
and
knowledge, unless they have
been given supervision
or
instruction by a responsible person concerning use
of
the machine
to
ensure
that
they can use it safely.
2.
Do not allow
to
be used as a toy. Close attention
is
necessary when used by
or
near children.
Children should be supervised to ensure
that
they
do
not play with the machine.
3. Use only as described in this Dyson
Operating
Manual.
Do
not carry
out
any maintenance other
than that shown in this manual,
or
advised by the Dyson Helpline.
4. Suitable
for
dry
locations ONLY.
Do
not use outdoors
or
on wet surfaces.
5.
Do
not use to pick up water.
6.
Do
not handle any
part
of
the plug
or
machine with wet hands.
7.
Do
not use with a
damaged
cord
or
plug. If the supply cord
is
damaged
it must be replaced by
Dyson,
its
service
agent
or
similarly qualified persons in
order
to avoid a hazard.
8. If the machine
is
not working
as
it should, has received a sharp blow, has been dropped,
damaged,
left outdoors,
or
dropped
into water,
do
not
use
and contact the Dyson Helpline.
9. Contact the Dyson Helpline when service
or
repair
is
required.
Do
not disassemble the machine
as incorrect reassembly
may
result in an electric shock
or
fire.
10.
Do
not stretch the cord
or
place the cord
under
strain. Keep the cord away
from
heated surfaces.
Do
not close a
door
on the cord,
or
pull the cord around sharp edges
or
corners. Arrange the
cord away
from
traffic areas
and
where it will not be stepped
on
or
tripped over.
Do
not run over
the cord.
11.
Do
not unplug by pulling on the cord.
To
unplug, grasp the plug, not the cord. The use
of
an
extension cord
is
not recommended.
12.
Do
not use
to
pick
up
flammable
or
combustible liquids, such as gasoline,
or
use in areas where
they
or
their vapors
may
be present.
13.
Do
not pick up anything
that
is
burning
or
smoking, such as cigarettes, matches,
or
hot ashes.
14. Keep hair, loose clothing, fingers, and all parts
of
the
body
away
from
openings
and
moving
parts.
Do
not
point
the hose,
wand
or
tools
at
your
eyes
or
ears
or
put them in your mouth.
15.
Do
not put any object into openings.
Do
not use with any opening blocked; keep free
of
dust, lint,
hair,
and
anything
that
may
reduce
airflow
.
16. Use only Dyson recommended accessories
and
replacement parts.
17
.
To
avoid a
tripping
hazard wind the cord when not in use.
18.
Do
not
use
without the clear bin
and
filter in place.
19.
Do
not leave the machine when plugged in.
Unplug
when not in use
and
before servicing.
20.
Do
not pull
or
carry by cord
or
use cord as a handle.
21. Use extra care when cleaning on stairs.
Do
not
work
with the machine above you
on
the stairs.
22. Turn
off
all controls before unplugging.
Unplug
before connecting any tool
or
accessory.
2

23.
FIRE
WARNING-
Do
not
apply
any fragrance
or
scented product to the filter(s)
of
this machine.
The chemicals in such products are known to be
flammable
and can cause the machine to
catch fire.
24.
WARNING
: This product contains chemicals known to the State
of
California to cause cancer,
birth defects
or
other reproducti
ve
harm
. Wash hands
after
handling
.
READ
AND
SAVE
THESE
INSTRUCTIONS
THIS DYSON
MACHINE
IS
INTENDED
FOR
HOUSEHOLD
USE
ONLY
POLARIZATION INSTRUCTIONS
To
reduce the risk
of
electric shock, this machine has a polarized plug (one blade
is
wider
than
the other) as a safety feature. This plug will fit in a polarized outlet only one way. If the plug does
not
fit
fully in the outlet, reverse the plug. If it still does
not
fit, contact a qualified electrician to
install the
proper
outlet.
Do
not
attempt
to defeat this safety feature and
do
not change the plug
1n
any way.
Do not pull on
the cord. Do
no
t
store
n
ear
heat sources.
Do
no
t use
nea
r
open
flames. Do not r
un
ove
r
the
cord
. Do not pick up
wate
r or liquids. Do
no
t pick up
bu
rni
ng
o
bj
ects. Do not u
se
above
you
on
the stairs. Do not put h
ands
ne
ar t
he
b
ru
sh bar
when the mac
hi
ne is
muse.
3

INSTRUCCIONES
DE
SEGURIDAD
IMPORTANTES
ANTES
DE
UTILIZAR
ESTA
MAQUINA,
LEA
TODAS
LAS
INSTRUCCIONES
Y LA
INDICACIONES
DE
PRECAUCION
QUE
VIENEN
TANTO
EN
ESTE
MANUAL
COMO
EN
LAMAQUINA
Cuando
se
usa un
aparato
electrico, deben seguirse las precauciones basicas
para
reducir
riesgos
de
incendio, descarga electrica y lesiones personales, que incluyen
lo
siguiente:
&
PELIGRO
Estas
advertencies
se
aplican
a Ia
maquina,
a
todas
las
herramientas
y accesorios, asi
como
a
lo
que
corresponda
a
cualquier
cargador
o
adaptador
de
alimentaci6n.
PARA
DISMINUIR
EL
RIESGO
DE
PROVOCAR
UN
INCENDIO,
RECIBIR
UNA
DESCARGA
ELECTRICA 0 LESIONES:
1.
Esta
maquina
Dyson
no
fue
disenada
para
que
ser utilizada
por
ninos o personas debiles
con capacidades ffsicas, sensoriales o mentales reducidas, o
que
carezcan
de
conocimiento y
experiencia al respecto, a menos
que
sean supervisadas o hayan recibido instrucciones
por
parte
de
una
persona responsable.
2.
No
permita
que
se
utilice
como
un juguete.
Es
necesaria Ia atenci6n
de
un
adulto
cuando
es
utilizada
por
o cerca a un nino.
Los
ninos
deben
ser supervisados
para
asegurarse
de
que
no
jueguen con Ia
maquina.
3. Utilicela solamente
como
se
describe en este
manual
de
funcionamiento
Dyson.
No
realice
ningun
otro
mantenimiento
que
no
sea el
mostrado
en
este
manual,
o el
recomendado
po
rIa
linea
de
ayuda
de
servicio al cliente Dyson.
4.
Adecuada
SOLAMENTE
para
lugares secos.
No
utilice
para
aspirar
agua
u otros liquidos.
5.
No
utilice para
aspirar
agua
u otros liquidos.
6.
No
manipule
el
enchufe
o
de
Ia
maquina
con las
monos
mojadas.
7.
No
lo use
si
el
cable
o el enchufe estan
danados.
Si
se
ha
danado
el cable
de
corriente,
debera
ser
reemplazado
por
Dyson,
uno
de
sus representantes de servicio u otra persona
igualmente
capacitada
a
fin
de
evitar un peligro.
8.
Si
Ia
maquina
no
funciona
como
es
debido,
ha
recibido un
golpe
fuerte
o
se
ha caido,
danado,
dejado
a
Ia
intemperie, o
sumergido
en
agua,
no
lo utilice y comuniquese con Ia linea
de
ayuda
de
servicio al cliente Dyson.
9.
Comuniquese
con Ia linea de
ayuda
de
servicio al cliente Dyson
cuando
se
requiera
mantenimiento
o reparaci6n.
No
desmonte Ia
maquina,
ya
que
un
montaje
incorrecto
puede
provocar
descargas electricas o incendios.
10.
No
estire el cable ni
permita
que
ejerza presion.
Mantengalo
alejado
de
superficies
calientes.
No
apriete
el cable
cuando
cierre Ia
puerto
ni tire del
cable
en bordes o puntas filosas.
Acomode
el cable
de
tal
modo
que
quede
alejado
de
areas transitadas y lugares
donde
se
lo
pise
o cause tropiezos.
No
pise
el
cable con Ia
maquina.
11.
No
desconecte Ia
maquina
tirando
del cable. Para desconectar,
tome
el
enchufe y
no
el
cable.
No
es
recomendable
utilizar
una
extension
de
cable.
12.
No
aspire liquidos
inflamables
o combustibles
como
gasolina, ni Ia utilice en areas
donde
pueda
haber
este
tipo
de
liquido.
13.
No
aspire
nada
que
se
este
quemando
o
que
emita
humo,
como
cigarrillos, fosforos o
cenizas calientes.
14.
Mantenga
el cabello,
ropa
su
elta, los
dedos
y
cualquier
otra
part
e del
cu
e
rpo
alejados de las
aberturas
y de las
part
es moviles.
No
apunte
con
Ia
manguera,
Ia
empunadura
o los accesorios
a los ojos u orejas, ni
se
los meta en Ia
boca
.
15.
No
obstruya las
aberturas
de Ia
maquina
con
ningun
objeto.
No
utilice
Ia
maquina
si
tiene
alguna
abertura
obstruida;
mantengalas
libres
de
polvo, pelusas,
cab
ellos o
cualquier
ot
ra coso
qu
e
pueda
re
ducir
Ia circulacion del aire.
4

16. Utilice
solamente
los accesorios y las piezas
de
repuesto
recomendadas
por
Dyson.
17.
Para
evitar
un
peligro
de
tropiezo,
enrolle
el
cable
cuando
no
este en uso.
18.
No
lo
utilice
si
el
compartimiento
cubo
transparente
y el filtro
no
estan
colocados
en
su
Iugar.
19.
No
se
aleje
de
Ia
maquina
si
esta conectato. Desconectelo
si
no
lo
esta
usando
y antes
de
darle
servicio.
20.
No
utilice el
cable
para
jalar
o
transortar
Ia
maquina,
ni use el
cable
como
si
fuera
una
asa.
21. Tenga
mucho
cuidado
cuando
utilice Ia
maquina
sabre
una
escalera.
No
trabaje
con Ia
maquina
por
encima
de
usted
en
Ia escalera.
22.
Apague
todos
los controles antes
de
desconectar. Desenchufe antes
de
conectar
cualquier
herramienta
o accesorio.
23.
ADVERTENCIA
DE
INCENDIO:
no
aplique
ninguna
fragancia
o
producto
perfumado
a los filtros
de
Ia
maquina.
Se
sabe
que
los
qufmicos
en estos
productos
son
inflamables
y
pueden
hacer
que
Ia
maquina
se
incendie
.
24.
ADVERTENCIA:
Este
producto
contiene
sustancias qufmicas reconocidas
por
el
estado
de
California
como
causantes de cancer,
anomalfas
congE:mitas y otros
daiios
reproductivos. Lavarse
las
monos
despues
de
manipular
el
producto.
LEA
Y
GUARDE
ESTAS
INSTRUCCIONES
ESTA
MAQUINA
DYSON
ES
PARA
USO DOMESTICO SOLAMENTE
,
INSTRUCIONES
DE
POLARIZACION
Para
reducir
el riesgo
de
choque
electrico, este
aparato
tiene un enchufe
polarizado
(una clavija
es
mas
ancha
que
Ia otra)
como
una
caracterfstica
de
seguridad.
Este enchufe
encajara
en un
tomacorriente
polarizado
de
una
sola
manera.
Si
el
enchufe
no
entra
completamente
en el
tomacorriente,
invierta
su
posicion.
Si
aun
asf
no
encaja
correctamente,
comunfquese
con un
electricista
calificado
para
instalar
el
tomacorriente
adecuado.
No
intente
anular
Ia caracterfstica
de
seguridad
y
no
modifique
el
enchufe
de
ninguna
manera
.
No jale el c
ab
le. No utilice Ia
m6qu
i
na
cerca
de
u
na
l
lama
.
No guo
rd
e Ia
rn
6quino
cerco de
fuent
es
de
color.
No pise el c
ab
le
con
No a spire og
uo
Ia
m
6qu
11
10.
o liqui
do
s.
No
asp
i
re
objet
os
qu
e se
es
t
en
qu
emon
do
No
uti
li
ce
el
apa
r
oto
No colo
qu
e las
pa
r enci
ma
de
m
onos
cerco del
su
cobezo si
se
c
ep
illo c
uond
o
encu
en
tro s
ab
re el
apora
to
este
uno escolero.
en
funci
onamient
o.
5

Operat1on
Storage
Func1onom1ento
Almocenam1ento
Emptymg
the
clear
b1n
Como
voc1ar el
cuba
tronsparente
Look1ng
for
blockages
Como
buscar
obst1 ucc1ones
6

Corryrng
the
mochr
ne
Poro
troslodor
el
m6qurno
Carpets
or
hard
fl
oors
Alfombros
o p
rs
os
..
-
~\1
@···::~
E
clik
Tool
oltochments
Accesorros
de
herr
om
rentos
~
-
--.-
T
'·.
Bru
sh
bar
-
cleorrng
ob
s
tru
ctrons
Cep
rll
o.
poro
elrmrn
ar
obstruccrones
:
~
7

•
-
v
-
-
•
8

&
~
A
&
~
B
10
9
8
11
12
24
hrs
7 6
•
::
':.
~
:-
...
~
....
'
,,
,,
,,"
1 2
3
4
5
11
12 1
10
2
9
24
3
hrs
8 4
7 6 5
7
;
~
clik

10
USING
YOUR DYSON
MACHINE
PLEASE
READ
THE "IMPORTANT SAFETY INSTRUCTIONS" IN THIS
DYSON OPERATING
MANUAL
BEFORE PROCEEDING.
ASSEMBLY
Loy the
machine
on
its bock.
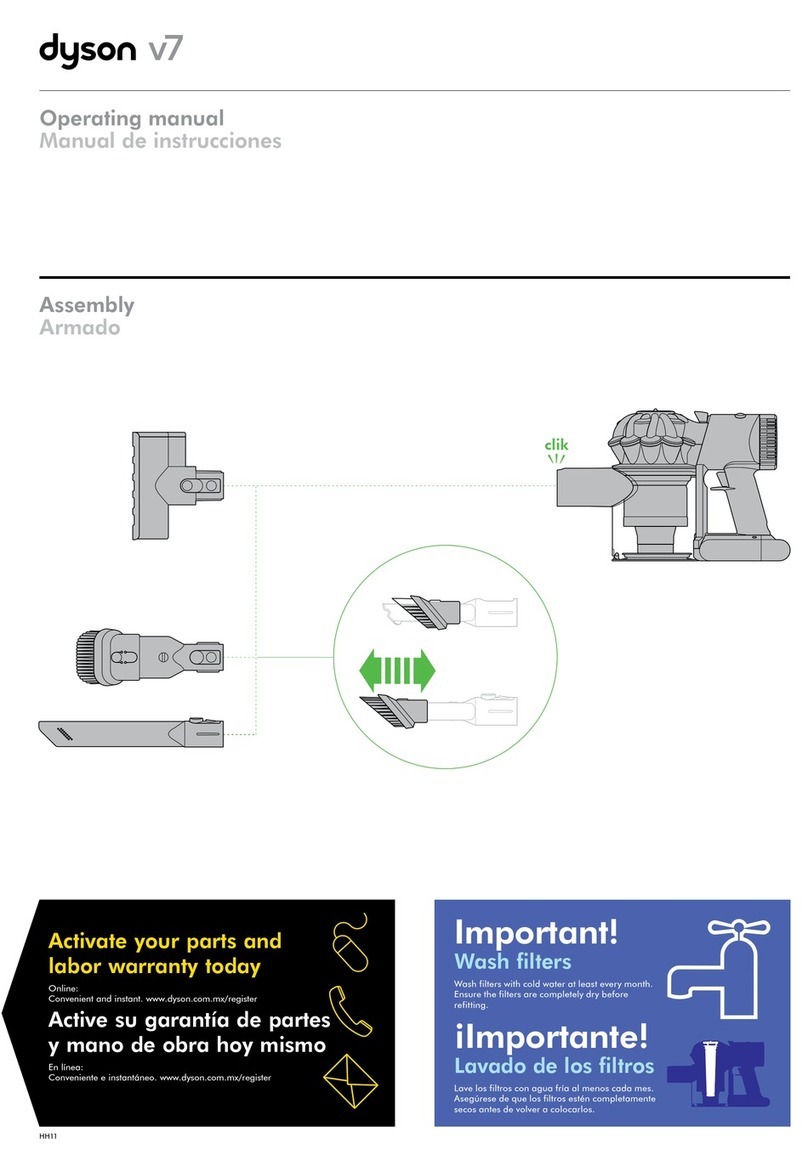
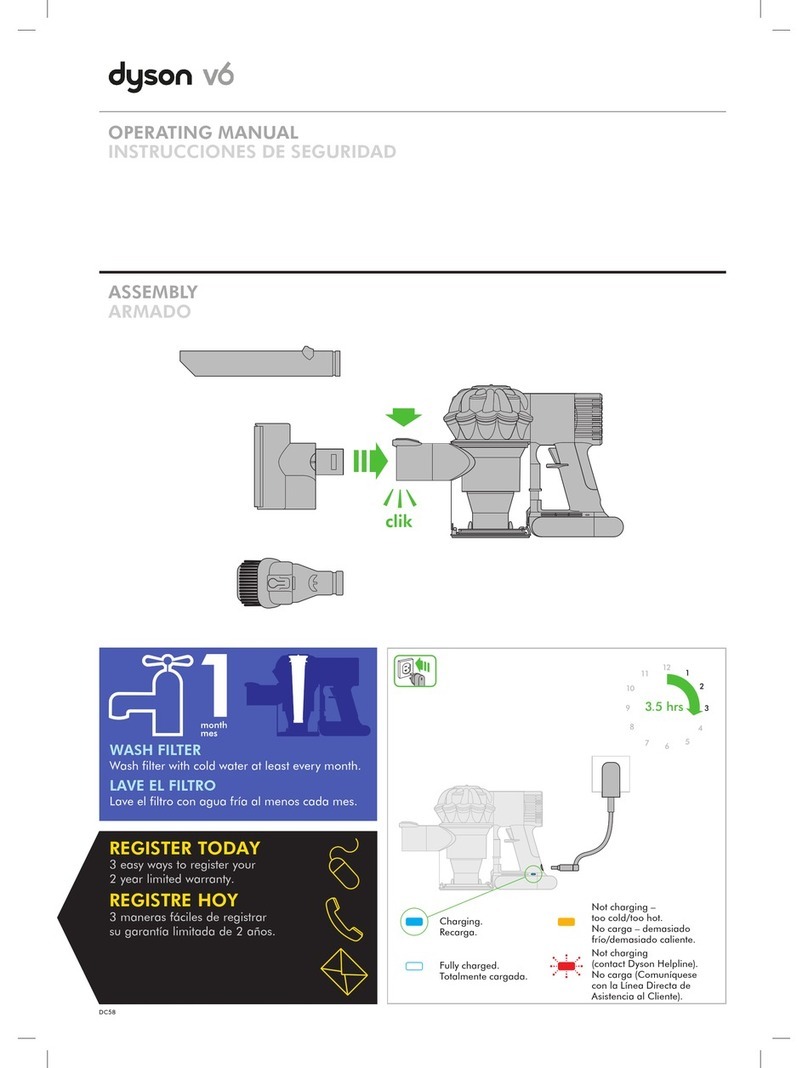
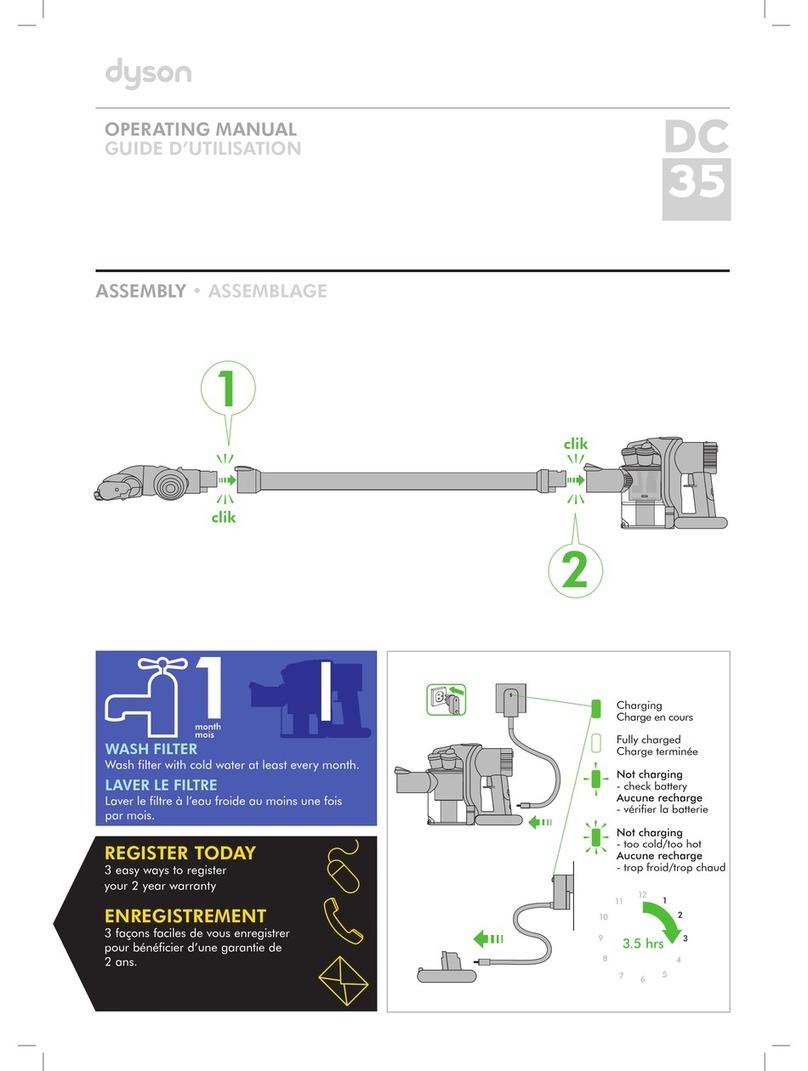
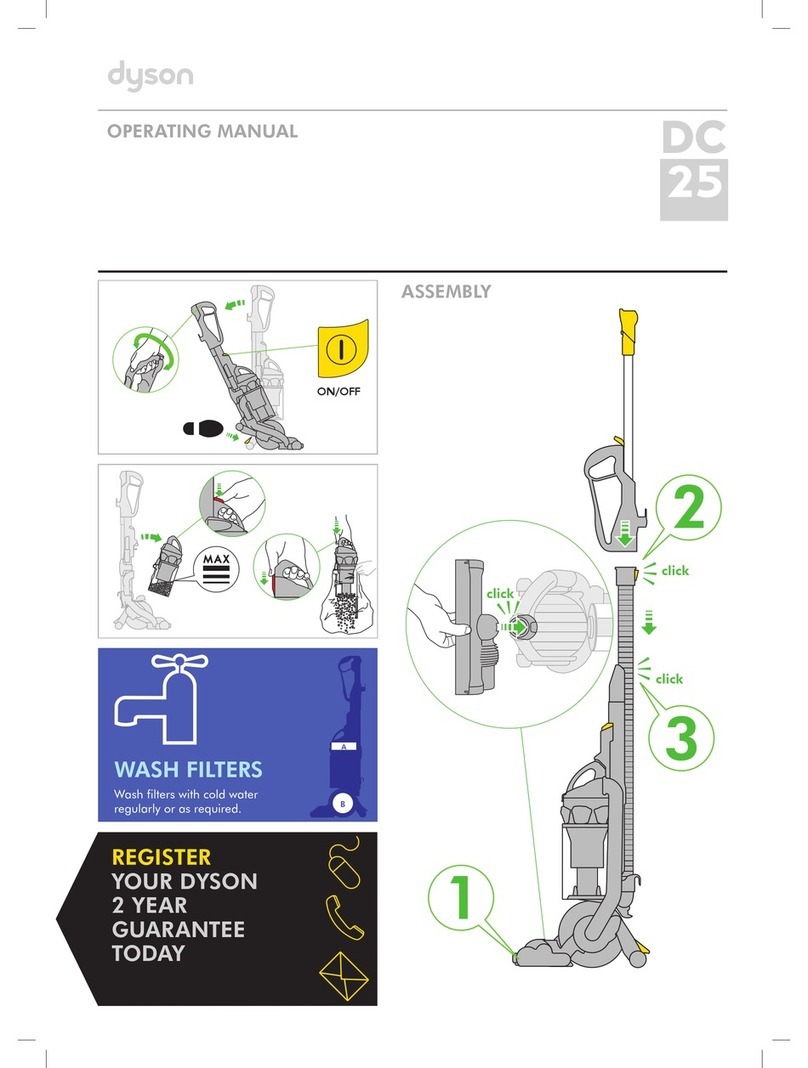
Attach the cleaner head by sliding it on to the connections on the
lower
front
port
of
the boll. Ensure the electrical plug
on
the cleaner
head fits into the twin - block
connection
on the
body
of
the machine,
which
is
directly above the airway. Push
firm
l
y:
the cleaner head will
click into place.
Stand the
machine
up
straight.
Attach the
wand
handle
by sliding it
on
to
the
top
of
the
machine
. The spring clip in the
handle
will click into place.
Ensure the hose
is
straight. Press the
purple
button on the hose. Slide
the
wand
into the hose.
Ensure the
wand
and
hose sit in the recess
of
the
handle
. Slide the
end
of
the wand
dow
n into the
handle
to
secure it.
Close the
wand
cop.
Slide the tool
holder
onto
the side
of
the
duct
as shown.
Ensure the cyclone
and
clear
bin
unit
is
secured
to
the
main
body
of
the machine.
Slide the tool
holder
onto
the side
of
the
duct
as shown.
Attach the tools
as
shown. In use, the tools con be attached to either
the hose
or
the wand.
Wind
the cable
around
the
cable
hooks. Secure with the clip.
OPERATION
Unwind
the cable.
Plug the
machine
into the
mains
electricity supply.
To
switch
'ON'
or
'
OFF'
press the
purple
power
button, located
as shown.
To
use, recline the handle. The stabilizer stand will
automatically
lift
up.
After
use, return the
machine
to the
upright
position, pushing it
firmly
into
place. The stabilizer wheels will
automatically
lower.
Then
unplug
the machine, coil the
cable
safely
and
put the
machine
away
.
Switch 'OFF' the machine,
unplug
and
ensure it
is
upright
before:
-
changing
or
using tools
-removing the hose
or
airway
inspection ports.
Use the cyclone
cor
ry
handle
to
corry
the machine.
CARPETS
OR HARD FLOORS
The brush
bar
will
alway
s
default
to
'ON
' (spinning) each time you
switch the machine
'ON'
and
recline it
for
cleaning.
The brush
bar
will not rotate
when
the
appliance
is
upright.
To
switch the brush
bar
'OFF'
(e
.g.
for
delicate rugs
and
delicate
flooring):
-switch the
machine
'
ON'
-recline the machine
-press
the brush
bar
'
ON/OFF'
button-
the brush bar will
stop spinning.
The brush
bar
will
automatically
stop
if
it becomes obstructed. See
'Brush
bar
-
clearing
obstructions'.
Before vacuuming
your
flooring,
rugs
and
carpets, check the
manufacturer's
recommended
cleaning
instructions.
Some carpets
may
fuzz
if
a rotating brush
bar
is
used when
vacuuming
. If this happens, we
recommend
vacuuming
with the brush
bar
switched 'OFF'
and
consulting with the
flooring
manufacturer.
The brush
bar
on the
machine
may
damage
some carpet types. If you
ore unsure, turn
'OFF'
the brush bar.
Check the brush
bar
regularly
and
clear
away
any debris (such
as
hair). Debris left on the brush
bar
may
cause
damage
to
flooring
when
vacuuming
.
ATTACHMENTS
To
release the
wand,
open
the
wand
cop
and
pull the
purple
tube
up
and
away
from
the
handle
until it clicks into place.
Should you wish to use the hose
without
the
wand,
f
ollow
the above
instruction
and
press the
purple
button
to release the
wand
from
the hose.
LOOKING
AFTER
YOUR
DYSON
MACHINE
Do
not corry
out
any
maintenance
or
repair
work
other
than
that
shown
and
described in this Dyson
Operating
Manual,
or
advised by
the Dyson Helpline.
Only
use
ports
recommended
by Dyson. If you
do
not this
may
invalidate your
warranty
.
Store the
machine
indoors.
Do
not use
or
store it
below
37.4"F
(3
°C).
Ensure the
machine
is
at
room
temperature
before
operating.
Clean
the
machine
only
with a
dry
cloth.
Do
not use
any
lubricants,
cleaning agents, polishes
or
air
fresheners
on
any
port
of
the machine.
If used in a
garage,
always
wipe
the bose plate
and
boll with a
dry
cloth
after
vacuuming
to
clean
off
any sand, dirt,
or
pebbles that
could
damage
delicate floors.
VACUUMING
Do
not use
without
the clear bin
and
filters
in
pla
ce.
Fine
dirt
such
as
plaster dust
or
flour
should
only
be vacuumed in very
small amounts.
Do
not use the
machine
to pick
up
sharp
hard
obiects, small toys,
pins,
paper
clips, etc. They
may
damage
the
machine
.
When
vacuuming, certain carpets
may
generate small static charges
in
the clear
bin
or
wand.
These ore harmless
and
ore not
as
s
ociated
with the mains electricity supply.
To
minimize any effect
from
this
(small static charge),
do
not put
your
hand
or
insert any
obiect
into the
clear bin unless you hove first
emptied
it
and
cleaned it with a
damp
cloth
(see
'Clean
ing the
clear
bin').
Do
not
work
with the
machine
above
you
on
the stairs.
When
cleaning
stairs it
is
recommended
that
you use a tool on the end
of
the hose
rather than the wand.
Do
not
put
the
machine
on
choirs,
tab
l
es
, etc.
Before
vacuuming
highly
polished floors, such
as
wood
or
linoleum,
first check
that
the underside
of
the
floor
tool
and
its brushes ore free
from
foreign obiects
that
could
cause
marking
.
Do
not leave the cleaner
head
in
one
place
on
delicate floors.
EMPTYING
THE
CLEAR BIN
Empty
as
soon as the
dirt
reaches the level
of
the
MAX
mark-
do
not
overfill.
Switch 'OFF'
and
unplug
before
emptying
the clear bin.
To
remove the cyclone
and
clear
bin
unit, press
down
on the purple
button
on
the
top
of
the
carrying
handle
on
the cyclone.
To
release the dirt, press all the
way
down
on
the some
purple
button
on
the
top
of
the
carrying
handle
on
the cyclone.
To
minimize
dust/allergen
contact
when
emptying
, encase the
clear
bin
tightly in a plastic
bog
and
empty.
Remove the
clear
bin carefully
from
the
bog.
Seal the
bog
tightly, dispose
as
normal.
To
refit:
-ensure
the
airway
in the bin bose
is
clear
of
dust
and
dirt
-close the clear bin bose so it clicks into place
-push the cyclone
and
clear
bin
unit
into
the
main
body
of
the
machine
; it will click
into
place
-ensu
re the cyclone
and
clear bin
unit
is secure.
CLEANING
THE
CLEAR
BIN
To
separate the cyclone
unit
from
the clear
bin
press the
purple
button
to
open
the clear bin bose. This exposes a small silver button
behind
the
opening
mechanism.
Press
the silver button
and
separate the
cyclone unit
from
the
clear
bin.
Do
not use
de
tergents, polishes
or
air
fresheners
to
clean the
clear bin.
Do
not
put
the clear
bin
in a dishwasher.
Do
not immerse the
whole
cyclone in water
or
pour
water into
the cyclones.
Clean
the cyclone shroud with a
damp
cloth only.
Ensure the clear bin
is
completely
dry
before
replacing.
WASHING
YOUR
FILTERS
Your
machine
has
two
washable
filters, located
as
shown.
Check
and
wash the filters regularly
according
to
instructions to
maintain
performance.
Switch 'OFF'
and
unplug
before
checking
or
removing the filters.
The filters
may
require
more
frequent
washing
if
vacuuming fine dust
or
carpet cleaning
powde
r
s.
Wash with cold water only.
Do
not use detergents.
Do
not put the filters in a dishwasher, washing machine,
tumble
drye
r,
oven, microwave
or
near
a naked
flame.
FILTER
A
Remove cyclone
and
clear
bin
(see
'Emptying the
cl
e
ar
bin
').
Release the catch
on
the
front
of
the cyclone
handle
and then remove
the filter.
Wash the filter with
cold
water only.
Hold
unde
r a top
and
run
water
through
the
open
end until the water runs clear. Turn upside
down
and
top out.
Run
water over the outside
of
the filter until the
water
runs clear.
Squeeze
and
twist with
both
hands to make sure the excess water
is
removed.
Stand the filter on its wide,
ope
n end to dry. Leave to
dry
completely
for
a
minimum
of
24 hours.
Replace the filter into the cyclone. Swing the
handle
bock into place.
Ensure the latch
cl
icks to
engage
and
is
secure. Fit the cyclone
and
clear bin unit
onto
the
machine
(i
nstructions above).

FILTER
B
Lay the
machine
on its side.
To
remove filter B:
-turn the
purple
central locking
dial
on the outer cover
of
the
ball
counter-clockwise until the cover
is
released
-l
ilt
off
the cover
-turn
the filter one-
quarter
counter-clockwise to release.
Wash the filter with
cold
water only.
Filter B should
be
rinsed
and
t
apped
out
until the water runs clear,
then
tapped
out
again
to ensure all excess water
is
removed. (Tap
on
the plastic rim,
not
the filter material.) Leave to
dry
completely
lor
a
minimum
of
24
hours.
It
is
normal
for
the filter in the ball
to
turn
gray
in color.
To
relit
filter
B:
-relit the filter on
to
the ball
-secure
the
filter
by
turning
it clockwise
so
the arrows
align.
When
refitting the
outer
cover
of
the ball, keep
turning
the central
locking
dial
clockwise.
When
it starts to click it
is
locked.
BLOCKAGES-
THERMAL
CUT-OUT
This
machine
is
fitted with an
automatically
resetting
thermal
cut-out.
If
any
part
becomes blocked the
machine
may
overheat
and
automatically
cut-out.
If
this
happens,
follow
the instructions
below
in 'Looking
for
blockages'.
NOTE: Lorge items
may
block
the tools
or
wand
inlet.
If
this
happens
,
do
not
operate
the
wand
release catch. Switch
'OFF
'
and
unplug
.
Failure
to
do
so
could
result in personal injury.
LOOKING
FOR
BLOCKAGES
Switch '
OFF'
and
unplug
before
looking
lor
blockages.
Fa
ilure to
do
so
could result in personal injury.
Leave
to
cool
down
lor
1-2
hou
rs
before
checking the filters
or
for
blockages.
Clear
any
blockage
before
restarting.
Look
for
blockages in the
wand
, airways
and
cleaner
head
.
To
release the hose
from
the machine, you will need to remove
the wand.
Open
the
wand
release cop.
Pull the
wand
up
and
away
from
the
hand
le.
Press
the
purple
release
button
in the connecting
collar
and
remove
the
wand
from
the hose.
Remove the clear bin
and
cyclone unit. Then release the hose
from
the
machine
by pressing the silver tab
on
the base
of
the
hose-
you
can
see it
from
the
front
of
the machine.
Check
lor
blockages
in the hose.
Beware
of
sharp objects
when
checking
for
blockages.
To
refit the hose,
align
the guides
on
the bose
of
the hose with the
channels in the neck
of
the airway. Ensure the silver
tab
laces the
front
of
the
appliance
. Push the hose
on
. It will click into place.
To
relit
the
wand
follow
the instructions in the
'Operation'
section.
To
remove the base plate
to
access an obstruction, see 'Base plate -
disassembly/reassembly'.
To
look
for
blockages in the
front
airway
between the ball
and
the
cleaner
head
you will need
to
remove the cleaner head: see 'Base
plate-
disassembly/reassembly'
below
on
how
to
do
this.
To
look
far
blockages in the
rear
airway
between the
ball
and
the
cleaner head you will need to release the hose.
Hold
and
slide
the silver
cuff
out.
Check
tho
r
oughly
for
blockages
and
slot
bock
into
place.
Beware
of
sharp
objects when checking
for
blockages.
To
look
far
blockages in the
ball
,
open
the clear plastic inlet
on
the top.
Ref
it all
parts
securely
before
using.
Clearing
blockages
is
not covered by your
warranty
.
BRUSH
BAR-
CLEARING OBSTRUCTIONS
If
your brush
bar
is
obstructed, it
may
shut '
OFF'
.
If
this happens, you
will need to remove the
blockage
.
Switch
'OFF'
and
unplug
before
proceeding. Failure
to
do
so
could
result in personal injury.
Beware
of
sharp objects
when
clearing obstructions.
If
you still
cannot
clear
the obstruction, please
follow
the instructions
below
to remove the base plate. This gives
more
access
to
the
obstruction. Alternatively,
contact
a Dyson expert
on
the Dyson
Helpline
or
visit the website.
Clearing
brush
bar
obstructions
is
not
covered by
your
warranty
.
BASE
PLATE-
DISASSEMBLY/REASSEMBLY
Switch 'OFF'
and
unplug
before
proceeding
. Failure
to
do
so could
result in personal injury.
Loy the
machine
on
its front.
Detach the silver
'C'
clip which
is
on
the
connection
between the
cleaner
head
and
the machine. It
is
quite firm,
but
do
not
pull it
off
roughly. Use a constant, firm pressure.
Pull the cleaner
head
away
from
the machine. Use a constant,
firm
pressure.
At each end
of
the cleaner head there are 2 silver levers:
-swing them
out
at
right
angles
-
hinge
the bose plate
open
.
Be
ware
of
sharp
objects when
clearing
obstructions.
To
relit
the base plate, hinge it closed.
To
secure the base
pla
te push both silver levers back into position
so
they
are
flush with the surface
of
the cleaner head.
Refit the silver 'C' clip
onto
the cleaner head. The
flatter
edge
of
the
clip fits
against
the cleaner head. It
is
easier to
sl
ide
one
lug
into
i
ts
slot
before
the other.
Loy the
mach
ine
on
its bock.
Attach the
cleaner
head
by sliding it
on
to the connections
on
the
lower
front
port
of
the ball. Ensure the electrical
plug
on
the cleaner
head fits into the
tw
in -
block
connection
on
the
body
of
the
machine
,
which
is
directly above the airway.
Push
firmly
: the cleaner
head
will
click into place.
DISPOSAL
INFORMATION
Dyson products ore
mode
from
high
grade
recyclable materials.
Recycle where possible.
ONLINE
SUPPORT
For
online
help
,
general
tips, videos
and
useful
information
about
Dyson.
www
.dyson.com/
up20supportvideos
www.dyson.com
/
support
DYSON
CUSTOMER
CARE
THANK
YOU
FOR
CHOOSING
TO
BUY A DYSON
MACHINE
If
you have a question
about
your Dyson machine, call the Dyson
Helpline
with your serial
number
and details
of
where
and
when
you
bought
the machine.
Most
questions con be solved over the
phone
by
one
of
our
Dyson
Hel
pline
staff.
If your Dyson
machine
needs service, call the Dyson
Helpline
so
we
con discuss the av
ailable
op
tions.
If
your Dyson
mach
ine
is
un
der
warranty,
and
it
is
a covered repair, it will be repaired at
no
cost.
PLEASE
REGISTER
AS
A DYSON MACHINE OWNER
To
help
us
ensure you receive
prompt
and
efficient service, please
register as a Dyson
machine
owner. There ore three ways
to
do
this:
Online
at
www.dyson.com
Telephone the Dyson
Helpline
on
1-866-277-4649
Complete
the enclosed
form
and
post it to
us
.
This will
confirm
ownership
of
your
Dy
s
on
machine
in the event
of
an
insurance loss,
and
enable
us
to contact you
if
necessary.
By
registering
online
or
by
phone
you will:
Protect
your
investment with a five year
ports
and
labor
warranty
Receive
helpful
tips
on
using
your
machine.
Be
the first to
hear
about
our
latest inventions.
Registering only takes a few minutes
and
all you need
is
your
serial number.
5
YEAR
LIMITED
PARTS
AND
LABOR
WARRANTY
TERMS
AND
CONDITIONS
OF
THE DYSON 5
YEAR
PARTS
AND
LABOR WARRANTY
WHAT
IS
COVERED
Your Dyson
machine
is
warranted
against
original
defects in
mater
ials
and
workmanship
for
a
per
i
od
of
5 years
from
the
dote
of
purchase,
when used
for
normal
domestic purposes in
accordance
with the
Dyson
Operating
Manual.
Please retain your
proof
of
purchase.
If you
do
not
hove
your
proof
of
purchase, your
warranty
will start
90
days
after
the
date
of
manufacture,
according
to
Dyson's records.
This
warranty
provides,
at
no
extra cost to you, all
labor
and
parts
necessary to ensure
your
machine
is
in
proper
operating
condition
dur
ing the
warranty
period
. The replacement
of
any
part
of
your
machine
under
warranty
will not extend the
period
of
warranty. Any
ports which ore returned and replaced by Dyson will
become
the
property
of
Dyson. Please call the Dyson
Helpline
at
1-866-277-4649
for
more
information.
This limited
warranty
is
subject to the
following
terms:
11

12
WHAT
IS
NOT
COVERED
Dyson shall
not
be
liable
lor
costs,
do
mages
or
repairs
incurred
as a
result of,
due
to,
or
from:
Purchases
of
machines
from
unauthorized
dealers.
Careless
operation
or
handling,
misuse, abuse
and/or
lack
of
maintenance
or
use
not
in
accordance
with the Dyson
Operating
Manual.
Use
of
the
machine
other
than
far
normal
domestic
purposes
within
the
United
States, e.g.
for
commercial
or
rental purposes.
Use
of
ports
not
in
accordance
with
the Dyson
Operating
Manual.
Use
of
parts
and
accessories
other
than
those
produced
or
recommended
by Dyson.
Faulty
installation
(except
where
installed
by Dyson
).
Repairs
or
alterations
carried
out
by
unauthorized
parties
or
agents.
Clearing
blockages
from
your
machine
or
washing
of
the filter.
Normal
wear
ond
tear,
including
normal
wearing
ports, such os
clear
bin, belt, filter, brush bor, hose assembly
ond
power
cord
(or
where
external
damage
or
abuse
is
diagnosed)
,
carpet
or
floor
domoge
due
to use
not
in
occordonce
with
manufacturer's
instructions
or
failure
to
turn
the brush
bar
off
when
necessary.
Domoge
os o result
of
use
not
in
accordance
with the
rating
plate.
Use
of
this
machine
on
rubble,
osh, plaster,
drywall,
liquids,
or
wet surfaces.
Additionally,
this
limited
warranty
does
nat
app
ly to
ony
machine
that
hos
hod
the serial
number
altered
or
removed.
If
you
ore
in ony
doubt
os to
what
is
covered by
your
warranty, please
contact
Dyson.
WARRANTY LIMITATIONS
AND
EXCLUSIONS
Any
implied
warranties
relating
to
your
machine
including
but
not
limited
to
warranty
of
merchantability
or
warranty
of
fitness
lor
o
particular
purpose,
are
limited
to
the
duration
of
this
warranty. This
limitation
is
not
allowed
by some States
and
so this
limitation
may
not
apply
to
you.
Your
remedy
for
breach
of
this
warranty
is
limited
to the
warranty
service described
below.
Dyson will
not
be
liable
for
any consequential
damages
or
inciden
tal
damages
you
may
incur in
connection
with
your
purchase
ond
use
of
your
machine.
This
limitation
is
not
allowed
by
some
States
and
so this
limitation
may
not
apply
to
you.
This
limited
warranty
gives you specific
legal
rights. You
may
also
hove
other
rights which
vary
by State.
This
limited
warranty
is
not
transferable.
WARRANTY
SERVICE
Please fill
out
and
return the
Warranty
Form, or regist
er
online
at
www.dyson.com
Before service can take place, the
terms
of
the
warranty
require
that
you
contact
the
Dyson
Helpline
with
your
mode
l
name
/nu
mber, serial
number,
dote
and
place
of
purchase.
Please keep
your
purchase
receipt
in o
sole
place to ensure you
have
this
information.
All
work
will be
coordinated
by
Dyson
or
its
authorized
agents.
Any
replaced
defective
ports
will
become
the
property
of
Dyson.
Service
under
this
warranty
will
not
extend
the
period
of
this warranty.
If
your
machine
is
not
functioning
properly,
please call the Dyson
Helpline
at
1-866-277-4649.
Most
issues con
be
rectified
over
the
telephone
by
our
trained
Customer
Care
staff.
IMPORTANT
DATA
PROTECTION
INFORMATION
If
you choose to
opt-in
to receive
communications
from
us,
your
details will be held by Dyson
or
others
on
behalf
of
Dyson so
that
we can assist you
more
quickly
with
our
Dyson Helpline. From
time
to time, Dyson
may
send you special
offers
and
news
of
our
latest
innovations.
For
more
information
about
our
data
collection
practices, please refer
to the Dyson privacy
policy
at
www.dyson.com/privocy
PRODUCT
INFORMATION
Please note: Small details
may
vary
from
those shown.
Your serial
number
can
be found
on
your rating
plate
wh
ic
h
is
behind the clear bin.
Note
your serial number for future reference.
dyson
1111~111111111111~11111111111111111111111111
SERIAl
NO.
AA
1-AA-AAA
1111
A
MADE IN MALAYSIA
BY
DYSON
liMIT
EO MALMESSURY SN1e
ORP
UK
T
his
illustration
is
for example purposes only.

\.
dyson
Dyson Cus
tomer
Core
If
yo
u have a qu
est
ion
abo
ut
your Dyson machine, call the
Dyson Cust
omer
Core Helpline with your serial
number
and details of where
and
when
you
bought the mac
hi
ne, or
co
ntact us v
ia
the Dyson
we
bsite.
Servicio
de
otenci6n ol cliente Dyson
Si
tiene alguno duda
ace
rco de su m6quino Dyson,
lla
me
a Ia lin
ea
de oyuda de Dysonol con el nUmero de serie e
informoci6n de cu6n
do
y d6nde compr6 el producto.
DYSON CONTACT
DETAILS
Website: www.dy
son
.com
Dyson Helpline:
1-866-277-
4649
Mon-Fri 8om to 8pm
CST
;
Sat 9om to 6pm
CST
Servicio
de
otenci6n ol cliente Dyson:
1-866-277
-4649
Lunes
a Viernes
de
8 a.m. - 8 p.m
.,
horo Centro;
S6bodos de 9
o.m.-
6 p.m., horo Centro
JN.83824 PN.229918-01-02 13.10.16 www.dyson.com

WARRANTY
FORM
Date
of
purchase I
Fecha
de
compra
Serial
number
INumera de
serie
Title ITratamienta
last
nome
IApellido
First
name
IApellido
Address IDirecci6n
Zip Code IC6digo postal
email
Iemail
Telephone ITelelono
From time to time, we'd
like
to send you emails about
new Dyson technology
and
services
or
get
your opinion
about
your purchase.
If
you'd like
us
to keep
in
touch,
please check this
box.
Ocasionolmente, nos gustarfa enviarle correos eledr6nicos
con informoci6n sabre los nuevas servicios y tecnologfos de
Dyson o para saber
su
opini6n sabre
su
compro.
Si
desea
que nos mantengomos en contacto, seleccione
esta
cosi/la.
I I
3
EASY
WAYS
TO
REGISTER
YOUR
5
YEAR
PARTS
AND
LABOR
WARRANTY.
MANfRAS S N
LAS
PI
EZAS
Y
LA
MA
X
I
I
I
I

No
need
to
return
to
store.


Dyson,
Inc.
P.O.
Box
109
Carlyle,
IL
62231-0109
FIRST CLASS
POSTAGE
REQUIRED
FRANQUEO
DE PRIMERA
CLASE
REQUERIDO
dyson

The
story
of
Dyson

James
Dyson
James
has
always
pulled
things
to
pieces, interested
in
how
they
work,
asking
"why
does
it
do
that?"
"Just
because
it
does"
has
never
sufficed
as
an
answer.

Sea
Truck
Ball
barrow
Soles to
dote
of
over
$500
million
Market
leader
within
three years
Trolleyball
Wheel
boat
The
most
practical
boot-launcher
Travels
at
40mph
on
land
and
water
Early
James
Dyson designs
While
at
London
's Royal
College
of
Art, James
Dyson
developed
the
Sea Truck - a
high
speed
landing
craft
. Then
came
Ballbar
r
ow
; i
ts
large
red
pneumatic
ball
stopped
it
sinking
into
soft
ground.
The Tr
olleyball
boat
launcher
and
amphibious
Wheelboat
followed
.
Other manuals for Ball
6
Table of contents
Other Dyson Vacuum Cleaner manuals

Dyson
Dyson DC 62 User manual

Dyson
Dyson DC05 Installation guide

Dyson
Dyson DC11 Telescope User manual

Dyson
Dyson DC23 origin stowaway User manual

Dyson
Dyson DC22 User manual

Dyson
Dyson DC34 ANIMAL User manual

Dyson
Dyson DC 31 User manual

Dyson
Dyson DC50 Ball Compact User manual

Dyson
Dyson DC21 Motorhead User manual

Dyson
Dyson DC42 User manual