23
EN
IMPORTANT SAFETY INSTRUCTIONS
BEFORE USING THIS APPLIANCE READ ALL INSTRUCTIONS AND CAUTIONARY MARKINGS IN THIS MANUAL
AND ON THE APPLIANCE
When using an electrical appliance, basic precautions should always be followed, including the following:
WARNING
These warnings apply to the appliance, and also where applicable, to all tools, accessories, chargers
or mains adaptors.
TO REDUCE THE RISK OF FIRE, ELECTRIC SHOCK, OR INJURY:
1. This Dyson appliance can be used by children aged from 8 years and above and persons with reduced physical,
sensory or reasoning capabilities, or lack of experience and knowledge, only if they have been given supervision
or instruction by a responsible person concerning use of the appliance in a safe way and understand the hazards
involved. Cleaning and user maintenance shall not be made by children without supervision.
2. Do not allow to be used as a toy. Close attention is necessary when used by or near children. Children should
be supervised to ensure that they do not play with the appliance.
3. Use only as described in this Dyson Operating Manual. Do not carry out any maintenance other than that shown
in this manual, or advised by the Dyson Helpline.
4. Suitable for dry locations ONLY. Do not use outdoors or on wet surfaces.
5. Do not handle any part of the plug or appliance with wet hands.
6. Do not use with a damaged cable or plug. If the supply cable is damaged it must be replaced by Dyson, its service
agent or similarly qualified person in order to avoid a hazard.
7. If the appliance is not working as it should, has received a sharp blow, has been dropped, damaged, left outdoors,
or dropped into water, do not use and contact the Dyson Helpline.
8. Contact the Dyson Helpline when service or repair is required. Do not disassemble the appliance as incorrect
reassembly may result in an electric shock or fire.
9. Do not stretch the cable or place the cable under strain. Keep the cable away from heated surfaces. Do not close
a door on the cable, or pull the cable around sharp edges or corners. Arrange the cable away from traffic areas
and where it will not be stepped on or tripped over. Do not run over the cable.
10. Do not unplug by pulling on the cable. To unplug, grasp the plug, not the cable. The use of an extension cable
is not recommended.
11. Do not use to pick up water.
12. Do not use to pick up flammable or combustible liquids, such as petrol, or use in areas where they or their vapours
may be present.
13. Do not pick up anything that is burning or smoking, such as cigarettes, matches, or hot ashes.
14. Keep hair, loose clothing, fingers, and all parts of the body away from openings and moving parts, such as the brush
bar. Do not point the hose, wand or tools at your eyes or ears or put them in your mouth.
15. Do not put any object into openings. Do not use with any opening blocked; keep free of dust, lint, hair, and anything
that may reduce airflow.
16. Use only Dyson recommended accessories and replacement parts.
17. To avoid a tripping hazard wind the cable when not in use.
18. Do not use without the clear bin and filters in place.
19. Do not leave the appliance when plugged in. Unplug when not in use and before servicing.
20. Do not pull or carry by cable or use cable as a handle.
21. Use extra care when cleaning on stairs. Do not work with the appliance above you on the stairs.
22. Turn off all controls before unplugging. Unplug before connecting any tool or accessory.
23. FIRE WARNING – Do not apply any fragrance or scented product to the filter(s) of this appliance. The chemicals
in such products are known to be flammable and can cause the appliance to catch fire.
READ AND SAVE THESE INSTRUCTIONS
THIS DYSON APPLIANCE IS INTENDED FOR HOUSEHOLD USE ONLY
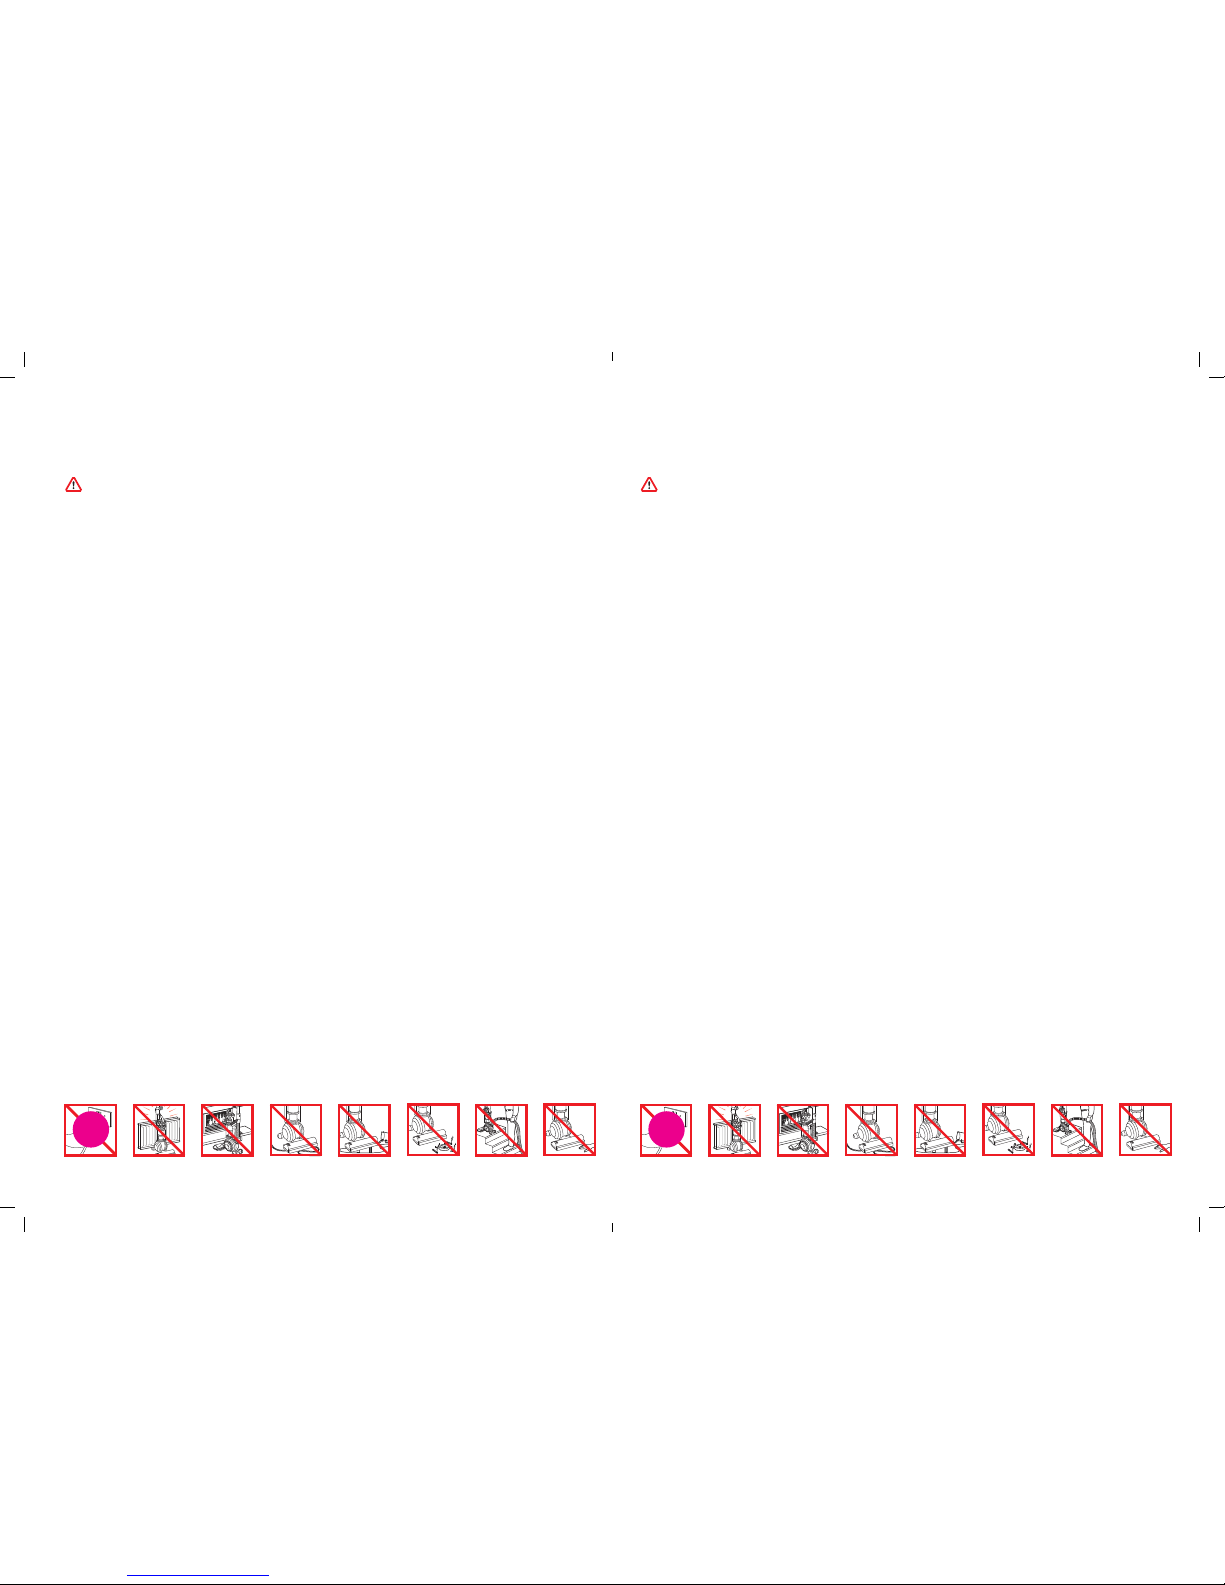
Do not pull
on the cable.
Do not store near heat
sources.
Do not use near naked
flames.
Do not run
over the cable.
Do not pick up water or
liquids.
Do not pick up burning
objects.
Do not use above you
on the stairs.
Do not put hands near
the brush bar when the
appliance is in use.
REGISTER ONLINE
OR BY PHONE
Enregistrement par téléphone ou en ligne
Registrierung Online oder telefonisch
Online of telefonisch registreren
Registro online o por teléfono
Registrazione online o per telefono
Позвоните нам по бесплатному номеру 8-800-100-100-2,
или напишите письмо по адресу info.russia@dyson.com
Registrirajte se prek spleta ali telefona
www.dyson.comwww.dyson.com
Note your serial number for future reference.
Veuillez noter votre numéro de série pour pouvoir vous y référer ultérieurement.
Bitte notieren Sie die Seriennummer für eventuelle Rückfragen.
Noteer hier uw serienummer ter referentie.
Apunte su número de serie para una futura referencia.
Registrate oggi stesso la garanzia.
Запишите ваш серийный номер на будущее.
Registrirajte vašo garancijo še danes.
This illustration is for example purposes only.
A des fins d’illustration seulement.
Nur für Illustrationszwecke.
Uitsluitend ter illustratie.
Imagen de ejemplo.
Immagine di esempio.
Данный номер является ОБРАЗЦОМ.
Za ponazoritev.
DYSON CUSTOMER CARE
THANK YOU FOR CHOOSING TO BUY A DYSON APPLIANCE
After registering your 5year guarantee, your Dyson appliance will be covered for parts and
labour for 5years from the date of purchase, subject to the terms of the guarantee. If you have
any questions about your Dyson appliance, call the Dyson Helpline with your serial number
and details of where/when you bought the appliance. Most questions can be solved over the
phone by one of our trained Dyson Helpline staff.
Your serial number can be found on your rating plate which is behind the clear bin.
SERVICE CONSOMMATEURS DYSON
MERCI D’AVOIR CHOISI UN APPAREIL DYSON
Garantie 5 ans pièces et main-d’œuvre incluses à compter de la date d’achat, selon les
conditions générales. Pour toute question concernant votre appareil Dyson, appeler le Service
Consommateurs Dyson et communiquer le numéro de série et les détails concernant la date/
le lieu d’achat. La plupart des questions peuvent être résolues par téléphone par un de nos
techniciens du Service Consommateurs Dyson.
Le numéro de série est situé sur le corps de l’appareil, derrière le collecteur transparent.
DYSON KUNDENDIENST
DANKE, DASS SIE SICH FÜR DYSON ENTSCHIEDEN HABEN
Für Ihr Dyson-Gerät gewähren wir Ihnen ab Kaufdatum für einen Zeitraum von 5Jahren
gemäß unseren Garantiebestimmungen Garantie auf alle Teile und Arbeiten. Wenn
Sie Rückfragen zu Ihrem Dyson-Gerät haben, rufen Sie die Telefonberatung des Dyson
Kundendienstes an. Geben Sie die Seriennummer und die Einzelheiten an, wo und wann
Sie das Gerät gekauft haben. Die meisten Fragen können telefonisch von einem unserer
Kundendienstmitarbeiter geklärt werden.
Sie finden die Seriennummer auf dem Staubsauger hinter dem durchsichtigen Behälter.
DYSON KLANTENSERVICE
HARTELIJK DANK VOOR UW AANKOOP VAN EEN APPARAAT VAN DYSON
Na registratie voor uw 5-jarige garantie valt uw Dyson apparaat gedurende 5 jaar na de
datum van aankoop onder de garantie voor onderdelen en werkzaamheden, afhankelijk
van de garantievoorwaarden. Als u vragen hebt over uw Dyson apparaat, bel dan de Dyson
Benelux Helpdesk en geef uw serienummer door en gegevens over waar/wanneer u het
product gekocht hebt. De meeste vragen kunnen telefonisch worden beantwoord door een van
onze Dyson Benelux Helpdeskmedewerkers.
Het serienummer kunt u vinden op de romp van de stofzuiger achter het doorzichtige
stofreservoir.
SERVICIO DE ATENCIÓN AL CLIENTE DYSON
GRACIAS POR HABER ELEGIR UN APARATO DYSON
Después de registrar la garantía, su aparato Dyson estará cubierto en piezas y mano de obra
durante 5 años desde la fecha de compra, sujeto a los términos de la garantía.
Si tiene alguna pregunta acerca de su aparato Dyson, póngase en contacto con la línea de
servicio al cliente de Dyson con su número de serie y los detalles de dónde y cuándo compró
su aparato. La mayor parte de sus preguntas podrán ser resueltas por teléfono por uno de los
operadores de la línea de servicio al cliente de Dyson.
El número de serie se encuentra en el adhesivo de datos de servicio, situado detrás del cubo
transparente.
ASSISTENZA CLIENTI DYSON
GRAZIE PER AVER SCELTO UN APPARECCHIO DYSON
Dopo aver registrato la garanzia di 5 anni, le parti e la manodopera del vostro apparecchio
Dyson saranno coperte per 5 anni dalla data d’acquisto, in base alle condizioni previste dalla
garanzia.Se avete domande sul vostro apparecchio Dyson, chiamate il Centro Assistenza
Dyson tenendo a portata di mano il numero di serie dell’apparecchio e le informazioni su dove
e quando è stato acquistato.La maggior parte dei dubbi può essere risolta telefonicamente
dallo staff del nostro Centro Assistenza Dyson.
Il numero di serie si trova sulla targhetta posta dietro il contenitore trasparente.
СЕРВИС ДАЙСОН
БЛАГОДАРИМ ЗА ВЫБОР УСТРОЙСТВА DYSON
Ваш пылесос Dyson находится на гарантийном обслуживании в течение 5 лет с момента
покупки в соответствии с условиями и исключениями, указанными в данной инструкции
по эксплуатации. Если у вас возникнут какие-либо вопросы, позвоните в Службу
Поддержки Клиентов Dyson, укажите серийный номер вашего пылесоса и где и когда вы
его купили.
Большинство вопросов можно уладить по телефону с одним из квалифицированных
сотрудников Службы Поддержки К лиентов Dyson.
Серийный номер пылесоса находится на наклейке со штрих-кодом, которая
расположена за прозрачным контейнером для сбора пыли.
DYSONOVA POMOČ UPORABNIKOM
ZAHVALJUJEMO SE VAM ZA NAKUP NAPR AVE DYSON.
Potem ko registrirate vašo 5-letno garancijo, bo za vašo napravo Dyson veljala 5-letna
garancija v skladu s garancijskimi pogoji. Če imate kakršnih koli vprašanj o svoji napravi
Dyson, nas pokličite, sporočite serijsko številko in podatke o tem, kje in kdaj ste kupili napravo.
Večino vprašanj je mogoče rešiti po telefonu z našimi sodelavci za tehnično podporo pri
Dysonu.
Serijsko številko najdete na ohišju sesalnika za zbiralnikom smeti.