300/302 Owner’s Manual
TABLE OF CONTENTS
02
- Important Notice
- Characteristics
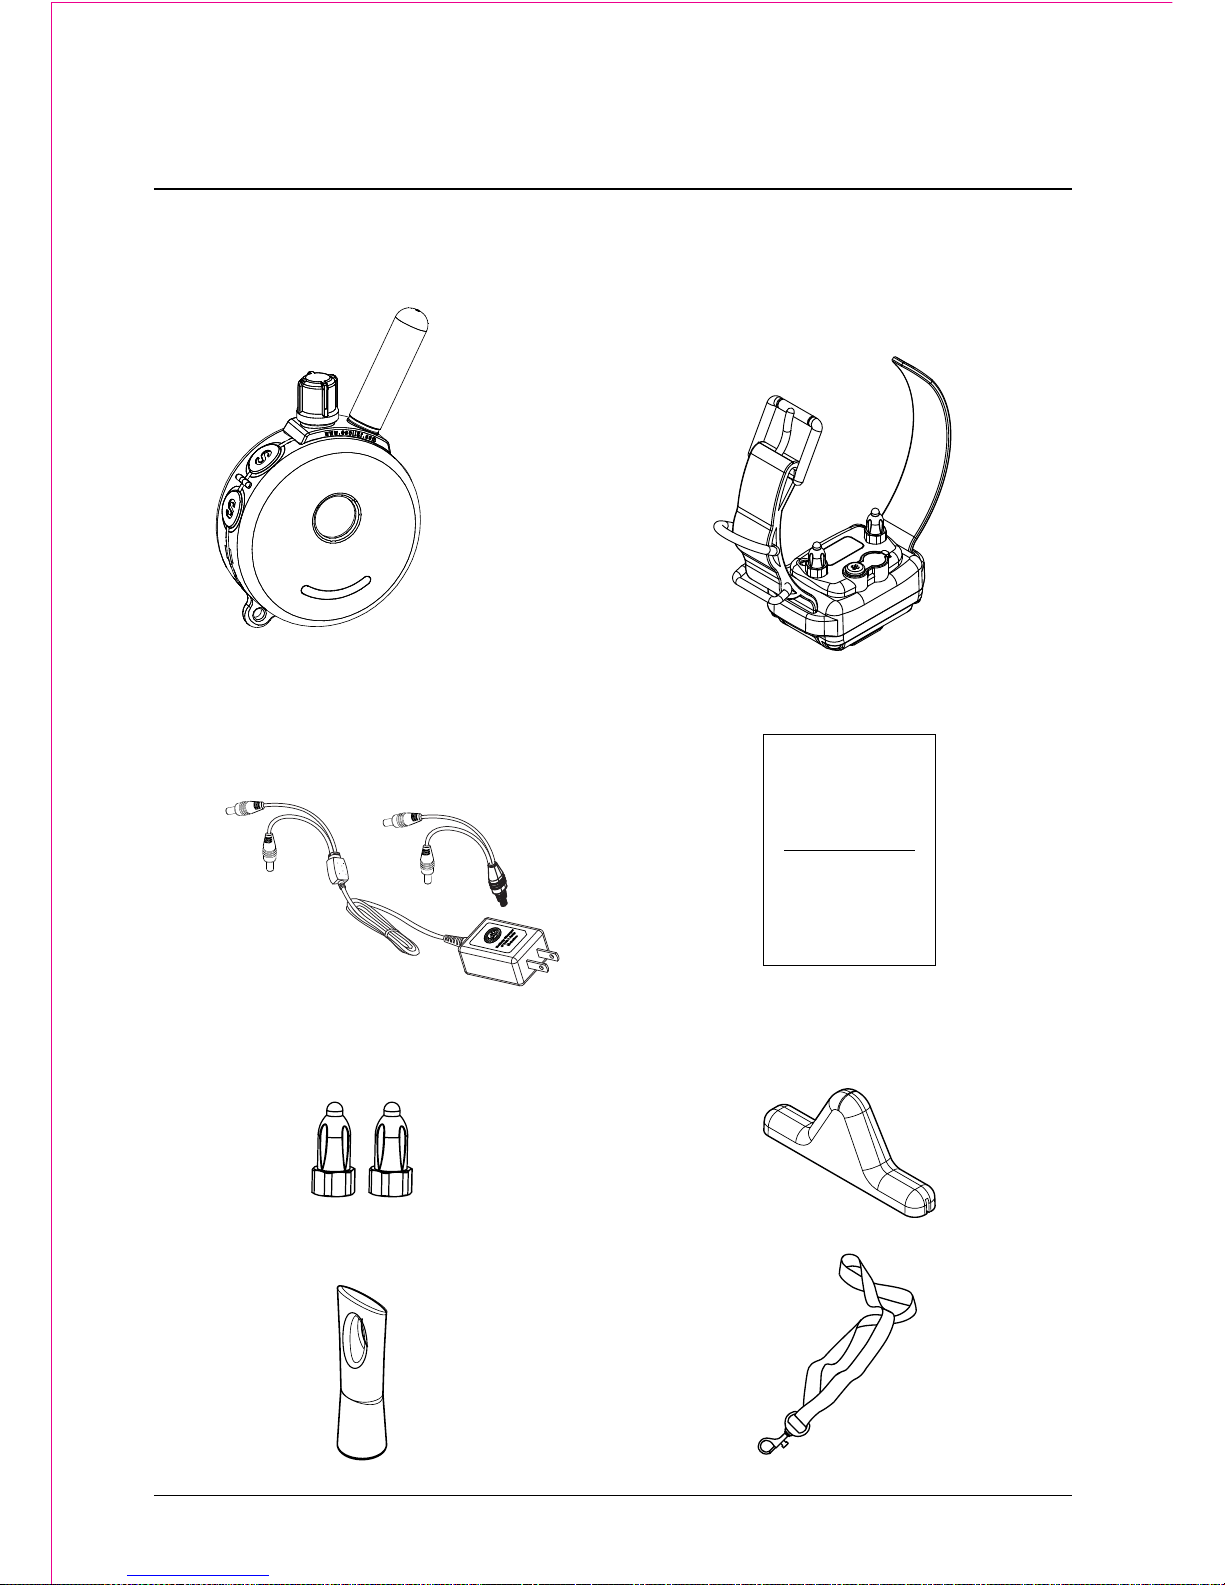
- Package Contents
- Device Operation
- Charging the Batteries
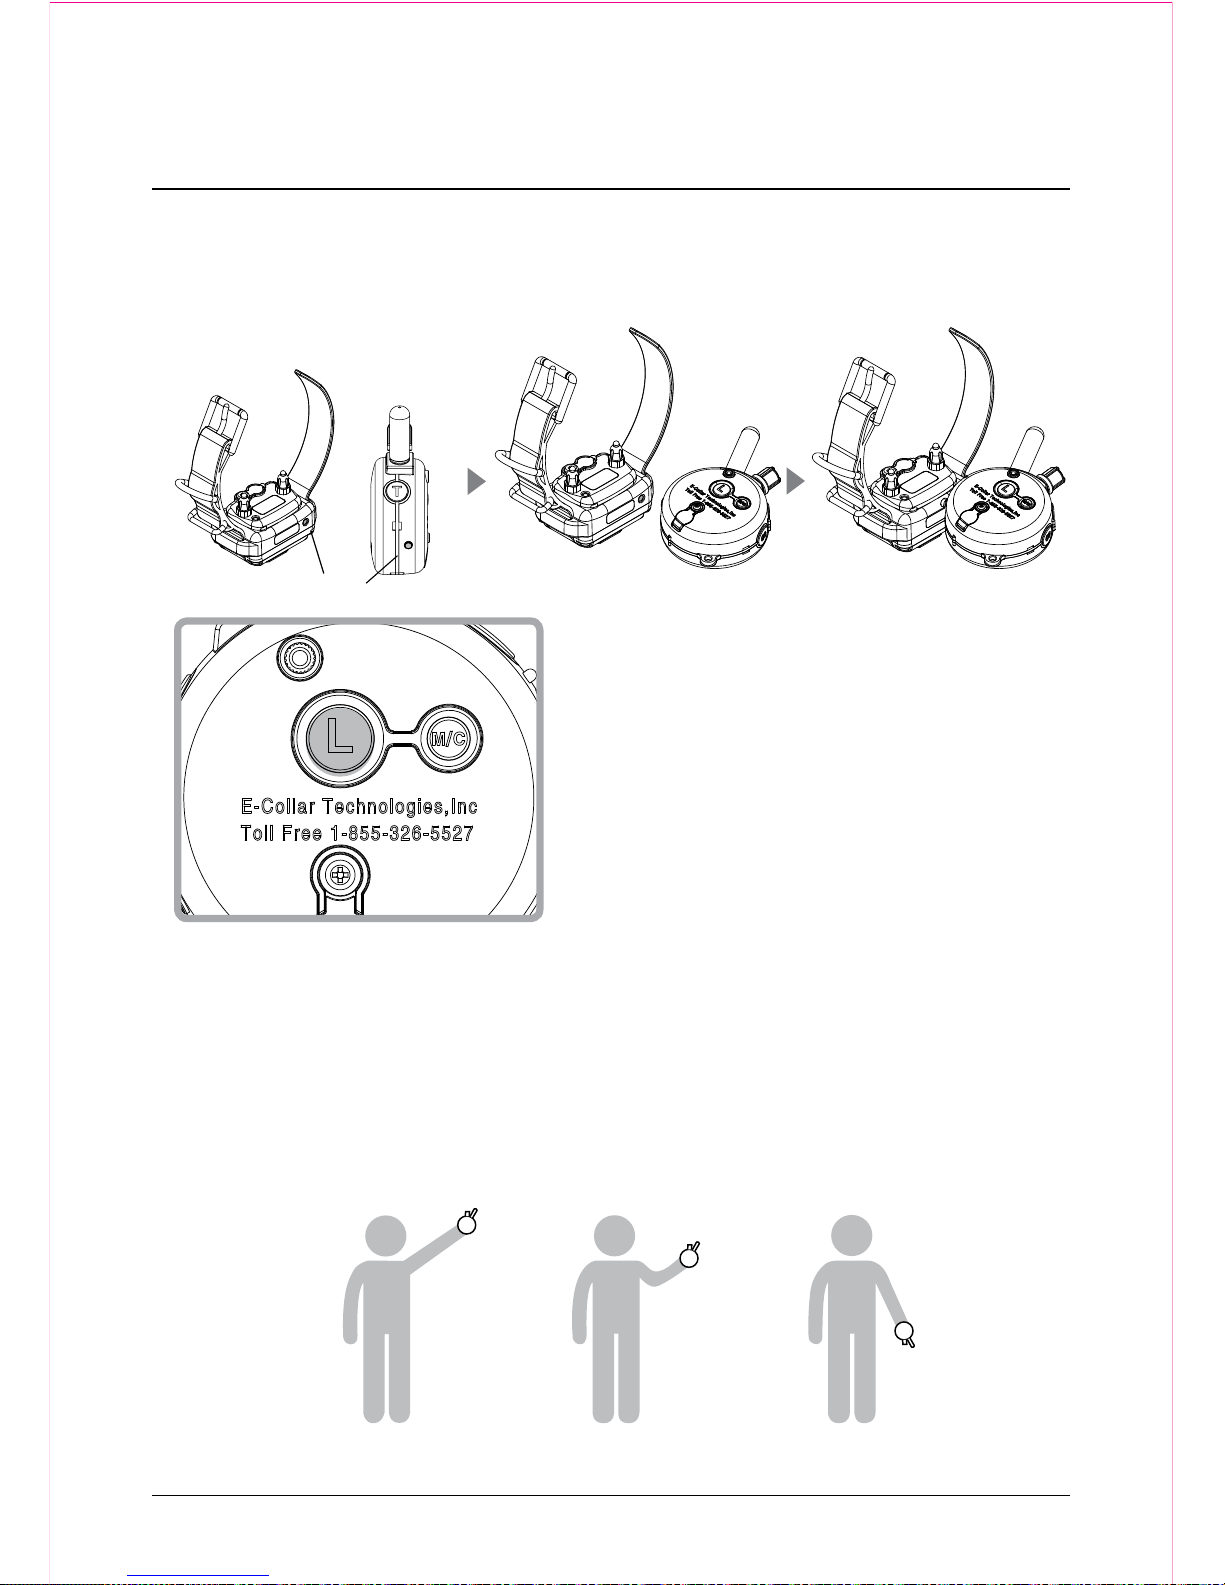
- Turning Your E-Collar ON/OFF
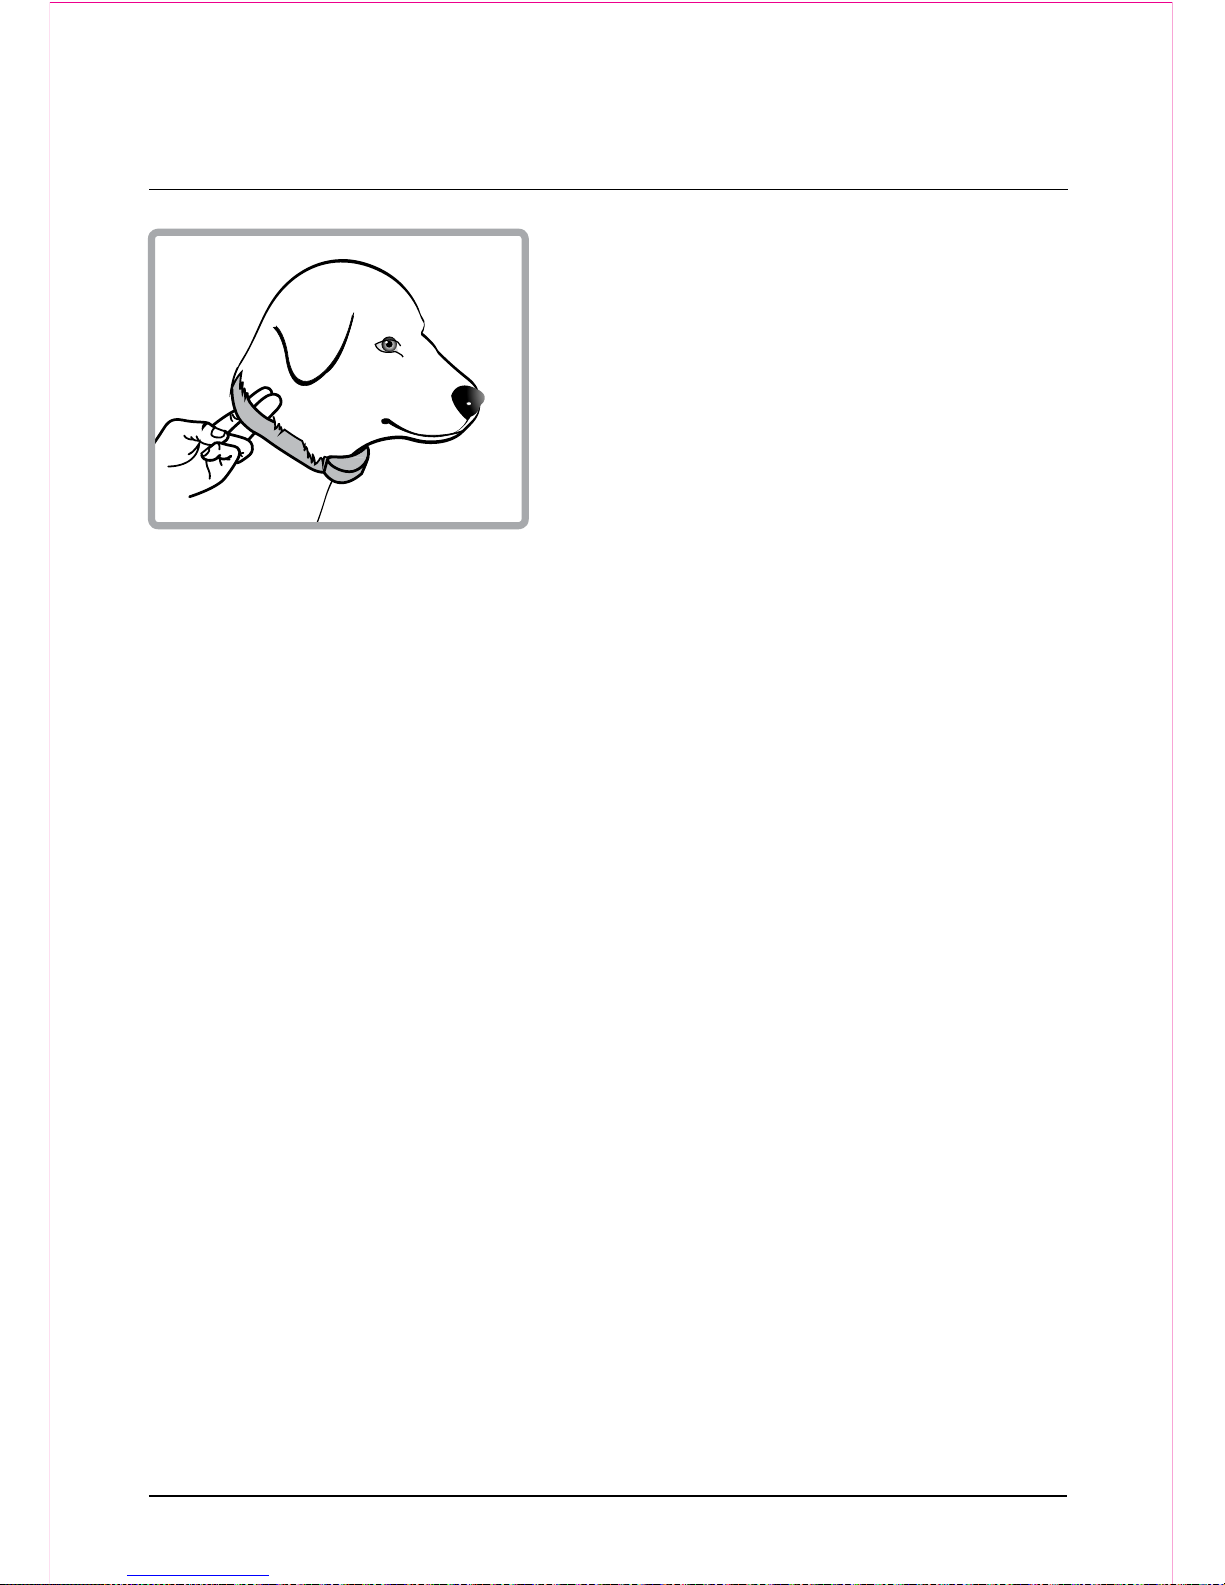
- Correctly Fitting the Collar
- The LCD Display Description
- Button Functions
- How to Find the Proper Stimulation Level
- Lock/Unlock the Stimulation Level
- How to Set the Boost
- Lost Transmitter Mode
- Replace/Add A Collar Receiver
03
04
05
06
07
08
09
10
11
13
14
15
16
17
Two Dog 302 Specifics
- 302 LCD Description
- 302 Button Functions
- How to Lock/Unlock the Stimulation Level
- 302 Boost Level Setup
18
19
21
22
- Testing your E-Collar
- Replacing the Contact Points
- Training Tips
- Troubleshooting
- Two Year Warranty
- Accessories
- Safety and General Information
23
24
25
26
27
28
30
...................................
....................................
..................................
...................................
...............................
.........................
...........................
...........................
...................................
.................
.......................
................................
...............................
........................
................................
..........................
......................................
...................................
.................................
......................................
........................
................................
...............................
................
...............................