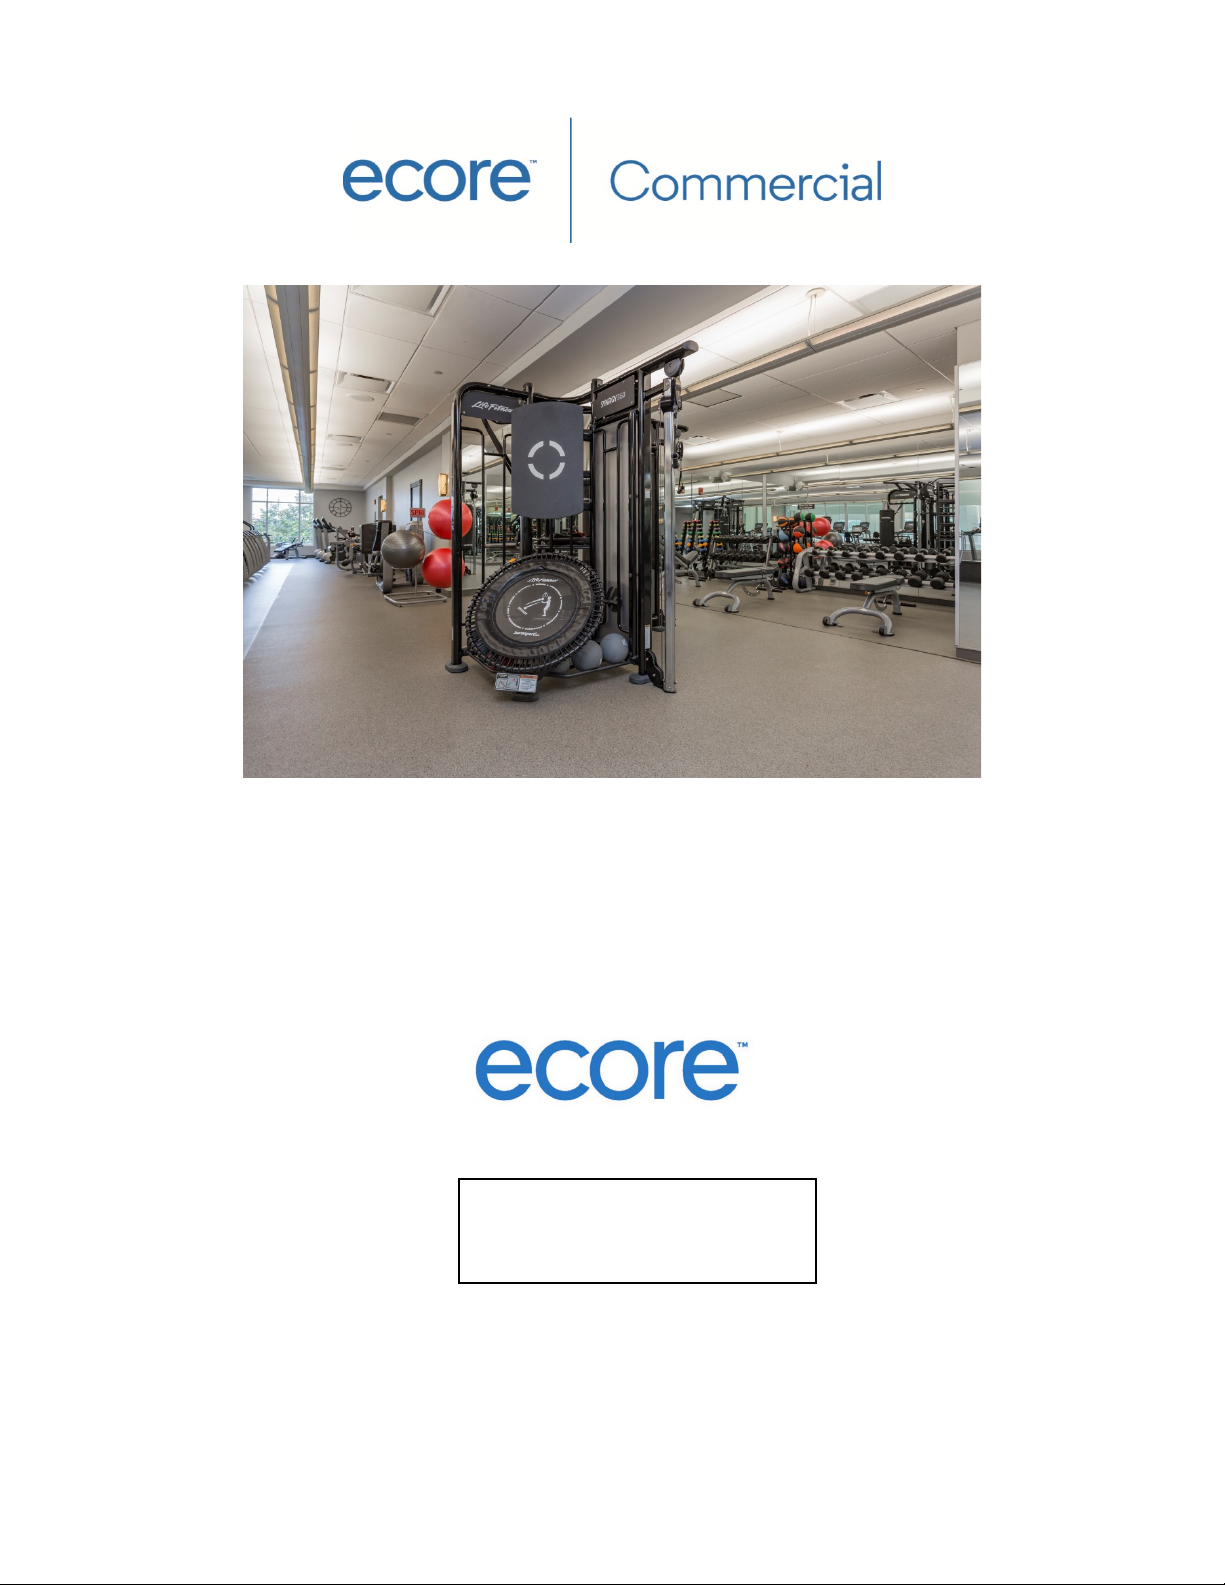
E-Core ECOfit User manual
ECOfit & ECOfit Plus Rolls
TECHNICAL MANUAL
Installation ·Maintenance ·Warranty
Manufactured in the U.S.A. by:
Revised on 07/18/2019
Supersedes all previous versions.
Check website for updates.

ECOfit & ECOfit Plus Rolls Technical Manual
www.ecorecommercial.com 2
Installation
Job Site Conditions 3
Subfloors 3
Subfloor Preparation 3
Storage & Handling 4
Installation 5
Maintenance
Specifier Information 7
Cleaning Procedures 8
ECOguard Sealer Procedures 9
Warranty
Warranty 12

ECOfit & ECOfit Plus Rolls Technical Manual
www.ecorecommercial.com 3
I. JOB SITE CONDITIONS
A. Installation should not begin until after all other trades are finished in the area. If the job
requires other trades to work in the area after the installation of the floor, the flooring should
be protected with an appropriate cover.
B. Areas to receive flooring should be weather tight and maintained at a minimum uniform
temperature of 65˚ F (18˚ C) for 48 hours prior to, during, and after installation.
II. SUBFLOORS
ECOfit Plus rolls may be installed over concrete, approved Portland based self-leveling materials,
and wood.
Note: Gypsum based patching and leveling compounds are not acceptable.
A. Wood Subfloors: Wood subfloors should be double construction with a minimum thickness of
1”. The floor must be rigid, free from movement, and have at least 18” of well-ventilated air
space below.
B. Underlayments: The preferred underlayment panel is APA underlayment grade plywood,
minimum thickness of 1/4”, with a fully sanded face.
Note: Particle board, chip board, Masonite, and lauan are not suitable underlayments.
C. Concrete Floors: Concrete shall have a minimum compressive strength of 3000 psi. It must be
fully cured and permanently dry.
III. SUBFLOOR REQUIREMENTS AND PREPARATION
A. Subfloor shall be dry, clean, smooth, level, and structurally sound. It should be free of dust,
solvent, paint, wax, oil, grease, asphalt, sealers, curing and hardening compounds, alkaline
salts, old adhesive residue, and other extraneous materials, according to ASTM F710.
B. Subfloor should be smooth to prevent irregularities, roughness, or other defects from
telegraphing through the new flooring. The surface should be flat to the equivalent of 3/16”
(4.8 mm) in 10 feet (3.0 m).
C. Mechanically remove all traces of old adhesives, paint, or other debris by scraping, sanding, or
scarifying the substrate. Do not use solvents. All high spots shall be ground level and low spots
filled with an approved Portland based patching compound.
D. All saw cuts (control joints), cracks, indentations, and other non-moving joints in the concrete
must be filled with an approved Portland based patching compound.
E. Expansion joints in the concrete are designed to allow for expansion and contraction of the
concrete. If a floor covering is installed over an expansion joint, it more than likely will fail in
that area. Expansion joint covers designed for resilient floor coverings should be used.
F. Always allow patching materials to dry thoroughly and install according to the manufacturer’s
instructions. Excessive moisture in patching material may cause bonding problems or a
bubbling reaction with the E-Grip III™ adhesive.

ECOfit & ECOfit Plus Rolls Technical Manual
www.ecorecommercial.com 4
HAZARDS
SILICA WARNING: Concrete, floor patching compounds, toppings, and leveling compounds can contain
free crystalline silica. Respirable crystalline silica (particles 1–10 micrometers) can be produced by
cutting, sawing, grinding, or drilling. Respirable silica is classified by OSHA as an IA carcinogen and is
known to cause silicosis and other respiratory diseases. Avoid actions that cause dust to become
airborne. Use local or general ventilation or protective equipment to reduce exposure below applicable
exposure limits.
ASBESTOS WARNING: Resilient flooring, backing, lining felt, paint or asphaltic “cutback” adhesives can
contain asbestos fibers. Avoid actions that cause dust to become airborne. Do not sand, dry sweep, dry
scrape, drill, saw, beadblast or mechanically chip or pulverize. Regulations may require that the material
be tested to determine asbestos content. Consult the documents titled Recommended Work Practices
for Removal of Existing Resilient Floor Coverings, available from the Resilient Floor Covering Institute.
LEAD WARNING: Certain paints can contain lead. Exposure to excessive amounts of lead dust presents a
health hazard. Refer to applicable federal, state, and local laws and the publication Lead Based Paint:
Guidelines for Hazard Identification and Abatement in Public and Indian Housing, available from the
United States Department of Housing and Urban Development.
G. Moisture must be measured using the RH Relative Humidity test method per ASTM F2170
standard. Moisture content should not exceed 85% RH. If the levels exceed the limitations, the
installation should not proceed until the situation has been corrected.
H. In the event that a moisture mitigation system is required, it must conform to the ASTM F3010
Standard Practice for Two-Component Resin Based Membrane Forming Moisture Mitigation
Systems for use Under Resilient Floor Coverings.
I. It is essential that pH tests be taken on all concrete floors. If the pH is greater than 9, it must be
neutralized prior to beginning the installation.
J. Adhesive bond tests should be conducted in several locations throughout the area. Glue down
3´ x 3´ test pieces of the flooring with the recommended adhesive and trowel. Allow to set for
72 hours before attempting to remove. A sufficient amount of force should be required to
remove the flooring and, when removed, there should be adhesive residue on the subfloor and
on the back of the test pieces.
IV. MATERIAL STORAGE AND HANDLING
A. Material should be delivered to the job site in its original unopened packaging with all labels
intact.
B. Roll material should always be stored lying down. Storing rubber on end will curl the edges,
resulting in permanent memory of the material. Do not store rolls higher than 4 rolls or for
more than 6 months. Material should only be stored on a clean, dry, smooth surface.
C. All edges with memory curl should be straight cut before installation. In some instances it may
be necessary to weigh down the seam until adhesive develops a firm set.
D. Inspect all material for visual defects prior to beginning the installation. No labor claim will be
honored on material installed with visual defects. Verify the material delivered is the correct
style, color, and amount. Any discrepancies must be reported immediately before beginning
installation.

ECOfit & ECOfit Plus Rolls Technical Manual
www.ecorecommercial.com 5
E. The material and adhesive must be acclimated at room temperature for a minimum of 48 hours
before starting installation.
V. INSTALLATION PREP
A. Rolls must be unrolled and installed in the same direction (Directional arrows are stamped on
bottom of the rolls; see Figure 1.) Rolls are labeled with batch numbers and roll numbers. Do
not mix batch numbers together and install all rolls in consecutive order. Laying rolls in the
opposite direction and out of sequence can cause color variations between the rolls.
Figure 1
B. Note: Custom roll lengths eliminate the possibility of the rolls being manufactured and
numbered in the customer’s desired installation sequence, and Ecore cannot be responsible for
any resulting shading issues.
C. Roll material is stretched slightly when it is rolled at the factory. Unroll all rolls and allow to
relax for a minimum of two hours before gluing or cutting material. Shaking the material once
unrolled can help it to relax.
D. Snap a chalk line where the first seam will be located. Straight cut the edge of the first piece if
required. Align the first roll factory edge to the chalk line.
E. Straight edge the second lineal drop if the first lineal drop is not long enough to span the entire
length or width of the room. If end or head seams are necessary, they should be staggered on
the floor and overlapped approximately 3-6”.
F. Position second row with no more than 1/8” overlap over the first roll at the seam (see Figure
2). After adhesive is applied to the substrate, the material will be worked back to eliminate the
overlap. This procedure will leave tight seams and eliminate any gaps. Care should be taken to
not over compress the seams. Over compressed seams will cause peaking.
Figure 2
G. Repeat for each consecutive roll to be installed that day.
This manual suits for next models
1
Table of contents
Other E-Core Fitness Equipment manuals


Popular Fitness Equipment manuals by other brands


G-FITNESS
G-FITNESS AIR ROWER user manual

CAPITAL SPORTS
CAPITAL SPORTS Dominate Edition 10028796 manual

Martin System
Martin System TT4FK user guide

CIRCLE FITNESS
CIRCLE FITNESS E7 owner's manual

G-FITNESS
G-FITNESS TZ-6017 user manual

Accelerated Care Plus
Accelerated Care Plus OMNISTIM FX2 CYCLE/WALK user manual


