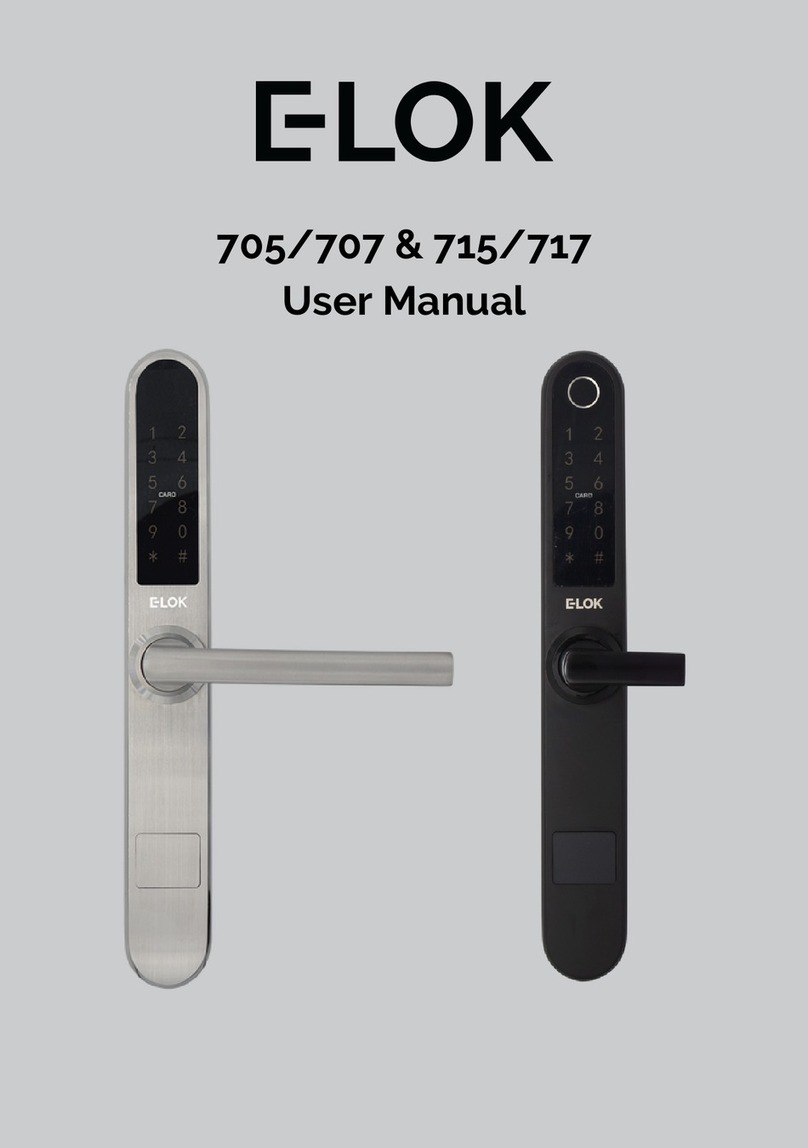
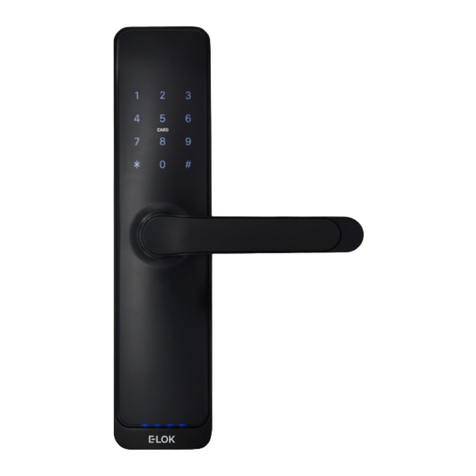
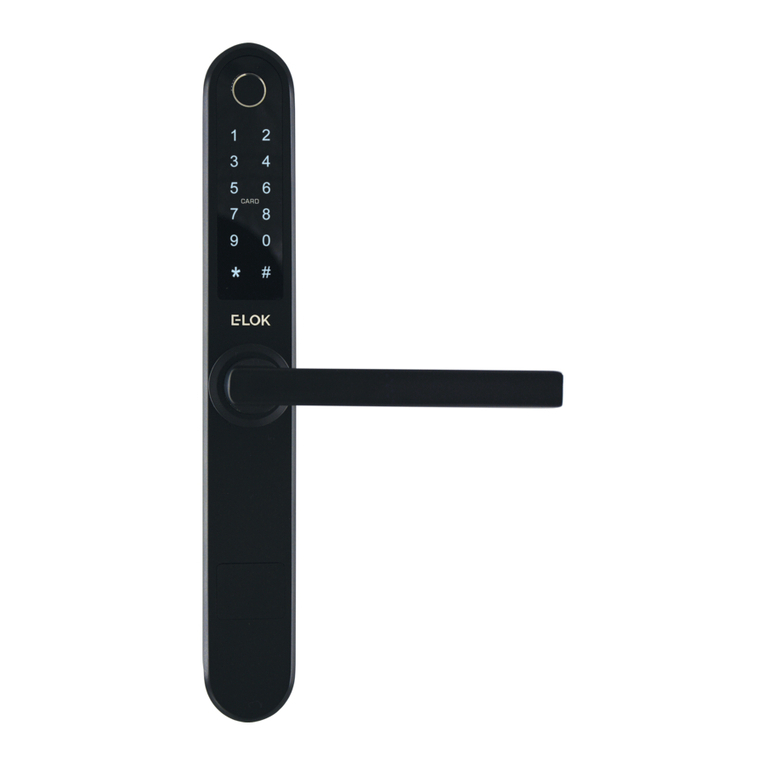
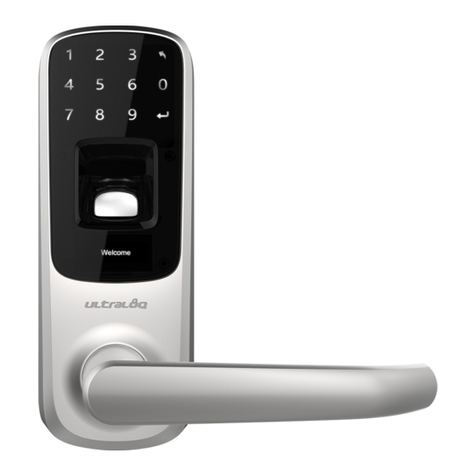
E-LOK 7 Series User manual

705/707 User Manual

Keep the included mechanical keys in a convenient place
Replace the batteries when batteries are low voltage
Read this user manual carefully before installing your 7-
Series lock set
7 - S e r i e s
Please Note:

7 - S e r i e s
Contents Page:
Pg 3.
Pg 4.
Pg 5.
Pg 6.
Pg 7.
Pg 8.
Pg 9.
Pg 10.
Pg 11.
Pg 12.
Pg 13.
Pg 14.
Pg 15.
Pg 16.
Pg 17.
Pg 18.
Pg 19.
Pg 20.
Pg 21.
Pg 22.
Pg 23.
Pg 24.
Pg 25.
Pg 26.
Pg 27.
Pg 28.
7-Series Body & Mortice options
Packing List
7-Series Specifications
Adjusting the Handing
Installation Check List
Installation; Steps 1-3
Installation; Steps 4-6
FactoryReset; Methods 1 & 2
Factory Rest; Trouble Shooting
First Set-up
Bluetooth + Pincode Unlocks
RFID Card + Fingerprint Unlocks
RemoteUnlock + eKey
Admin Passcode + Unlock Records
Battery Percentage + Passage Mode
Use of Master Admin, Admin + User Pg. 1
Use of Master Admin, Admin + User Pg. 2
Use of Master Admin, Admin + User Pg. 3
7-Series Handle Functions
Unlockwith Mechanical Key
E-LOKGateway Pg. 1
E-LOKGateway Pg. 2
E-LOKGateway Pg. 3
Maintenance Guide
Important Notes
Contact

7-Series Body:
Mortise Options:
30mm 35mm
(Standard)
45mm 60mm
Back set:
Case Width:
45mm 52mm 62mm 86mm
240mm
243mm
240mm
240mm
Face Plate:
3
7 - S e r i e s

Packing List:
Front Panel
QTY 1
Back Panel
QTY 1
User Manual
QTY 1
Mortice lock
QTY 1
Strike
QTY 1
Pointed Screw
QTY 4
Mechanical Key
QTY 3
Card
QTY 3
Spindle
QTY 2
Pin
QTY 1
Fixing Screws 1
QTY 3
Screw Casing
QTY 3
Gasket
QTY 2
Sliding Screw
QTY 2
Fixing Screws 2
QTY 2
Gateway
(Optional)
4
7 - S e r i e s

Specs:
E-LOK 7-Series Smart Lockset
E-LOK App
304 Stainless Steel
Electroplate Black, Stainless Steel
Pin Code,
RFID Card,
E-LOK App,
Mechanical Key.
Fingerprint (707 Model Only)
Unlimited
Unlimited
200 RFID Cards
200 Fingerprints
6V (4*AAA Batteries)
10,000 Lock and Unlock Operations
—20°C — 70°C
10% - 95%
30mm - 80mm
Aluminium Door, Wooden Door
280mm(H)*38mm(W)*25mm(D)
35mm Back Set
30mm, 45mm, 60mm Back Set
2 Year Warranty
2 Year Warranty
Product Name:
Operating Application:
Manufactured Material:
Finish Styles:
Unlock Methods:
Max Num. Locks on App:
Max Num. Pin Codes:
Max Num. RFID Cards:
Max Num. Fingerprints:
Batteries:
Battery life:
Operating Temp:
Operating Humidity:
Suitable Door Thickness:
Suitable Door Types:
Product Size:
Standard Mortice lock Size:
Available Mortice lock Sizes:
7-Series Warranty:
E-LOK Gateway Warranty:
5
7 - S e r i e s

6
7 - S e r i e s
Adjusting The Handing:
Note: The arrow on the clutch must point in the
direction of the handle. Ensure when you are
installing your lock set or changing the handing
of the lock set that the arrow is pointing in the
correct direction.
Turn the handle on the front panel, loosen the inner screw.
Remove the handle.
After adjusting the direction of the handle, insert it into the handle seat, re-
tighten the inner screw and ensure arrow is pointing in the direction of the
handle (above image).
Check the inner-screw is tight before moving onto the rear panel.
Complete the same process for the rear handle. Ensure inner screw is tight
when re-attaching handle to the panel.

7
7 - S e r i e s
Installation Check List:
Hole for mortice lock is accurately measured and cut.
Mortice lock installed tightly with correct fixings.
Gasket is installed to lock set's front and rear panel.
Pin is used to secure spindle on front panel.
Arrow on clutch is pointing in direction of handle before fitting
to door.
Screw casings are installed tightly.
Data/Power cable is connected without kinks in wire.
Correct screws are used to fix back panel to front panel.
Batteries installed - check if lockset turns on before fully fixing
lockset to door.
Check all screws have been used to install lock set and are
tight.

7 - S e r i e s
Installation:
Step 1.
If you are retrofitting into anexisting mortice
hole, skip this step. If you are fitting the 7-
Series into a new hole, takethe including
mortice template and cut the holes into
your door. Your E-LOK 7-Series comes with
screws to both suit wooden and aluminium
doors.
Step 2.
Once you've created the holes for your
mortice lock, it is time to install it into your
door. Ensure the mortice lock is straight and
in the centre of your door. Also ensure to
use the correct screws when fixing it to your
door.
Step 3.
Once you've installed the mortice lock,
install the spindle into the outdoor handle.
Ensure that before you install, check the
clutch arrow is pointing in the direction of
the handle. Use the included pin to secure
spindle in place,
8

7 - S e r i e s
Installation:
Step 4.
Now install the adjustable height screw
casings on the outdoor handle and attach
the included rubber gaskets to both the
front and back handle.
Step 5.
Now you are ready to connect the front and
back panel. Connect the cable, ensure
there is space in the door for it. You may
have to create a hole in a wooden door for
this.
Step 6.
Remove the battery case from the back
panel. Screw the back panel to front panel.
Use the long fixing screw for the bottom
fixing point. Choose between the two
shorter fixing screws for the top hole
depending on your door width.
Install Batteries and screw the battery
case back into place.
E-LOK 7-Series should be ready to go.
9

Factory Reset:
Method One
Only use this method if E-LOK 7-
Series is set-up but not on YOUR
E-LOK App account.
Open the cover for the batteries on the
rear plate, long press the button on the
bottom left side for5 seconds, input
code "000#" on the front panel. The
system reset will be complete.
Method Two
Use this method if E-LOK is Set-Up on
your E-LOK APP
Once your E-LOK 7-Series is set-up on
the E-LOK App, you can factory reset it
by going into the lock settings and
tapping "Delete". Keep a note of the
password you set for your E-LOK App
Account; this is required to
delete/reset the E-LOK 7-Series from
the App.
7 - S e r i e s
10

Factory Reset Trouble Shooting:
Use this method of removing the E-LOK 7-Series from your app if you
factory reset using method one when the lock set was still connected
to your app.
Tapinto your account Settings.
Press "Transfer Lock"
Choose the E-LOK 7-Series you wish to
Remove from the app
Tap Move Damaged Locks to Trash.
This will remove the E-LOK 7-Series
from your app.
You will then be able to set-up the
same E-LOK 7-Series from the start.
7 - S e r i e s
11

First Set-Up:
1. Registeran account
with E-LOK using either
phone number or email.
2. Login to your account. 3. Ensure E-LOK 7-
Series is on and
Bluetooth enabled on
phone, connect to lock.
4. Select your E-LOK 7-
Series. Note it will not be
called the model of your
E-LOK lock set.
5. Rename your E-LOK
7-Series to your
preference.
6. View your E-LOK lock
set management page.
7 - S e r i e s
Get the E-LOK App by visiting E-LOK.com for the app download link
12

Bluetooth Unlock + Pin codes
Bluetooth Unlock:
After you've connected your phone to your E-LOK 7-Series, open the lock
management page and tap the Unlock icon. This will unlock your E-LOK via
Bluetooth and it will automatically re-lock itself.
Pin code Management:
E-LOK App allows you to set an unlimited number of pin codes. To set one, tap
"Passcode", choose if you want a permanent, timed, custom or a one-off pass
code, name it and then tap "generate". E-LOK App also allows you to set a
custom pin code if you have a code sequence you like. Name your pin codes
uniquely to see what codes are used and when.
7 - S e r i e s
13

RFID Card + Fingerprint
RFID Card Management:
E-LOK App allows you to store 200 unique RFID Cards. To set one up of the
three included with your E-LOK 7-Series, tap "IC Cards" on the lock management
page, tap the menu on the top right then follow the prompts to add your RFID
Card. Name them individually and add them to your car keys for easy use.
Fingerprint Management (only on E-LOK 707):
E-LOK App allows you to store 200 separate fingerprints to unlock the 7-Series.
To add your fingerprint tap "Fingerprints", tap the top right menu and "Add
Fingerprint". From here you can name and manage when the fingerprint will
unlock your 7-Series lock. Tap "Next" and follow the prompts to add your
fingerprint to the app.
7 - S e r i e s
14

Remote Unlock + e-Key
Remote Wi-Fi Unlock (only with E-LOK Gateway Add-on).
After you've connected your phone to your E-LOK lock set and connected your
E-LOK Gateway, open the lock management page and tap the Unlock icon. This
will unlock your E-LOK via Wi-Fi and it will automatically re-lock itself. Ensure
Unlock Remotely is enable in the settings.
e-Key Management:
An e-Key gives another person with an E-LOK App Account access to view and
use your E-LOK 7-Series. Tap on the "eKey" icon on the lock management page,
this allows you to send an electronic key to another person with an E-LOK App
account. You can either set the account to be an Admin or a User. Check ... page
for further information on how to use e-Keys.
7 - S e r i e s
15

Admin passcode + Unlock Records
Admin Passcode:
E-LOK comes with an admin pass code. To view this tap "Settings" on the lock
management page, tap "Basics" and then tap "Admin Passcode". Keep a note of
this passcode.
Unlock Records:
E-LOK App records what pass codes were used to unlock the E-LOK and when.
You can view these records by going into the "Records" menu on the lock
management page. In the example you can see the name of the unlock code, eg
"John", what time it was used and what type of unlock code was used.
7 - S e r i e s
16

Battery + Passage mode
Passage mode:
E-LOK App allows you to manage and control passage mode on your E-LOK 7-
Series. Tap into "Settings", "Passage Mode", then choose the days and hours you
want your E-LOK 7-Series to be in passage mode. A common application for this
is having a 7-Series on passage mode Mon-Fri 9am-5pm for an office building.
You can also set it for all hours and turn it off when you want your E-LOK 7-
Series to lock.
Check Battery Percentage:
E-LOK App allows you to check the battery percentage of your E-LOK in two
easy ways. In the lock select page, the app will give you a percentage overview
to the nearest 10%. You can also find a more accurate battery level in the
settings of the lock set. Tap into "Settings", then "Basics" and then view your
battery percentage. Expect your batteries to last 6-10 months.
7 - S e r i e s
17

Using Master Admin, Admin and User functions via eKey
E-LOK app allows you to distribute specific usage rights to other E-LOK app
account holders.This function allows you to set-up another admin for your lock
set, or set-up a user for your lock set. What this means is other users will be able
to view your lock management page, unlock via Bluetooth and if they're an
admin, add new unlock codes.
Here's how it works:
If you are the account holder that originally set-up your E-LOK 7-Series lock set,
then your account is automatically considered the Master Admin for that lock
set. You cannot change who the Master Admin is, unless you reset the E-LOK
lock set and start over. A Master Admin can send an eKey to new Admin or
simply create a User. Master Admin, Admin and User are apart of a permissions
hierarchyand each have their own rules in place.
Below is the permissions hierarchy chart for Master Admins, Admins and Users:
Use of Master Admin + Admin & User
7 - S e r i e s
MASTER ADMIN
ADMIN 1 ADMIN 2
USER 1 USER 3USER 2
There can only be one MASTER ADMIN per lock set. (This is the account that
originally sets-up the lock set).
There can be multiple Admins and Users.
An Admin can set-up a User but not another Admin.
A Master Admin can set-up both Admins and Users.
A Master Admin can receive notifications when lock set is unlocked,
18

7 - S e r i e s
Use of Admin + User Functions Continued
Other important notes with the Master Admin, Admin and User Hierarchy:
Master Admin:
The Master Admin can see all passcodes associated with its particular Lock set.
The Master Admin can see which Admin created a passcode, when and at what
time it was created. The Master Admin can also see when a particular passcode
was used and also delete them from being used again.
Admin:
An Admin can set passcodes for their chosen 7-Series Lock set. They can only
view their own passcodes and none of the passcodes set by anther Admin or the
Master Admin.
User:
A User only has the App open of unlocking Via Bluetooth and or Unlock
Remotely if the lock set has an E-LOK Gateway. Users can be assigned a pin-
code, RFID Card or fingerprint unlock by name only and not by account. Either
an Admin or the Master Admin can do this. User's have no power to change or
alter any unlock codes or settings with your E-LOK 7-Series.
19
Other manuals for 7 Series
1
This manual suits for next models
2
Table of contents
Other E-LOK Door Lock manuals
Popular Door Lock manuals by other brands
Assa Abloy
Assa Abloy Yale Assure Lock YRC256-ZW3 Installation and programming instructions

Schlage
Schlage ND40 How to Install Button in Field
ZKTeco
ZKTeco ZL600 installation guide
Lockly
Lockly SECURE LUX MORTISE EDITION installation guide
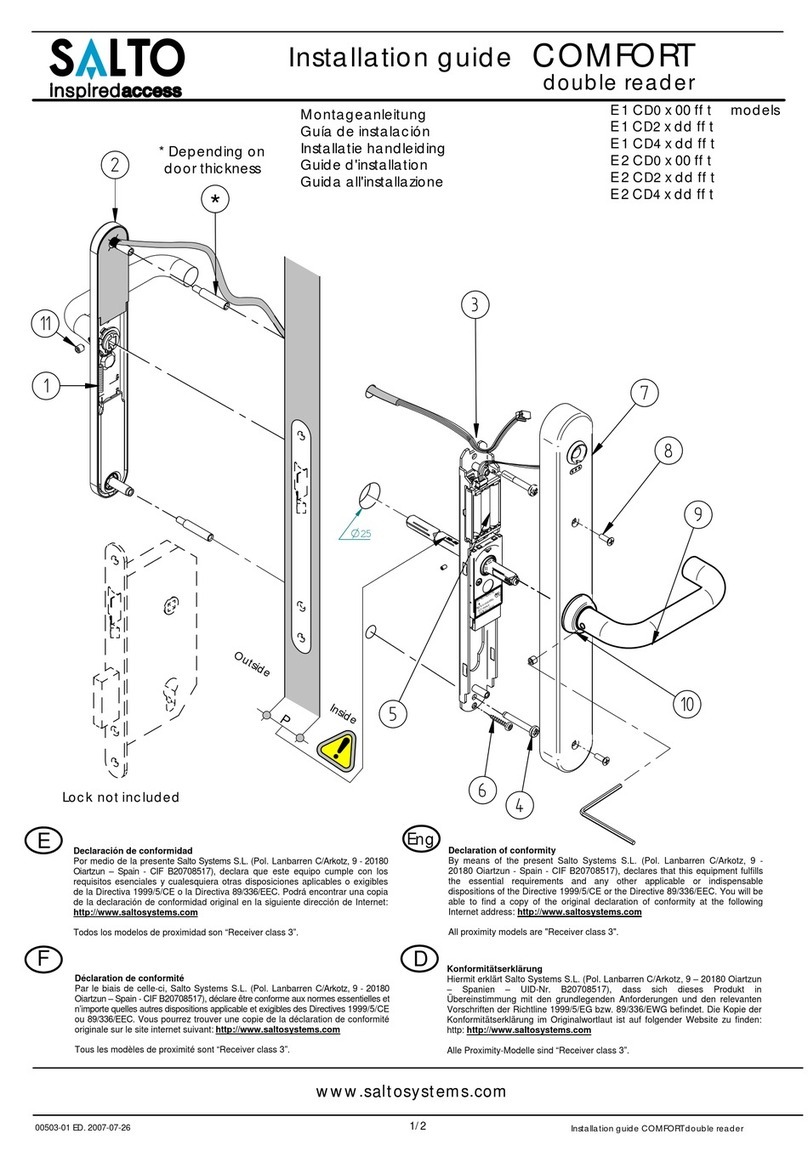
Salto
Salto E1CD0x00fft installation guide

Häfele
Häfele PP8100 installation guide
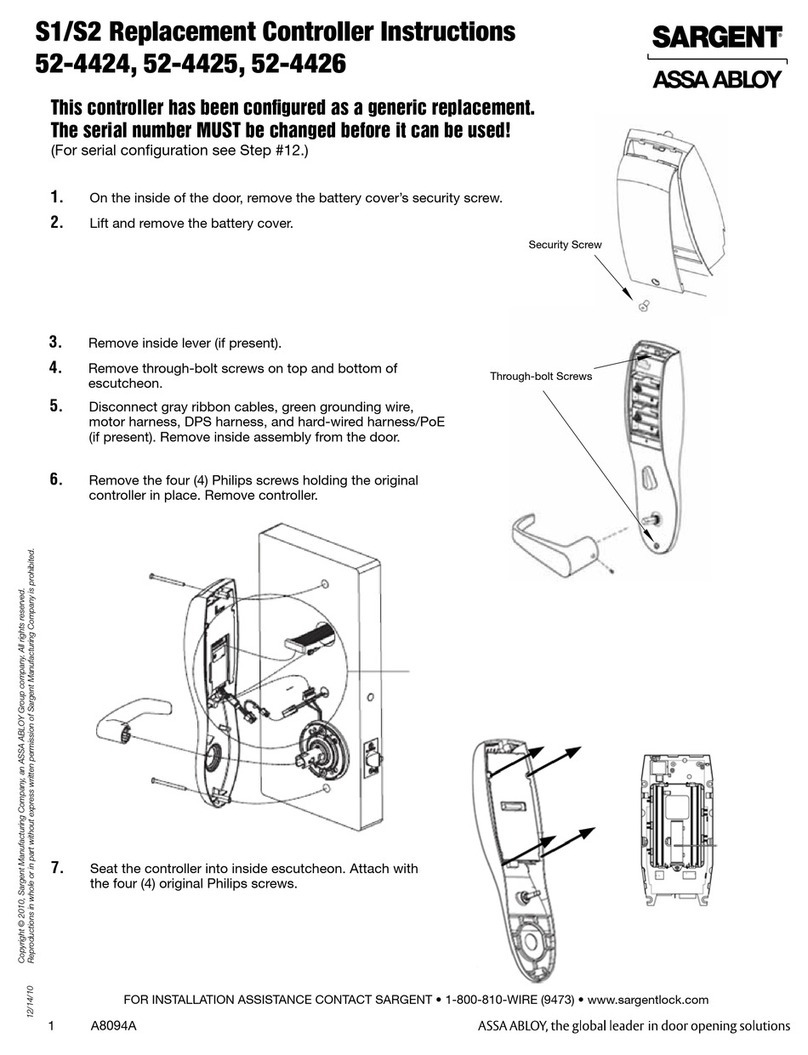
Assa Abloy
Assa Abloy Sargent 52-4424 Replacement instructions

Iseo
Iseo Electa quick start guide
Samsung
Samsung SHS-H505 user manual
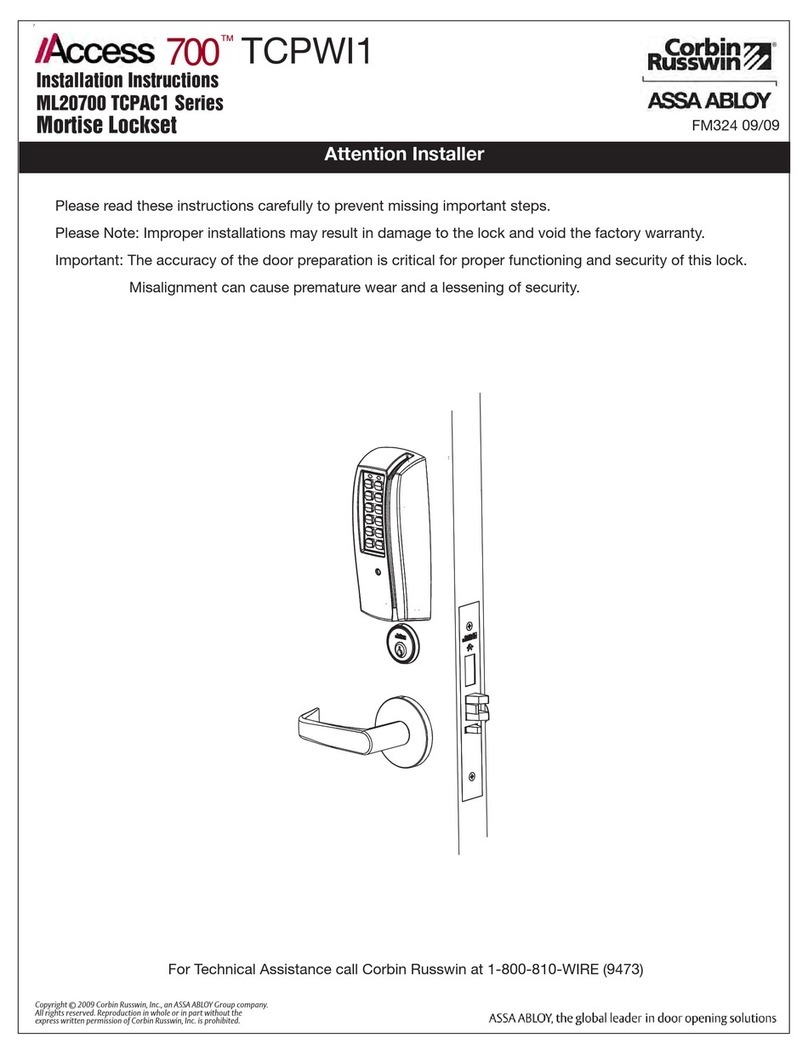
Corbin Russwin
Corbin Russwin Access 700 TCPAC1 Series installation instructions
LOCKEY
LOCKEY M210 instructions
Cavity Sliders
Cavity Sliders CAVILOCK BARN DOOR STRIKE installation instructions
