Manual of Emergency tube
Please read this manual carefully before
installing emergency tube.
WARNING:
THIS PRODUCT MUST BE INSTALLED IN
ACCORDANCE WITH THE APPLICABLE
INSTALLATION CODE BY A PERSON
FAMILIAR WITH THE CONSTRUCTION
AND OPERATION OF THE PRODUCT AND
THE HAZARDS INVOLVED.
The tubes have to be connected with
AC100-277V
directly but not to the existing ballast in the
fixtures. Connecting the tubes to the fixture
without bypassing
the ballast will permanently damage the
tubes.
Tube with Internal lithium battery design.
Operating temperature range : -20℃ ( -4℉ )
to 65℃ ( 149℉ )
Charging temperature range: 0℃ ( 32℉ ) to
45℃
( 113℉ )
Installation instruction:
IMPORTANT: Rewiring fixture according
to the AC input way of emergency tube.
PROJECT NAME:_____________________________ CATALOG NUMBER:__________________________
NOTES:______________________________________FIXTURE SCHEDULE:_________________________
Page: 2 of 3
Tubes are off and batteries are charging.
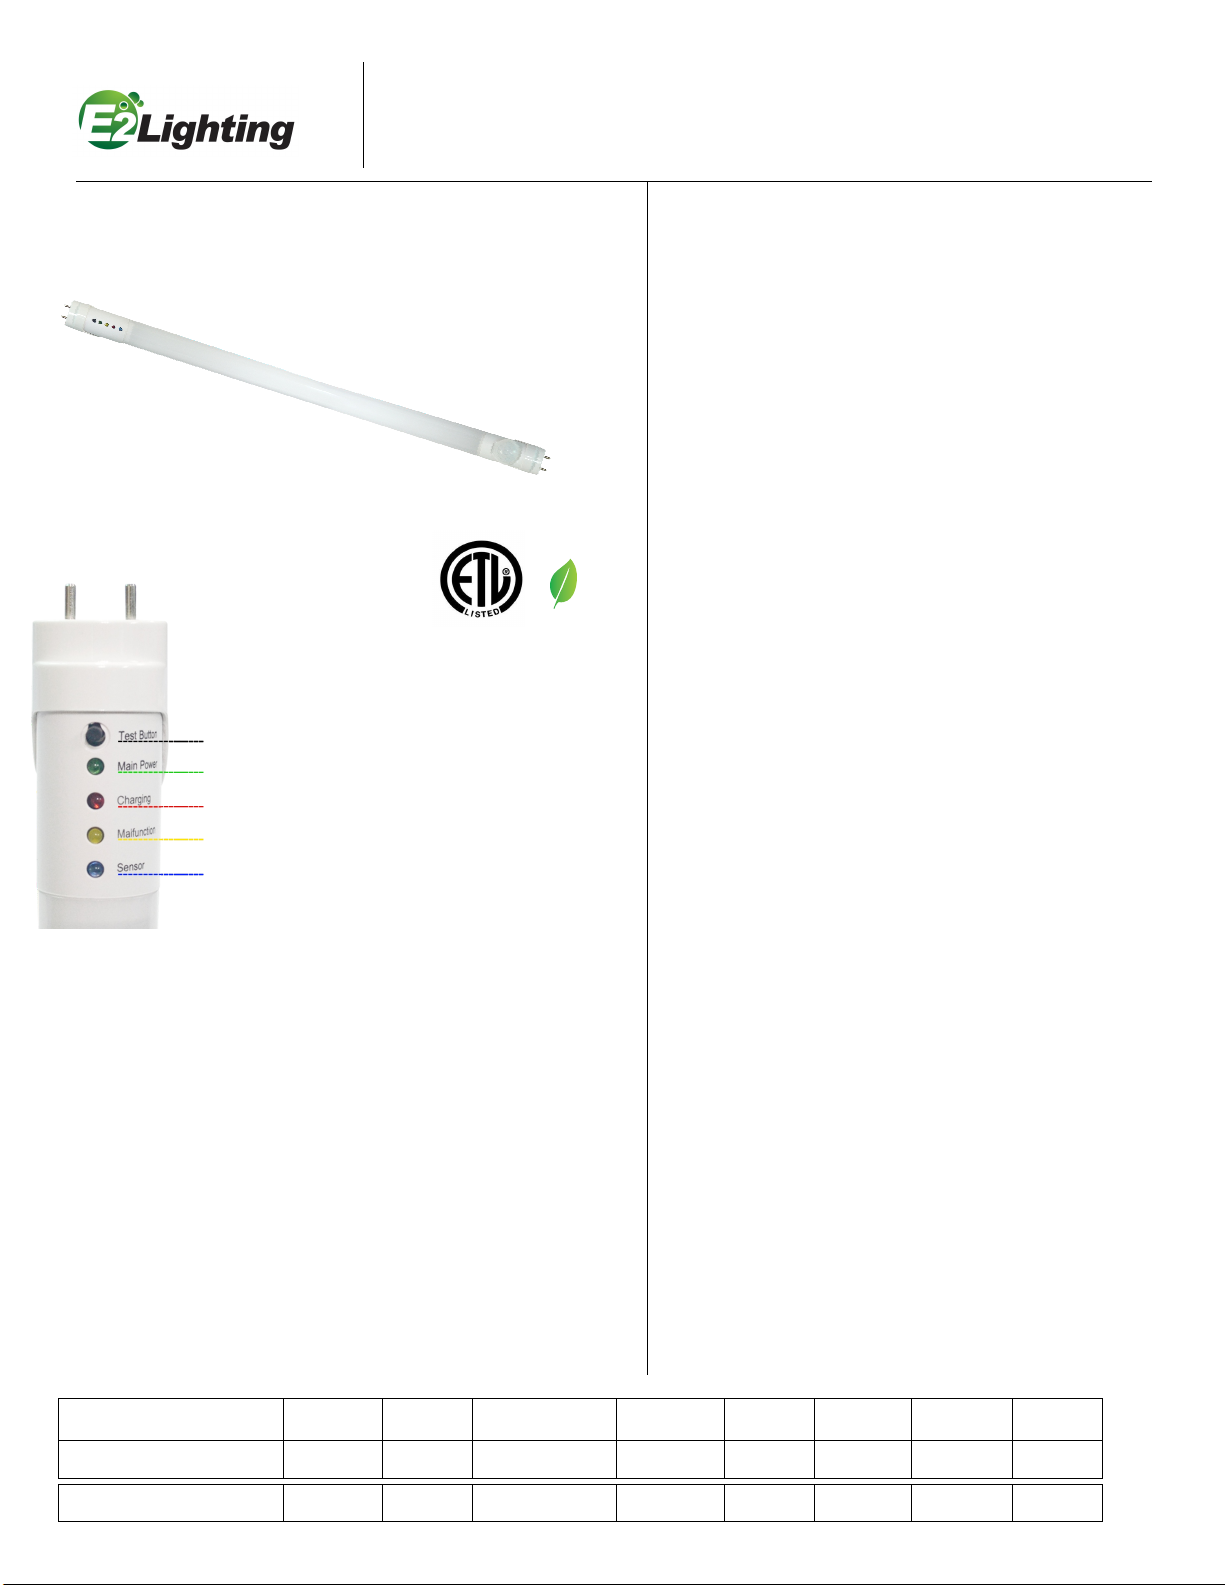
Operaon Procedure
Green lamp on: AC power is connected.
Red lamp on: Baery is charging.
Yellow lamp(malfuncon lamp) off: If turns on, baery has problem.
Blue light will be on if is emergency LED tubes with sensor opon
Tubes are on and batteries are charging.
Green lamp on: AC power is connected.
Red lamp on: Baery is charging.
Yellow lamp(malfuncon lamp) off: If turns on, baery has problem.
Blue light will be on if is emergency LED tubes with sensor opon
Turn on wall switch
Tubes are off and batteries are charging.
Green lamp on: AC power is connected.
Red lamp on: Baery is charging.
Yellow lamp(malfuncon lamp) off: If turns on, baery has problem.
Blue light will be on if is emergency LED tubes with sensor opon
Turn off wall switch
If main power is cut off suddenly, emergency will be turned
on in 2s with 3W or 6W emergency power in 90mins or
180mins emergency time. ( Emergency power and
emergency time will be confirmed before placing orders)
Test Procedure
Be sure connect to main power and wall switch is off,
then press the test button on the end cap with indicator
lamps side.
Option 1: Don't installed emergency test switch on wall
( Status: emergency will be turn on)
Way 1. Turn off emergency test switch, emergency will be turned on
Way2. Or press the test button, emergency will be turned on, too.
Option2: Installed emergency test switch on wall
Attention: 1.Connect to main power
2. Wall switch is off
3. Emergency test switch is on
Attention:
If choose turn off the emergency test switch to test the emergency working status, please
turn on the emergency test switch after testing. Otherwise, emergency function will be
turned off.
Turn on wall switch
Option 2: Wiring for Without Emergency Test Switch
Option 1: Wiring for Having Emergency Test Switch
1. Before installation, please make sure power off
2. Emergency test switch is optional. Installed or not
depends on local fire requirements.
Note: If installed emergency test switch, after correct
wiring, please make sure the emergency test switch
is on all the time.
3. E2's emergency LED tubes need to identify AC end
and Emergency end.
Remark: the end with test button and indicator lamps
is emergency end( EM) and another end is AC
end(AC)
4. At each end, live and neutral wires can go to either
pin
5. Both the AC and EM end supplied with a AC
100-277V voltage supply