manuals.online logo
Brands
  1. Home
  2. •
  3. Brands
  4. •
  5. E2S
  6. •
  7. Fire Alarm
  8. •
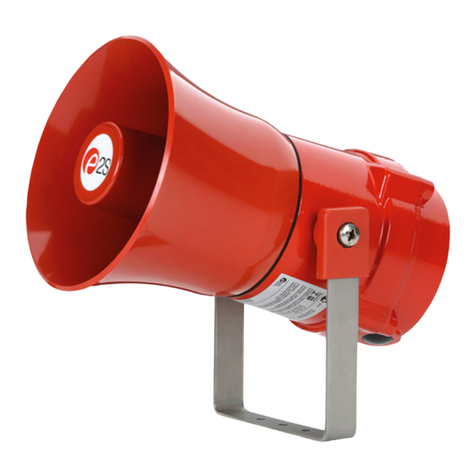
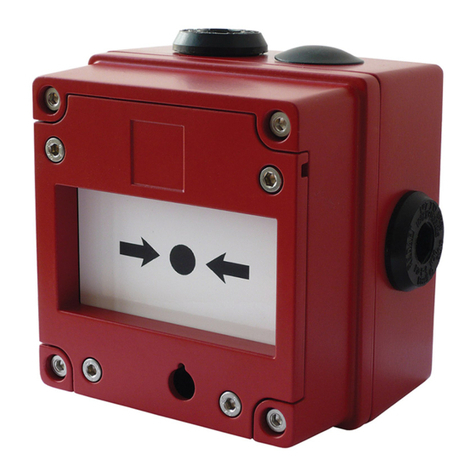
  9. E2S AlertAlight AL100H User manual

E2S AlertAlight AL100H User manual

This manual suits for next models

3

Other E2S Fire Alarm manuals

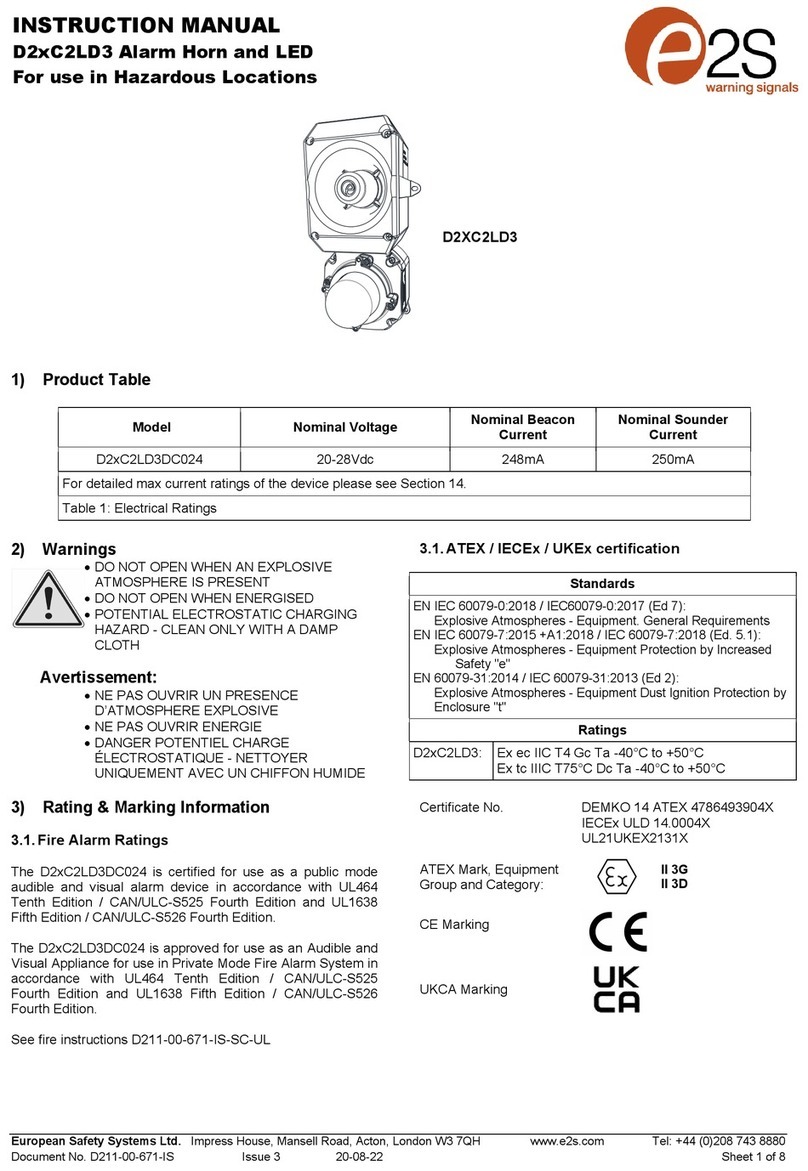
E2S D2xC2LD3 User manual

E2S

E2S D2xC2LD3 User manual

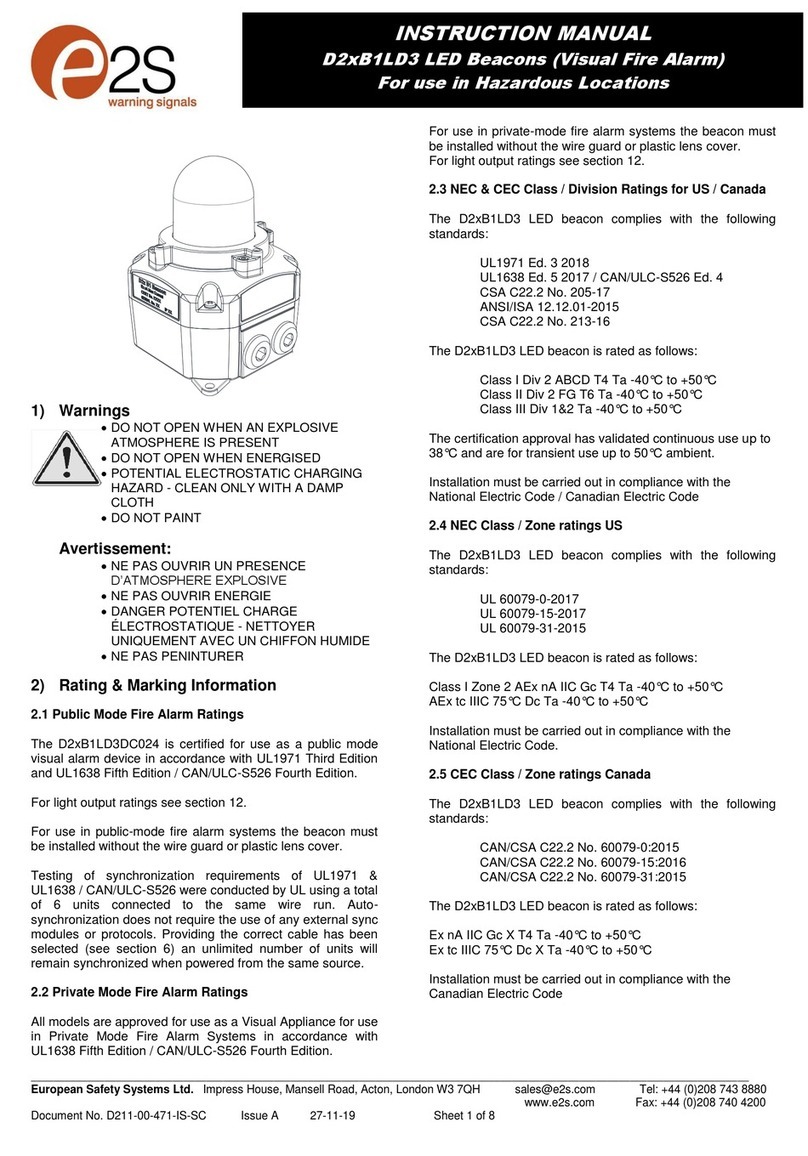
E2S D2xB1LD3DC024 User manual

E2S

E2S D2xB1LD3DC024 User manual

E2S BExCP3A-PB User manual

E2S

E2S BExCP3A-PB User manual

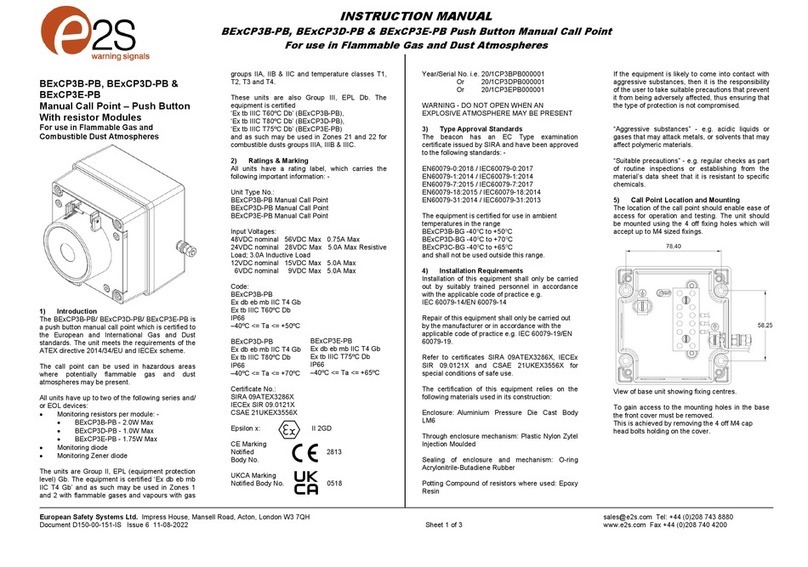
E2S BExCP3B-PB User manual

E2S

E2S BExCP3B-PB User manual

E2S GNExCP7-BG-S User manual

E2S

E2S GNExCP7-BG-S User manual

E2S GNExCP6B-PB User manual

E2S

E2S GNExCP6B-PB User manual

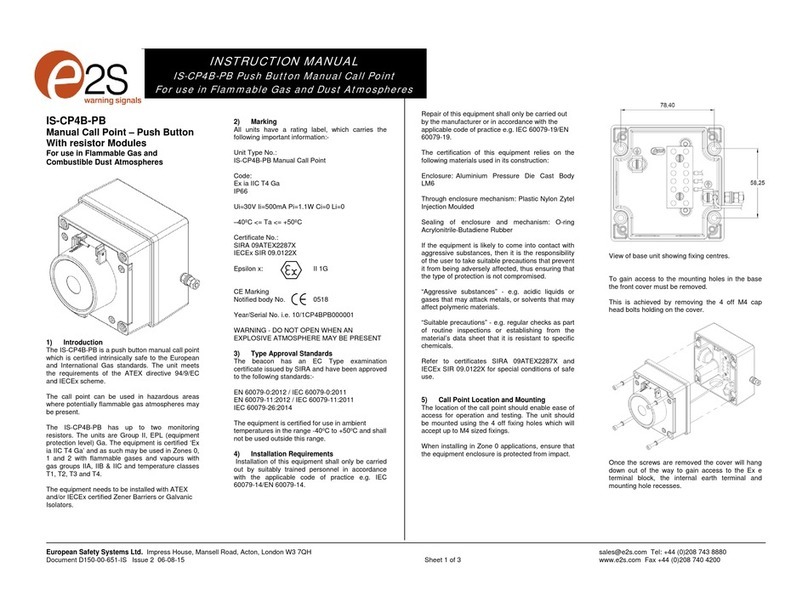
E2S IS-CP4B-PB User manual

E2S

E2S IS-CP4B-PB User manual

E2S D2xB1LD3 User manual

E2S

E2S D2xB1LD3 User manual

E2S GNExCP7-PB-S User manual

E2S

E2S GNExCP7-PB-S User manual

E2S BExCP3D-PB User manual

E2S

E2S BExCP3D-PB User manual

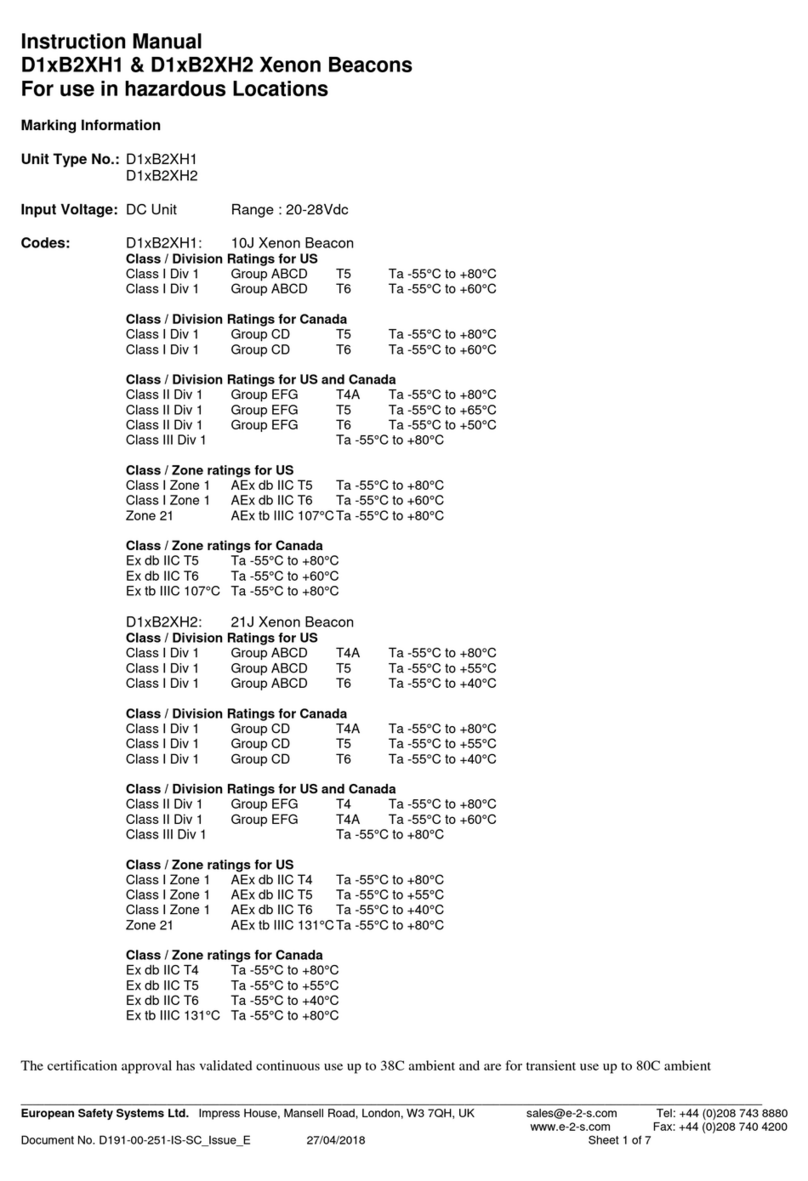
E2S D1xB2XH1 User manual

E2S

E2S D1xB2XH1 User manual

E2S BExCP3C-BG User manual

E2S

E2S BExCP3C-BG User manual

E2S BExCP3B-BG User manual

E2S

E2S BExCP3B-BG User manual

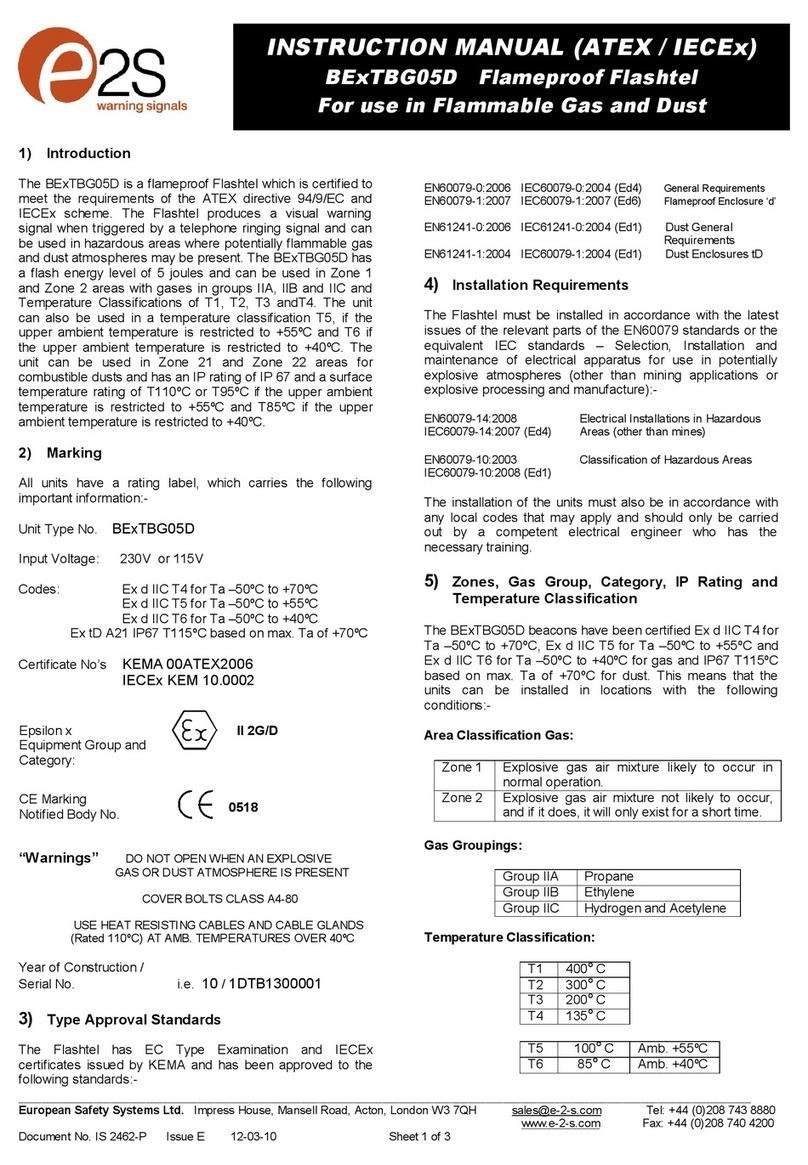
E2S BExTBG05D User manual

E2S

E2S BExTBG05D User manual

E2S BExTS110D User manual

E2S

E2S BExTS110D User manual

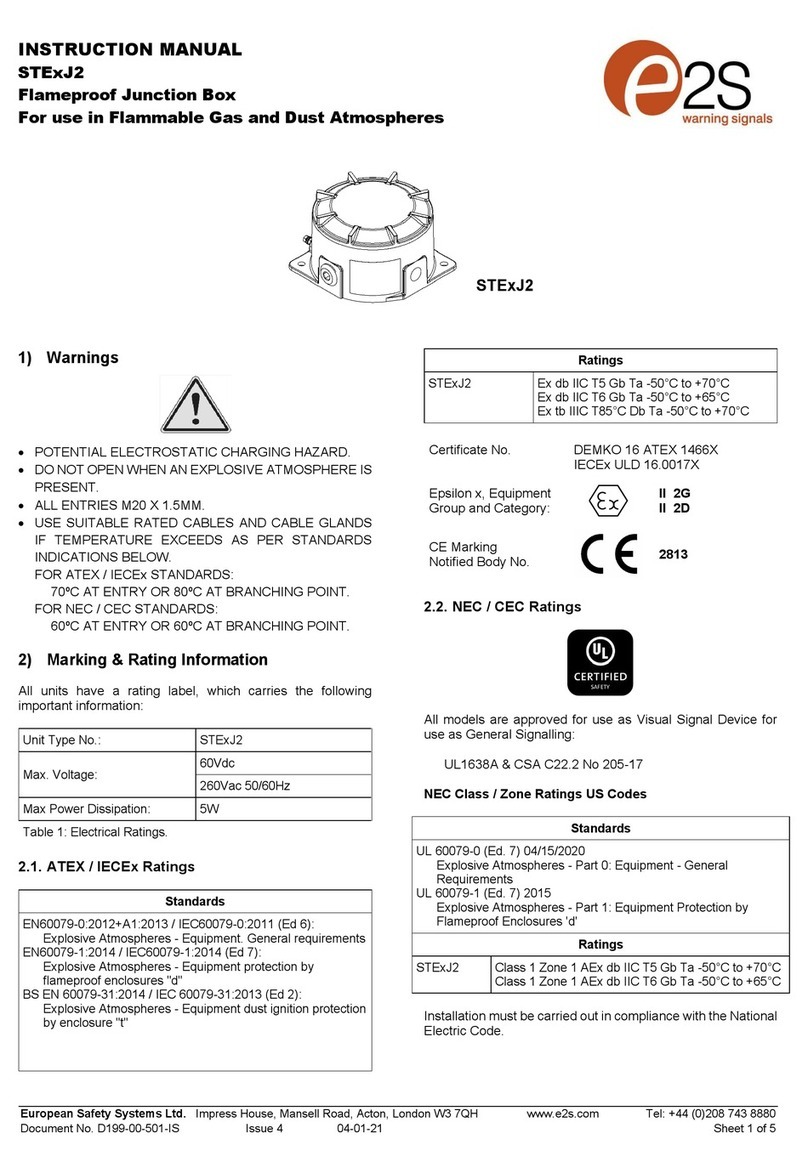
E2S STExJ2 User manual

E2S

E2S STExJ2 User manual

Popular Fire Alarm manuals by other brands

Simplex 4010ES Quick reference guide

Simplex

Simplex 4010ES Quick reference guide

Global Fire Equipment VALKYRIE AS manual

Global Fire Equipment

Global Fire Equipment VALKYRIE AS manual

Zeta Alarm Systems INFINITY ID2 installation manual

Zeta Alarm Systems

Zeta Alarm Systems INFINITY ID2 installation manual

System Sensor 22051TLE-RF-26 Installation and maintenance instructions

System Sensor

System Sensor 22051TLE-RF-26 Installation and maintenance instructions

Pittway Notifier AM2020 troubleshooting guide

Pittway

Pittway Notifier AM2020 troubleshooting guide

Ampac ZoneSense user manual

Ampac

Ampac ZoneSense user manual

Kidde VM-1 Technical reference manual

Kidde

Kidde VM-1 Technical reference manual

LST SIM016-3 Specification sheet

LST

LST SIM016-3 Specification sheet

Fireboy- Xintex FBD-MZ Owner's Manual & Installation Instructions

Fireboy- Xintex

Fireboy- Xintex FBD-MZ Owner's Manual & Installation Instructions

GST DI-9204 Installation

GST

GST DI-9204 Installation

Fire-Lite Alarms MS-2 instructions

Fire-Lite Alarms

Fire-Lite Alarms MS-2 instructions

hyfire HY5000 Series install guide

hyfire

hyfire HY5000 Series install guide

Radionics Radionics 9124 user guide

Radionics

Radionics Radionics 9124 user guide

UniPOS FD 7120 instruction manual

UniPOS

UniPOS FD 7120 instruction manual

Teletek electronics SensoMAG MRB50 installation instructions

Teletek electronics

Teletek electronics SensoMAG MRB50 installation instructions

bolid S2000-IP-03 instruction manual

bolid

bolid S2000-IP-03 instruction manual

FIREGUARD GLOBAL FG-S01_AP quick start guide

FIREGUARD GLOBAL

FIREGUARD GLOBAL FG-S01_AP quick start guide

Panasonic MEW01091 operating instructions

Panasonic

Panasonic MEW01091 operating instructions

manuals.online logo
manuals.online logoBrands
  • About & Mission
  • Contact us
  • Privacy Policy
  • Terms and Conditions

Copyright 2025 Manuals.Online. All Rights Reserved.

---


 
 






   
  -  

 
 

  
-

   -
 -

 

  




• --
• 
• 
• 






Вниманиеустановка должна выполняться электриком в соответствии с последними нормами и правилами

-




Вниманиеотключите от источника питания перед установкой или обслуживанием чтобы предотвратить поражение электрическим током
  
  
---
- -

--
-

S2
S1

E E S3 S2 N/- L/+

--
--
+ + - - S2 S3 S2 S1
L N E
E N L

-
-
---


4x
1Nm





---
S1 - LED Flash Mode Settings (AC & DC)


 ---


 
 
 
 *
 *
 -
 -
 *
 -


• 
-
• 
• --

--
--
• 
• -


 
   
   
  -   
 -
   
  -   
  -

  
  
-
Page left Intentionally blank
FIRE INSTRUCTION & SERVICE MANUAL
AL100H Range AlertAlight Combined Sounder LED Beacons
UL464 / CAN/ULC-S525 & UL1638 / CAN/ULC-S526
Model: AL100HDC
E2S Warning Signals Impress House, Mansell Road, Acton, London W3 7QH sales@e2s.com e2s.com D218-00-301-IS-UL Issue A 26/04/2021
• -40°C to +66°C / -40°F to +151°F
• Units can be mounted using the 2-off ø6mm holes in the mounting lugs or through the back of the housing using the supplied gasket seal.
• AL100HDC024 is approved for use as an Audible & Visual signal appliance for fire alarm use – Private Mode. (UL464 & CAN/ULC-S525
& UL1638 & CAN/ULC-S526).
• AL100HDC024 produces a minimum sound pressure level of US: 79.55dB(A); CA: 85.2dB(A) at 10 feet (figures @ worst case 10Vdc).
• AL100HDC024 produces a minimum sound pressure level of US: 88.52dB(A); CA: 93.7dB(A) at 10 feet (@24Vdc)
• For Fire Alarm applications, the Sounder Volume must be at the highest setting, (see volume control section). For fire alarm use, Tone 12
as shown below must be selected:
• For private mode fire alarm use, the beacons must only be fitted with clear plastic lens covers and must be set to one of the certified flash
patterns of 1Hz, 1.5Hz or 2Hz.
• For light output ratings see below:
• Connection Terminals: Pluggable
AC: 1.0 - 2.5mm2 / AWG18 - AWG12
DC: 0.2 - 2.5mm2 / AWG24 - AWG12
• Terminal Tightening torque 0.4Nm
• To maintain Ingress Protection, cable entries must be fitted with suitably rated cable glands or stopping plugs
• Units can be located indoor or outdoor wet use, wall or ceiling mounted and there are no limitations on orientation
• Factory finishes are not intended to be modified
Attention: Installation must be carried out by an electrician in compliance with the National Electrical Code, NFPA 70, and the National Fire Alarm
Signaling Code, NFPA 72 or CSA 22.1 Canadian Electrical Code, Part I, Safety Standard for Electrical Installations, Section 32. / L'installation doit
exclusivement être réalisée par du personnel qualifié, conformément au code national d'électricité américain, NFPA 70, et le code national d’alarrme
incendie et de signalisation NFPA 72 ou CSA 22.1 Code canadien de l'électricité, première partie, norme de sécurité relative aux installations électriques,
Section 32
Attention: Disconnect from power source before installation or service to prevent electric shock / Débranchez-le de la source d'alimentation avant l'instal-
lation ou l'entretien pour éviter tout choc électrique.
Attention: Do not paint / Ne pas Peinturer
On-axis light output rating per UL1638
Model Intensity (cd) at 1Hz
flash rate
Intensity (cd) at 1.5Hz
flash rate
Intensity (cd) at 2Hz
flash rate
AL100HDC024 (12Vdc Mode) 5.9 5.97 6.35
AL100HDC024 (24Vdc Mode) 11.65 12.32 12.38
Surge current ratings for use in fire alarm systems
Model Nominal
Voltage Voltage
Range Flash Rate Initial Peak (mA) Initial RMS (mA)
Beacon Sounder Beacon Sounder
AL100HDC024
12Vdc 10 to 14Vdc
1 Hz 202
298
172
56.4
1.5Hz 216 172
2Hz 224 172
24Vdc 16 to 33Vdc
(Regulated)
1 Hz 950 204.3
1.5Hz 968.5 206.7
2Hz 969 205.2
1000Hz(0.5s on, 0.5s off)x3 + 1s gap ISO 8201 Temporal
Pattern
Stage 1
Set DIP
SW 1
Tone No.
Tone Description Tone Visual
Stage 1 & 2
DIP SW 1/2
Settings
1 2 3 4 5 6
Stage 3
Set DIP
SW 1
(S3)
Stage 4
Set DIP
SW 1
(S2 + S3)
12 1 1 0 1 0 0
1000Hz 0.5s
0.5s
0.5s
0.5s
0.5s
1s 1 8
AL100HDC024 Sounder Directional Characteristics for Canadian Fire CAN/ULC-S525 at 10 feet
Horizontal Axis Vertical Axis
Angle OSPL Angle OSPL Angle OSPL Angle OSPL
Ref. 90° 92.6 dB(A) Ref. 90° 92.6 dB(A) Ref. 90° 93 dB(A) Ref. 90° 93 dB(A)
149° -3 dB(A) 32° -3 dB(A) 148° -3 dB(A) 33° -3 dB(A)
153° -6 dB(A) 28° -6 dB(A) 151.5° -6 dB(A) 29° -6 dB(A)
180° 87.2 dB(A) 0° 87 dB(A) 180° 87.2 dB(A) 0° 86.4 dB(A)
+ + - - S2 S3 S2 S1
AL100HDC024 Beacon PCBA (24VDC Mode – Default Setting)
AL100HDC024 Beacon PCBA (12VDC Mode – Customer to Set)
AL100HDC024 Sounder PCBA
Jumper Setting Jumper Link
4
Jumper Link
5
Jumper
Link 6
24VDC Mode Open Closed Open
12VDC Mode Closed Open Closed
Flash Mode
DIP switch
E - +
+ - E
Flash Mode
DIP switch
E - +
+ - E
Jumper
Link 6
Open
Jumper Link
4 Open
Jumper
Link 5
Closed
Jumper Link
4 Closed
Jumper
Link 5
Open
Jumper
Link 6
Closed
+ -
warning signals
2S
ALERTALARM RANGE
EUROPEAN SAFETY SYSTEMS LTD
IMPRESS HOUSE
MANSELL ROAD
ACTON
LONDON W3 7 H
WWW.E2S.COM
C
THIS DRAWING AND ANY INFORMATION OR DESCRIPTIVE
MATTER THEREIN IS COMMUNICATED IN CONFIDENCE AND
IS THE COPYRIGHT PROPERTY OF EUROPEAN SAFETY
SYSTEMS LTD. NEITHER THE WHOLE OR ANY EXTRACT MAY
BE DISCLOSED, LOANED, COPIED OR USED FOR
MANUFACTURING OR TENDERING PURPOSES WITHOUT THEIR
WRITTEN CONSENT.
EUROPEAN SAFETY SYSTEMS LTD.
AS PER LATEST DATE OF ISSUE SHOWN ABOVE
DRAWING TO BS8888:2000
GEOMETRIC TOLERANCES TO ISO1101:1983
LINEAR DIMENSIONAL TOLS
ANGULAR DIMENSIONAL TOLS
STANDARDS
DATE
APPROVED
CHECKED DATE
DATE
DRAWN WEIGHT (Kg)
SURFACE FINISH
MATERIAL
ALTERNATIVE MATERIAL SHEETSCALE
TITLE
A3
IF IN DOUBT, ASK -
DO NOT SCALE
ALL DIMENSIONS IN MM
DRAWING NUMBER
A
B
C
D
E
F
G
109
G
F
E
78
6
5
D
C
134
2
A
B
D218-06-251
R.S.RAIT
B.ISARD
R.N.POTTS
OF
AL100H, AL105NH & DL105H DC COMBINED
SOUNDER & LED WIRING DIAGRAMS
NTS 1
WIRING LINKING BEACON & SOUNDER
FACTORY FITTED
2
-
+
-
+
-
+
R1
+
-
-
+
R1
+
-
-
+
S2
S3
R1
+
-
-
+
S2
OPTIONAL LINE MONITORING RESISTOR, CUSTOMER SUPPLIED,
14V MAX SYSTEM = 120Ω MIN, 2W MIN OR 1KΩ MIN, 0.5W MIN
28V MAX SYSTEM = 470Ω MIN, 2W MIN OR 2.4KΩ MIN, 0.5W MIN
RECOMMENDED MINIMUM VALUES:
R1
Single Stage Configuration Config.: 1a
Line Monitoring
Stage 1: Apply Power to Stage 1 +ve & Stage 1 -ve
Two Stage Configuration Config.: 1b
Common Positive
Stage 1: Apply Power to Common +ve & Stage 1 -ve
Stage 2: Apply Power to Common +ve & Stage 1 -ve & connect
Stage 2 -ve to Stage 1 -ve
Three/Four Stage Configuration Config.: 1c
Common Positive
Stage 1: Apply Power to Common +ve & Stage 1 -ve
Stage 2: Apply Power to Common +ve & Stage 1 -ve & connect
Stage 2 -ve to Stage 1 -ve
Stage 3: Apply Power to Common +ve & Stage 1 -ve & connect
Stage 3 -ve to Stage 1 -ve
Stage 4: Apply Power to Common +ve & Stage 1 -ve & connect
Stage 2 -ve & Stage 3 -ve to Stage 1 -ve
Linked Sounder & Beacon Activation (Default)
16/03/2021
INTRODUCTION
RSR - 11/05/2021
A
16/03/2021
16/03/2021
MOD No. REASON - INITIAL - DATEISSUE
-
+
E
E
-
+
-
+
E
E
-
+
-
+
E
E
-
+
Common +ve IN
Common +ve OUT
Stage 1 -ve IN
Stage 1 -ve OUT
Stage 2 -ve
Common +ve IN
Common +ve OUT
Stage 1 -ve IN
Stage 1 -ve OUT
Stage 2 -ve
Stage 3 -ve
Stage 1 +ve IN
Stage 1 +ve OUT
Stage 1 -ve IN
Stage 1 -ve OUT
warning signals
2S
ALERTALARM RANGE
EUROPEAN SAFETY SYSTEMS LTD
IMPRESS HOUSE
MANSELL ROAD
ACTON
LONDON W3 7 H
WWW.E2S.COM
C
THIS DRAWING AND ANY INFORMATION OR DESCRIPTIVE
MATTER THEREIN IS COMMUNICATED IN CONFIDENCE AND
IS THE COPYRIGHT PROPERTY OF EUROPEAN SAFETY
SYSTEMS LTD. NEITHER THE WHOLE OR ANY EXTRACT MAY
BE DISCLOSED, LOANED, COPIED OR USED FOR
MANUFACTURING OR TENDERING PURPOSES WITHOUT THEIR
WRITTEN CONSENT.
EUROPEAN SAFETY SYSTEMS LTD.
AS PER LATEST DATE OF ISSUE SHOWN ABOVE
DRAWING TO BS8888:2000
GEOMETRIC TOLERANCES TO ISO1101:1983
LINEAR DIMENSIONAL TOLS
ANGULAR DIMENSIONAL TOLS
STANDARDS
DATE
APPROVED
CHECKED DATE
DATE
DRAWN WEIGHT (Kg)
SURFACE FINISH
MATERIAL
ALTERNATIVE MATERIAL SHEETSCALE
TITLE
A3
IF IN DOUBT, ASK -
DO NOT SCALE
ALL DIMENSIONS IN MM
DRAWING NUMBER
A
B
C
D
E
F
G
109
G
F
E
78
6
5
D
C
134
2
A
B
R.S.RAIT
B.ISARD
R.N.POTTS
OF
NTS
D218-06-251
2
2
R1
+
-
-
+
R1
+
-
-
+
S2
R1
+
-
-
+
S2
S3
OPTIONAL LINE MONITORING RESISTOR, CUSTOMER SUPPLIED,
14V MAX SYSTEM = 120Ω MIN, 2W MIN OR 1KΩ MIN, 0.5W MIN
28V MAX SYSTEM = 470Ω MIN, 2W MIN OR 2.4KΩ MIN, 0.5W MIN
RECOMMENDED MINIMUM VALUES:
R1
Single Stage Configuration Config.: 5a
Line Monitoring
Stage 1: Apply Power to Stage 1 -ve & Stage 1 +ve
Two Stage Configuration Config.: 5b
Common Positive
Stage 1: Apply Power to Common +ve & Stage 1 -ve
Stage 2: Apply Power to Common +ve & Stage 1 -ve & connect
Stage 2 -ve to Stage 1 -ve
Three/Four Stage Configuration Config.: 5c
Common Positive
Stage 1: Apply Power to Common +ve & Stage 1 -ve
Stage 2: Apply Power to Common +ve & Stage 1 -ve & connect
Stage 2 -ve to Stage 1 -ve
Stage 3: Apply Power to Common +ve & Stage 1 -ve & connect
Stage 3 -ve to Stage 1 -ve
Stage 4: Apply Power to Common +ve & Stage 1 -ve & connect
Stage 2 -ve & Stage 3 -ve to Stage 1 -ve
Independent Sounder & Beacon Activation (Remove Link Wires)
16/03/2021
INTRODUCTION
A
16/03/2021
16/03/2021
MOD No. REASON - INITIAL - DATEISSUE
-ve IN
+ve IN
E IN
+ve OUT
-ve OUT
E IN
R2
-ve IN
+ve IN
E IN
+ve OUT
-ve OUT
E IN
R2
-ve IN
+ve IN
E IN
+ve OUT
-ve OUT
E IN
R2
AL100H, AL105NH & DL105H DC COMBINED
SOUNDER & LED WIRING DIAGRAMS
RSR - 11/05/2021
Common +ve IN
Common +ve OUT
Stage 1 -ve IN
Stage 1 -ve OUT
Stage 2 -ve
Common +ve IN
Common +ve OUT
Stage 1 -ve IN
Stage 1 -ve OUT
Stage 2 -ve
Stage 3 -ve
Stage 1 +ve IN
Stage 1 +ve OUT
Stage 1 -ve IN
Stage 1 -ve OUT
warning signals
2S
ALERTALARM RANGE
EUROPEAN SAFETY SYSTEMS LTD
IMPRESS HOUSE
MANSELL ROAD
ACTON
LONDON W3 7 H
WWW.E2S.COM
C
THIS DRAWING AND ANY INFORMATION OR DESCRIPTIVE
MATTER THEREIN IS COMMUNICATED IN CONFIDENCE AND
IS THE COPYRIGHT PROPERTY OF EUROPEAN SAFETY
SYSTEMS LTD. NEITHER THE WHOLE OR ANY EXTRACT MAY
BE DISCLOSED, LOANED, COPIED OR USED FOR
MANUFACTURING OR TENDERING PURPOSES WITHOUT THEIR
WRITTEN CONSENT.
EUROPEAN SAFETY SYSTEMS LTD.
AS PER LATEST DATE OF ISSUE SHOWN ABOVE
DRAWING TO BS8888:2000
GEOMETRIC TOLERANCES TO ISO1101:1983
LINEAR DIMENSIONAL TOLS
ANGULAR DIMENSIONAL TOLS
STANDARDS
MOD No. REASON - INITIAL - DATEISSUE
DATE
APPROVED
CHECKED DATE
DATE
DRAWN WEIGHT (Kg)
SURFACE FINISH
MATERIAL
ALTERNATIVE MATERIAL SHEETSCALE
TITLE
A3
IF IN DOUBT, ASK -
DO NOT SCALE
ALL DIMENSIONS IN MM
DRAWING NUMBER
A
B
C
D
E
F
G
109
G
F
E
78
6
5
D
C
134
2
A
B
D218-06-255
R.S.RAIT
B.ISARD
R.N.POTTS
OF
SOUNDER & LED WIRING DIAGRAMS
NTS 1
SWITCHES FOR STAGE OPERATION
CUSTOMER SUPPLIED
WIRING LINKING BEACON & SOUNDER
FACTORY FITTED
2
Single Stage Configuration Config.: 1a
Stage 1: Apply Power to Stage 1 Live & Stage 1 Neutral
Linked Sounder & Beacon Activation (Default)
Two/Three Stage Sounder Configuration Config.: 1b
Stage 1: Apply Power to Live & Neutral
Stage 2: Apply Power to Live & Neutral & connect Stage 2 to Live
Stage 3: Apply Power to Live & Neutral & connect Stage 3 to Live
16/03/2021
INTRODUCTION
RSR - 16/04/2021
A
16/03/2021
16/03/2021
Stage 1 Live IN
Stage 1 Live OUT
Stage 1 Neutral IN
Stage 1 Neutral OUT
Earth
Earth
E
E
N/-
N/-
L/+
L/+
AL100H, AL105NH & DL105H AC COMBINED
N/-
L/+
E
E
N/-
L/+
Live IN
Live OUT
Neutral IN
Neutral OUT
N/-
N/-
L/+
L/+
N/-
L/+
E
E
N/-
L/+
Earth
Earth
E
E
Stage 2
Stage 3
S2
S3