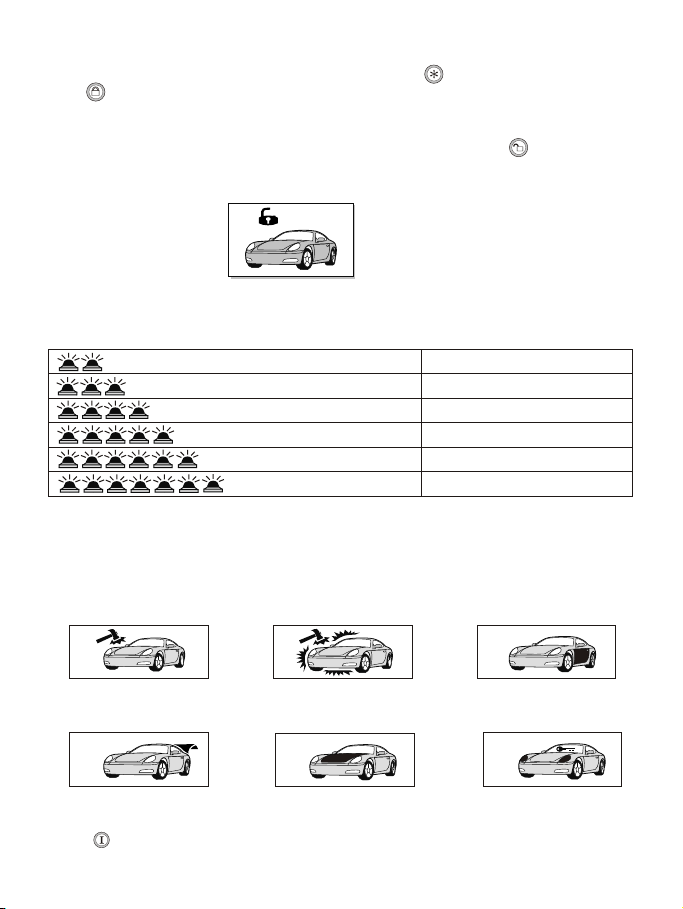
- Car search mode:
The system providea feature toeasy find your car position, simply press button once
when in armedafter 8sec. Thesystem will respond by 5 lights flash.
- Dual stage shock sensor:
This device onlyactivates after 8 seconds of arming state; this is preventing from the
weak impact causedby the driver while leaving the car.
The device operates:
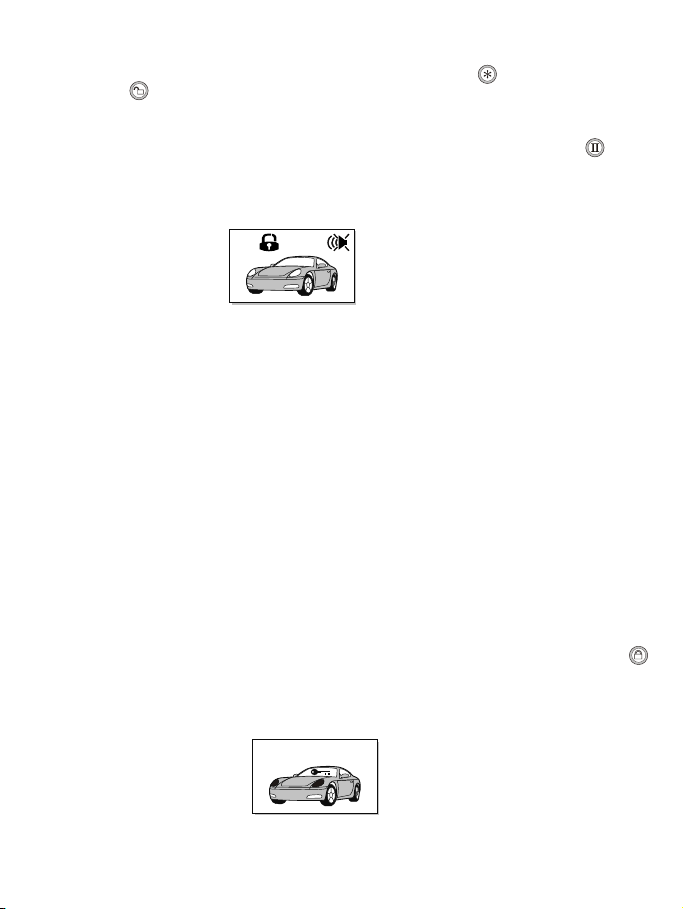
-Light impact will activate the 1st stage sensor by giving 4 short warning chirps. 2-way
remote will respond4 beeps and flashing icon as under.
-Heavy impact will activate the 2nd stage sensor and trigger the alarm for 30sec. 2-way
remote will respondmelody and flashing icon as under.
NOTE: Adjustmentsare made via the rotary control above the shock sensor.
- Remote sensor by pass :
This system offer2stage sensor optional. Within 8sec. after set arming, topress button
once , the system will give 2 short chirpsand 2 lightsflash, thus the1st stage shock
sensor has beenturn off.
Press button onceagain, within 8sec. the system will give 3 short chirps and 3 lights
flash, thus the2nd stage shock sensor has been turn off.
If press button once (at 3times) again within8sec. of armingthe shock sensor will
turn ON again.
Note: - if remotesensor bypassed, it will be detected again by next arming.
- if armed with silent mode, to operate sensor bypass will only indicate by lights flash.
- Valet mode:
If you aregoing to haveyour vehicle serviced,parked by avalet or washed you will want to
put your securitysystem Into valetmode. To enter valetmode disarm the system and turn
Ignition switch toON position ,then press button + for over 2 seconds until siren
give 1 longwith 1 shortchirp and LEDlight ON toconfirm the systemis in valetmode.
When the systemis in thevalet mode itcan not bearmed. The doorlock and unlock will
function as keyless entry system.
To EXIT: Turn Ignition switch to ONposition , then press button + for over 2seconds,
you will hearsiren provide 1long with 2short chirps and LED light OFF to confirm exit this
mode and inalarm mode. The2-Way remote will respond 1long and 2 short beeps.
Note: While in theValet mode,each time when Ignition switch has been turn off, the siren
will provide 2 chirps for warning sound.
-9-
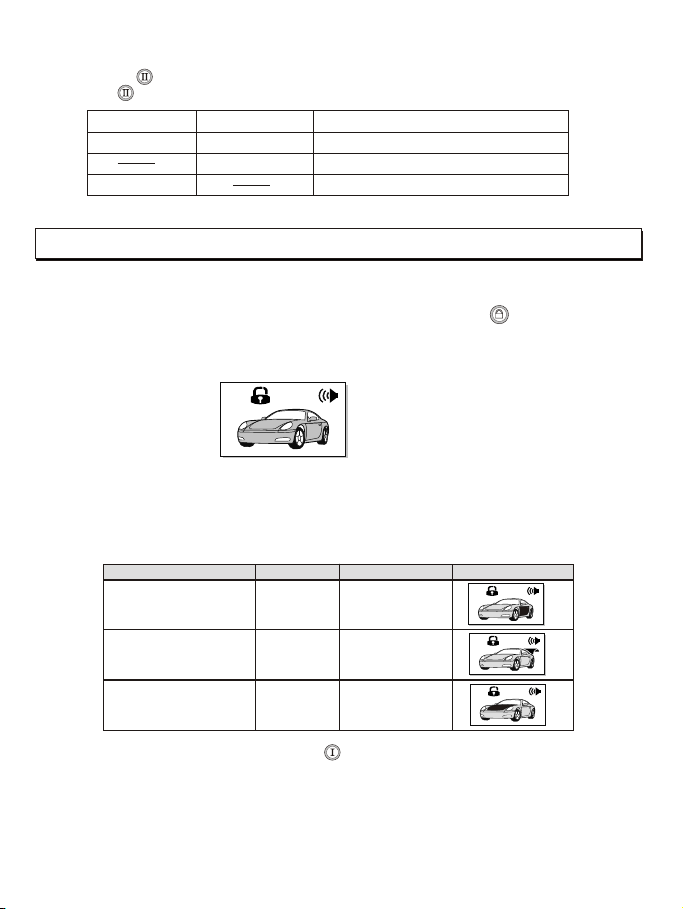
2-way LCD display:
2-way LCD display:
+ 4 beepssound
+ Melody sound
2-way LCD display: + 1 long+ 1 short beep sound