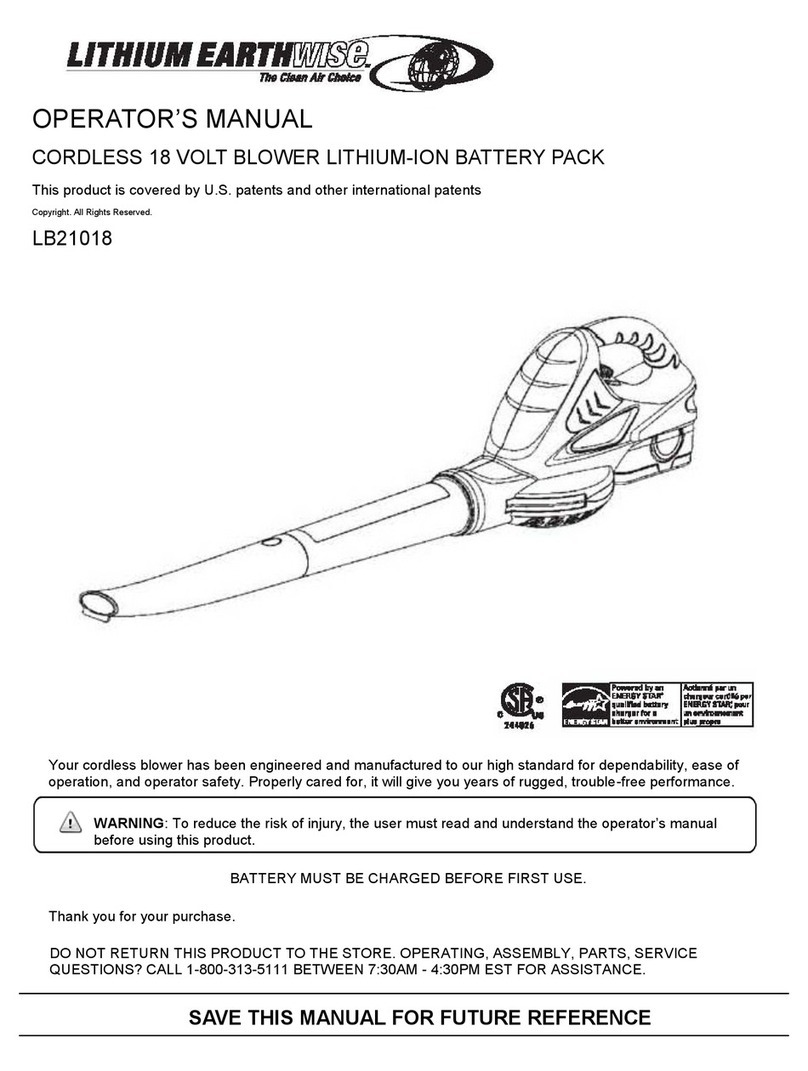
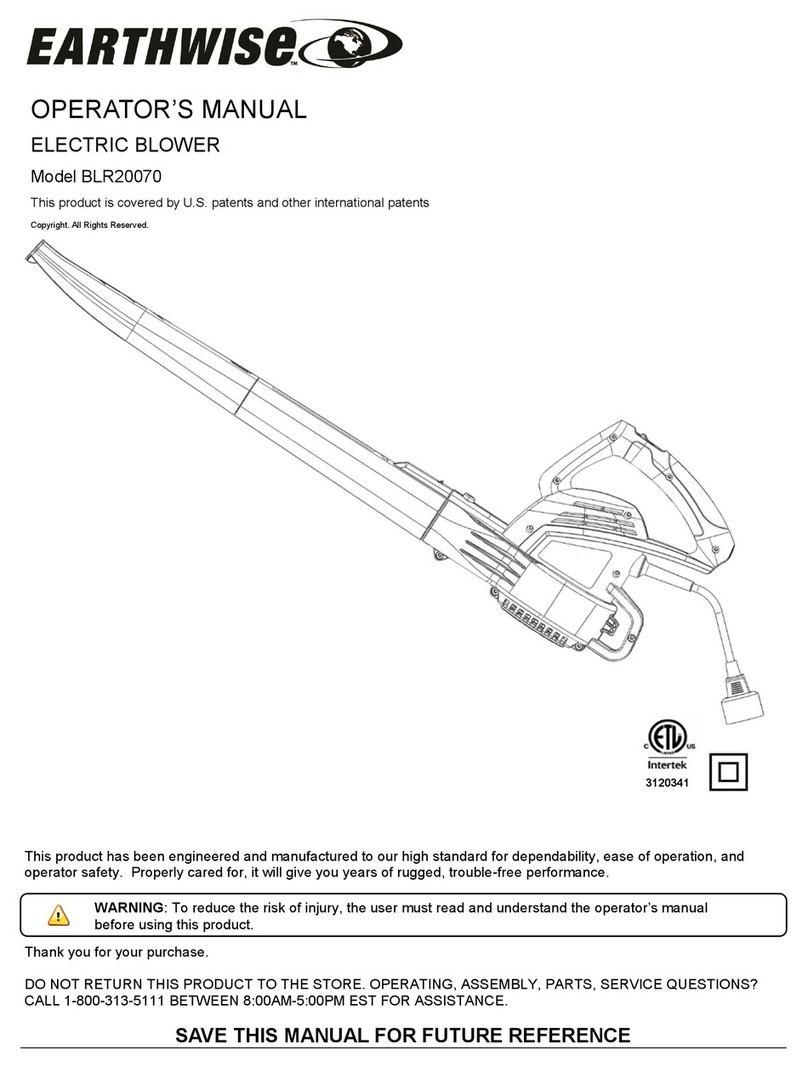
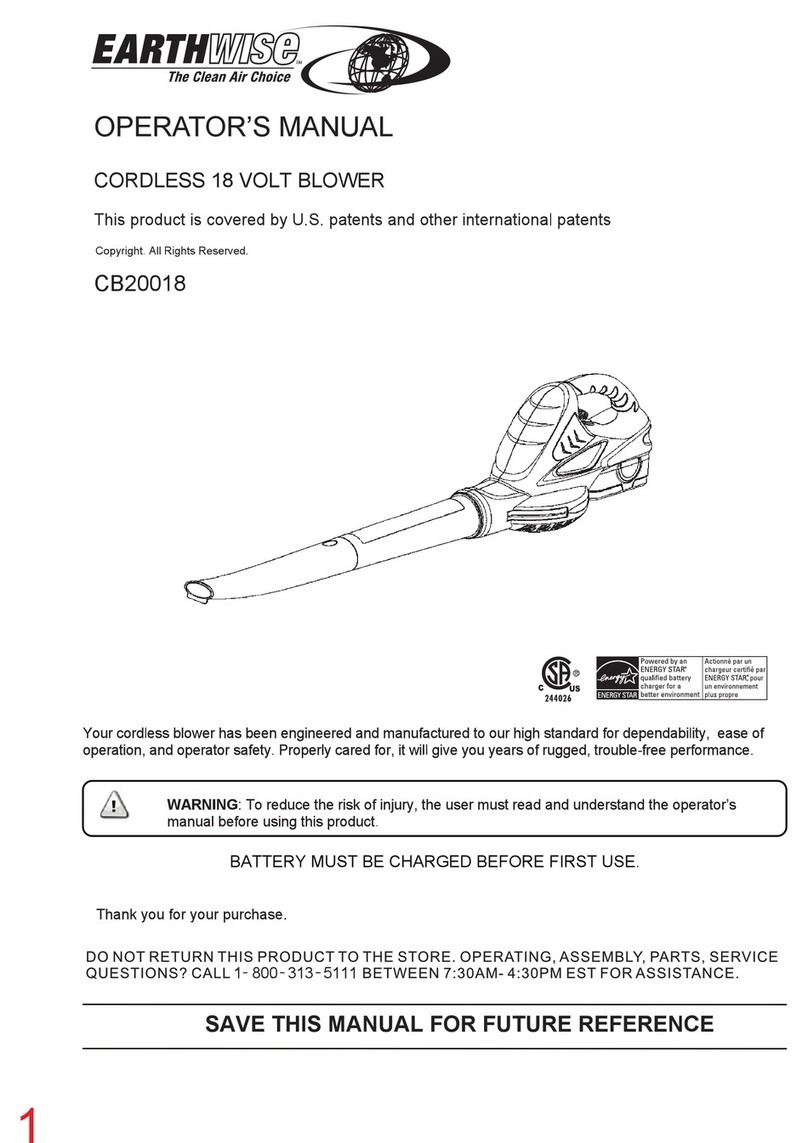
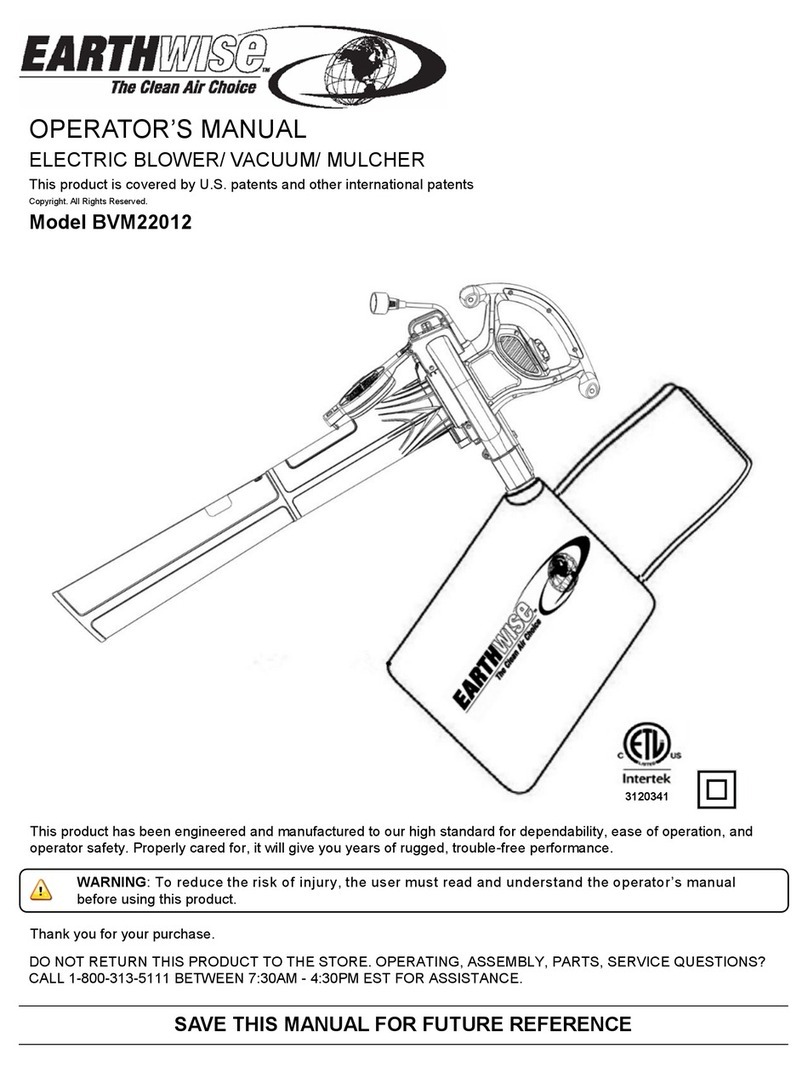
EarthWise BVM20012 User manual

OPERATOR'S MANUAL
ELECTRIC BLOWER! VACUUM! MULCHER
This product is covered by U.S. patents and other international patents
Copyright.
AU
Rights
Reserved.
10Amp-
12 Amp -BVM20012
o
BVM20010
o
BVM20012
Your unit has been engineered and manufactured to our high standard for dependability, easa
of
operation,
and operatorsafety. Properly cared for, it
will
give you years
of
rugged, trouble-free perfonnance.
Thank
you for
your
purchase.
SAVE
MANUAL
FOR
REFERENCE

TO REDUCE RISK OF INJURY:
Before
any
use, be sure everyone using thiS tool reads and
understands all safety instructions and other information
GOn~
tained
in
this
manual.
CAUTION' personal hearing peoteetion during
use. Undersome
c;;;nd
duration of use, noise from this
produet may contribute to hearing loss.
GENERAL
DON'T ABUSE CORD-Never Blower Vac by cord
or
yank it
to disconnect from receptacle. Keep cord from heat,
oiJ,
and
sharp edges.
KEEP CHILDREN
AWAY·
All
Visitors, children and petsshould
stay at a safe distance from the work area.
DRESS PROPERLY-Don'twear loose clothing or jewelry.
Wear hair covering to contain long hair. They can
be
moving parts. Use of rubber gloves and substantjal
is
recommended
when
'NOrking
outdoors.
USE SAFETY GLASSES
-Wear
safety glasses
"r.th
s:d.
shields
marked
to
complywith ANSI
Z87.1
standard
product
Use
face or dust mask
if
operation
GROUND FAULT CIRCUIT INTERRUPTER (GFCI) protection
should be on
the
carcuit
(S)
of outlet
(51
to
be used for
the are available having
buiit...jn
GFCI used.
USE RIGHT APPUANGE -
Do
not use appliance for any
job
except thatfor which it is intended.
..-~
EXTENSION CORD. Make sure your extension cord
is
in
good
condition, When using
an
extension
cord
be sure it
is
to current your product
iNill
draw.
An
cause a drop
in
line voltage resulting
in
los5
of
and cverheating.
The
follm,ving table shows the correct
use depending
on
cord length and nameplate
rating.
If
in
daubt, use
the
next heavier gage. The
gage number, the heavier the
cord_
._L
Volts
120V
240V
Minimum Gage
for
Cord Sets
Total Length of cord
in
Feet
0-25 26·50 51-100 101-150
0-50 51-100 101-200 201-300
Ampere Rating
More Not More
Than Than American 'Nire Gage
a
6
10
12
6
10
12
16
18
18
16
14
16
16
16
12
16 14
14 12
14 12
Not Recommended
-Double Insulation
is
a
in
safety
in
power tools, which eliminates the need usual
three.-wre grou'1ded
pOVJer
c:ord_
All exposed metal are
isolated from
tile
internal metal motor protecting
Double insulated tools
do
not
reed
to be grounded.
double insulated system is intended to
userfrom shock resulting from a break in
the
roars
insulatioh. Observe all normal safety precautions
to
avoid
electric:al shock.
Save
these
instructions and reviewfrequently prior to use and
In
instructing others.
WARNING: When using eleelric gardening appliances, basic
pre,ca,utierns
should always be followed to reduce risk of
shock, and personal injury, including the following:
RElAD
ALL
INSTRUCTIONS
It
is posslbletotie
more
than one extension
cord
in
a
knot
to preventlhemfrom becoming disconnected
during
use.
Makethe knotas
shoVVll,
then
connect:
the
plug
end
ofthe extension
cord
into
the recepllilcle
and
the other
end
intothe
pfug
on
the b!ov;er hous-
ing.
WARNING: Use outdoor extension cords marked SW·A, SOW·A,
STW·A, STOW-A,
SJVV·A,
SJT'/rJ·A,
or
SJTOWA. These cords
are rated for outdoor use and reduce the risk of electric: shock.
DISCONNECT BLOWER
VAC
from the power supplywhen not
in
use or
w'hen
servicing or cleaning. Do not leave unattended.
DISCONNECT BLOWER VAC from the not
in
use or
vvhen
servicing or cleaning.
Do
AVOID DANGEROUS ENVIRONMENTS-Don't use Blow"r
Vae
in rarn, damp
Of
wet locations. Do 8tower Vee
In
gaseous
or
explosive atmospheres. in these toofs nor-
mally spark, and the sparks might ignite fumes.
AI/OlD UNINTEi\'TIONAL
ST
ARTING
\>\lith
finser on
swITch.
Be sure
s'.Mtch
is
off
when in.
DANGER: Risk
of
personal inlury and/or
DoNat
manually place material
Keep both hands
on
handles when power
is
on.
DO
NOT ATTEMPT to remove material or hold material to
be
vacuumed 'Nllen Blower Vac is
011.
Make sure
BJoVlr'e:r
Vac svvitch
is off
VIlhan
dearing jammed material from vacuum tube.
Do
not
pick up Blower Vac by the tube or attempt to carry unit by the
blower/vacuum tube.
CAUTION: Moving parts coast after turn off.
DON'T FORCE BLOWER
VAG
-It
will
'>Mth
less likelihood of a risk
of
injury at the
was designed.
STAY ALERT -Watch what you are doing" Use common sense.
Do notoperate hedge trimmer
'JYhen
are tired or under
the
influence of d,ugs, alcohol
or
me,dicatic,ns.
STORE IDLE BLOWERVAC
INDOORS-When
not
in
use"
Blav
...
-er
Vac should be stored
indoo;"s
in a dry and high or
Ic~ked~
up
place,
0;,.1
of reach of child,en.
MAINTAIN BLOWER VAG WITH CARE -Keep
blo""r
tube clear
and clean for best performance and to reduce the risk
of
injury.
Inspect extension cord periodically and replace if damaged. Keep
handles
dry,
clean and free from oil
and
grease.
Clean out
any
TROUBLESHOOTING
Problem
Possible
Cause
Possible
So~ution
..
UnIT
does
net run -Extension cord not ecnheeted
to
the
plug cord is fully connected to tool
~
Cord
not
cennemed
to
scurce extension cord
IS
fully connected
to
a live receptacle
-Lock
off
not
fully -
Check
tnat
lock
off
is.
fully
lorward
prior
to
moving trigger
UNPACKING
This product requires assembly,
Carefuily remove the product and
any
accessories
from
the
box
Make sure that all items listed
in
the packing list are included.
Inspect
the
productcarefully to make sure no breakage or damage
occurred during
Do not discard the
inspected and satisl"ctc>rilv the product
If
any
parts are dar..aged
or
missing, pJease
caP
1.8GO.313.5111
for
assistance,
PACKING LIST
-
Blower
I
Vac
-Blo-.rTube
-
VacTube
-
COllection
Bag
-Operator's rranual
WARNING:
or
missing do not operate
.Failure
to
heed this
\Ni-\RNING: Do
not
attempt to modify this product
or
create
accessories not recommended
for
use
¥~th
this product .Any
such alteration
or
modification is Illlsuse and could result
it1
a
hazardous condition leading
to
possible serious personal injury,
,.
WARNING:
Do
not
connectto PO'NSf supply until
-~
complete.
Failure to comply
Gould
result in accidental
and possible serious personal
injury.
Assembling
the
un~
as a blower
Connect
tvvo
blower rubes together, and fnen ro!ate unlil Ihey
end
of
blower
tubes
onte
the
air outlet
of
:he
motor and rotate until engaged,
I
'1
sta
11
the inlet cover prior to using blower function
D
inlet cover
carefuily inspect it
for
damage. II the
or
handles broken
or
if
yOu
see any other
that
may
affectthe unit's operation,
local ALthorized SelVlce
Center
for repairs before
back into use.
CAUTION;
Do
nat at anytime let brake fluids, gasoline,
based products, penetrating
oils,
etc., come
In
parts. Theycontain chemicals that can damage,
~aken
or
destccy plastic.
IMPORTANT·
TO
assure
produclSAFETYand
repairs, maintenance and acjustment should be
pelfcrmed
an authorized servIce center
or
other qualmed service
zation,
atvVays
using identical replacement parts.
A.ssembllng
the
unit
as
a
vacuum
ConnectvaCUUm tubes.
Remove
the
serewfrom
and insert lovver
tube
into upper tube. Rotate
engaged and tighten the
sc~ewto
make
sure
the
~ubes
are
connected firmly.
Once
the
vacuum
tUbes are connected, they
should never be disassembfed again
Remove
the
inlet cover from air inlet.
Insert
v,';,cUUrr:
tUbes into
the
air inlet and rotate until the
vaeLum tubes are engaged.
Fit the collection bag on
the
air
outlet
CORD RETAINER
A cord retainer is incorporated into the rear of the power head.
If
using :norethan one extension cord, first
tie
the
t\'vo
cords in a knot as shown.
Then, double the extension ccrd
5eve~a!
inches
from
the
end and
hook
the loop formed
by doubling
the
cord over
the
retainer post as
shoVvTI.
Gently tug
on
the
card to insure
that
it is firmly retained in
the
unifs
handle
unit
\Nhen chamber
of
your unitshould earth and debris are
ingested
some
of
the
up an the mside
af
the
fan
chamber. cerformallce
of
the
unit
".ill
decrease. Thts area cleaTted
out
bi
gently
v,Aping
cuh
....
ith a
a4ter
disconnecting
from
the
pOvlfer
be storec in a dry place,
Fertilizers and other garden chemioals contain agems
v".hich
greatly accelerate the corrosion
of
metals Do
not
store the too!
on
or a,djacent
to
fertilizers
or
chemicals.
Make sure t;,e cord is detached from the unit, then use only mild
soap and a
dan1p
cloth to
dean
the tool. Never let any liquid get
inside the :oo!; "lever iMmerse
any
part
oftne
teol into a liqUid.

SWI:CH
-
Fer
extra control, your
unit
[s fitted "vith a
rNO
speed
switch located on
the
handle
of
the
power
heao,
The
switch
has
a centr:al off Posttton
0,
To
use
in
low
speed, move
the
svvitch
fuBy to the rear. Position
I.
To
change
to
high speed.
the
switch
back
to
the
off position
and
then fully fon.vard. II.
NOT:=:
The
~h
"iii
notoperate
if
the release button
is
depr86sed.
To
turn
the
tool ON, slide
the
sv~tch
forward.
To
turn
tool
OFF,
slide s'-Mtch
to
the
middle
pOSition.
BVM20012
BLOWER MODE
Turn
SV>.1tch
to OFF position and
disconnect
from
the
malo
pow.r
supply.
AttBch
the
bl~t
clamshell 'and
tJbe
to
the
power head
biolNer
as
indicated
by
arrow, then turn tube
catch is fu:ly engaged,
blower
function
inlet cover
Hold
tbe
blO-Ner
tube
approximatelY 7
inches above
the
ground, switch your
product
on and using a motion
from
side
to
side, advant."e Keep
the
accumulated debris(lea\iss
01
you.
REMOVING BLOWERNACUUM TUBE
TUfn svvltch
to
OFF
pos~t;on
ano
oisconr,sctfrom
powE:r supply_
To
disconnect
the
blolJoier
clamshell
or
vacuum
tube
from
the
power
head, depress
the
release button, keep
the
blower
tube
from
falling on
the
ground.
The
release button will
not
depress
if
the
power
switch is in
the
"OIl" position.
VACUUM\10DE
S\Nttch
off
your
unit
and
disconnect
from
nower
supply_
Locate
the
bag rim, then
place
into
the
lng 'that'the
front
of
the
bag is placed
ov,,,
theva"uu"r
Slide
the
bag
fully
into the channel and
depress
the
latch
to
lock
the handle
irto
Ihe
lop
of
the
bag.
Position
tlie
tube slightly abovethe debris.fteaves.
SWitch
YOLr
product on, then using motion
the
debrislleaves
v~1I
be
sucked up the lube, mulched into the collection bag.
As
the
bag
fills suction
power
will decrease, when this happens,
turn switch
to
OFF
position and unplug
from
power
supply.
Remove bag
and
empty debris.
To
remove
tne
bag. to disengage
from
the
bag
holder
and
slide the hold
the
plastic handle
and
grab
the
nylon 011
the
of
the
bag. Turn
the
bag
upside
do'M1
and
shake
out
any
debris
and
leaves.
To make your
la'NfI
care grooming easier and morecomfortable the
tool should
be
fitted to
the
userusing
the
adjustable shoulder strap.
VVARl'Jll'JG:
~Jf3v'er
remove
the
coliection bag ¥.1thout first turning
s\\IITch
to
·the
off
position and unplugging
the
vacuum
from
the
main
pO\.'Vef
source
Do not use In
vacuum
mode vvlthout the vacuum tubes and oollection
bag in place
Alvvays turn s'Wltch
off
and
remove
plug
from
the
electrical
power
supply \Vhen:
~
Changing
from
blower
to
vacuum,
•
The
supply
cable
has
become
damaged
or
enlangled.
~
You ieave your
product
unattended.
• Clearing a blockage.
• Checking. adjusting, cleaning
or
working on your pcoduct.
Use
your
product
only
in
day!lg~t
or
good artificiai
l,gl1t.
Once
e year hand
wash
the
bag
in
soapy
water
and
allow
it
to
ai!dry_

PRODUCTSPECIFICATIONS
ElVM20010
BVM20012
Inpu:
..
.......
120
V,
60
Hz,
10 Amp Input.
......
,120
V,
60
Hz,
Amp
Speed .
...
150
MPH,
225 MPH Speed.
..,140
MPH·
250
MPH
Tube Length
..
. .26
in.
Blovler,
35
in. Vacuum Tube Length. ,
.26
in.
BIQ\'I/ef,
35
irt
Vacuum
Weight. . .8.6
lb.
Weight,
....
9Ib
Capacty
..
1.5 Bushels Capacity . .2
Bushels
No
TDOi
Assembly· Buitt in
Plug.
Cord Retention
Hook·
Rubber Molded Over
Hardie·
B.lt
for more comfortable
usage·
SPEED
CONTROLLER
HANDLE (BVM20012 ONLY)
CORD
RETAINER
PLUG \ *
INLET
COVER
\
REAR
BLOWER
TUBE
FRONT
BLOWER
TUBE
SVv'ITCH
BUTTON
REAR
VACUUM
TUBE
COLLECTION BAG
*
INLET
COVER
MUST
BE INSTALLED
PRIOR
TO
USING BLOVVER FUNCTION

because
of
operator abuse
or
negligence,
or
WARRANTY
LIMITED WARRANTY FOR CORDED ELECTRIC MODELS
This product is manufactured
for
The
Great
States Corporation/American Lawn
r-!;o"Ner
Company,
The
Great
States Corporation/American
La'Wn
MOVier Company, Shelbyville, Indiana,
has
been making
lalNn
movvefs for
over
1
00
years ana
it
warrants
to
the origlnal
QV,!11er
that
each ne\'v product and service
part
IS
free
from
defects In material and workmanship and agrees to repair
or
replace
under
this \t\I2rranty
any
detective product
Of
part from
the
original date
of
purchase
for
one (2} years exceptfor
the
conditions and circumstances listed below"
Proof
of
purchase (original dated sales receipt)
must
accompany all warranty cfaims.
THIS WARRANTY IS NOT TRANSFERABLE AND DOES NOTCOVER:
Products sold damaged or incomplete, sold "as is", sold Expendable items that
become
worn during normal use.
reconditloneo\
or
used as rental equipment. Cosmetic defects
that
do
not
interferewith tool functionality.
Delivery, installation, or normal adjustments explained
in
the
operators
manual.
~reight
costs
from
customer
to
vendor.
Damage
or
lia.bility caused Repa1r and transportation costs
of
products
or
parts determined
improper installation) incorr,ectvoltacl8
not
to be defective.
improper maintenance, improper modili'oation,
accessories and/or attachments ANY INCIDENTAL, INDIRECT, OR CONSEQUENTIAL LOSS,
DAMAGE,
O~
EXPENSE
T'iAT
MAY
RESULT FROM ANY
FAILURE, OR
IVt~LFUNCTION
OF
THE
PRODUCT
maintain,
or
store the product ac-
Some
do
not
allow
the
exclusion
or
limitation on
how
long
operator's manual.
an
implied
"tarranty
lasts,
50
the
above limitations
may
not
apply
to
you.
Damage caused by heat, rain, excessive humjdity, corrosive
environments and
or
other
contaminants. ANY NON·RESIDENTIAL
USE
OR COMMERCIAL USE VOIDS
ALL WARRANTIES.
The
Great
States Corporation
American Lawn
Mower
Company
830
Webster
Street
Shelbyville,
IN
46'176
Phone 1-800-313-5111
www.reelin.com/earthvvise
In
a continued commitment to improve quality,
the
Manufacture'" reserves
the
right
to
make
component changes
or
design changes
when
necessary"
This manual suits for next models
1
Table of contents
Other EarthWise Blower manuals

EarthWise
EarthWise BLR20070 User manual

EarthWise
EarthWise LB21018 User manual

EarthWise
EarthWise LBVM2202 User manual

EarthWise
EarthWise LB20058 User manual

EarthWise
EarthWise BLR20075 User manual

EarthWise
EarthWise BLR20065 User manual

EarthWise
EarthWise CB20018 User manual

EarthWise
EarthWise CB20018 User manual

EarthWise
EarthWise C820018 User manual

EarthWise
EarthWise BVM20312 User manual