Eastwood 31294 User manual

5” WET
JITTERBUG SANDER
INSTRUCTIONS
Part #31294

2Eastwood Technical Assistance: 800.544.5118 >> techelp@eastwood.com
The 5” WET JITTERBUG SANDER is a heavy-duty professional quality tool designed for many years
of reliable service. It features a high-efficiency sealed ball bearing drive assembly for smooth, low
vibration operation and long life. The precision diecast housing provides a solid foundation and offers
ergonomic, one handed operation with speed controlled by an infinitely variable hand paddle and
rotary knob speed limiting control.
CONTENTS
(1) Jitterbug Wet Sanding Tool
(1) 4mm Hex Key Wrench
(1) 1/4” Male Quick
Disconnect Fitting
(1) Water Hose
(1) Water Pickup Assembly
SPECIFICATIONS
Replacement Sanding Disk: 5” [127mm] Hook and Loop type
RPM: 8,000 free speed
Orbit Size: 3/32” [2.4mm]
Minimum Air Consumption: 7.1 CFM [201 lm]
Air Inlet Thread Size 1/4” MNPT
Water Hose Length: 13 feet [4 meters]
REQUIRED FOR USE
• The inlet air supply must have a moisture separator capable of removing all moisture and
impurities from the air supply. Moisture and/or oil in the air supply will cause poor tool
performance and damage.
• A suitable regulator must be used to limit incoming air pressure to 90 PSI maximum.
Excessive air pressure can cause permanent damage to the unit and possible serious
personal injury from bursting.
• For best results, a compressor capable of providing a minimum of 9 CFM @ 90 PSI is
required. Less available CFM will negatively affect the performance of the Sander and
may overwork the compressor.

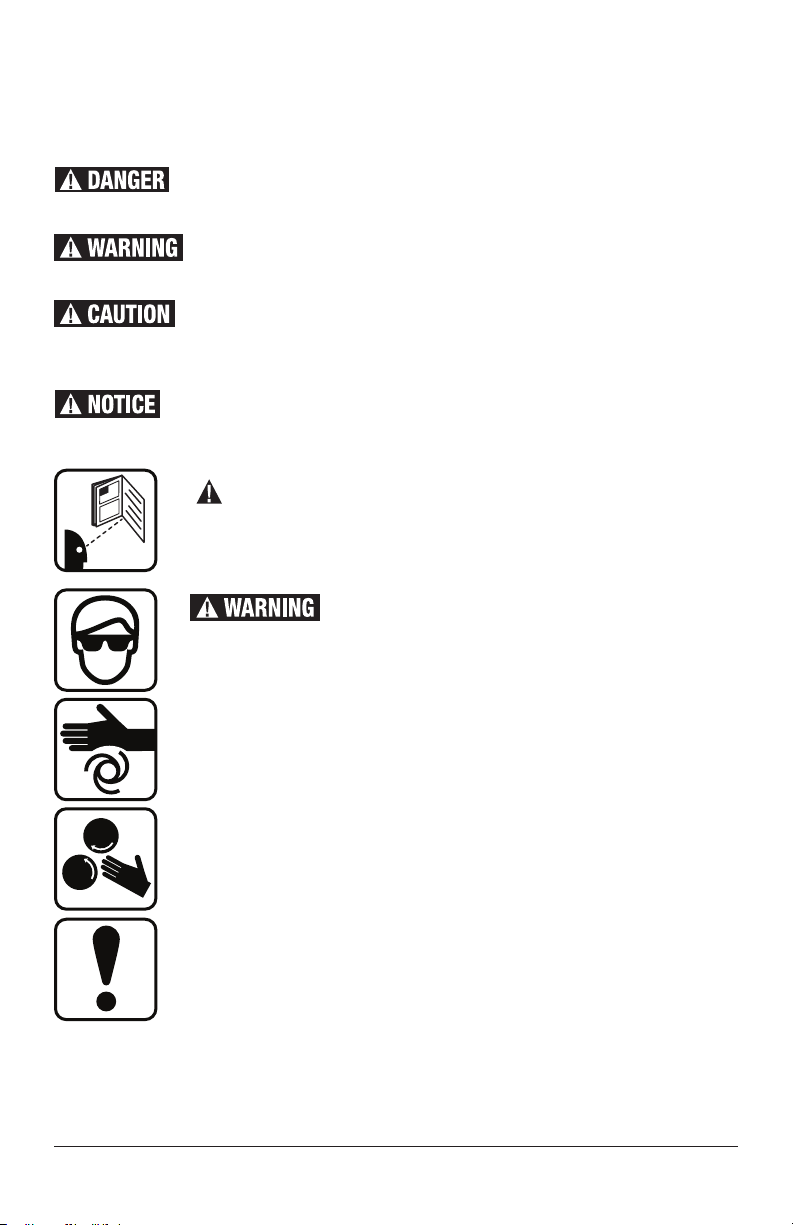
DANGER indicates a hazardous situation which, if not avoided, will result in death or serious injury.
WARNING indicates a hazardous situation which, if not avoided, could result in death or serious injury.
CAUTION used with the safety alert symbol, indicates a hazardous situation which, if not avoided,
could result in minor or moderate injury.
NOTICE is used to address practices not related to personal injury.
READ INSTRUCTIONS
• Thoroughly read and understand this manual before using.
• Save for future reference.
HEALTH AND INJURY HAZARD
• EYE INJURY HAZARD This Sander will eject particles and contaminated
water at high velocity during operation. Eye protection should be worn at
all times when operating this tool. Use ANSI approved safety glasses.
Everyday eyeglasses are NOT safety glasses.
• INJURY HAZARD This Sander can quickly start up when handling
while connected to an air supply causing serious personal injury.
Always disconnect the Sander from the air supply before making
adjustments, changing Sanding Discs or other maintenance.
• INJURY HAZARD Vibrating abrasive discs can quickly remove flesh.
Keep hands and fingers away from sanding disc and always wear
protective work gloves while sanding.
• INJURY HAZARD Do not force tool or exert side forces on tool while
sanding as the Sander body can suddenly kick back or twist causing severe
hand or wrist injury.
• INJURY HAZARD Keep loose clothing, jewelry and long hair away from
rotating components as serious personal injury can occur.
• INJURY HAZARD Always make sure the workpiece being sanded is
securely clamped or anchored to allow safe operation of the Sander.
SAFETY INFORMATION
The following explanations are displayed in this manual, on the labeling,
and on all other information provided with this product:
To order parts and supplies: 800.345.1178 >> eastwood.com 3

4Eastwood Technical Assistance: 800.544.5118 >> techelp@eastwood.com
EXPLOSION HAZARD
• Excessive air pressure can cause tool to explode resulting in tool damage
and personal injury. Do not exceed 90 psi [6.3 bar] of tool inlet air pressure.
INJURY HAZARD
• EXCESSIVE NOISE HAZARD This Sander can generate excessive noise.
Wear appropriate hearing protection while using.
• SPLASH HAZARD This Sander will eject contaminated water at high
velocity during operation. Eye protection should be worn at all times when
operating this tool. Use ANSI approved safety glasses. Everyday eyeglasses
are NOT safety glasses.
• TRIP HAZARD Air and water lines connected to the Sander can
become tripping hazards. Keep all air and water lines out of walking
path while working.
SAFETY INFORMATION

To order parts and supplies: 800.345.1178 >> eastwood.com 5
SET UP & CONNECTION
WATER CONNECTION
1. Connect Water Hose to Water Inlet
of Sander by pushing it into the
Compression Fitting until it seats
fully (FIG 1). To remove Water Hose,
release it by pushing in the red plastic
ferrule while pulling out hose.
2. Attach opposite end of Water Hose to
the Water Pickup Assembly by pushing
the Hose end with the Rubber Sleeve
fully over the Barbed Nipple (FIG 2).
AIR CONNECTION
1. Wrap white thread sealing tape (not included) around the threads of the 1/4" Male NPT Air Inlet
of the Sander Body. Then thread the 1/4” Female NPT Quick Disconnect Fitting (included), onto
the inlet threads of the Sander Body (FIG 1).
2. Attach Air Supply to Inlet Fitting.
FIG. 1
FIG. 2
Be sure that the air supply to the
tool is clean and dry. Moisture
in the supply line will quickly
damage the air motor and valves.
A minimum 3/8” I.D. air line
should be used for optimal
performance.
Air
Connection
✓
Water
Connection
✓

6Eastwood Technical Assistance: 800.544.5118 >> techelp@eastwood.com
OPERATION
WATER CONTROL
• Fill a suitable bucket with fresh, clean, cool water, then place the Water Pickup Assembly
with the Hose attached in it.
• Water flow to the Sander is regulated by the Rotary Valve on the Water Pickup Assembly.
To increase flow; rotate knob “Clockwise” as viewed from the side. To reduce flow; rotate
knob “Counter-clockwise” as viewed from side of Water Pickup Assembly.
SANDING DISKS
• The Hook and Loop Sanding Disks are attached by pressing in place over the Hook and Loop
faced Backing Pad. They are removed by gripping the edge and pulling away from the Backing
Pad. NOTE: When replacing a Disk, be sure that the water outlet hole is aligned with the water
outlet hole in the Backing Pad.
AIR & SPEED CONTROL
• Reconnect air supply; depress the
Paddle to begin sanding action. Speed
is regulated by pressure applied to
the trigger while the Rotary Valve
located at the air inlet is used to limit
maximum speed. To increase speed
limitation; rotate knob “Clockwise”
as viewed from above (FIG 3). To
reduce speed limitation; rotate knob
“Counter-clockwise” as viewed from
top of tool body.
FIG. 3
INJURY HAZARD!
Disconnect air supply from the tool to prevent accidental starting and potential
injury while installing or removing Sanding Disks.
Oil Fill
✓
Speed
Limiting
Control
✓

To order parts and supplies: 800.345.1178 >> eastwood.com 7
MAINTENANCE
• Before each use, check oil level by removing the Socket Head Screw located on top of the tool
body using the included 4mm hex key (FIG 3). If no oil level is visible, add several drops of air
tool oil until some oil can be seen. DO NOT OVERFILL. Replace screw and tighten securely.
• If tool is to be unused for an extended period, add 6 drops of air tool oil directly to the air inlet
then store the tool, handle up.
• With the air supply disconnected, periodically check that the backing pad is tight.
TROUBLESHOOTING
PROBLEM CAUSE CORRECTION
Tool Doesn’t
Respond
to Trigger
Depression
Insufficient
CFM at tool
inlet (7.1 CFM
minimum)
Verify sufficient air supply to tool.
Tool con-
taminated by
moisture
Check for moisture in air line and tool air inlet.
Tool
Performance
is Slow or
Sluggish
Insufficient
CFM at tool
inlet (7.1 CFM
minimum)
Verify sufficient air supply to tool.
Tool con-
taminated by
moisture
Check for moisture in air line and tool air inlet.
Tool Vibrates
Excessively
During Use
Cracked,
broken or loose
backing pad
Stop use immediately and check for cracked or
broken backing pad.
Check for loose backing pad.
Tool Emits
Excessive or
Unusual Noise
During Use
Lack of
lubrication
in air motor
Stop use immediately, remove Oil Fill Screw and
add a quality Air Tool Oil until an oil level is seen.

© Copyright 2016 Easthill Group, Inc. 7/16 Instruction item #31294Q Rev 1
If you have any questions about the use of this product, please contact
The Eastwood Technical Assistance Service Department: 800.544.5118 >> email: techelp@eastwood.com
PDF version of this manual is available online >> eastwood.com/31294manual
The Eastwood Company 263 Shoemaker Road, Pottstown, PA 19464, USA
US and Canada: 800.345.1178 Outside US: 610.718.8335
Fax: 610.323.6268 eastwood.com
ADDITIONAL ITEMS
#31331 400 Grit 5” Wet Jitterbug Sandpaper
#31333 800 Grit 5” Wet Jitterbug Sandpaper
#31335 1000 Grit 5” Wet Jitterbug Sandpaper
Table of contents
Other Eastwood Sander manuals

Eastwood
Eastwood 31672 User manual

Eastwood
Eastwood 31455 User manual

Eastwood
Eastwood 31658 User manual

Eastwood
Eastwood 21535 User manual

Eastwood
Eastwood 32488 User manual

Eastwood
Eastwood 21630 User manual

Eastwood
Eastwood 12526 User manual

Eastwood
Eastwood 22979 User manual

Eastwood
Eastwood 32489 User manual

Eastwood
Eastwood 13660Q User manual