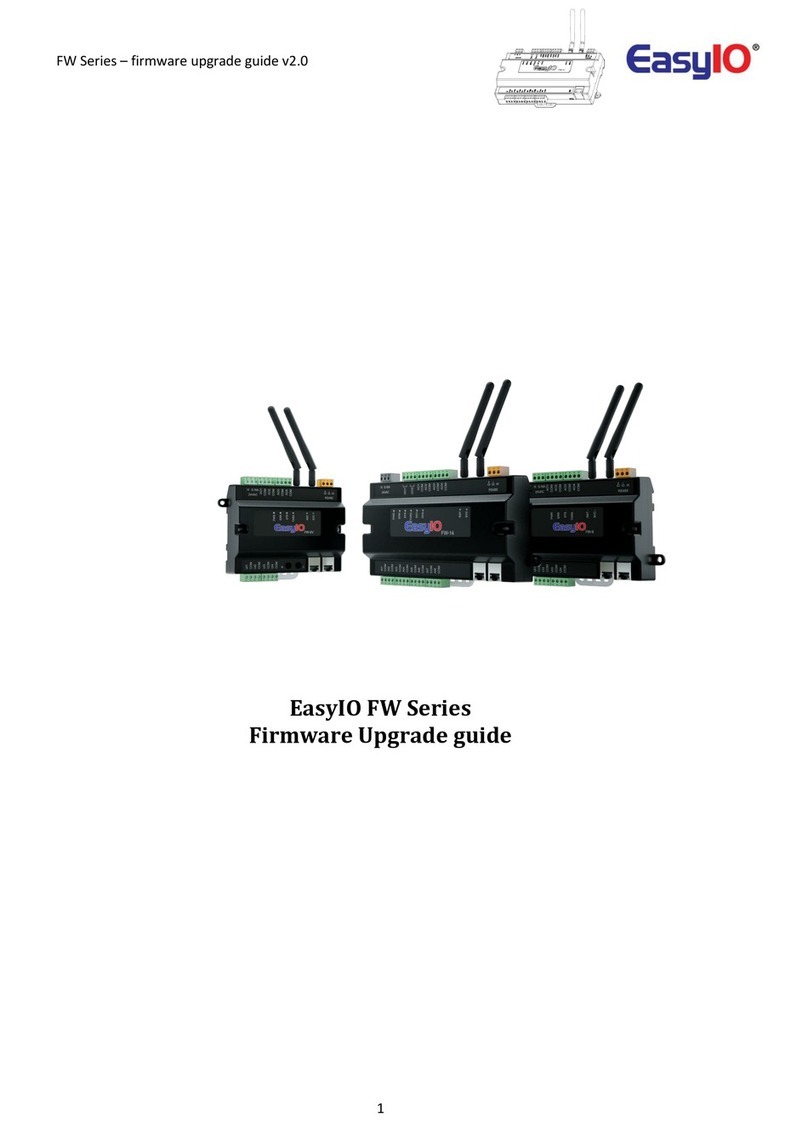
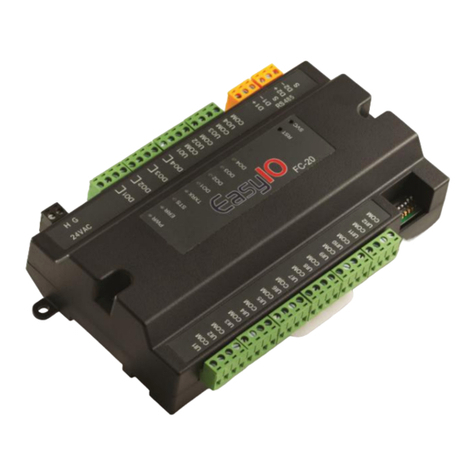
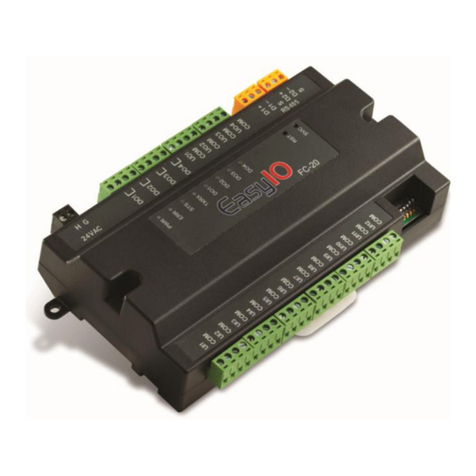
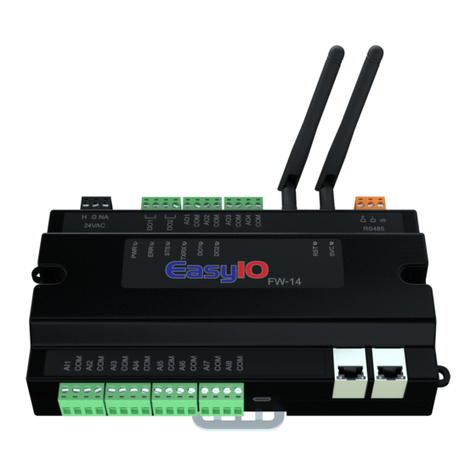
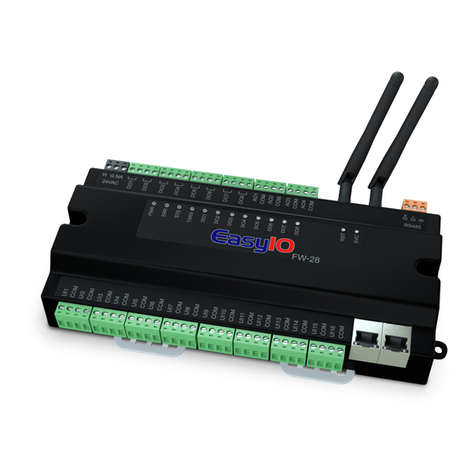
EasyIO FW Series User manual

EasyIO FW Series–Installation Guide v2.0
1
FW Series Installation Guide

EasyIO FW Series–Installation Guide v2.0
2
Document Change Log
16th May 2017
Document created.
17th Dec 2018
Updated disclaimer and support channel emails addresses
1st June 2019
Updated FW-28 new model

EasyIO FW Series–Installation Guide v2.0
3
Disclaimer
Confidentiality Notice
The information contained in this document is confidential information of EasyIO Holdings Pte Ltd. Such
information and the software described herein, is furnished under a license agreement and may be used
only in accordance with that agreement.
The information contained in this document is provided solely for use by EasyIO Holdings Pte Ltd
employees, licensees, and system owners; and, except as permitted under the below copyright notice, is
not to be released to, or reproduced for, anyone else.
While every effort has been made to assure the accuracy of this document, EasyIO Holdings Pte Ltd is not
responsible for damages of any kind, including without limitation consequential damages, arising from
the application of the information contained herein. Information and specifications published here are
current as of the date of this publication and are subject to change without notice. The latest product
specifications can be found by contacting our corporate headquarters or support channel.
Trademark Notice
EasyIO logo are registered trademarks of EasyIO Holdings Pte Ltd.
CPT Tool is by Online Tools Inc.
BACnet and ASHRAE are registered trademarks of American Society of Heating, Refrigerating and Air-
Conditioning Engineers. All other product names and services, mentioned in this publication, that are
known to be trademarks, registered trademarks, or service marks are the property of their respective
owners.
Copyright and Patent Notice
This document may not, in whole or in part, be copied, photocopied, reproduced, translated, or reduced
to any electronic medium or machine-readable form without prior written consent from EasyIO Holdings
Pte Ltd
Copyright © 2019 EasyIO Holdings Pte Ltd. All rights reserved
Disclaimer
The material in this manual is for information purposes only. The contents and the product it
describes are subject to change without notice. EasyIO Holdings Pte Ltd makes no
representations or warranties with respect to this manual. In no event shall EasyIO Holdings Pte Ltd be
liable for any damages, direct or incidental, arising out of or related to the use of this manual.
EasyIO Holdings Pte Ltd
101, Cecil Street #09-07
Tong Eng Building
Singapore 069533
Worldwide and Asia Pacific Support : support@easyio.com
Americas Support : support@easyio.pro
Europe Support : support@easyio.eu
EasyIO FW Series–Installation Guide v2.0
4
Federal Communication Commission Interference Statement
This equipment has been tested and found to comply with the limits for a Class B digital device, pursuant
to Part 15 of the FCC Rules. These limits are designed to provide reasonable protection against harmful
interference in a residential installation. This equipment generates, uses, and can radiate radio frequency
energy and, if not installed and used in accordance with the instructions, may cause harmful interference
to radio communications. However, there is no guarantee that interference will not occur in a particular
installation. If this equipment does cause harmful interference to radio or television reception, which can
be determined by turning the equipment off and on, the user is encouraged to try to correct the
interference by one or more of the following measures:
•Reorient or relocate the receiving antenna.
•Increase the separation between the equipment and receiver.
•Connect the equipment into an outlet on a circuit different from that to which the receiver is
connected.
•Consult the dealer or an experienced radio/TV technician for help.
Caution: Any changes or modifications not expressly approved by the party responsible for compliance
could void the user's authority to operate this equipment.
FCC Caution
This device complies with Part 15 of the FCC Rules. Operation is subject to the following two conditions:
(1) This device may not cause harmful interference, and (2) this device must accept any interference
received, including interference that may cause undesired operation.
FCC Radiation Exposure Statement
This equipment complies with FCC radiation exposure limits set forth for an uncontrolled environment.
This equipment should be installed and operated with minimum distance 20cm between the radiator &
your body.
RF Exposure: A distance of 20 cm shall be maintained between the antenna and users, and the
transmitter module may not be co-located with any other transmitter or antenna.

EasyIO FW Series–Installation Guide v2.0
5
Table of Contents
Introduction ....................................................................................................................................................6
Dimension.......................................................................................................................................................7
FW-28 .........................................................................................................................................................7
FW-14 .........................................................................................................................................................9
FW-08 , FW-08V........................................................................................................................................11
Physical Installation Instructions ..................................................................................................................13
Wireless Antenna Installation.......................................................................................................................16
Removing the Top Cover...............................................................................................................................17
Technical Support .........................................................................................................................................18

EasyIO FW Series–Installation Guide v2.0
6
Introduction
This document provides the installation guide/mounting guide for the EasyIO FW Series controller.
Do not mount the EasyIO FW Series:
-In an area where excessive moisture, corrosive fumes or explosion vapors are present.
-Where excessive vibration or shock is likely occur.
-Location where excessive electrical noise such as large magnetic interference or variable speed
drive modules
FW Series range of products comes in few options.
Options are referring to IO (Input/Output) configurations.
FW
Model
UI
AO
DO
Pressure
Sensor
Ethernet
EIA-485
Protocol Supported
FW-28
16
4 (Voltage only)
8
0
2
1
Sedona
BACnet MSTP Client
BACnet IP server
Modbus RTU Master
FW-14
8
4 (Voltage only)
2
0
2
1
Sedona
BACnet MSTP Client
BACnet IP server
Modbus RTU Master
FW-08
4
4 (Voltage only)
0
0
2
1
Sedona
BACnet MSTP Client
BACnet IP server
Modbus RTU Master
FW-08V
4
4 (Voltage only)
0
1
2
1
Sedona
BACnet MSTP Client
BACnet IP server
Modbus RTU Master

EasyIO FW Series–Installation Guide v2.0
7
Dimension
FW-28
Below are the dimensions FW-28.

EasyIO FW Series–Installation Guide v2.0
8
Alternate mounting option dimension

EasyIO FW Series–Installation Guide v2.0
9
FW-14
Below are the dimensions FW-14.
Top View. Width including terminal block connectors is approx 124mm

EasyIO FW Series–Installation Guide v2.0
10
Side view and back view.
Improved DIN rail mounting for easy dismantling.
Alternate mounting option dimension

EasyIO FW-14–Installation Guide v1.0
11
FW-08 , FW-08V
Below are the dimensions FW-08 and FW-08V.
Both models dimension are identical.
Top View. Width including terminal block connectors is approx 124mm

EasyIO FW-14–Installation Guide v1.0
12
Side view and back view.
Improved DIN rail mounting for easy dismantling.
Alternate mounting option dimension

EasyIO FW-14–Installation Guide v2.0
13
Physical Installation Instructions
The procedure below is for FW-14 model.
The procedure is same for FW-08,FW-08V and FW-28.
Step 1
Securely fasten the DIN rail to the enclosure base plate.
Typical industrial DIN rail, 35mm
Step 2
Use a screwdriver to unlock the 2 numbers of locking clips.

EasyIO FW-14–Installation Guide v2.0
14
Step 3
Position the EasyIO FW Series on the DIN rail mount till it hooks over the top edge of the DIN rail.
Push the controller towards the bottom part of the DIN rail
Step 4
Press/flatten the EasyIO FW Series to make sure the bottom of the base cover touches the enclosure base
plate.
Step 5
Use a screwdriver to lock the locking clips to secure the EasyIO FW Series to the DIN rail.

EasyIO FW-14–Installation Guide v2.0
15
Step 6
To keep the assembly secure a DIN rail end clip can be use.
Image shows a typical “DIN rail end clip(end stopper)”
The EasyIO FW Series comes with 2 mounting holes as optional mounting. Occasionally if DIN rail
mounting is not practical, you can use screws to mount the EasyIO FW Series to an enclosure base plate.

EasyIO FW-14–Installation Guide v2.0
16
Wireless Antenna Installation
The procedure below is for FW-14 model.
The procedure is same for FW-08, FW-08V and FW-28.
Step 1
Each unit of EasyIO FW Series comes with two 2.4GHz 2dBi with male SMA connector antennas.
The antennas are screw type connectors.
Locate the two RP-SMA female connectors at the top right corner of the EasyIO FW Series.
It is located next to the RS 485 terminals(yellow connectors).
Refer to below image for female RP-SMA female jack.
Step 2
Hold the antenna and insert the RP-SMA male connector to the on board RP-SMA female connector.
Turn the antenna clockwise to tighten it.
Ensure to hold the metal ring to tighten the antenna in to the female RP-SMA jack.
Holding the plastic body while turning the antenna will not secure the antenna tightly and would result
bad wireless connection reception.

EasyIO FW-14–Installation Guide v2.0
17
Step 3
For better wireless reception reposition the antenna. Hold the antenna plastic body to reposition them.
Removing the Top Cover
The procedure below is for FW-14 model.
The procedure is same for FW-08, FW-08V and FW-28
Step 1
Use a Philips screwdriver to unscrew the 2 Philips screws located on top the top cover.
Remove the 2 Button Head Philips screws
Step 2
Hold both end of the top cover to lift up the top cover. Occasionally a small flat head screw driver might
come handy in case the top cover stuck to the bottom cover.
Hold both sides and lift up the top cover
Other manuals for FW Series
3
This manual suits for next models
4
Table of contents
Other EasyIO Controllers manuals

EasyIO
EasyIO FW Series Service manual

EasyIO
EasyIO FG-32 User manual

EasyIO
EasyIO FC Series Quick start guide

EasyIO
EasyIO FG Series User manual

EasyIO
EasyIO FW-14 V3 User manual

EasyIO
EasyIO FT Series Service manual

EasyIO
EasyIO FG-32 User manual

EasyIO
EasyIO FS Series Service manual

EasyIO
EasyIO FG-20 User manual

EasyIO
EasyIO FS32 User manual