manuals.online logo
Brands
  1. Home
  2. •
  3. Brands
  4. •
  5. Eaton
  6. •
  7. UPS
  8. •
  9. Eaton Powerware 9x55 series Manual

Eaton Powerware 9x55 series Manual

p/n:
Revision 1
9x55 8–15 kVA Battery Upgrade
For use with the Eaton®9155 and 9355 (8–15 kVA)
Powerware Series
Eaton reserves the ri ht to chan e specifications without prior notice. Eaton is a re istered trademark of Eaton. All other trademarks are
property of their respective companies.
©Copyri ht 2017 Eaton, Ralei h, NC, USA. All ri hts reserved. No part of this document may be reproduced in any way without the
express written approval of Eaton.
IMPORTANT SAFETY INSTRUCTIONS SAVE THESE INSTRUCTIONS
This manual contains important instructions that you should follow during installation and maintenance
of the UPS and batteries. Please read all instructions before operating the equipment and save this
manual for future reference.
CONSIGNES DE SÉCURITÉ IMPORTANTES — CONSERVER CES INSTRUCTIONS
Ce manuel comporte des instructions importantes que vous êtes invité à suivre lors de toute
procédure d installation et de maintenance de la PDU. Veuillez consulter entièrement ces instructions
avant de faire fonctionner l équipement et conserver ce manuel afin de pouvoir vous y reporter
ultérieurement.
9x55 8–15 kVA Battery Up rade (8–15 kVA) —Rev 1 iii
TTaabbllee ooff CCoonntteennttss
11 IInnttrroodduuccttiioonn....................................................................................................................................................................................................................................................................................................11
22 BBaatttteerryy UUppggrraaddee PPrroocceedduurree........................................................................................................................................................................................................................................................33
iv 9x55 8–15 kVA Battery Up rade (8–15 kVA) —Rev 1
Table of Contents
9x55 8–15 kVA Battery Up rade (8–15 kVA) —Rev 1 1
CChhaapptteerr 11 IInnttrroodduuccttiioonn
Eaton has designed a new harness (see Figure 16) for the battery trays within the 9X55 8-15KVA products as an
effort to provide arc flash mitigation. Battery trays should be replaced to include the adapter on every battery
shelf. This adapter is included in models starting in September 2016. Older models require this battery
upgrade.
Prior to the upgrade, the two battery trays in a shelf are oriented in opposite directions. The positive terminal of
the left tray is to the front of the unit while the negative terminal of the right tray is in the front. After this
upgrade, all trays will be oriented with the positive terminals to the front.
Installing the new adapter requires that you cut the existing terminals off of the red and black wires on the front
of the battery shelf, strip the wire back 1/4 inch, install and crimp the new adapter onto the wires, and add
shrink wrap over the crimped terminal.
2 9x55 8–15 kVA Battery Up rade (8–15 kVA) —Rev 1
Introduction
9x55 8–15 kVA Battery Up rade (8–15 kVA) —Rev 1 3
CChhaapptteerr 22 BBaatttteerryy UUppggrraaddee PPrroocceedduurree
WARNING
This procedure involves interacting with components that may be energized.
Any and all work can involve hazards when working on electrical equipment. The work must be done in
accordance with all applicable local, federal, or other safety requirements and must be performed by qualified
personnel.
!
IMPORTANT
In the event of input power failure while performing this procedure, battery backup will not be available.
1. If possible, remove power from the system. Otherwise, follow the instructions in the UPS Maintenance
section of the User’s Guide to place the 9x55 8-15kVA UPS in Maintenance bypass. First, put the UPS into
bypass then move the switch to maintenance bypass. However, if the UPS cannot be placed in
maintenance bypass, the upgrade can still be performed by removing power from the system.
Figure 1. Bypass Mode (UPS mounted Maintenance Bypass Switch located at the rear of the unit)
4 9x55 8–15 kVA Battery Up rade (8–15 kVA) —Rev 1
2. Verify that the UPS battery circuit breaker CB1, at the rear of the unit, is open. Follow applicable lockout/
tagout procedures.
Figure 2. CB1 s Open (Located at the rear of the unit)
NOTE If an external battery cabinet is attached, it must be disconnected from the UPS. Ensure
that CB1 is open on each associated external battery cabinet.
Battery Up rade Procedure
9x55 8–15 kVA Battery Up rade (8–15 kVA) —Rev 1 5
3. Remove the front dress panel of the battery compartment.
Figure 3. Remove Front Panel
Battery Up rade Procedure
6 9x55 8–15 kVA Battery Up rade (8–15 kVA) —Rev 1
4. Using a 7mm nut driver, remove the screws that secure the battery dead front and remove the dead front.
Figure 4. Remove Battery Dead Front Screws
Figure 5. Battery Dead Front Removed
Battery Up rade Procedure
9x55 8–15 kVA Battery Up rade (8–15 kVA) —Rev 1 7
5. Disconnect all the cabinet harnesses from all the battery trays, starting with all the positive (red) wires then
all the negative (black) wires. Ensure that the wires do not come into contact with any metal framing. It is
recommended to isolate the connectors by using a non-conductive electrical tape to secure the end of
each connector.
Figure 6. Disconnect the Cabinet Harnesses
Battery Up rade Procedure
8 9x55 8–15 kVA Battery Up rade (8–15 kVA) —Rev 1
Figure 7. Disconnected Cabinet Harnesses
WARNING
All battery trays must be disconnected prior to proceeding any further.
Battery Up rade Procedure
9x55 8–15 kVA Battery Up rade (8–15 kVA) —Rev 1 9
6. Using a voltmeter, measure the voltage between the positive (+) and negative (-) disconnected harness
from each shelf/string to verify that there is no voltage.
Figure 8. Verify Zero Voltage
WARNING
After performing Step 6, there will still be full battery string voltage between the positive (red) and negative
(black) terminals of the battery trays.
Battery Up rade Procedure
10 9x55 8–15 kVA Battery Up rade (8–15 kVA) —Rev 1
7. Slide one battery tray half way out and disengage the tray to tray jumper from the tray clips.
Figure 9. Disconnect Tray to Tray Jumper From Tray Clips
8. Disconnect the tray to tray jumper (white terminal on a black wire).
Figure 10. Disconnected Tray to Tray Jumper
Battery Up rade Procedure
9x55 8–15 kVA Battery Up rade (8–15 kVA) —Rev 1 11
9. Slide both battery trays completely out of the unit.
Figure 11. Both Trays Slid Completely Out
Battery Up rade Procedure
12 9x55 8–15 kVA Battery Up rade (8–15 kVA) —Rev 1
10. Remove and discard the tray to tray jumper.
Figure 12. Discard Tray to Tray Jumper
11. Repeat Steps 7–10 for the other battery shelves until all battery trays have been removed from the unit.
Figure 13. Empty Unit
Battery Up rade Procedure
9x55 8–15 kVA Battery Up rade (8–15 kVA) —Rev 1 13
12. Slide the new battery trays into the unit. The positive (+) terminal of each tray should face the front of the
unit and be on the right side of the tray (highlighted in yellow in Figure 14). When sliding it into position, lift
the rear of each battery tray onto the shelf to get it started.
Figure 14. nsert New Battery Trays
13. Locate the remaining cabinet wiring that was previously disconnected from the old trays. Use a wire cutter
(preferably the scissor action type as opposed to diagonal cutters) to cut/remove the existing female
Faston® terminal on the cabinet harness (spade terminal off the ends of the red and black wires). It is
preferred to perform this step by doing one string/shelf at a time.
Battery Up rade Procedure
14 9x55 8–15 kVA Battery Up rade (8–15 kVA) —Rev 1
14. Use a wire stripper (preferably the no-nick type so that no wire strands are cut off or nicked/weakened) to
strip 1/4 inch of insulation from each of the red and black wires.
Figure 15. Strip 1/4 nch of nsulation
Battery Up rade Procedure
9x55 8–15 kVA Battery Up rade (8–15 kVA) —Rev 1 15
15. Connect the newly provided adapter harness (see Figure 16) to the UPS battery tray wiring, using the
crimp tool (or equivalent) illustrated in Figure 17. It is recommended that crimp tool PN 59824-1 or
equivalent is used in this step. Ensure that the two pieces of black heat shrink (highlighted in yellow in
Figure 18) are on the adapter assembly. Then insert the negative (black) wire into the crimp terminal on the
black wire of the retrofit adapter (see Figure 18).
Figure 16. New Adapter
Figure 17. Recommended Crimp Tool
WARNING
Ensure that no bare wire is exposed outside of the crimp terminal.
Battery Up rade Procedure
16 9x55 8–15 kVA Battery Up rade (8–15 kVA) —Rev 1
Figure 18. Add New Adapter Harness to the Battery Cabinet Wires
16. Repeat the insertion and crimping steps for the positive (red wire), ensuring that no bare wires are hanging
out of the crimp.
Figure 19. nserting and Crimping the Red Wire to The Adapter Harness
Battery Up rade Procedure

This manual suits for next models

2

Other Eaton UPS manuals

Eaton Powerware BladeUPS User manual

Eaton

Eaton Powerware BladeUPS User manual

Eaton 5P 1150VA RM User manual

Eaton

Eaton 5P 1150VA RM User manual

Eaton Powerware 9155 User manual

Eaton

Eaton Powerware 9155 User manual

Eaton 5E 100i USB User manual

Eaton

Eaton 5E 100i USB User manual

Eaton DIN24240DC User manual

Eaton

Eaton DIN24240DC User manual

Eaton Pulsar Series User manual

Eaton

Eaton Pulsar Series User manual

Eaton Powerware 9355 User manual

Eaton

Eaton Powerware 9355 User manual

Eaton 9130 UPS User manual

Eaton

Eaton 9130 UPS User manual

Eaton Powerware 5125 Operating and safety instructions

Eaton

Eaton Powerware 5125 Operating and safety instructions

Eaton Powerware 9155 User manual

Eaton

Eaton Powerware 9155 User manual

Eaton BladeUPS none User manual

Eaton

Eaton BladeUPS none User manual

Eaton 9PX6K-L Assembly instructions

Eaton

Eaton 9PX6K-L Assembly instructions

Eaton Ellipse MAX 600 User manual

Eaton

Eaton Ellipse MAX 600 User manual

Eaton 9PX 700 RT User manual

Eaton

Eaton 9PX 700 RT User manual

Eaton Powerware 9130 User manual

Eaton

Eaton Powerware 9130 User manual

Eaton Powerware 9395 User manual

Eaton

Eaton Powerware 9395 User manual

Eaton Tripp Lite SmartPro Series Assembly instructions

Eaton

Eaton Tripp Lite SmartPro Series Assembly instructions

Eaton 40 kVA Manual

Eaton

Eaton 40 kVA Manual

Eaton Powerware 9125 User manual

Eaton

Eaton Powerware 9125 User manual

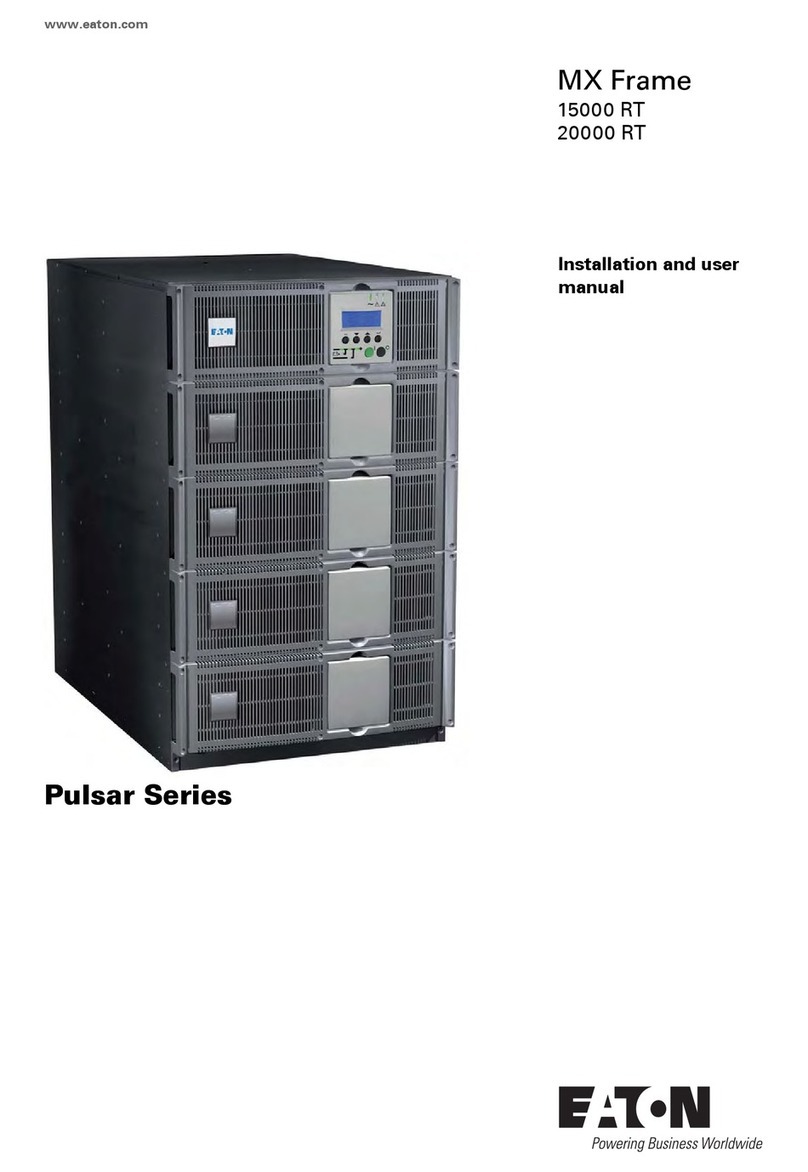
Eaton MX Frame 15000 RT User manual

Eaton

Eaton MX Frame 15000 RT User manual

Eaton 93PM IBC-L User manual

Eaton

Eaton 93PM IBC-L User manual
Eaton Powerware 5115A USB User manual

Eaton

Eaton Powerware 5115A USB User manual

Eaton 9SX 6000VA User manual

Eaton

Eaton 9SX 6000VA User manual

Eaton Powerware 9390 User manual

Eaton

Eaton Powerware 9390 User manual
Popular UPS manuals by other brands

Huawei UPS5000-A-400 kVA user manual

Huawei

Huawei UPS5000-A-400 kVA user manual

Vertiv Liebert APM user manual

Vertiv

Vertiv Liebert APM user manual

ABB PowerValue 11 RT G2 quick guide

ABB

ABB PowerValue 11 RT G2 quick guide

CyberPower OR700LCDRM1U user manual

CyberPower

CyberPower OR700LCDRM1U user manual

Sola Hevi Duty S4K4U6000 user manual

Sola Hevi Duty

Sola Hevi Duty S4K4U6000 user manual

Best Power Fortress 750 VA user guide

Best Power

Best Power Fortress 750 VA user guide

Must C2K user manual

Must

Must C2K user manual

Ever SINLINE XL Quick reference guide

Ever

Ever SINLINE XL Quick reference guide

Falcon SSG6KRM-2 Installation & user manual

Falcon

Falcon SSG6KRM-2 Installation & user manual

Vertiv LIEBERT PSI5 Series Installer/user guide

Vertiv

Vertiv LIEBERT PSI5 Series Installer/user guide

Sven Power Pro+ 500 user manual

Sven Power

Sven Power Pro+ 500 user manual

AMX NXA-UPS1500 installation guide

AMX

AMX NXA-UPS1500 installation guide

GMP GM 110 PRO user manual

GMP

GMP GM 110 PRO user manual

Tripp Lite Internet Office & BC Personal UPS System owner's manual

Tripp Lite

Tripp Lite Internet Office & BC Personal UPS System owner's manual

CyberPower HSTP3T60KE user manual

CyberPower

CyberPower HSTP3T60KE user manual

CyberPower CP750LCDM user manual

CyberPower

CyberPower CP750LCDM user manual

LBS DRAGON POWER PLUS 15 user manual

LBS

LBS DRAGON POWER PLUS 15 user manual

Orion Network Pro 1500 user manual

Orion

Orion Network Pro 1500 user manual

manuals.online logo
manuals.online logoBrands
  • About & Mission
  • Contact us
  • Privacy Policy
  • Terms and Conditions

Copyright 2025 Manuals.Online. All Rights Reserved.