manuals.online logo
Brands
  1. Home
  2. •
  3. Brands
  4. •
  5. Eaton
  6. •
  7. Water Filtration System
  8. •
  9. Eaton LOEFFLER FILTRATION HAYFLOW User manual

Eaton LOEFFLER FILTRATION HAYFLOW User manual

1. When to change the HAYFLOW filter element?
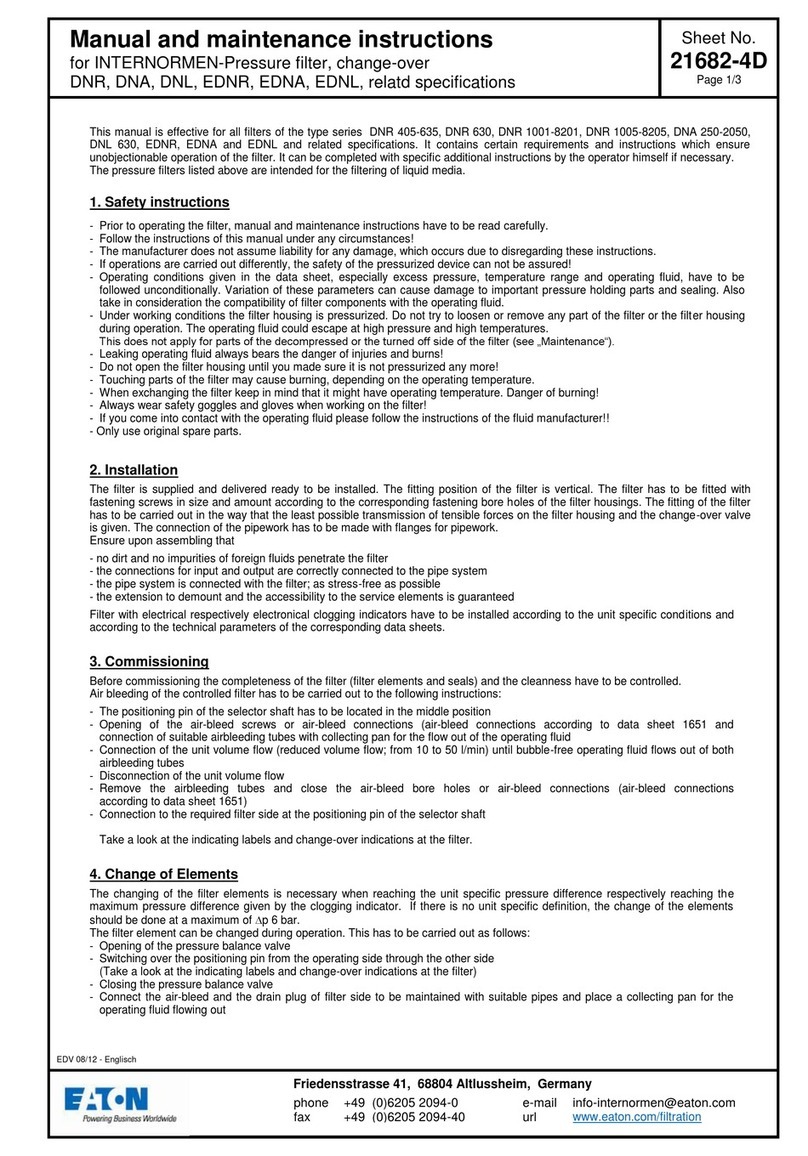
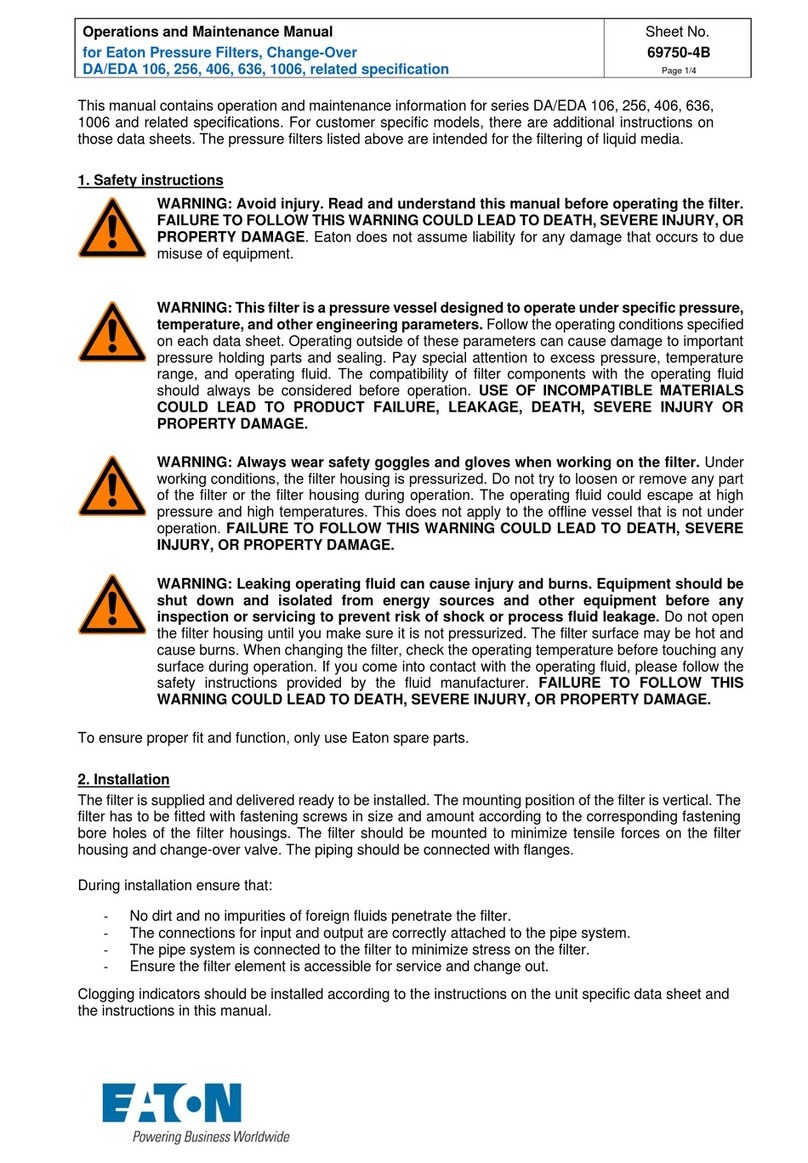
Fluid through the filter medium creates a pressure drop across the system. This
pressure increases as the element continues to trap contamination from the flow
system. The pressure drop is the best indication of when to change the HAYFLOW
element.
Under normal circumstances and unless otherwise indicated on the datasheet, the
recommended maximum pressure drop should not exceed 2.5 bar (36 psi). The
optimal pressure drop and the frequency of element change-out can only be
determined by experience with each process.
Tel.: +49/(0) 2486 809 400
Tel.: +33/(0) 4 72 78 84 50
Tel.: +44/(0) 1206 848 350
Tel.: 0800 29 36 89
Tel.: 800 78 58 83
Tel.: 0800 77 0 22
Tel.: 800 2 42 98
Tel.: 0800022 27 03
Tel.: 90098 49 15
Tel.: +49/(0) 2486 809 470
Tel.: +27/(0) 11 791 4331
Fax: +49/(0) 2486 809 500
Fax: +33/(0) 4 78 74 43 07
Fax: +44/(0) 1206 848 359
Fax: 0800 29 36 90
Fax: 800 78 58 84
Fax: 0800 77 0 23
Fax. 800 2 42 99
Fax: 0800 0 22 26 95
Fax: 900 98 49 15
Fax: +49/(0) 2486 809 570
Fax: +27/(0) 11 791 0583
Customer Service:
Germany
France
UK
A
ustria
Italy
Belgium
Luxembourg
Netherlands
Spain
Export
South Africa
Tel.: +49/(0) 2486 809 0
Fax: +49/(0) 2486 809 800
[email protected]
www.filtration.eaton.com
Headquarters EUROPE, MIDDLE EAST and
AFRICA
Eaton Filtration GmbH
A
uf der Heide 2
D-53947 Nettersheim, Germany
For further info or questions, please contact your Eaton Filtration representative.
3. Starting up again
Close the filter housing and start up the filtration process following the installation
instructions supplied with the housing.
Photo 4:
Push the element with the instal-
lation tool down to the bottom of
the basket.
Photo 1:
Taking out the element.
Photo 2:
The lifting tool: Lifting
up the basket.
Photo 3:
Insert the HAYFLOW installation
tool in the element.
2
. Installing a new HAYFL
O
W
f
ilter element
●Preparing the housing
1. The filter housing has to be opened according to the installation and maintenance
instructions delivered together with the specific housing.
2. Remove the used filter element from the basket (Photo 1). The element can be
easily lifted from the basket by the handles of the SENTINEL®ring, at the cut
handle in the centre sleeve or at both. Dispose of in an appropriate manner.
3. Clean the housing/basket if necessary, paying special attention to the O-rings and
sealing surfaces. With another tool the basket can be lifted up from the housing
until it can be taken out by hand (photo 2). Do not use this tool to carry the basket
around.
4. Replace O-Rings of the housing when deformed or damaged with new O-Rings o
f
the correct material.
●Installing your new HAYFLOW element
1. Remove the label. Note: the label contains the batch and product code numbers
and should be retained as a reference.
2. Insert the HAYFLOW installation tool into the element (photo 3) and push the
installation tool down to the bottom of the element.
3. Install the element with help of the installation tool into the basket. Push it down
until it sits at the bottom (photo 4).
4. Remove the installation tool by pulling it out.
5. Check that the SENTINEL ring sits properly on the machined seat (photo 5).
6. See that every basket is fitted with a new filter element.
Important Installation Instructions
HAYFLOWTM
.
Photo 5:
Push the HAYFLOW collar
down.
HAYFLOWTM HAYFLOWTM
Important: Instructions de mise en service
Wichtige Installationsanweisungen
1. Wann sollte das HAYFLOW Filterelement
gewechselt werden?
Fluide, die durch ein Filtermedium strömen, erzeugen einen
Druckverlust in einem System. Dieser Druckverlust steigt an, da
das Filterelement kontinuierlich Verschmutzungen aus dem Fluid
aufnimmt. Der Druckverlust ist das beste Indiz für den richtigen
Zeitpunkt das HAYFLOW Element zu wechseln.
Unter normalen Bedingungen, und sofern nicht abweichend au
f
den Datenblättern ausgewiesen, sollte der empfohlene max.
Druckverlust nicht mehr als 2,5 bar (36 psi) betragen. De
r
optimale Druckverlust und Wechselturnus der Elemente ist
prozessabhängig und kann nur durch Versuche bestimmt
werden.
1. Quand changer I'élément HAYFLOW?
Le fluide crée une perte de charge en passant à travers le systè-
me de filtration. Cette pression s'accroît au fur et à mesure que
I´élément retient la contamination se trouvant dans le fluide cir-
culé. La perte de charge est le meilleur indicateur pour déterminer
le moment propice de changement de I'élément HAYFLOW.
Dans les conditions normales et sans indication contraire de la
documentation technique produit, la perte de charge maximale
conseillée ne doit pas dépasser 2,5 bar (36 psi). La perte de
charge optimale et fréquence de changement des éléments ne
peuvent ệtre déterminées que par I'expérience relative à chaque
procédé.
2. Mise en place de I'élément HAYFLOW
.
Préparation de I'appareil
1. Ouvrir le filtre selon les instructions de service et de
maintenance appartenant au filtre.
2. Retirer I'élément usagé du panier. L'élément peut être
facilement extrait du panier avec les poignées de la
collerette SENTINEL (photo 1) ou à l’aide des poignées au
centre du cylindre ou les deux. Le détruire de façon
appropriée.
3. Nettoyer le filtre et le panier si nécessaire en prêtant une
attention particulière aux joints et aux portées de joint. A'
I'aide d'un autre outil d'extraction le panier peut être extrait
du filtre jusqu'à ce qu'il puisse etre enlevé à la main. Ne
pas utiliser cet outil pour porter le panier (photo 2).
4. Remplacer les joint toriques du corps de filtre lorsqu´ils
sont endommagés ou déformés avec des joints neufs
d´une matière adaptée
2. Einbau eines neuen HAYFLOW Filterelements
●Vorbereitungen am Filtergehäuse
1. Das Filtergehäuse ist gemäß der zum Gerät gehörenden
Bedienungs- und Wartungsanweisungen zu öffnen.
2. Entfernen Sie das gebrauchte Filterelement aus dem Korb.
Das Element kann leicht an den Handgriffen des SENTINEL
Ringes und / oder an den beiden Griffen des inneren
Zylinders aus dem Korb gehoben (Photo 1) und in geeignete
r
Form entsorgt werden.
3. Reinigen Sie, wenn nötig, Filtergehäuse und Korb. Hierbei
muss insbesondere auf die O-Ring-Dichtungen und die
Dichtflächen geachtet werden. Mit der Ausbauhilfe kann de
r
Korb angehoben werden, so dass er dann von Hand
herausgenommen werden kann. Benutzen Sie diese nicht,
um den Korb zu tragen (Photo 2).
4. Ersetzen Sie beschädigte oder stark deformierte O-Ring-
Dichtungen des Gehäuses durch neue Dichtungen gleichen
Materials.
. Installation de I'élément HAYFLOW neuf:
1. Retirer I'étiquette. Nota: I'étiquette porte le N° de lot et le
code article et sera conservé pour la traçabilité.
2. Positionner I'outil d'installation dans I'élément HAYFLOW
(photo 3). Insérer les 3 barres de I'outil d´installation vers le
fond de I'élément.
3. A I'aide de I'outil, installer I'élément dans le panier. Le
pousser jusqu'a ce qu'il soit au fond du panier (photo 4).
4. Retirer I'outil d'installation en le faisant glisser vers le haut.
5. Vérifier que la collerette SENTINEL de I'élément repose
parfaitement sur le siège usiné (photo 5).
6. S'assurer que tous les paniers sont équipés d'un élément
neuf.
•
Einsetzen des neuen HAYFLOW Elementes
1. Entfernen Sie das Etikett. Achtung: Auf dem Etikett befindet
sich eine Batch-Nummer und eine Produktbezeichnung. Das
Etikett sollte als Referenz aufbewahrt werden.
2. Setzen Sie die HAYFLOW Einbauhilfe in das Element
(Photo 3) und drücken Sie die drei Stangen der Einbauhilfe
bis zum Boden des Filterelements.
3. Das Filterelement wird mit Hilfe der Einbauhilfe in den Korb
eingesetzt und bis an den Boden des Korbes herunterge-
drückt (Photo 4).
4. Ziehen Sie die Einbauhilfe aus dem Filterelement heraus.
5. Überprüfen Sie, dass der SENTINEL Ring richtig auf der
bearbeiteten Fläche sitzt (Photo 5).
6. Stellen Sie sicher, dass jeder Druckaufnahmekorb mit
einem neuen Element ausgerüstet wird.
3. Redémarrage du filtre
La fermeture et la mise en service du filtre doivent s'effectue
r
d'après les instructions de mise en service livrées avec le corps
de filtre.
3. Wiederinbetriebnahme
Das Schließen des Filtergehäuses und dessen Inbetriebnahme
sind entsprechend der mit dem Filtergehäuse gelieferten
Bedienungsanleitung vorzunehmen.
This manual suits for next models

1

Other Eaton Water Filtration System manuals

Eaton MotoRx Series Manual

Eaton

Eaton MotoRx Series Manual

Eaton DA/EDA 106 User manual

Eaton

Eaton DA/EDA 106 User manual

Eaton INTERNORMEN DGFK Guide

Eaton

Eaton INTERNORMEN DGFK Guide

Eaton 30R User manual

Eaton

Eaton 30R User manual

Eaton HCU2 User manual

Eaton

Eaton HCU2 User manual

Eaton UM15 User manual

Eaton

Eaton UM15 User manual

Eaton DCF-3000 Owner's manual

Eaton

Eaton DCF-3000 Owner's manual

Eaton DCF 400 Owner's manual

Eaton

Eaton DCF 400 Owner's manual

Eaton 53BTX Owner's manual

Eaton

Eaton 53BTX Owner's manual

Eaton INTERNORMEN DNR Series Guide

Eaton

Eaton INTERNORMEN DNR Series Guide

Eaton INTERNORMEN DSF 1201-15001 Guide

Eaton

Eaton INTERNORMEN DSF 1201-15001 Guide

Eaton Cutler-Hammer 66A8060 User manual

Eaton

Eaton Cutler-Hammer 66A8060 User manual

Eaton PSFi Series User manual

Eaton

Eaton PSFi Series User manual

Eaton EDSF 1201-15001 Guide

Eaton

Eaton EDSF 1201-15001 Guide

Eaton 53 BTX User manual

Eaton

Eaton 53 BTX User manual

Eaton DWF 1505 User manual

Eaton

Eaton DWF 1505 User manual

Eaton MAXILINE MBF Series User manual

Eaton

Eaton MAXILINE MBF Series User manual

Popular Water Filtration System manuals by other brands

resideo Braukmann MiniPlus FF06-AA installation instructions

resideo

resideo Braukmann MiniPlus FF06-AA installation instructions

MANN+HUMMEL ProVent Series Installation and maintenance manual

MANN+HUMMEL

MANN+HUMMEL ProVent Series Installation and maintenance manual

Culligan 9" owner's guide

Culligan

Culligan 9" owner's guide

Doulton Uno Filter Select Tap installation instructions

Doulton

Doulton Uno Filter Select Tap installation instructions

GE Culligan FXRT12 quick start guide

GE

GE Culligan FXRT12 quick start guide

Casa Del Vetro Hydrabox instructions

Casa Del Vetro

Casa Del Vetro Hydrabox instructions

TeichTip SUNSUN CPF-50000 Operation manual

TeichTip

TeichTip SUNSUN CPF-50000 Operation manual

Daikin BYCQ140D7GW1 installation manual

Daikin

Daikin BYCQ140D7GW1 installation manual

Puricom Europe PROLINE PLUS instruction manual

Puricom Europe

Puricom Europe PROLINE PLUS instruction manual

Aqua Free Germlyser D Instructions for use

Aqua Free

Aqua Free Germlyser D Instructions for use

Watkins Wellness Freshwater Salt System owner's manual

Watkins Wellness

Watkins Wellness Freshwater Salt System owner's manual

Adey MagnaClean CMX Installation and servicing

Adey

Adey MagnaClean CMX Installation and servicing

PREMIER TECH REWATECH owner's manual

PREMIER TECH

PREMIER TECH REWATECH owner's manual

amiad Filtomat M100 Installation, operation and maintenance instructions

amiad

amiad Filtomat M100 Installation, operation and maintenance instructions

Oase BioTec ScreenMatic2 18000 operating instructions

Oase

Oase BioTec ScreenMatic2 18000 operating instructions

Adrona Crystal EX Trace Installation & operation manual

Adrona

Adrona Crystal EX Trace Installation & operation manual

HATHASPACE HARMONY 1500 manual

HATHASPACE

HATHASPACE HARMONY 1500 manual

Flurida FDFB10501 installation instructions

Flurida

Flurida FDFB10501 installation instructions

manuals.online logo
manuals.online logoBrands
  • About & Mission
  • Contact us
  • Privacy Policy
  • Terms and Conditions

Copyright 2025 Manuals.Online. All Rights Reserved.