Tel 800 992 5013 / +1 508 234 6158
|
www.eaw.com 2
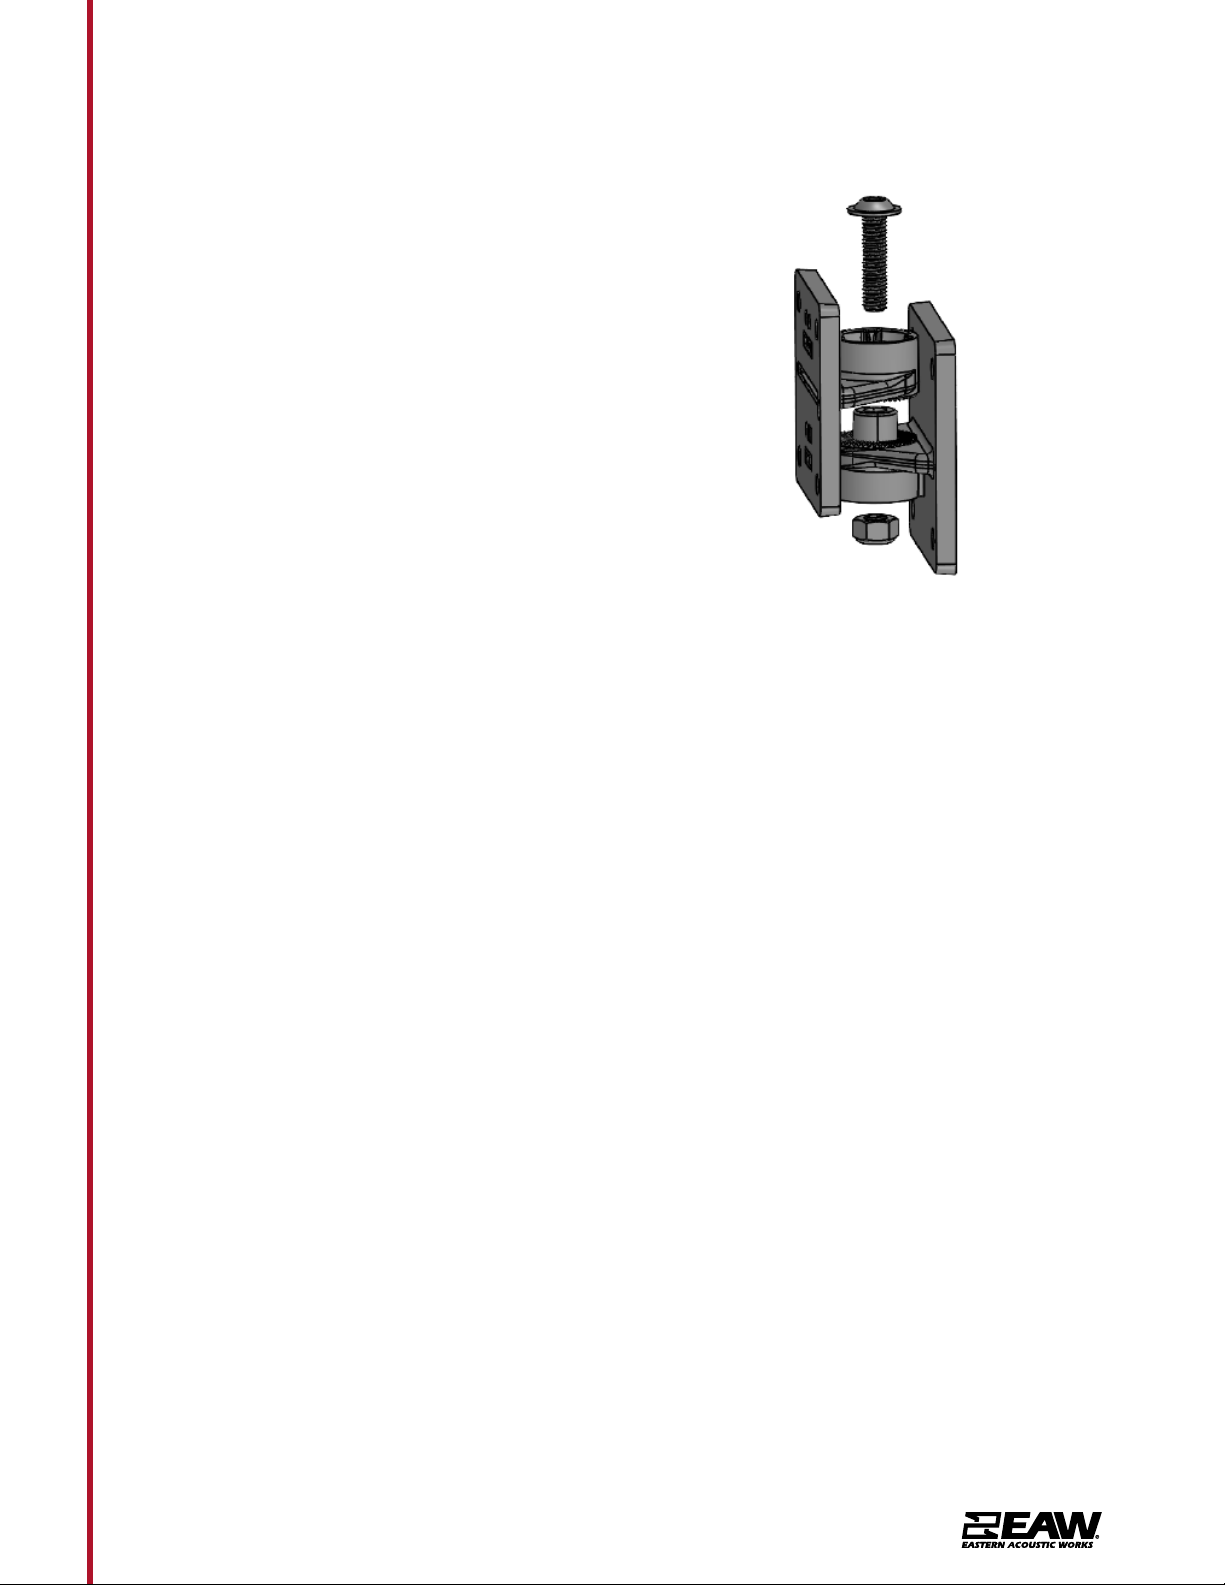
MKC Series Pan & Tilt Bracket Instructions
Avertissements de suspension
AVERTISSEMENT: Suspendre quoi que ce soit, en particulier les frais généraux de personnes,
doit être fait avec une extrême prudence. Toujours engager les services d'un professionnel
certié qui est qualié pour déterminer les conditions requises et à mettre en œuvre le
gréement en tête. Seules les personnes ayant la connaissance du matériel approprié et les
techniques sécuritaires de gréage devraient tenter de suspendre les haut-parleurs audessus. Le
non-respect de ces précautions peut entraîner des dommages, des blessures ou la mort.
Avvertenze sospensione
AVVERTENZA: Sospendere nulla, soprattutto sovraccarico di persone, deve essere fatto con
estrema cautela. Inserire sempre i servizi di un professionista certicato che si è qualicato
per determinare i requisiti di e ad attuare manovre in testa. Solo le persone con la conoscenza
di tecniche di assemblaggio di sicurezza hardware e dovrebbero tentare di sospendere gli
altoparlanti in testa. La mancata osservanza di queste precauzioni può provocare danni, lesioni
o morte.
Advertencias de suspension
ADVERTENCIA: La suspensión de cualquier cosa, especialmente por encima de las personas, se
debe hacer con mucho cuidado. Siempre contratar los servicios de un profesional certicado
que está calicado para determinar los requisitos para implementar y para las maniobras de
elevación. Sólo las personas con el conocimiento de las técnicas de aparejo de seguridad de
hardware adecuada y deben intentar suspender altavoces por encima. El incumplimiento de
estas precauciones puede resultar en daños, lesiones o muerte.
Suspension Warnungen
WARNUNG: Schwebend alles, vor allem Aufwand von Menschen, sollte mit äußerster Vorsicht
erfolgen. Immer engagieren, die Dienste eines zertizierten Pro, der qualiziert ist, die
Anforderungen zu bestimmen und Überkopfmontage zu implementieren. Nur Personen mit
der Kenntnis der richtigen Hardware und sichere Rigging Techniken sollten Lautsprecher Kopf
auszusetzen versuchen. Die Nichtbeachtung dieser Vorsichtsmaßnahmen kann zu Schäden,
Verletzungen oder zum Tod führen.