manuals.online logo
Brands
  1. Home
  2. •
  3. Brands
  4. •
  5. Edelbrock
  6. •
  7. Automobile Part
  8. •
  9. Edelbrock 66662 User manual

Edelbrock 66662 User manual

Catalog #s 66662, 66672, 66663, 66673, 68012, & 68013
©2005 Edelbrock Corporation Page 1of 3 Brochure #63-0447
Rev. 9/05 - DA/mc
TUBULAR EXHAUST SYSTEM
Catalog #s 66662, 66663, 66672, 66673, 68012, 68013
Vehicle Applications - See Below
INSTALLATION INSTRUCTION
Please study these instructions carefully before installing your new Tubular Exhaust System (TES). If you have any
questions, please contact our Technical Hotline at : 1-800-416-8628 from 7 am - 5pm, Monday-Friday, Pacific
Standard Time or e-mail us at [email protected]. Please fill out and mail your warranty card.
APPLICATIONS:
#66662, #66663: 1992-1993 Blazer 5.7L TBI
1988-1995 GMPick-Up 5.0L &5.7LTBI
1992-1995 Suburban 5.0L & 5.7L TBI
#66672, #66673: 1988-1995 GM Pick-Up 5.0L & 5.7L TBI
NOTE: All of the following vehicle applications are for 2 & 4 WD, Automatic and Standard
Transmission without A.I.R., Clamp-On Catalytic Converter:
#68012, #68013: For lowered trucks - fits same application as #66662, #66663
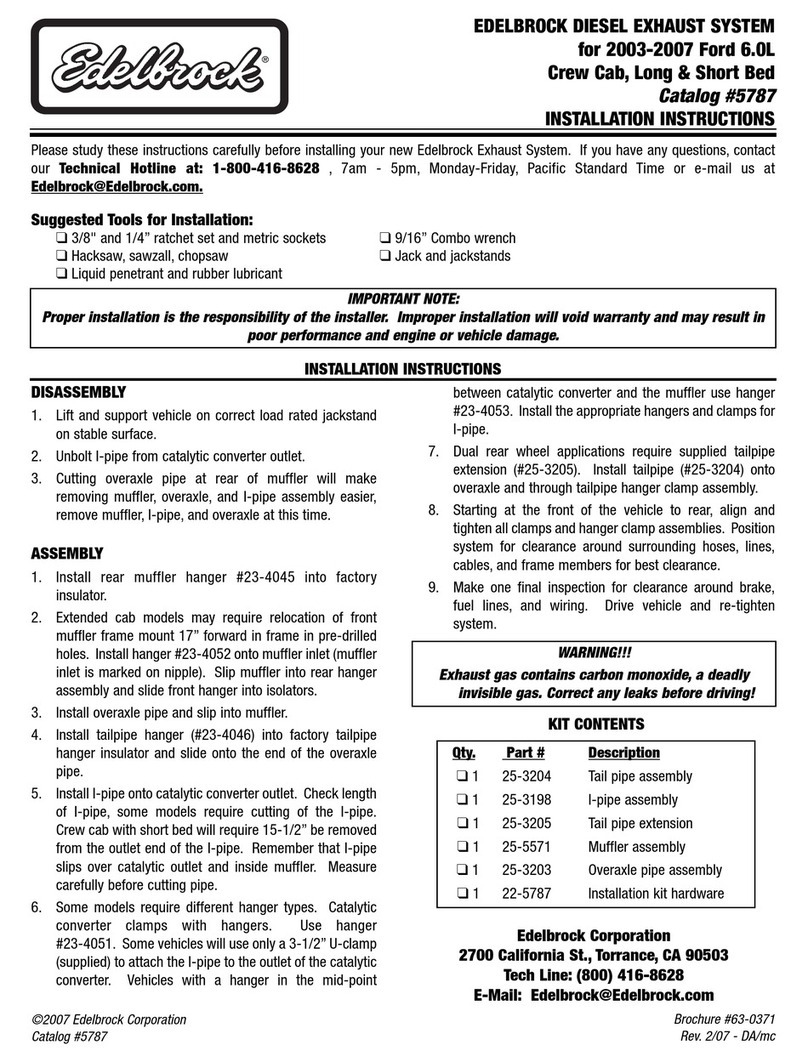
TUBULAR EXHAUST SYSTEM: These components are designed as a system to improve the exhaust efficiency of the GM
T.B.I. (Throttle Body Injection) V8 engine. A performance gain can be expected by the installation of the system. This
system requires no welding for installation and retains all O.E. M. emissions equipment.
Suggested Tools Needed for Installation: This vehicle has some metric fasteners.
❑3/8” rachet socket set with extensions and universal 13mm and 15mm swivel sockets
❑ Combination set of open-end wrenches
❑ Jackstands, screwdrivers, pliers, crescent wrench, etc.
❑Liquid penetrant, (GM #1052627) and anti-seize compound (GM #5613695)
NOTE: Some models will require special power steering pulley puller, K-D 2897 or equivalent.
SPECIAL NOTICE: This Edelbrock Tubular Exhaust System has received an Executive Order number (E.O.#) from the
California Air Resources Board (C.A.R.B.) making it legal for street use in all 50 states. To assist you with emission
equipment certification, we have included a silver fan shroud decal to help testing personnel verify that this part is a legal
replacement on the vehicle for which it is cataloged. The adhesive-backed decal should be affixed next to the existing
emission and engine specifications decal. Do not cover any part of your original emission decal.
WARNING: The use of "Thermal Wrap" or any aftermarket coating process will void the warranty on your Edelbrock
Tubular Exhaust Systems. Those products can cause excessive heat and moisture buildup resulting in corrosion and
failure of the system. INSTALLATION INSTRUCTIONS
DISASSEMBLY
1. Disconnect negative battery cable from battery.
2. Raise vehicle and support with jackstands.
3. Use penetrating oil on all nuts and bolts to be
removed. This will prevent the possibility of broken
or stipped nuts and bolts.
4. Making sure the converter is cool, remove the
exhaust crossover pipe.
5. Lower vehicle to the ground.
DISASSEMBLY - LEFT SIDE
6. Remove air cleaner system (note position of line and
hose connections).
7. Disconnect A.I.R. (Air Injection Reactor) tube from
exhaust manifold (#66672, & 66673 only).
8. Remove airconditioner compressor rear support
bracket (ir airconditioning equipped).
9. Remove power steering pump support bracket (if
power steering is applicable). In order to remove the
Catalog #s 66662, 66672, 66663, 66673, 68012, & 68013
©2005 Edelbrock Corporation Page 2of 3 Brochure #63-0447
Rev. 9/05 - DA/mc
OEM bracket attached with the 2 front exhaust
manifold bolts on some models, it may be necessary
to remove the power steering pump pulley. This
require the use of a special power steering pulley
puller, such as K-D 2897 or equivalent.
10. Disconnect spark plug wires and remove spark
plugs.
11. Remove O2 sensor, being careful not to rupture or
destroy the unit.
WARNING: Do not clean this uni in any
cleaning solvent and do not rupture wire.
12. Disconnect temperature sensor wire.
13. Remove bolts and exhaust manifold from top side.
DISASSEMBLY - RIGHT SIDE
14. Disconnect A.I.R. injection tube from exhaust
manifold (#66672, #66673 only.
15. Disconnect spark plug wires and remove spark
plugs.
16. Remove bolts and exhaust manifold from top side.
17. Clean exhaust flange surfaces on cylinder heads at
this time.
ASSEMBLY - LEFT SIDE
1. Install T.E.S. flange gasket and one 3/8”-16 x 1” bolt,
lock washer, and flat washer at rearmost bolt hole
(leave bolt loose enough to accept T.E.S.).
2. Install left side T.E.S. manifold from top side.
3. Install all but the front two bolts and washers on left
side (do not tighten at this time).
4. Re-install rear power steering support bracket. Do
not tighten at this time.
5. Re-install accessory bracket which mounts to the
first two bolt holes on left side with 2-3/4” ferry
bolts, lock washers, and 1-1/2” spacers supplied.
Use the spacers only between the manifold flange
and the accessory bracket; use a 3/8” lockwasher
under th eahd of the ferry bolt.
6. Align all parts and tighten left side bolts and nuts at
this time.
7. Re-install spark plugs and re-connect wires on left
side.
8. Re-install temperature sensor wire to temperature
sensor.
9. Re-install O2 sensor. Use anti-seize on threads of
sensor and torque to 30 ft./lbs. Re-route O2 sensor
wire from wire loom to O2 sensor making sure all
wires are clear of exhaust system (O2 sensor
extension wire is included in kit).
ASSEMBLY - RIGHT SIDE
1. Install T.E.S. flange gasket and one 3/8”-16 x 1”
bolt, lock washer and flat washer at rearmost bolt
hole (leave bolt loose enough to accept T.E.S.).
2. Install right side T.E.S. manifold from top side.
3. Install remaining bolts, lock washers, and spacer
tube dipstick to clear exhaust flange.
4. Align all parts and tighten all right side bolts at this
time.
5. Re-install spark plugs and re-connect wires.
6. Remove A.I.R. check valves from original manifolds
and re-install them on T.E.S. With hose supplied in
kit, re-connect all A.I.R. injection hoses at this time
(#66672, & #66673 only).
7. Raise vehicle and support with jackstands.
CROSSOVER PIPE ASSEMBLY
1. Select the correct adapter tube for your catalytic
converter (small diameter for 5.0L and large
diameter for 5.L engine).
2. Carefully align and tap adapter tube into converter
using a piece of wood or a mallet to protect the end
of the adapter.
NOTE: Be sure adapter goes all the way in,
approximately 2-1/2”.
3. Installcrossover pipeassembly onvehicle usingfour
3/8” x 2” bolts with lock washers and donut gaskets
supplied.
4. Install U-clamps and position for maximum ground
clearance, then tighten all nuts and bolts.
Catalog #s 66662, 66672, 66663, 66673, 68012, & 68013
©2005 Edelbrock Corporation Page 3of 3 Brochure #63-0447
Rev. 9/05 - DA/mc
Edelbrock Corporation
2700 California St.
Torrance, CA 90503
Tech Line: 1-800-416-8628
E-Mail: [email protected]
KIT CONTENTS
Catalog #66663 & #66673
Qty. Description
❑1Manifold left side #25-9134 (#66663)
❑1Manifold right side #25-9131 (66663)
❑1Manifold left side #25-9135 (#66673)
❑1Manifold right side #25-9133 (66673)
❑1Extension Pipe Left #25-9649
❑1Extension Pipe Right #25-9650
❑1O2 Sensor Plug
❑ 12 Hex header bolts; 3/8” x 1”
❑2Ferry bolts; 3/8” x 2-3/4”
❑1Flange connector
❑1 U-clamp; 2-1/4”
❑1U-clamp; 3”
❑2Chevy V8 port gaskets
❑2Donut gaskets
❑1 Hose (A.I.R.); 5/8” x 30”
❑1Hex bolt; 1/4” x 1”
❑1Pigtail O2 sensor; 12”
❑4Flat washers; 3/8”
❑1Adapter, catalytic converter (5.0L engine)
❑4Hex bolts; 3/8” x 2”
❑1Adapter, catalytic converter (5.7L engine)
❑1Spacer tube; 3/8” O.D. x 1/2” long
❑2Spacer tube; 5/8” O.D. x 1-1/2” long
❑16 Lock washers; 3/8”
KIT CONTENTS
Catalog #66662 & #66672
Qty. Description
❑1Manifold left side #25-9323 (#66662)
❑1Manifold right side #25-9318 (66662)
❑1Manifold left side #25-9325 (#66672)
❑1Manifold right side #25-9326 (66672)
❑1Extension Pipe Left #25-9649
❑1Extension Pipe Right #25-9650
❑1O2 Sensor Plug
❑ 12 Hex header bolts; 3/8” x 1”
❑2Ferry bolts; 3/8” x 2-3/4”
❑1Flange connector
❑1 U-clamp; 2-1/4”
❑1U-clamp; 3”
❑2Chevy V8 port gaskets
❑2Donut gaskets
❑1 Hose (A.I.R.); 5/8” x 30”
❑1Hex bolt; 1/4” x 1”
❑1Pigtail O2 sensor; 12”
❑4Flat washers; 3/8”
❑1Adapter, catalytic converter (5.0L engine)
❑4Hex bolts; 3/8” x 2”
❑1Adapter, catalytic converter (5.7L engine)
❑1Spacer tube; 3/8” O.D. x 1/2” long
❑2Spacer tube; 5/8” O.D. x 1-1/2” long
❑16 Lock washers; 3/8”
KIT CONTENTS
Catalog #68012 & #68013
Qty. Description
❑1Manifold left side #25-9431 (#68012)
❑1Manifold right side #25-9430 (68012)
❑1Manifold left side #25-9027 (#68013)
❑1Manifold right side #25-9023 (68013)
❑1Extension Pipe Left #25-9572
❑1Extension Pipe Right #25-9573
❑1O2 Sensor Plug
❑ 12 Hex header bolts; 3/8” x 1”
❑2Ferry bolts; 3/8” x 2-3/4”
❑1Flange connector
❑1 U-clamp; 2-1/4”
❑1U-clamp; 3”
❑2Chevy V8 port gaskets
❑2Donut gaskets
❑1 Hose (A.I.R.); 5/8” x 30”
❑1Hex bolt; 1/4” x 1”
❑1Pigtail O2 sensor; 12”
❑4Flat washers; 3/8”
❑1Adapter, catalytic converter (5.0L engine)
❑4Hex bolts; 3/8” x 2”
❑1Adapter, catalytic converter (5.7L engine)
❑1Spacer tube; 3/8” O.D. x 1/2” long
❑2Spacer tube; 5/8” O.D. x 1-1/2” long
❑16 Lock washers; 3/8”

This manual suits for next models

5

Other Edelbrock Automobile Part manuals

Edelbrock 9300 Owner's manual

Edelbrock

Edelbrock 9300 Owner's manual

Edelbrock 8126 User manual

Edelbrock

Edelbrock 8126 User manual

Edelbrock 17934 User manual

Edelbrock

Edelbrock 17934 User manual

Edelbrock Nitrous System 70410 User manual

Edelbrock

Edelbrock Nitrous System 70410 User manual

Edelbrock 1799 User manual

Edelbrock

Edelbrock 1799 User manual

Edelbrock 5.7L V8 User manual

Edelbrock

Edelbrock 5.7L V8 User manual

Edelbrock 47522 User manual

Edelbrock

Edelbrock 47522 User manual

Edelbrock 63-0081 User manual

Edelbrock

Edelbrock 63-0081 User manual

Edelbrock 5210 User manual

Edelbrock

Edelbrock 5210 User manual

Edelbrock 67312 User manual

Edelbrock

Edelbrock 67312 User manual

Edelbrock 36011 User manual

Edelbrock

Edelbrock 36011 User manual

Edelbrock Torker II 5081 User manual

Edelbrock

Edelbrock Torker II 5081 User manual

Edelbrock Performer Series 8059 User manual

Edelbrock

Edelbrock Performer Series 8059 User manual

Edelbrock PERFORMER RPM 60549* User manual

Edelbrock

Edelbrock PERFORMER RPM 60549* User manual

Edelbrock 5682 User manual

Edelbrock

Edelbrock 5682 User manual

Edelbrock 6879 User manual

Edelbrock

Edelbrock 6879 User manual

Edelbrock Chevrolet/GMC Trucks 454 SS User manual

Edelbrock

Edelbrock Chevrolet/GMC Trucks 454 SS User manual

Edelbrock 5788 User manual

Edelbrock

Edelbrock 5788 User manual

Edelbrock EFI Fuel Pressure Regulators 1728 User manual

Edelbrock

Edelbrock EFI Fuel Pressure Regulators 1728 User manual

Edelbrock 15010 User manual

Edelbrock

Edelbrock 15010 User manual

Edelbrock 6607 User manual

Edelbrock

Edelbrock 6607 User manual

Edelbrock 72700 User manual

Edelbrock

Edelbrock 72700 User manual

Edelbrock 3637 User manual

Edelbrock

Edelbrock 3637 User manual

Edelbrock 65172 User manual

Edelbrock

Edelbrock 65172 User manual

Popular Automobile Part manuals by other brands

Fabtech FTS92011 instructions

Fabtech

Fabtech FTS92011 instructions

BENDIX GEN 4 GEN 5 ABS manual

BENDIX

BENDIX GEN 4 GEN 5 ABS manual

AETNA ENGINEERING Tach Tape TT-100 Specification sheet

AETNA ENGINEERING

AETNA ENGINEERING Tach Tape TT-100 Specification sheet

Volvo 850 Servicing instructions

Volvo

Volvo 850 Servicing instructions

Art G 463 installation manual

Art

Art G 463 installation manual

Witter HN71U Fitting instructions

Witter

Witter HN71U Fitting instructions

ATE FB 5p operating instructions

ATE

ATE FB 5p operating instructions

Harrop Bendix DB439 installation guide

Harrop

Harrop Bendix DB439 installation guide

Axxess OESWC-LAN29-STK Instalation instructions

Axxess

Axxess OESWC-LAN29-STK Instalation instructions

AUTOTECH 10.425.1125GK-1125K installation instructions

AUTOTECH

AUTOTECH 10.425.1125GK-1125K installation instructions

injen technology SP2106 quick start guide

injen technology

injen technology SP2106 quick start guide

FILTRON PS 974/1 Installation instruction

FILTRON

FILTRON PS 974/1 Installation instruction

K Electrical AIR BAG Service manual

K Electrical

K Electrical AIR BAG Service manual

bosal 048613 Fitting instructions

bosal

bosal 048613 Fitting instructions

BENDIX XVISION VISION SYSTEMS manual

BENDIX

BENDIX XVISION VISION SYSTEMS manual

Volvo Engine Specifications

Volvo

Volvo Engine Specifications

ICI Magnum FBM12FDN installation instructions

ICI

ICI Magnum FBM12FDN installation instructions

Volvo DDM 30658116 Cleaning procedure

Volvo

Volvo DDM 30658116 Cleaning procedure

manuals.online logo
manuals.online logoBrands
  • About & Mission
  • Contact us
  • Privacy Policy
  • Terms and Conditions

Copyright 2025 Manuals.Online. All Rights Reserved.