manuals.online logo
Brands
  1. Home
  2. •
  3. Brands
  4. •
  5. Edge-Core
  6. •
  7. Controllers
  8. •
  9. Edge-Core EWS101 User manual

Edge-Core EWS101 User manual

– 1 –
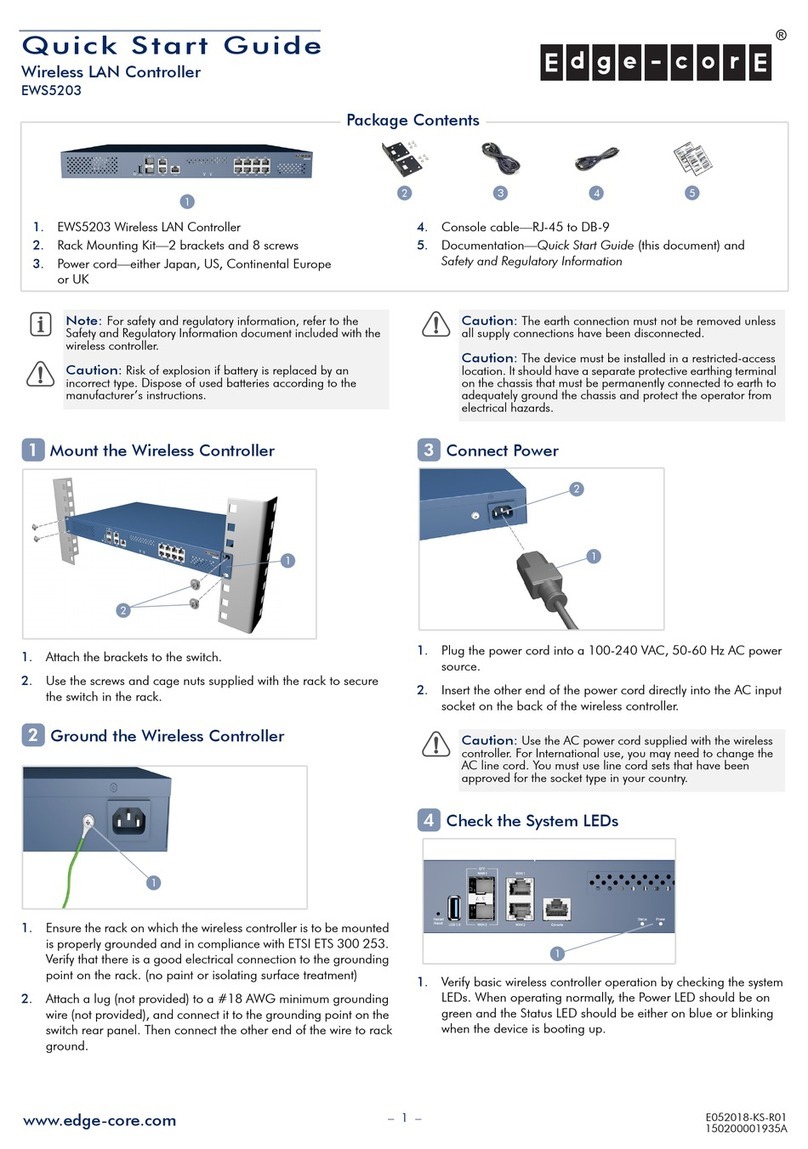
Quick Start Guide
Mount the Wireless Controller
1. The device can be installed on a desktop or shelf using the
included adhesive rubber foot pads.
Connect Power
1. Connect the AC power adapter to the DC power jack on the
device and then plug the adapter into a nearby 100-240 VAC,
50-60 Hz AC power source.
Check the System LEDs
1. Verify basic wireless controller operation by checking the system
LEDs. When operating normally, the Power LED should be on
green and the Status LED should be either on green or blinking
when the device is booting up.
Connect Network Cables
1. For the 1000BASE-T RJ-45 ports, connect 100-ohm Category 5,
5e or better twisted-pair cable.
LAN1-LAN4: RJ-45 1000BASE-T ports. Connect to downlink
devices, such as switches, APs, or client PCs.
WAN1: RJ-45 1000BASE-T port. Connect to an uplink device,
such as a DSL modem/router. This is the default port for passing
all traffic to an uplink device.
2. As connections are made, check the port status LEDs to be sure
the links are valid.
■On/Blinking Green — Port has a valid link. Blinking
indicates network activity.
Note:
For safety and regulatory information, refer to the
Safety and Regulatory Information document included with the
wireless controller.
1
1
2
1
3
1
4
2
1
E022019-CS-R01
150200001984A
www.edge-core.com
Wireless LAN Controller
EWS101
1.
EWS101 Wireless LAN Controller
2. Four adhesive foot pads
3. AC power adapter
4. Console cable—RJ-45 to DB-9
5. Cat. 5e LAN cable, 1.2 m length
6. Documentation—Quick Start Guide (this document) and
Safety and Regulatory Information
2 6
1
43
Package Contents
5
Quick Start Guide
– 2 –
Connect to the Console Port
1. Connect a PC to the wireless controller’s console port using the
included console cable.
2. Configure the PC’s serial port: 115200 bps, 8 characters, no
parity, one stop bit, 8 data bits, and no flow control.
3. Log in to the command-line interface (CLI) using terminal
emulator software. Use the default administrator user name
(admin) and password (admin).
Connect to the Web Management Interface
1. Connect an administrator PC directly to one of the EWS101 LAN
ports using an Ethernet cable. The PC should be assigned an IP
address in the same subnet as the EWS101 (192.168.1.0, mask
255.255.0.0).
2. From a web browser, enter the IP address of Default Service
Zone (192.168.1.254) in the address field.
Log in using the default user name (admin) and password
(admin) on the Administrator Login Page.
3. After a successful login, the system prompts the administrator to
change the password for security reasons. The new password
needs to be at least 6 characters long and include at least one
letter and one number.
4. The Welcome to System Main Menu page appears after a
successful login with the new password.
Complete the Setup Wizard
Use the Setup Wizard (the button at the top-right corner) to set up the
EWS101 with a basic first-time configuration.
1. Step 1: General
■Select a time zone to set up the system time.
■Click Next to continue.
2. Step 2: WAN1 Interface
■Select a proper type of uplink connection for the WAN1
interface: Static, Dynamic, or PPPoE.
■Click Next to continue.
Note:
To restart the system, press and hold the Reset button
for more than 3 seconds. You can release the button after the
status LED on the front panel starts blinking.
To reset the system to factory default settings, press and hold the
Reset button for more than 10 seconds. You can release the
button after the status LED turns from blinking to off.
Do not power off the device after restarting or
resetting the device. The process takes approximately
two minutes to complete.
5
1
6
7
Quick Start Guide
– 3 –
3. Step 3: Local User Account (Optional Step)
Create a new user account in the local account database. Or,
click Skip to go directly to Step 4.
■Enter a user name (for example, “testuser”) and password
(for example, “testuser”) to create a new local account.
■Click Next to continue.
■More local accounts can be added by clicking the Back
button in Step 4.
4. Step 4: Confirm and Restart
■Click Finish to save current settings and restart the system.
■A confirmation dialog box appears. Click OK to continue.
■A Confirm and Restart message appears during the
restarting process. Do not interrupt the system until the
Administrator Login Page appears.
■The system restart process is completed when the following
Administrator Login Page appears.
Verify Setup with User Login
Follow the steps below to verify the basic configuration completed
through the Setup Wizard.
1. Connect a laptop PC to any LAN Port on the EWS101. The PC
will obtain an IP address automatically from the EWS101.
2. Launch a web browser and enter any HTTP website URL. The
default User Login Page will appear.
3. Enter the Username and Password of the local user account
previously created through the Setup Wizard (that is, Username:
testuser and Password: testuser), and then Click Login.
The Login Success Page appears after the user is successfully
authenticated by the system.
The EWS101 is now up and running with a basic configuration.
Note:
The system will try to reach a DNS server at this stage.
Therefore, it may take a longer time if the configured DNS
cannot be found.
Note:
The
EWS101 supports multiple authentication server
options, including the built-in local user database and external
authentication servers.
Note:
The complete user name format is userid@postfix,
where the “postfix” string stands for the back-end
authentication server. Therefore, the match-up between the
user name and the back-end authentication server is based on
the “postfix” string in the complete user name.
Note:
Normally, users have to enter the complete user name
(for example, testuser@local) during login. However, the postfix
can be omitted when the postfix matches the default
authentication server option. For example, when the LOCAL
database is enabled as the default authentication option, you
can simply enter “testuser” as the user name to log in.
8
Quick Start Guide
– 4 –
Hardware Specifications
Chassis
Size (WxDxH) 19.0 x 13.3 x 3.3 cm (7.48 x 5.24 x 1.3 in.)
Weight 0.6 kg (1.32 lb)
Temperature Operating: 0 °C to 40 °C (32 °F to 104 °F)
Storage: -20 °C to 70 °C (-4 °F to 158 °F)
Humidity Operating: 5% to 95% (non-condensing)
Interfaces
Network WAN: 1 x RJ-45 10/100/1000BASE-T
LAN: 4 x RJ-45 10/100/1000BASE-T
USB 1 x USB 3.0 (reserved for future use)
Console RS-232 serial, RJ-45 port
Power
DC Input 12 VDC, 1 A
Power Consumption 5.1 Watts Typical
Regulatory Compliances
Emissions CE Mark
EN 55032, Class B
EN 61000-3-2, Class B
EN 61000-3-3
FCC Class B
47 CPR FCC Part 15:2016, Subpart B, Class B
ANSI C63.4:2014
CISPR 32.2015 + COR1:2016, Class B
AS/NZS CISPR 32:2015, Class A
Canada Std. ICES-003:2016 Issue 6, Class B
VCCI Class B
Immunity IEC 61000-4-2/3/4/5/6/8/11

Other Edge-Core Controllers manuals

Edge-Core EWS5203 User manual

Edge-Core

Edge-Core EWS5203 User manual

Edge-Core EWS5204 User manual

Edge-Core

Edge-Core EWS5204 User manual

Edge-Core EWS5207 User manual

Edge-Core

Edge-Core EWS5207 User manual

Edge-Core EWS5203 Owner's manual

Edge-Core

Edge-Core EWS5203 Owner's manual

Popular Controllers manuals by other brands

Siemens HydroRanger 200 HMI operating instructions

Siemens

Siemens HydroRanger 200 HMI operating instructions

NEC N8190-157A user guide

NEC

NEC N8190-157A user guide

KBR multicomp F144-MS-1V1C1TI6RO-3 user manual

KBR

KBR multicomp F144-MS-1V1C1TI6RO-3 user manual

elsner elektronik KNX S4-B12 DES manual

elsner elektronik

elsner elektronik KNX S4-B12 DES manual

DeZurik G-SERIES manual

DeZurik

DeZurik G-SERIES manual

Smartgen HAT600P Series user manual

Smartgen

Smartgen HAT600P Series user manual

CTA Optiplus 3 operating manual

CTA

CTA Optiplus 3 operating manual

Mitsubishi Electric MELSEC Q Series Handbook

Mitsubishi Electric

Mitsubishi Electric MELSEC Q Series Handbook

HERON HM12 Pro User guide and installation manual

HERON

HERON HM12 Pro User guide and installation manual

Siemens SIMATIC S7-200 Driver manual

Siemens

Siemens SIMATIC S7-200 Driver manual

Aqua Computer farbwerk nano User and installation manual

Aqua Computer

Aqua Computer farbwerk nano User and installation manual

maxon motor EPOS 24/1 Hardware reference

maxon motor

maxon motor EPOS 24/1 Hardware reference

Sealey ECS400 instructions

Sealey

Sealey ECS400 instructions

LOVATO ELECTRIC ATL500 instruction manual

LOVATO ELECTRIC

LOVATO ELECTRIC ATL500 instruction manual

KMC Controls KMDigital KMD-5290E Installation and operation guide

KMC Controls

KMC Controls KMDigital KMD-5290E Installation and operation guide

LINOVISION IOT-CPANEL quick start guide

LINOVISION

LINOVISION IOT-CPANEL quick start guide

Synology UC3200 Hardware installation guide

Synology

Synology UC3200 Hardware installation guide

AMX Axcent3 pro instruction manual

AMX

AMX Axcent3 pro instruction manual

manuals.online logo
manuals.online logoBrands
  • About & Mission
  • Contact us
  • Privacy Policy
  • Terms and Conditions

Copyright 2025 Manuals.Online. All Rights Reserved.