manuals.online logo
Brands
  1. Home
  2. •
  3. Brands
  4. •
  5. EdgeStar
  6. •
  7. Air Conditioner
  8. •
  9. EdgeStar Evaporative Air Cooler - Tower Design... User manual

EdgeStar Evaporative Air Cooler - Tower Design... User manual

http://www.edgestar.com
This owner’s manual provides
instructions on safe installation,
use, and maintenance.
Please read it carefully and
save it for reference.
EAC210TS
Evaporative Air Cooler - Tower Design
Owner’s Manual
All manuals and user guides at all-guides.com
all-guides.com
Thank you Suggestions
Thank you for purchasing an EdgeStar tower air cooler. Rest assured
that all EdgeStar products are designed and manufactured to the highest
standards. We would like you to be able to fully utilize all features of
this portable air conditioner, so please take the time to read this owner’s
manual in full prior to using the unit.
•Do not fill with water above the “MAX” line
•When the unit has water in it, be careful when moving it from
place to place
Here are a few of the features of this appliance: •If the unit is tipped over while filled with water, immediately
unplug the unit and right it. Allow the unit to dry for 24 hours
prior to operating it to minimize the risk of damaging the circuit
board.
•Strong airflow with a quiet motor
•Air purifying ionizer function
•Auto tower oscillation function
•Large water reservoir for extended cooling •Do not put any foreign objects into the unit or water reservoir
•Built-in timer •Clean the exterior of the unit with a soft cloth and a mild soapy
water solution only
•LED display
•Water pump with washable fabric water curtain •If the unit becomes noisier as it gets older and/or the airflow
becomes less robust, try cleaning the fabric water curtain and
pre-filter
•Washable pre-filter
•Make sure the unit has adequate ventilation around it to ensure
airflow both into the rear of the unit and out of the front of the
unit
Warnings
•Use this unit only on 110-115-120V, 60Hz electrical circuits
•The unit will cool best in low ambient humidity situations
•View the rating label on the unit for power requirements
•Unplug the unit when not in use
•Keep all fingers and other foreign objects clear of the internal
fan at all times •Never allow unobserved children to play with or around the
unit
•Contact EdgeStar Service for all technical support and service
at 866-319-5473 •If the power cord is damaged, an authorized technician must
replace it
•Service by licensed technicians only
•Do not use flammable liquids or gases around the unit
•Designed for indoor use only
•Disconnect the unit prior to cleaning or service
•Please do not pull the cord to unplug the unit- pull on the plug
only
-1- -2-
All manuals and user guides at all-guides.com
Components
Included Accessories
•Ice packs (2)
•Remote control
•Owner’s manual and other literature
Control Panel and Display
1. Control panel
2. Display
3. Air outlet
4. Water level indicator
5. Power cord
6. Air inlet
7. Fabric water curtain
8. Pre-filter
9. Water port door
10. Water port
11. Drain plug
12. Caster (unit has 4 casters)
Note: the buttons on the remote control have the same functionality as those
on the main control panel
•ON/OFF- this button turns the unit on or off
-3- -4-
All manuals and user guides at all-guides.com
•TIMER- each time this button is pressed, the digit in the middle
of the display increments up by 1. The digit in the display
corresponds to the amount of time (in hours) that the unit will
run before shutting itself off. If you do not select a timer
setting, the unit will run continuously
•-ION- this button toggles the ionizer on and off. The ionizer
cleans the air that passes through the unit
Unpacking and first using the unit
•Carefully open the box(es) and take the unit out. Remove all
packing/plastic bags, etc.
•COOLER/HUMIDIFIER- this button turns on or off the
cooling function. When the “COOLER/HUMIDIFIER” light on
the control panel is lit, the unit pumps water from its reservoir
over the fabric water curtain. As air is drawn past this water, the
endothermic effects of evaporation result in cooling
•Set the unit upright
•Plug the unit in
•Open the water port and fill the unit with water. Do not over-fill
the unit.
•SWING- this button turns on or off the oscillation function.
When the unit oscillates, the base remains still and the upper
part of the tower turns back and forth, directing airflow around
the room
•Close the water port door
•Turn the unit on with the ON/OFF button and select your
desired settings
Note: the unit includes two ice boxes. To use them, fill them with water and
freeze them. Then put them into the unit’s water reservoir. You may use them
one at a time or concurrently.
•SPEED- this button adjust the speed. There are three speed
settings for airflow. Note that when the unit is initially turned
on, it starts on medium speed and changes to low speed
automatically
Draining the unit
•MODE- this button toggles the airflow functions. There are
three functions:
•If you ever need to drain the unit, first make sure the unit is in
an appropriate place for drainage
oNormal/manual- this mode, represented by three
horizontal wavy lines, allows you to manually set the
airflow speed
•Remove the drain plug from the rear of the unit
•Allow the water to drain out
•Reinstall the drain plug
oNatural/variable- this mode, represented by a
mountain, automatically shifts the airflow speeds
between the three settings
Cleaning
•Pre-filter- depending on the environment, the pre-filter may
require cleaning every two weeks to every two months or more.
The easiest way to clean the pre-filter is to vacuum it with a
brush attachment.
oSleep- this mode, represented by “ZZZ”, operates like
the Normal/manual mode, but the airflow speed
gradually decreases over a period of 1-2 hours, and the
unit eventually turns itself off. The higher the initial
airflow setting, the longer the unit runs before shutting
off, and the greater the different airflow speeds the unit
cycles through prior to shutting off
If the pre-filter is exceptionally dirty, you may remove it from
the unit (unplug the unit first) and wash it in a mild soap and
water solution. Rinse it thoroughly and allow it to dry
completely before reinstalling.
-5- -6-
All manuals and user guides at all-guides.com
•Fabric water curtain- this should also be cleaned every two
weeks to every two months, again depending upon the
environment. Unplug the unit, remove the pre-filter, and gently
remove the fabric water curtain (it should pull off the fastening
strips). Wash it in a mild soap and water solution. Rinse it
thoroughly and allow it to dry completely before reinstalling.
•Water tank- if the tank becomes dirty, mildewy, or acquires
hard water deposits, unplug the unit, remove the water port
door and carefully clean the inside of the tank with a soft cloth
and a mild soap and water solution. Rinse out the solution and
drain the unit as best you can, but take care not to get any of the
unit’s electronics wet.
•Exterior of the unit- unplug the unit. Carefully wash it with a
mild soap and water solution and a soft cloth. Dry the unit with
a soft cloth.
Limited Warranty
This EdgeStar product is warranted to be free from defective workmanship
and materials for the first year following the date of original purchase.
Replacement parts will be supplied free of charge for the first year following
the date of original purchase. Labor will be performed free of charge for the
first 90 days following the date of original purchase.
WHAT IS COVERED:
This warranty applies to the original purchaser only, and only covers defects
in workmanship experienced during operation of the product under normal
service, maintenance, and usage conditions. This warranty applies to the
purchase and use of this product in residential settings within the United
States of America.
WHAT IS NOT COVERED:
The following limitations apply to the coverage of this warranty:
Optional accessories, attachments, and appearance items are excluded from
warranty coverage, as is shipping damage, and any damage caused by
improper voltage or any other misuse, including abnormal service, handling,
or usage.
This warranty does not cover normal wear and tear on parts or replacement
of parts designed to be replaced, e.g. filters, etc.
This warranty does not cover service trips to deliver, pick-up, repair, or
install the product, or to instruct in proper usage of the product.
Damages or operating problems resulting from abuse, operation outside
environmental specifications, uses contrary to instructions provided in the
owner’s manual, accidents, vermin, fire, flood, improper installation,
unauthorized service, acts of God, unauthorized installation or modification,
or commercial use are excluded from warranty coverage.
This warranty does not cover labor incurred 91 days or more after the date of
original purchase.
This warranty does not cover use of EdgeStar products in commercial
settings.
DESCRIPTION OF WARRANTY SERVICE:
All defective product components covered by this warranty will be repaired
or replaced, at EdgeStar’s option, free of charge on a mail-in basis to
EdgeStar’s authorized repair facility during the first 90 days from the date of
original purchase.
All defective product components covered by this warranty will be repaired
or replaced, at EdgeStar’s option, on a mail-in basis to EdgeStar’s authorized
repair facility during the time period beginning on the 91st day from the date
of original purchase and ending one year from the date of original purchase.
During this time period, parts will be supplied free of charge, but labor
charges will apply.
All replacement parts and units will be new, remanufacturered, or
refurbished.
All products and components replaced by EdgeStar under warranty service
become the property of EdgeStar.
OBTAINING WARRANTY SERVICE:
-7- -8-
All manuals and user guides at all-guides.com
Contact EdgeStar for troubleshooting assistance and warranty service
authorization at 1-866-319-5473. Please have your order receipt available to
confirm the date of purchase.
Once an EdgeStar authorized representative has confirmed that your product
is eligible for warranty service, the product must be returned to an EdgeStar
authorized repair facility.
The purchaser is solely responsible for prepaying all shipping related costs
to and from the repair facility.
EdgeStar is not responsible for damage resulting from shipper mishandling
or improper packaging.
Do not return defective product to the place of purchase.
THIS WARRANTY IS IN LIEU OF ANY OTHER WARRANTY,
EXPRESS OR IMPLIED, INCLUDING WITHOUT LIMITATION, ANY
WARRANTY OF MERCHANTABILITY OR FITNESS FOR A
PARTICULAR PURPOSE. TO THE EXTENT ANY IMPLIED
WARRANTY IS REQUIRED BY LAW, IT IS LIMITED IN DURATION
TO THE EXPRESS WARRANTY PERIOD ABOVE. NEITHER THE
MANUFACTURER NOR ITS DISTRIBUTORS SHALL BE LIABLE FOR
ANY INCIDENTAL, CONSEQUENTIAL, INDIRECT, SPECIAL, OR
PUNITIVE DAMAGES OF ANY NATURE, INCLUDING WITHOUT
LIMITATION, LOST REVENUES OR PROFITS, OR ANY OTHER
DAMAGE WHETHER BASED IN CONTRACT, TORT, OR
OTHERWISE. SOME STATES DO NOT ALLOW THE EXCLUSION OF
INCIDENTAL OR CONSEQUENTIAL DAMAGES, SO THE ABOVE
EXCLUSION MAY NOT APPLY TO YOU. THIS WARRANTY GIVES
YOU SPECIFIC LEGAL RIGHTS. YOU MAY HAVE OTHER RIGHTS
THAT VARY FROM STATE TO STATE.
-9-
All manuals and user guides at all-guides.com
all-guides.com
All manuals and user guides at all-guides.com

Other manuals for Evaporative Air Cooler - Tower Design...

1

Other EdgeStar Air Conditioner manuals

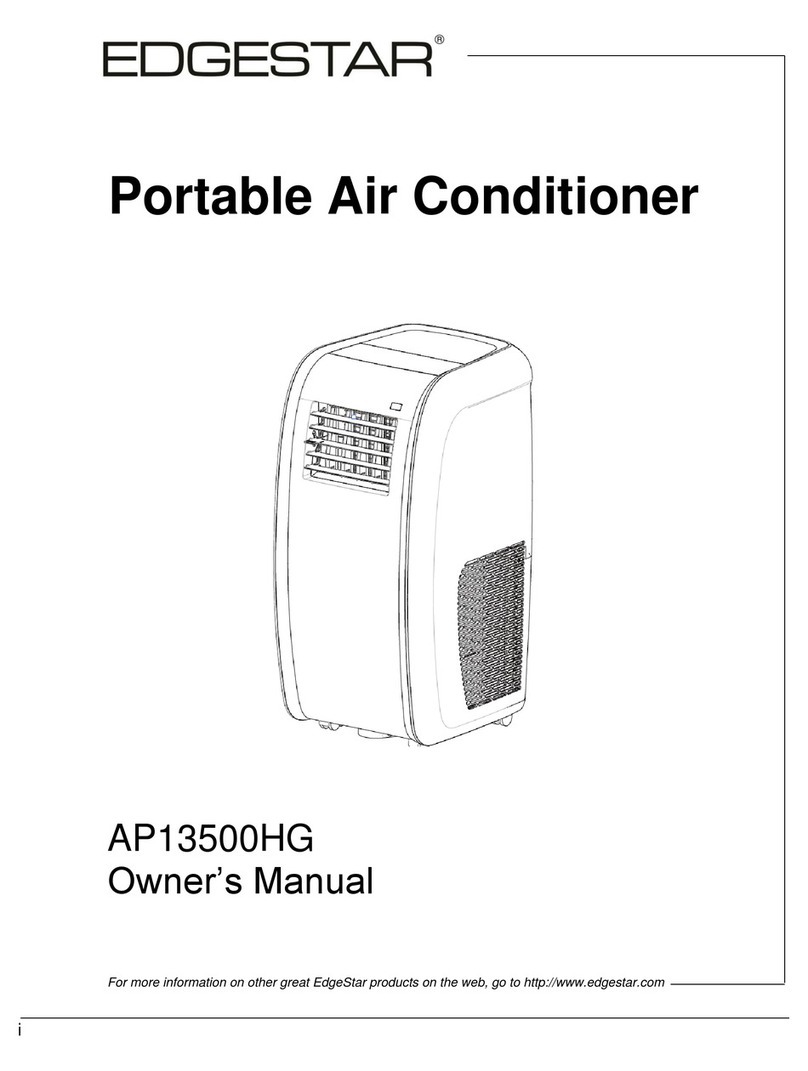
EdgeStar AP14009COM-1 User manual

EdgeStar

EdgeStar AP14009COM-1 User manual

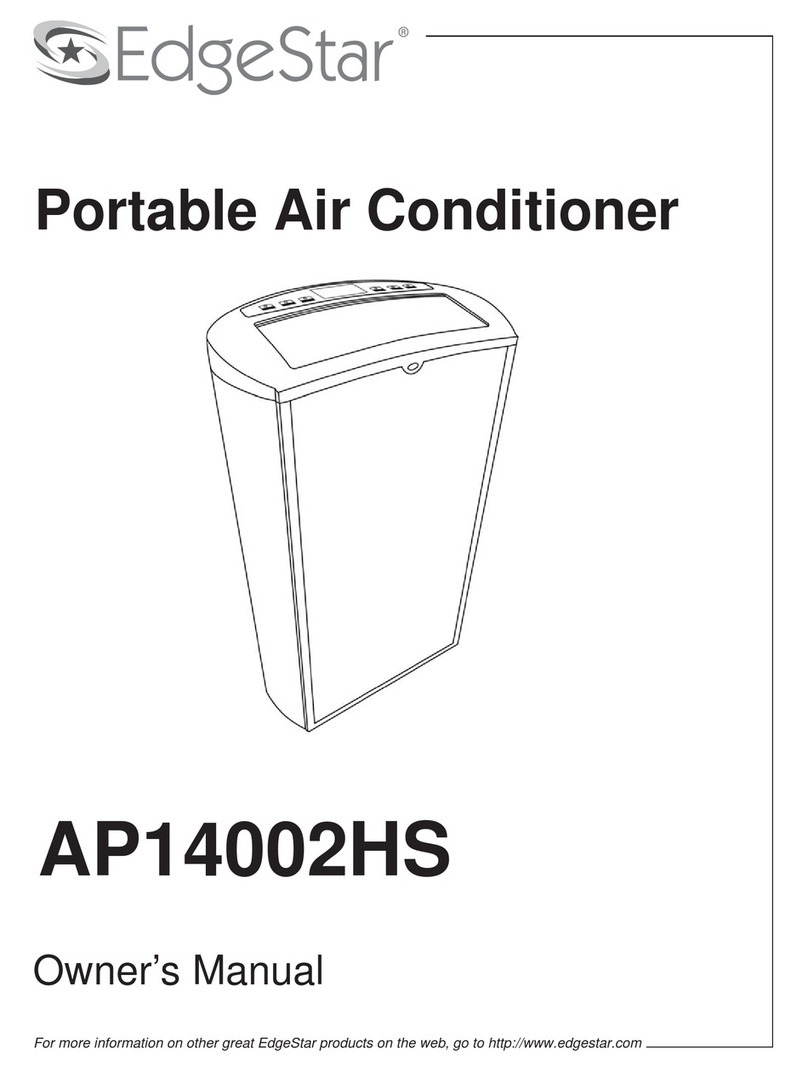
EdgeStar AP14000HS User manual

EdgeStar

EdgeStar AP14000HS User manual

EdgeStar AP16000G User manual

EdgeStar

EdgeStar AP16000G User manual

EdgeStar AP10002BL User manual

EdgeStar

EdgeStar AP10002BL User manual

EdgeStar AP510 User manual

EdgeStar

EdgeStar AP510 User manual

EdgeStar Koldfront CAC10000W User manual

EdgeStar

EdgeStar Koldfront CAC10000W User manual

EdgeStar AP410HS User manual

EdgeStar

EdgeStar AP410HS User manual

EdgeStar AP14001HS User manual

EdgeStar

EdgeStar AP14001HS User manual

EdgeStar AP10001B User manual

EdgeStar

EdgeStar AP10001B User manual

EdgeStar Koldfront WAC8002WCO User manual

EdgeStar

EdgeStar Koldfront WAC8002WCO User manual

EdgeStar PAC801W User manual

EdgeStar

EdgeStar PAC801W User manual

EdgeStar AP310SS User manual

EdgeStar

EdgeStar AP310SS User manual

EdgeStar AP12000HS User manual

EdgeStar

EdgeStar AP12000HS User manual

EdgeStar EAC430W User manual

EdgeStar

EdgeStar EAC430W User manual

EdgeStar AP16000G User manual

EdgeStar

EdgeStar AP16000G User manual

EdgeStar AP12000HS-1 User manual

EdgeStar

EdgeStar AP12000HS-1 User manual

EdgeStar AP13500G User manual

EdgeStar

EdgeStar AP13500G User manual

EdgeStar AP14009COM User manual

EdgeStar

EdgeStar AP14009COM User manual

EdgeStar AP10000HW User manual

EdgeStar

EdgeStar AP10000HW User manual

EdgeStar AP12000S-1 User manual

EdgeStar

EdgeStar AP12000S-1 User manual

EdgeStar AP14003W User manual

EdgeStar

EdgeStar AP14003W User manual

EdgeStar WAC Series Reference manual

EdgeStar

EdgeStar WAC Series Reference manual

EdgeStar AP14001HS User manual

EdgeStar

EdgeStar AP14001HS User manual

EdgeStar AP13000W User manual

EdgeStar

EdgeStar AP13000W User manual

Popular Air Conditioner manuals by other brands

intensity IDUFCI60KC-3 installation manual

intensity

intensity IDUFCI60KC-3 installation manual

Frigidaire FAC064K7A2 Factory parts catalog

Frigidaire

Frigidaire FAC064K7A2 Factory parts catalog

Daikin R32 Split Series installation manual

Daikin

Daikin R32 Split Series installation manual

Vivax ACP-12CH35REWI R32 user manual

Vivax

Vivax ACP-12CH35REWI R32 user manual

Carrier 38CKC operating guide

Carrier

Carrier 38CKC operating guide

Hitachi RAS-10GH5 installation manual

Hitachi

Hitachi RAS-10GH5 installation manual

Dometic MCS T6 operating manual

Dometic

Dometic MCS T6 operating manual

Johnson Controls York VIR 40A installation instructions

Johnson Controls

Johnson Controls York VIR 40A installation instructions

AirStage ASUA7RLAV installation manual

AirStage

AirStage ASUA7RLAV installation manual

Hisense 7K Use and Installation Instructions

Hisense

Hisense 7K Use and Installation Instructions

Stealth Designer SC-24CC-UM quick start guide

Stealth

Stealth Designer SC-24CC-UM quick start guide

Daikin RXYQ72PAYD installation manual

Daikin

Daikin RXYQ72PAYD installation manual

Beko BINA 090 installation manual

Beko

Beko BINA 090 installation manual

Daewoo DSB-122L owner's manual

Daewoo

Daewoo DSB-122L owner's manual

QuietCool QC18DVS owner's manual

QuietCool

QuietCool QC18DVS owner's manual

LG LW1213HR Energy guide

LG

LG LW1213HR Energy guide

Mitsubishi Mr.Slim PKA-A-GA installation manual

Mitsubishi

Mitsubishi Mr.Slim PKA-A-GA installation manual

Toshiba RAS-10J2KV-HK owner's manual

Toshiba

Toshiba RAS-10J2KV-HK owner's manual

manuals.online logo
manuals.online logoBrands
  • About & Mission
  • Contact us
  • Privacy Policy
  • Terms and Conditions

Copyright 2025 Manuals.Online. All Rights Reserved.